
Last updated: July 31, 2026 — model-year scope, rear-parking-brake cautions, rotor installation checks, and bedding guidance reviewed.
On many 2007–2021 Toyota Tundra front brakes, replacing the pads and rotors involves removing the pin-retained pads and caliper, pressing the rotor from the hub, cleaning the hub face, compressing the caliper pistons evenly, and reinstalling every part to the exact Toyota torque specification. This is not one universal procedure for every Tundra. Rear brakes use different hardware, and 2022-and-newer trucks require generation-specific guidance, especially around the electric parking brake.
Estimated total time: Plan several hours per axle and allow extra time for rust, seized hardware, rear parking-brake adjustment, or a first-time repair. Do not start unless the truck can remain safely supported until the job is complete.
Quick Answer
For a typical 2007–2021 Tundra front brake job, chock the truck, loosen the wheel nuts, support the frame on jack stands, remove the pad pins and spring hardware, unbolt and support the caliper, remove the rotor, clean the hub, compress the pistons evenly, and install the new rotor and pads. Hand-start every fastener, torque it to the specification for the exact model year and axle, pump the pedal until firm, check for leaks, and follow the pad maker’s bedding procedure. Do not apply this front-brake workflow to a rear axle or 2022-and-newer truck without checking the correct Toyota repair procedure.
Key Takeaways
- Identify the model year, axle, caliper design, and parking-brake system before ordering parts or removing hardware.
- Support the Tundra with jack stands at approved locations; never rely on a hydraulic jack alone.
- Do not disconnect the hydraulic brake hose during a routine pad-and-rotor replacement.
- Clean the hub face and inspect the caliper, pistons, boots, pins, clips, and hose before installing new parts.
- Use the exact Toyota torque values for the truck and follow the brake-pad maker’s bedding procedure.
Which Tundra Brake Setup Does This Guide Cover?
The workflow below is centered on the fixed multi-piston front calipers and pin-retained pads commonly found on 2007–2021 Tundras. Use the table to determine whether the procedure matches the brake assembly in front of you.
| Application | How to Use This Guide | Important Difference |
|---|---|---|
| 2007–2021 front brakes | Use this as a general workflow after confirming the visible caliper and hardware match. | Many use a fixed multi-piston caliper with pad-retaining pins and an anti-rattle spring. |
| 2007–2021 rear brakes | Use only the shared safety and inspection guidance. | The rear uses a different caliper arrangement and a drum-in-hat parking brake that can hold the rotor in place. |
| 2000–2006 Tundra | Confirm the exact caliper and rotor package before using any step. | Early brake packages and caliper sizes vary. See the Tundra brake rotor and pad measurement guide for fitment context. |
| 2022 and newer | Use exact generation-specific Toyota repair information. | Do not assume older bolt sizes, torque values, pad hardware, or rear parking-brake steps apply. Current Tundras use an electric parking brake. |
Scope warning: Stop if the caliper, pad hardware, parking-brake mechanism, or fastener layout does not match the procedure. Do not improvise on a safety-critical brake assembly.
Before You Begin: What Tools and Checks Are Required?
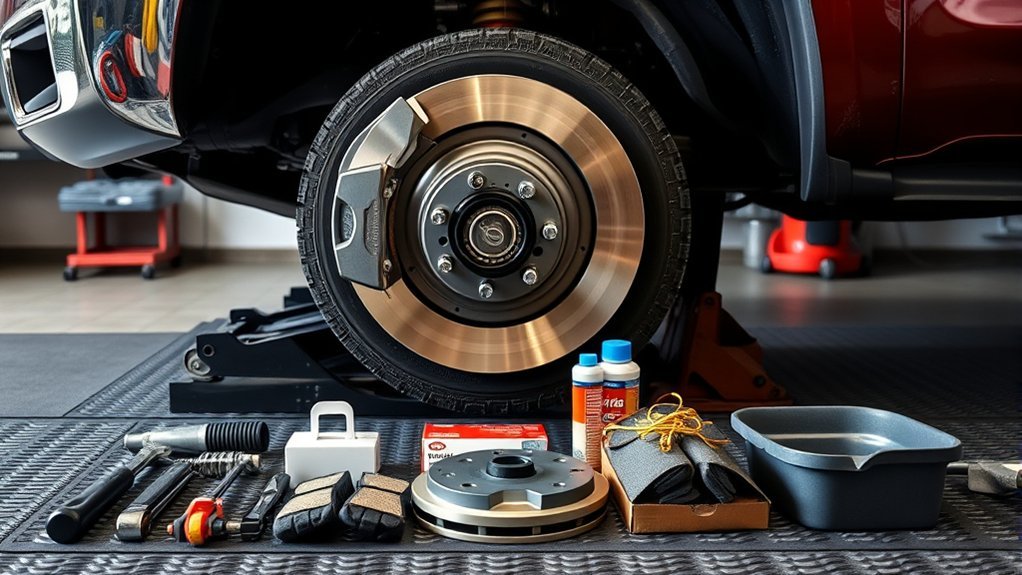
Gather a floor jack, correctly rated jack stands, wheel chocks, a torque wrench, a breaker bar, the correct wheel and brake sockets, a caliper hanger, needle-nose pliers, brake cleaner, shop towels, eye protection, gloves, a wire brush or hub-cleaning tool, and a caliper piston spreader or suitable C-clamp. If the rotor has threaded extraction holes, obtain the matching extraction bolts before lifting the truck. Many second-generation Tundra rotors use M8 × 1.25 extraction holes, but confirm the thread on the actual rotor.
Do not assume that 12 mm and 18 mm sockets fit every axle or model year. Verify the visible fasteners and the Toyota repair information for the truck before beginning. Also confirm that the pads, rotors, clips, shims, and other hardware match the exact year, axle, drivetrain, wheel package, and caliper.
Prioritize exact axle fitment, the pad maker’s vehicle application, operating-temperature range, towing or severe-duty rating, supplied hardware, noise expectations, and bedding procedure. Do not choose a pad from the ceramic, organic, or semi-metallic label alone.
Toyota’s maintenance guidance calls for regular inspection of the brake linings, drums or discs, lines, hoses, fluid, and related components. Use the repair information for your exact Tundra to obtain the required torque values and disassembly sequence. Check the brake-fluid specification on the reservoir cap or in the owner’s manual, and review this Toyota Tundra brake-fluid guide before adding fluid.
Park on a hard, level surface, set the parking brake unless rear-brake service requires it released later, chock the wheels that will remain on the ground, and loosen the wheel nuts slightly before lifting. Use only the approved support locations shown for your truck. This Tundra wheel-change guide explains the basic lifting and wheel-removal safety sequence.
Warning: Never work on a Tundra held only by a hydraulic jack. Do not place any part of your body beneath an unsupported truck.
[Products Worth Considering]
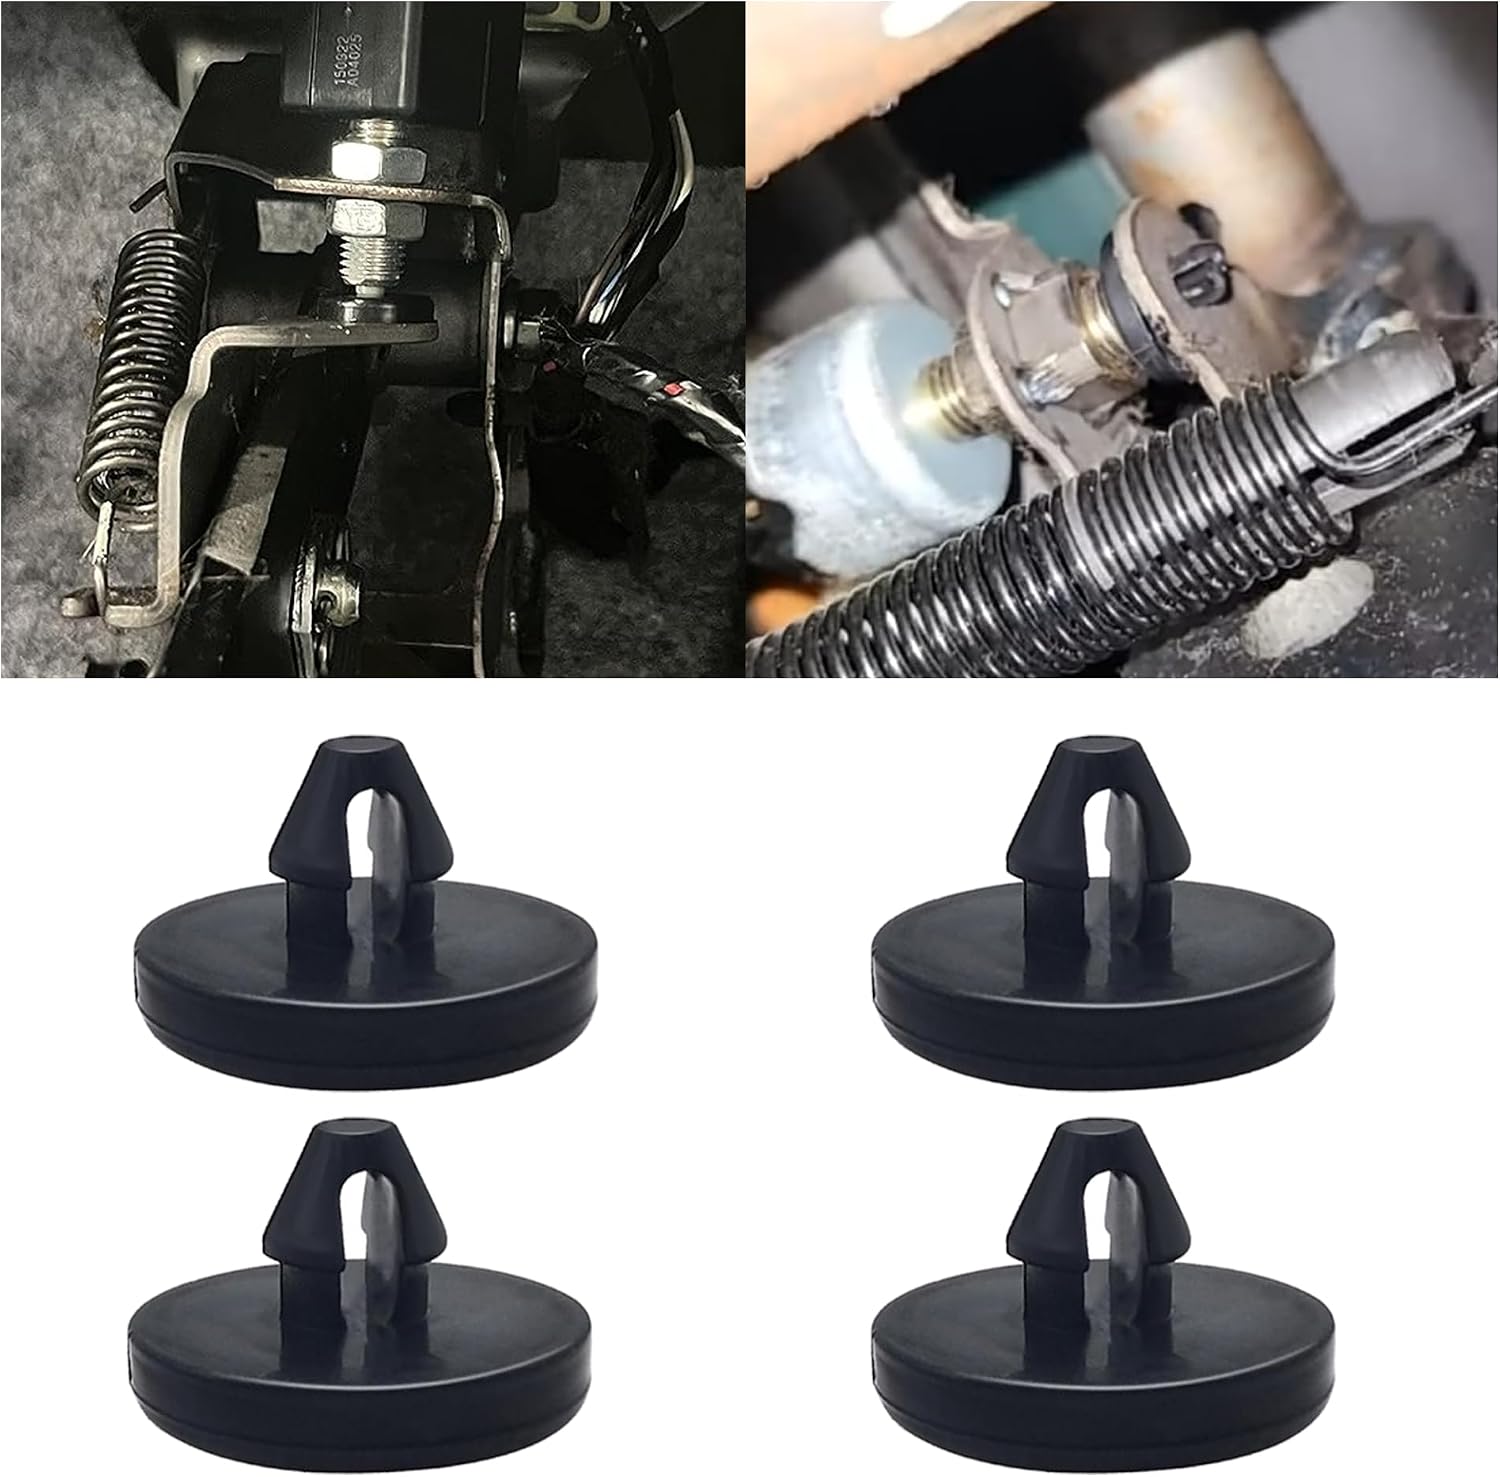
This brake pedal stop pad set is designed as an OEM replacement for compatible Toyota, Lexus, and Scion models, helping restore proper brake light switch function when the brake light stays on. Made from durable nylon, these compact stoppers are built for reliable long-term use and quick, tool-free installation. The set includes multiple pieces for convenient replacement and sharing.

Bosch QuietCast premium ceramic rear brake pads are engineered for quiet, reliable stopping power with low dust performance. Featuring pre-attached multilayer shims, corrosion-resistant backing plates, and OE-style slots and chamfers, this set is designed for smooth fitment and long-lasting durability. It includes pads for one axle, plus hardware and lubricant where available, making installation easier for compatible Lexus, Pontiac, and Toyota vehicles.
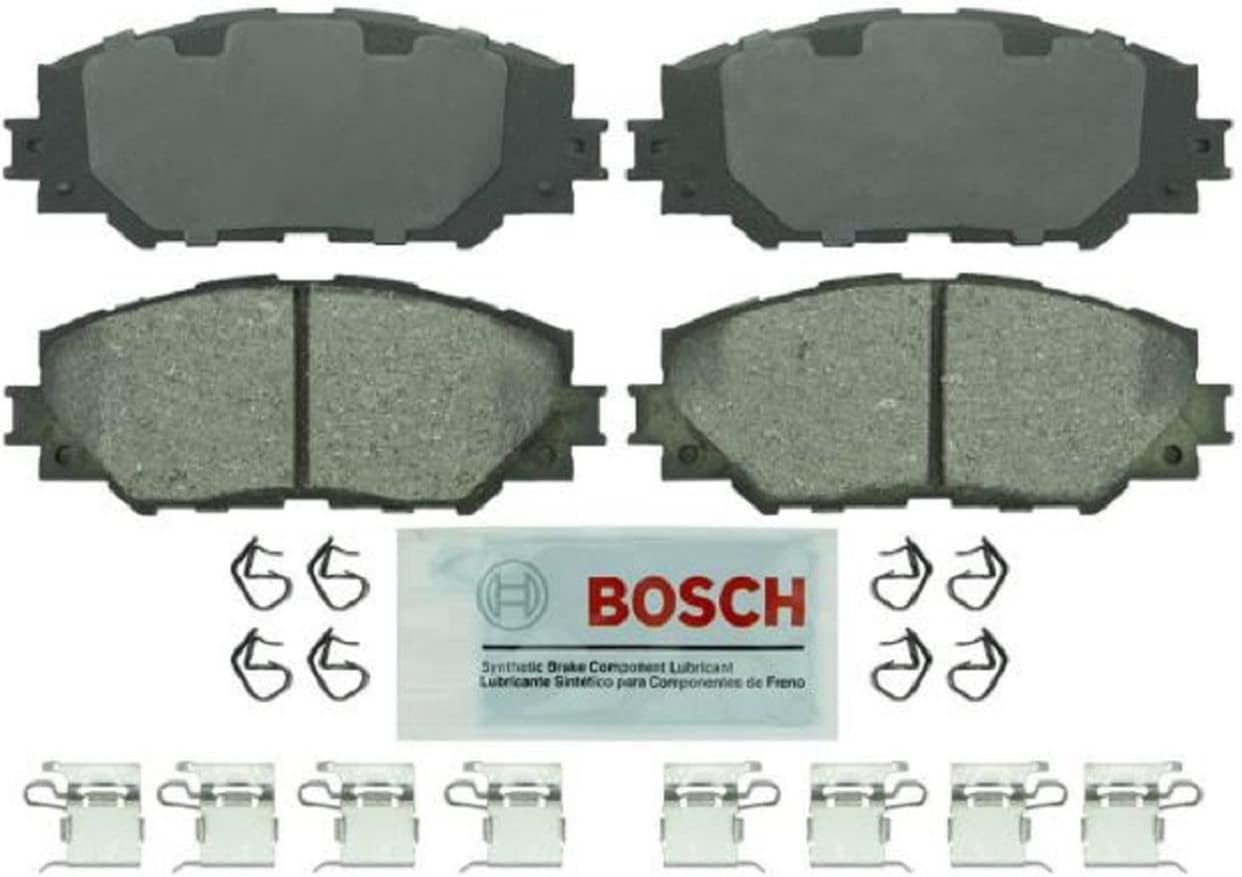
Bosch Blue ceramic front brake pads deliver dependable stopping power with platform-specific friction material designed for select Lexus, Pontiac, Scion, and Toyota vehicles. OE-style shims, slots, and chamfers help promote quiet braking, while the rust-inhibitive coating supports long-lasting performance and cleaner operation. The set includes hardware and synthetic lubricant for easier installation on one axle.
Step 1: How Do You Remove the Wheel, Caliper, and Stuck Rotor?
Raise the truck at the approved lifting point and place correctly rated jack stands at the specified support locations. Lower the truck onto the stands, confirm that it is stable, and then remove the wheel. A wheel placed flat beneath a suitable frame area can provide an additional barrier, but it is not a substitute for jack stands.
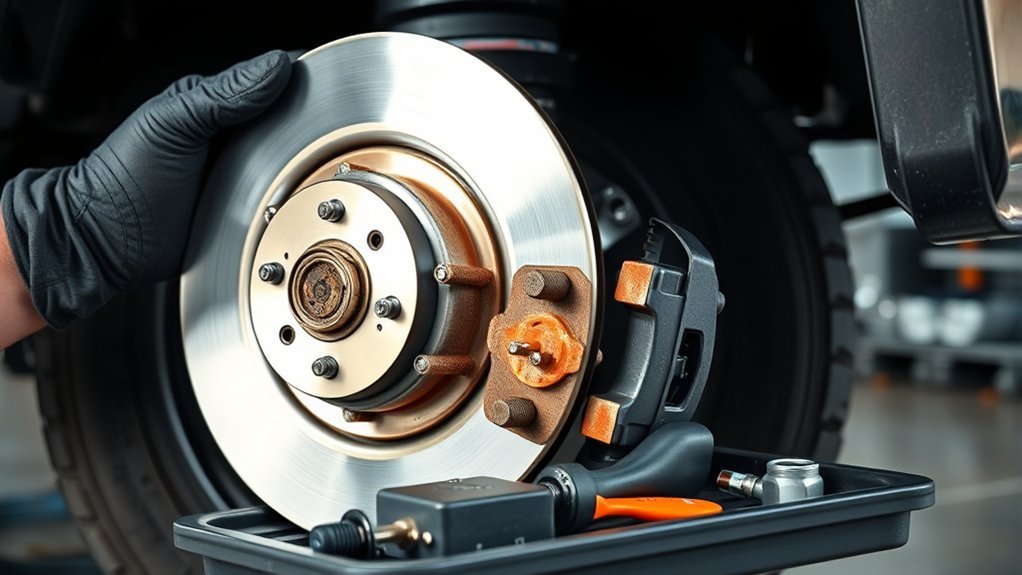
On a matching 2007–2021 fixed front caliper, photograph the pad pins, retaining clip, and anti-rattle spring before removal. Release the retaining hardware with the correct pliers or punch, control the spring tension, and remove the old pads. Do not discard reusable hardware until you have compared it with the replacement kit.
Remove the caliper mounting bolts with the correct socket and support the caliper from the frame or suspension with a purpose-made hanger or strong strap. Do not let the flexible hose or hard line carry the caliper’s weight, and do not twist, kink, or sharply bend either line.
Do not disconnect the hydraulic brake hose for a routine pad-and-rotor replacement. If the model-specific procedure requires more movement, remove only the hose or sensor-wire support-bracket bolt. Do not loosen a banjo bolt, flare fitting, bleeder screw, or other hydraulic connection unless you are prepared to follow the correct bleeding procedure.
If the rotor has threaded extraction holes, install the matching bolts and tighten them evenly, alternating between them, to press the rotor away from the hub. Do not drive one extraction bolt fully inward while the other remains loose. If needed, strike only the rotor hat with a rubber or dead-blow mallet. Do not strike the wheel studs, hub, braking surface, caliper, or sensor components.
Rear-rotor warning: On 2007–2021 rear brakes, fully release the parking brake before rotor removal. If the rotor remains trapped, use the access opening to back off the drum-in-hat parking-brake shoe adjuster according to the exact service procedure. Do not force the rotor over expanded shoes. For 2022-and-newer rear brakes, obtain the correct electric parking-brake service procedure before retracting or moving any component.
[Products Worth Considering]

Bendix Premium Ceramic Front Brake Pads are engineered to match original equipment fit, form, and function for a straightforward replacement. Built with durable materials to help resist wear and corrosion, they support consistent braking performance and reduced brake fade for everyday driving. These pads are a dependable choice for compatible Pontiac, Scion, Toyota, and related vehicles.

This brake caliper hanger set helps hold calipers securely during brake pad changes and other suspension or axle work, making brake service safer and more convenient. Built from durable steel with rust-resistant coating, it features rubber tips to help prevent scratches and protect brake hoses and surrounding components. Brightly colored and easy to spot, it is a practical mechanic tool for keeping calipers supported while you work.

This brake caliper compression tool helps make disc brake pad replacement and caliper servicing faster, safer, and more controlled. Its universal ratcheting design supports multi-angle operation in tight wheel spaces, while the sturdy steel build and widened contact plate help reduce slipping and uneven force during maintenance. Two caliper hooks are included to simplify solo brake work and keep components organized.
Step 2: How Do You Prepare the Hub and Install the New Rotor and Pads?
Clean the hub face with a wire brush or hub-cleaning tool until the rotor can sit flat. Remove raised rust, scale, and debris from the mating surface without damaging the hub or wheel studs. A small rust ridge trapped behind the rotor can create installed runout and later pedal pulsation.
Inspect the new rotor before installation. Confirm its diameter, thickness, bolt pattern, offset, ventilation direction if applicable, and parking-brake drum configuration against the old part. Clean the braking surfaces as directed by the rotor maker. Install the rotor and temporarily hold it flat with one or two wheel nuts installed backward by hand, without final torque.
Inspect the caliper before compressing the pistons. Look for leaking fluid, torn dust boots, uneven pad wear, corrosion, damaged pins, and heat discoloration. Stop the repair if a piston is seized, a boot is torn deeply, the hose is damaged, or fluid is leaking. A sticking Tundra brake caliper must be diagnosed before new pads and rotors are put into service.
Place the old pad or a suitable spreading plate across the piston faces and compress the pistons slowly and evenly with a piston spreader or clamp. On a fixed multi-piston caliper, keep the pistons balanced so one piston does not move outward while another is pressed inward. Watch the reservoir because the fluid level can rise as the pistons retract.
If the reservoir approaches the maximum level, remove only enough fluid with a clean, brake-fluid-safe suction tool to prevent overflow. Keep the removed fluid out of painted surfaces and discard it properly. Never return extracted fluid to the reservoir.
Compare the new pads with the removed pads. Confirm the friction shape, backing plate, wear indicator, shims, holes, and left/right orientation. Replace damaged retaining clips, springs, pins, support plates, or boots rather than forcing corroded hardware back into service.
Apply only the brake lubricant specified by the pad or vehicle procedure, and use a thin film only at approved metal-to-metal sliding or contact points. Keep lubricant, penetrating fluid, fingerprints, and cleaning residue off the pad friction material and rotor faces.
For a matching fixed front caliper, position the pads, anti-rattle spring, retaining pins, and locking clip in the same orientation documented before disassembly. Confirm that every pin is fully seated and that the locking device engages the correct holes. For a sliding rear caliper, follow the separate bracket, support-plate, guide-pin, and parking-brake procedure for that axle.
Towing note: Choose an exact-fit pad that the manufacturer rates for the truck’s intended load and temperature range. A friction-material label alone does not prove that a pad is suitable for towing.
[Products Worth Considering]

This brake caliper compression tool makes brake pad replacement faster by retracting single, dual, or quad pistons with minimal effort. Built for compatibility across many cars, trucks, ATVs, UTVs, and SUVs, it delivers strong pressing power for efficient maintenance. The durable aluminum alloy and steel construction, along with organized EPE foam storage, help keep it protected and ready for repeated use.
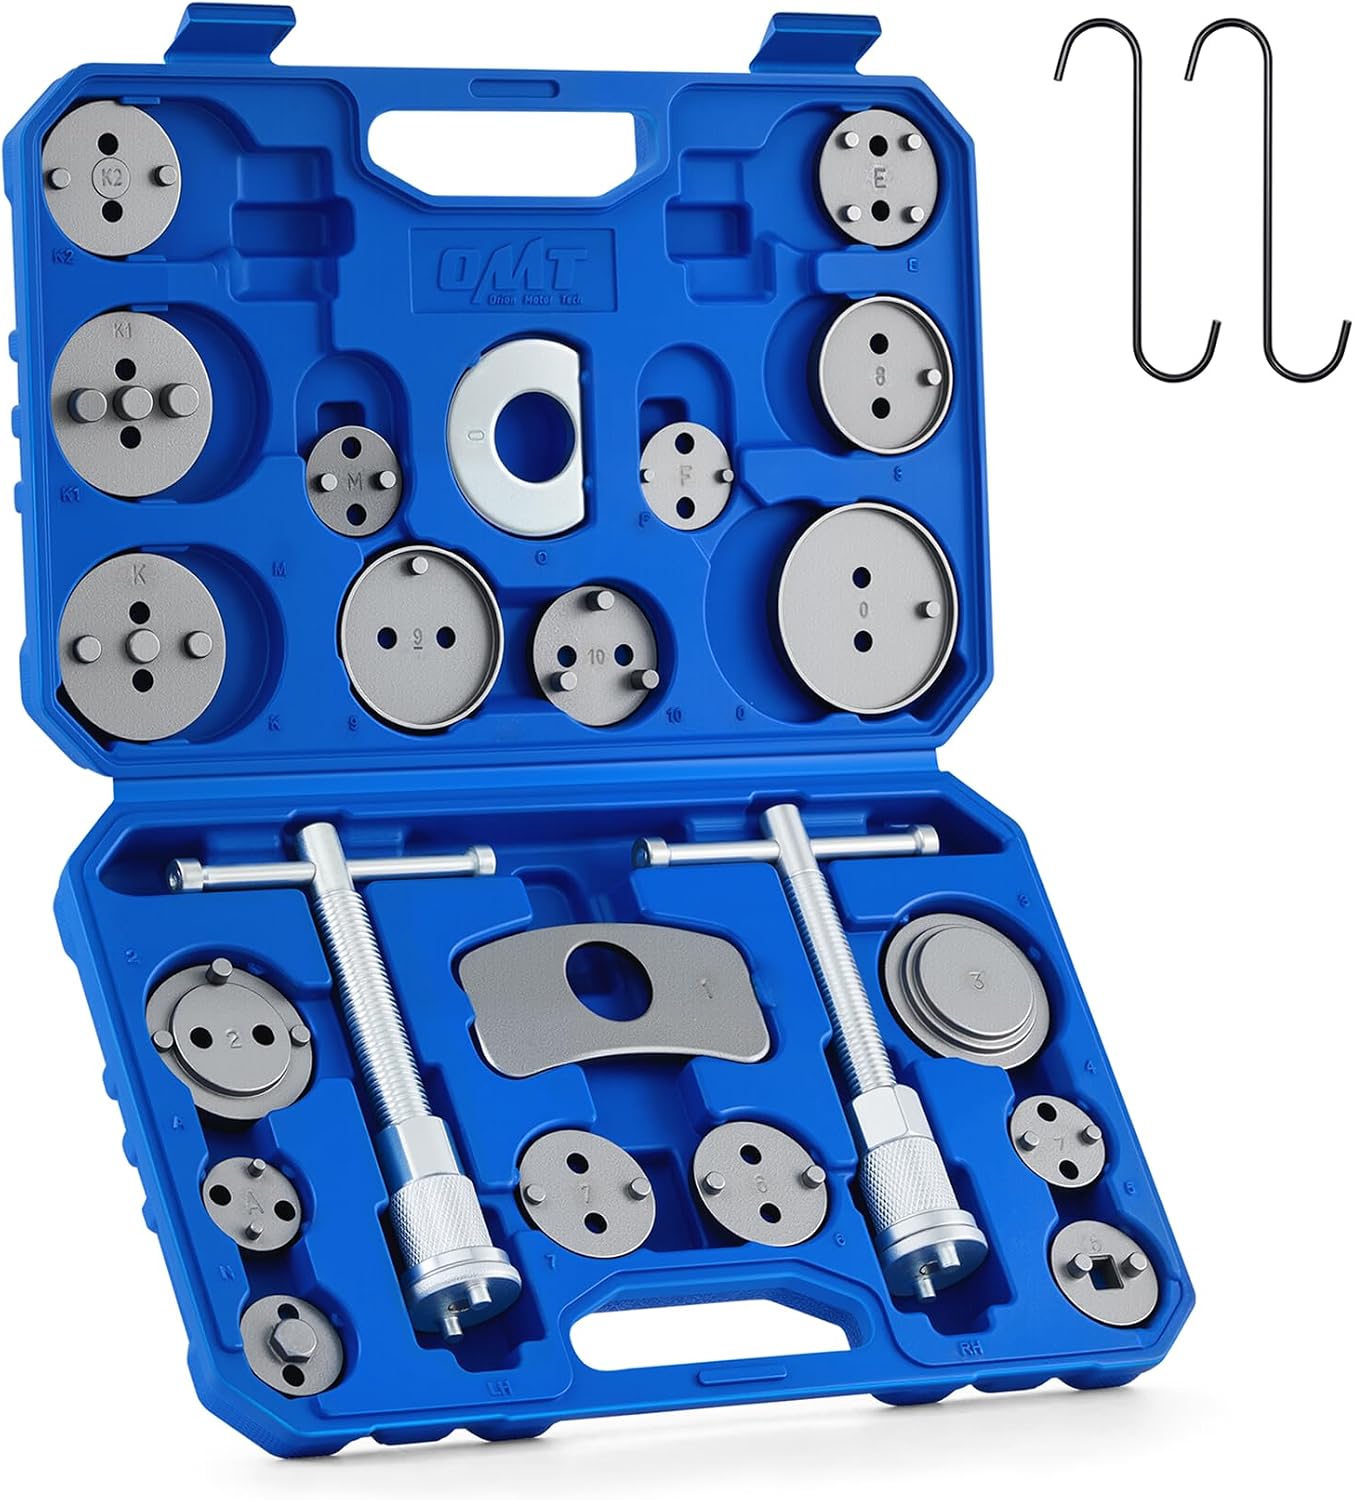
This 24-piece brake caliper compression tool set helps you quickly and safely rotate pistons back into the caliper during brake pad service. It includes multiple adapters, retaining plates, thrust bolt assemblies, and hangers for broad vehicle compatibility, while the heavy-duty steel construction and organized storage case make it ideal for reliable shop or home repairs.

This Yuirote universal car motor diagnostic tool helps drivers quickly detect engine fault codes and identify system issues for routine inspections and maintenance. It also supports electronic parking brake reset and emergency release functions, making it useful for handling EPB-related problems without a repair shop visit. Its compact, ergonomic design and broad vehicle compatibility make it a practical choice for car owners and DIY repair enthusiasts.
Step 3: How Do You Reassemble and Torque the Tundra Brakes?
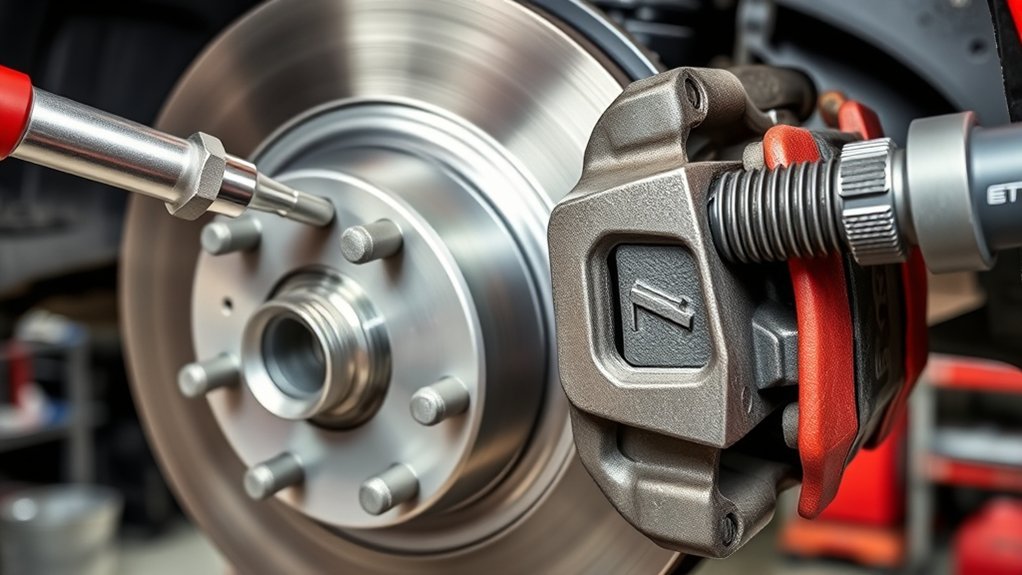
Position the caliper without forcing it over the rotor or pads. Hand-start every caliper, bracket, hose-support, and sensor-wire fastener before using a ratchet. A bolt that will not thread smoothly by hand may be misaligned, contaminated, or cross-threaded.
- Confirm that the rotor sits flat against the clean hub face.
- Verify the pad orientation, shims, spring, retaining pins, clips, and support plates.
- Hand-thread the caliper or bracket bolts and torque them to the Toyota specification for the exact model year, axle, and brake package.
- Reinstall any hose or wheel-speed-sensor support brackets that were removed, using their correct routing and torque.
- Confirm that the flexible hose is not twisted, stretched, pinched, or touching the rotor, wheel, tire, or suspension through the steering range.
- Remove the temporary rotor-retaining wheel nuts and reinstall the wheel.
- Snug the wheel nuts in a cross pattern, lower the truck as required for final tightening, and torque them in a cross pattern to the wheel specification for the truck.
Do not substitute a generic internet torque value for the exact Toyota value. Caliper mounting bolts, sliding pins, brackets, hose supports, and wheel nuts do not all use the same specification, and values can change with the axle, wheel type, generation, and brake package.
Step 4: How Do You Check and Bed the New Brakes Safely?
Before starting the engine or moving the truck, press the brake pedal slowly several times until it becomes firm. Piston compression creates extra clearance between the pads and rotors, so the first pedal application may travel farther than normal. Do not move the truck until normal pedal resistance returns.
Pre-Drive Safety Checklist
- The pedal becomes firm and does not continue sinking under steady pressure.
- The reservoir level is within its marked range and the cap is secure.
- No fluid appears at the caliper, hose, bleeder, fitting, or reservoir.
- The caliper, bracket, pins, clips, hose supports, and wheel nuts are installed and torqued.
- The hose and sensor wiring remain clear through the steering range.
- The wheel rotates without severe binding; light pad contact can be normal.
- No brake, ABS, traction-control, or parking-brake warning remains illuminated unexpectedly.
Use only the brake-fluid specification printed on the reservoir cap or listed in the owner’s manual for the exact truck. Do not add fluid simply because the level moved during piston compression. A level above the maximum mark must be corrected with clean, dedicated equipment.
Perform the first movement test at walking speed in a clear, level area. Confirm that the truck stops straight, the pedal remains firm, and no grinding, scraping, severe drag, warning light, or fluid leak appears. Stop immediately if the pedal is soft, the truck pulls strongly, a wheel binds, or a new abnormal noise occurs.
Follow the bedding procedure supplied by the pad or rotor manufacturer. Bedding procedures are compound-specific. For example, PowerStop’s current drilled-and-slotted-rotor instructions call for five moderate-to-aggressive slowdowns from 40 mph to 10 mph, followed by five moderate slowdowns from 35 mph to 5 mph and a moving cool-down period. Do not automatically apply that sequence to pads from another manufacturer.
During bedding, use a safe traffic-free location, avoid a complete stop while the brakes are extremely hot when the product instructions warn against it, and allow the brakes to cool as directed. Avoid towing, heavy hauling, steep downhill braking, and repeated panic stops until the pad maker’s bedding or break-in process is complete.
After the first short drive and again after the brakes cool, inspect the caliper, hose, brackets, rotor area, and wheel for leakage, rubbing, loose hardware, unusual heat, or odor. Recheck any item required by the parts maker or Toyota procedure.
Pro tip: Take clear photos before removing the pins, springs, clips, hose brackets, and sensor-wire retainers. Use the photos only as an orientation record; the exact Toyota procedure remains the final authority.
Frequently Asked Questions
Can I reuse old rotors if they look thin but not warped?
Reuse a rotor only if it remains above the minimum thickness, has an acceptable surface, and meets the runout and service limits for the truck. Measure at several points around the braking surface and compare the lowest reading with the MIN TH marking or Toyota service limit. Replace rotors in axle pairs if either rotor is below the limit, cracked, deeply scored, severely heat-spotted, or otherwise unserviceable.
What brake pad material works best for towing and heavy loads?
There is no universally best friction material for every Tundra. Choose an exact-fit, axle-specific pad that the manufacturer rates for the truck’s load, operating temperature, rotor, and intended towing use. Severe-duty ceramic and semi-metallic options may both be available, but fitment, duty rating, heat range, hardware, noise, and bedding instructions matter more than the material label alone.
How often should I replace brake fluid after pad and rotor changes?
A closed-system pad-and-rotor replacement does not automatically require a full fluid flush. Follow the maintenance information for the exact Tundra and service the fluid when its age, contamination, moisture test, appearance, repair history, or vehicle schedule indicates replacement. If a hose, caliper, line, fitting, or bleeder was opened, the system must be bled correctly before driving.
Can ABS or traction-control codes appear after this service?
Yes. A warning can appear if a wheel-speed sensor, connector, harness, support bracket, or related component was damaged or left disconnected. Inspect the area, record the diagnostic codes with a compatible scanner, and repair the actual cause before normal driving. Do not clear codes repeatedly without diagnosing them. Learn more about how to scan vehicle fault codes.
Are specialty tools useful for seized caliper guide pins?
Yes. Use the correct guide-pin, bracket, or extraction tools and apply penetrating fluid only to external corroded hardware, away from friction surfaces. Replace badly corroded pins, boots, or brackets rather than forcing them back into service. Do not apply uncontrolled heat near brake hoses, seals, fluid, pads, or rotors.
Why will the rear Tundra brake rotor not come off?
The parking-brake shoes may still be expanded inside the rotor hat, or corrosion may be holding the rotor to the hub. Fully release the parking brake and use the correct access opening to back off the shoe adjuster according to the service procedure. Then use the rotor’s extraction holes if provided. Do not force the rotor over the shoes or use an older mechanical-parking-brake procedure on a 2022-and-newer electric parking-brake system.
What should I do if the brake pedal is soft after the job?
Do not drive the truck. Pump the pedal until the pads contact the rotors and then hold steady pressure. If the pedal remains soft, sinks, or does not become firm, inspect for leaks and installation errors. If any hydraulic connection was opened, bleed the system with the correct procedure. Obtain professional help if the cause cannot be confirmed and corrected.
Should Tundra brake pads and rotors be replaced in pairs?
Replace brake pads as a complete axle set so both wheels use the same friction material and wear condition. When rotors require replacement, replace both rotors on that axle. Mixing one new rotor or partial pad set with worn parts can create uneven braking and inconsistent bedding.
Safety Disclaimer: This article provides a general workflow and does not replace Toyota repair information for the exact model year, axle, brake package, or parking-brake system. Brake work directly affects stopping ability. Stop and obtain professional help if the truck cannot be supported safely, the procedure does not match the visible hardware, a piston is seized, fluid leaks, the pedal remains soft, warning lights stay on, or abnormal noise or binding occurs.
Conclusion
A safe Toyota Tundra brake-pad and rotor replacement starts with identifying the exact brake assembly. The pin-and-spring workflow in this guide primarily applies to many 2007–2021 front brakes; rear brakes and 2022-and-newer trucks require different parking-brake guidance.
Clean the hub, inspect the caliper and hardware, keep the hydraulic system closed during a normal pad-and-rotor job, and torque every fastener to the correct Toyota specification. Pump the pedal until firm, complete the pre-drive checklist, test at low speed, and follow the pad maker’s bedding procedure before towing or heavy braking.
References
- 2025 Toyota Tundra Warranty & Maintenance Guide – Toyota, 2025
- 2025 Toyota Tundra Manuals and Warranties – Toyota
- Toyota Tundra Electric Parking Brake Information – Toyota
- Brake Kit Installation Guide – PowerStop
- Brake Pad Break-In Procedure – PowerStop
- Minimum Brake Rotor Thickness – Brembo
- Brake Rotor Installation Tips – Centric Parts
- Give Brakes a Break When Bedding-In – Ferodo


[…] page focuses on 13WL identification and fitment. For routine service steps, see the Toyota Tundra brake pad and rotor replacement guide. Confirm the fluid grade separately in the Toyota Tundra brake fluid guide; do not assume DOT 4 is […]