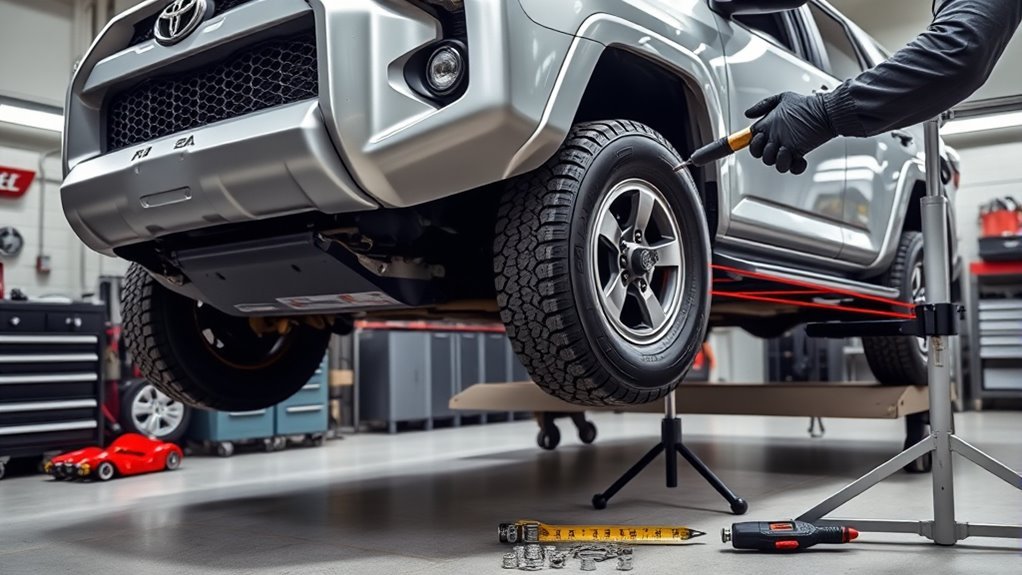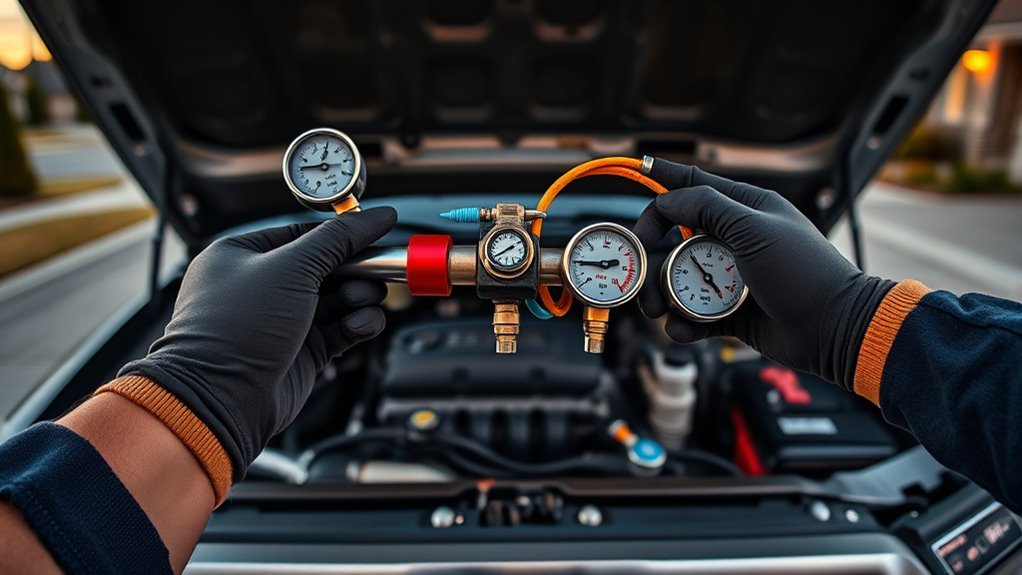
If your 4Runner’s AC runs but isn’t cold, start with basics: confirm the thermostat is on Cool, vents are open, and the cabin filter isn’t clogged. Under the hood check the condenser for blockages or oil, make certain the compressor clutch engages, and verify the condenser fan runs. Low refrigerant from leaks, frozen evaporator coils, or electrical faults like a weak blower motor, bad capacitor, or broken blend door often cause poor cooling. Keep going to get targeted fixes and test steps.
Quick Answer: Why Your AC Runs But Isn’t Cold

If your 4Runner’s AC blows air but it isn’t cold, start by checking refrigerant levels and airflow restrictions, because low refrigerant from leaks and clogged filters are the most common causes that reduce heat transfer and cooling performance. Diagnose by measuring system pressure and inspecting for oily residue at hose fittings and the compressor; low pressure indicates a leak and a needed refrigerant recharge after repair. Inspect evaporator and condenser for frost or debris — frozen coils or obstructed condenser fins will cripple heat exchange. Assess blower function and duct integrity to confirm airflow improvement opportunities; restricted airflow lowers evaporator temperature and can mimic refrigerant loss. Bypass assumptions: don’t ignore visible contamination or intermittent compressor cycling. You’ll liberate cabin comfort by prioritizing leak detection, targeted condenser cleaning, and controlled refrigerant recharge. If pressures and airflow read normal yet cooling’s weak, escalate to component testing for compressor clutch and expansion device to isolate remaining faults.
[Products Worth Considering]

This dual filter kit helps keep your vehicle running and riding cleaner by replacing both the engine air filter and cabin air filter at the same time. It is designed for a range of Toyota and Lexus hybrid models, helping support engine performance while reducing odors and airborne particles inside the cabin. Built with high-quality filtration materials, it offers a convenient maintenance solution for routine filter replacement.

The OEMTOOLS coolant vacuum refill kit helps quickly refill a vehicle’s cooling system while removing trapped air that can lead to overheating and engine damage. It also performs vacuum leak tests to help confirm system integrity and reduce the chance of repeat repairs. With multiple bushings, adapters, and a tapered cone seal, it is designed for flexible use on many radiator and coolant bottle necks.
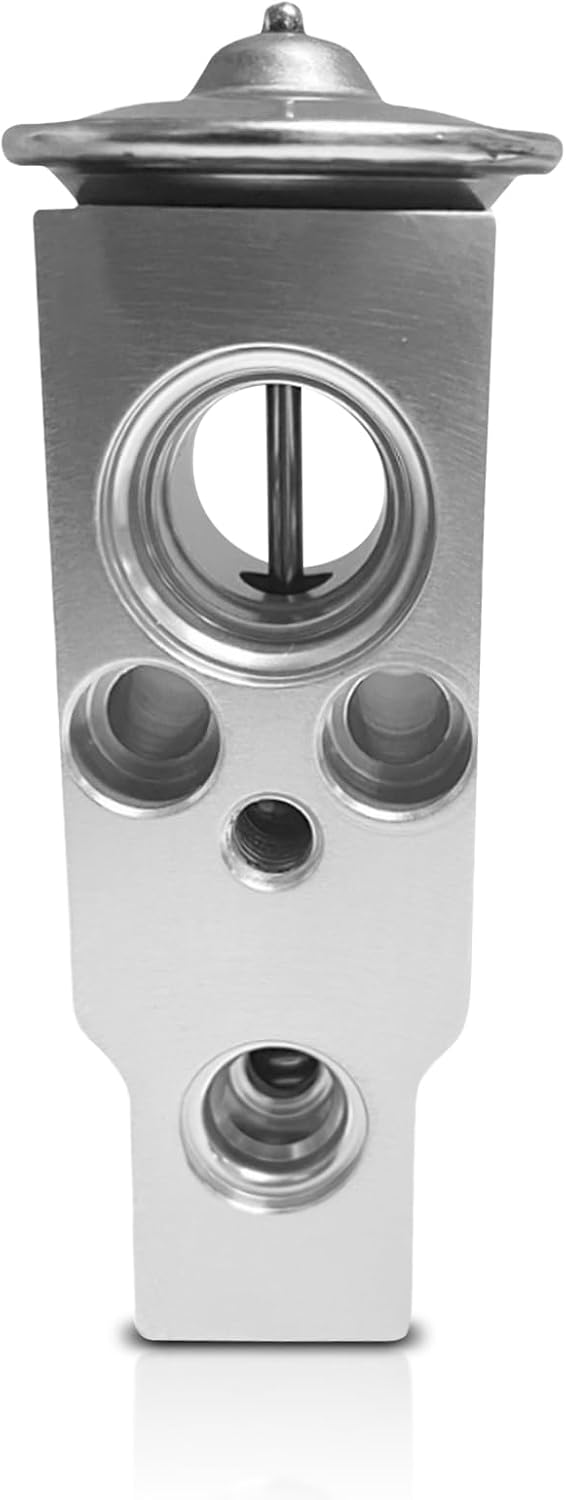
This automotive A/C expansion valve helps regulate refrigerant flow for efficient cooling and stable climate control performance. Built from durable metal for reliable resistance to wear, rust, and corrosion, it is designed to handle demanding vehicle conditions while supporting long-lasting operation. It is a practical replacement part for compatible Lexus, Honda, Toyota, Suzuki, Jaguar, and Land Rover models.
Check Basics: Thermostat, Vents, and Cabin Air Filter
Start by confirming basic controls and airflow: set the AC to Cool and a temperature below the current cabin reading, then verify every vent is open and unobstructed so air can circulate freely. You’ll perform a rapid diagnostic: confirm thermostat calibration by checking display vs. actual cabin temperature and cycling settings to detect lag or inconsistency. Inspect vents for blockages; debris or closed dampers disrupt airflow balance and reduce cooling. Pull and examine the cabin air filter—replace if clogged (recommended every 15k–30k miles) to restore flow. While testing, feel vent output; weak airflow suggests blower or duct restriction. Note any hissing or clicking; those noises flag mechanical faults to address next. These basic steps free you from guesswork and return control—liberation through measured checks. If readings and airflow are normal but cooling is absent, escalate to a targeted system inspection.
| Action | Effect |
|---|---|
| Thermostat check | Accuracy, control |
| Vents open | Distribution |
| Filter inspect | Flow |
| Feel airflow | Diagnosis |
| Listen | Fault flag |
Inspect Under-Hood Components: Condenser, Compressor Clutch, and Fans
Open the hood and inspect the condenser at the front of the radiator for bent fins, blockages, or oil stains that indicate a leak. Start the engine and turn the AC on while observing whether the compressor clutch engages—if it doesn’t click and spin, test clutch power and ground. Also confirm the condenser fan runs with AC demand, since a failed fan can mimic low refrigerant symptoms.
Condenser Condition Check
When you inspect the under-hood components, focus first on the condenser, compressor clutch, and condenser fan since each directly affects AC cooling capacity. Check the condenser for bent fins, corrosion, or oil stains that signal leaks; apply condenser maintenance tips like straightening fins carefully and testing for pressure loss. Use debris removal techniques—compressed air from the engine side or gentle brushing—to restore airflow without damaging tubing. Verify the condenser fan spins when AC engages; a stuck or weak fan causes heat soak and poor cabin cooling. Inspect mounts and lines for physical damage. Confirm refrigerant level visually via service ports or gauges; low charge often coincides with condenser inefficiency. These diagnostics empower you to act decisively and reclaim cooling performance.
Compressor Clutch Operation
Having checked the condenser and fan for blockages or damage, next verify the compressor clutch operation since it directly controls compressor engagement and refrigerant flow. You’ll listen and watch: with AC on and engine running, the clutch should snap on and spin the compressor when system pressure and cycling demand align. If it doesn’t, suspect electrical faults, low refrigerant, or clutch wear. Integrate compressor maintenance into your routine to avoid seizure and loss of cooling.
- Measure clutch engagement: probe connector and watch rotor under load.
- Inspect compressor for wear or oil leaks that indicate internal failure.
- Verify condenser airflow and fan operation; overheating prevents proper cycling.
- Address low refrigerant and electrical faults before replacing the compressor.
Refrigerant & Evaporator Issues: Leaks, Low Charge, and Frozen Coils
Because low refrigerant usually means a leak, you’ll see reduced cooling and need a professional leak test and recharge rather than a simple DIY top-up. You should schedule a refrigerant recharge from a certified tech who will locate leaks, repair them, and charge to spec. Hissing, oil stains, or rapid pressure loss all point to leakage; ignoring it keeps you constrained by poor performance.
If the evaporator coil shows ice, stop operation and allow evaporator thawing before diagnostics. Ice commonly follows restricted airflow—dirty cabin filters, blocked vents, or clogged evaporator drains—so verify airflow first. Once thawed, inspect for residual ice, refrigerant stains, and test system pressures with gauges. Low charge readings confirm loss; normal readings with warm air suggest airflow/thermostat issues. Regular maintenance—filter replacement, visual evaporator checks, and scheduled refrigerant checks—frees you from recurring failures and restores reliable cooling without guesswork.
[Products Worth Considering]

This all-in-one radiator pressure tester and vacuum refill kit helps diagnose cooling system leaks, measure temperature, and refill coolant efficiently. It includes a wide range of adapters for broad vehicle compatibility, plus a pressure tester, vacuum refiller, thermometer, and storage case for organized use. Designed for DIY mechanics and professionals, it simplifies coolant service while reducing guesswork and unnecessary repairs.

This coolant thermostat is a direct replacement designed for a wide range of Toyota, Lexus, and Scion vehicles. It helps maintain proper engine temperature, supports reliable cooling system performance, and installs easily without special tools or programming. Built to meet OEM standards, it offers durable, stable operation and dependable fitment for compatible models.

This engine and cabin air filter combo is designed to help keep your vehicle’s air cleaner while supporting reliable engine performance. It includes HEPA cabin filtration for finer particle capture, a pre-filter and reinforced mesh for added engine air protection, and a removal tool to make replacement easier in tight spaces. Built for a wide range of Toyota and Lexus hybrid and gas models, it lets you replace both filters at once for added convenience.
Electrical & Mechanical Failures: Blower Motor, Capacitors, Blend Doors, Sensors
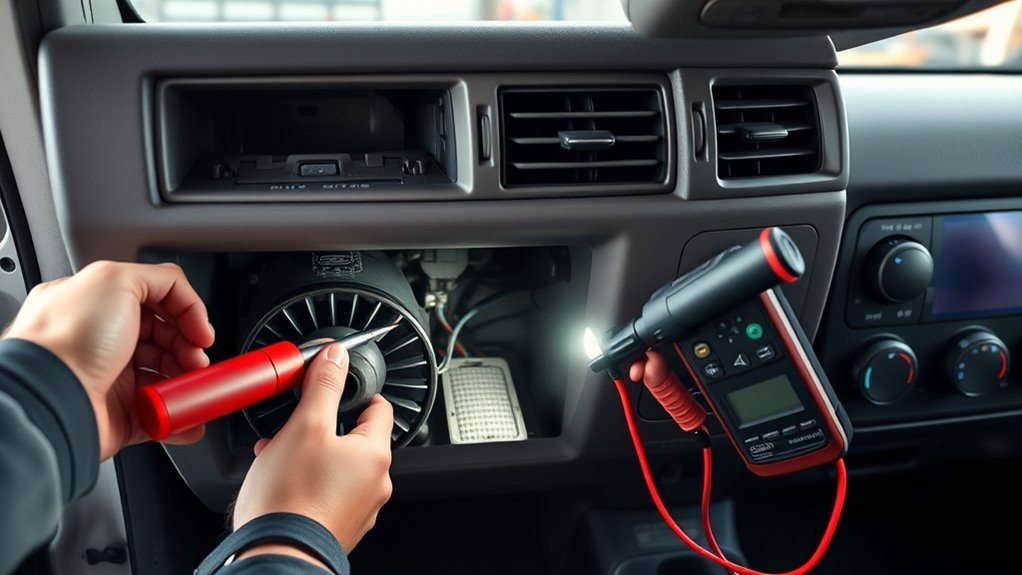
Leaks or frozen coils aren’t the only reasons your 4Runner’s AC underperforms — electrical and mechanical faults can mimic refrigerant problems and mislead diagnostics. You’ll want to isolate faults quickly so the cabin cools reliably. Check for these failure modes that restrict airflow, power delivery, or temperature control.
Leaks or frozen coils aren’t the only culprits — electrical or mechanical faults can mimic refrigerant issues and reduce cooling.
- Blower motor: If the blower motor fails or spins weakly, you’ll get little or no airflow despite the compressor running. Measure current draw and fan speed to confirm motor health.
- Capacitor failure: A failing capacitor can starve the blower or compressor of startup torque, causing intermittent or no operation. Test capacitance under load.
- Blend door: Stuck or broken blend doors send wrong-temperature air to the cabin. Inspect actuator movement and linkage for binding or detachment.
- Temperature sensors & electrical wiring: Faulty temperature sensors or corroded electrical wiring produce incorrect signals or open circuits, leading to improper cycling. Trace wiring and verify sensor outputs.
DIY Fixes and When to Call a Professional
When you’re troubleshooting your 4Runner’s AC, start with straightforward DIY checks you can do safely—confirm the thermostat is set to Max/Cold and the cabin temp is below ambient, inspect and replace a clogged cabin air filter, clear any blocked vents, and listen for grinding or hissing that indicates mechanical or refrigerant issues. Use targeted diy troubleshooting: verify blower operation, feel vent temperatures, and change the cabin filter every 12–15k miles. Document findings and rule out simple airflow restrictions before escalating.
Call for professional diagnostics when you detect low refrigerant, persistent hissing (suspected leak), grinding noises, or when cooling remains weak after basic checks. Technicians have gauges, leak detectors, and AC service machines needed for safe refrigerant handling and pressure validation. If blend doors, capacitors, or sensors are suspected, get a shop scan and component-level testing. Choose a certified shop to regain control of your cabin climate; professional diagnostics will confirm faults and prevent DIY missteps that can cost more later.
Frequently Asked Questions
Why Is My 4runner Not Blowing Cold Air?
Your 4Runner isn’t blowing cold air because AC compressor issues, refrigerant leaks, clogged air cabin filters, thermostat malfunction, or blower motor problems are disrupting temperature control; diagnose leaks, check compressor engagement, replace filters, test electricals.
How Much Does It Cost to Repair the AC in a 4runner?
You’ll pay roughly $150–$1,500 typical repair costs, up to $2,000+ for full overhauls; DIY solutions like leak detection or recharge save money but require tools and skill, so you’ll choose freedom or professional certainty.
Conclusion
If your 4Runner’s AC isn’t delivering icebox air, don’t panic — treat it like a temperamental colleague needing a nudge. Start with the easy diagnostics: vents, cabin filter, thermostat and visible under‑hood parts. If the condenser, compressor clutch or fans look tired, or refrigerant/evaporator issues and electrical faults are suspected, act promptly. Small DIY fixes help, but for leaks, frozen coils or internal failures, call a pro to avoid costly collateral damage.
[Products Worth Considering]

This engine air filter and cabin air filter combo is designed for compatible Toyota and Lexus vehicles to help maintain cleaner airflow for the engine and interior. The cabin filter uses HEPA filtration media to capture dust and fine airborne particles, while the engine filter adds a pre-filter layer and reinforced mesh for dependable protection. A removal tool is included to make filter replacement easier and more convenient.

This JADODE combo includes engine and cabin air filters designed to help keep passenger air cleaner while supporting efficient HVAC performance. The activated carbon layer helps absorb odors, exhaust fumes, and pollution, while filtration captures dirt, dust, and pollen for OE-comparable protection. It is compatible with a wide range of Toyota, Scion, Lexus, and Pontiac applications for convenient replacement maintenance.

This A-Premium engine air filter is designed to help maintain clean airflow for compatible Lexus and Toyota vehicles, supporting better engine performance and efficiency. It uses fine filtration media to capture debris while minimizing airflow restriction, making it a practical replacement for routine maintenance. With fitment for multiple popular models and a convenient boxed single-pack design, it offers a straightforward solution for keeping your engine protected.