Changing the oil on a Toyota 4Runner is a realistic driveway job if you use the right oil, confirm your model-year capacity, support the vehicle safely, and take your time with the drain plug and filter. The big mistakes to avoid are overfilling, using the wrong filter style, reusing a crushed drain washer, overtightening the filter housing, and skipping the post-start leak check.
Quick Answer
To change 4Runner oil, warm the engine, park level, remove the skid plate or access cover if needed, drain the oil with a 14mm socket, replace the filter and O-ring or gasket, install a new crush washer, refill with the correct amount of 0W-20, then start the engine and check for leaks.
Key Takeaways
- Most 2010–2024 5th-gen 4Runners use about 6.6 quarts of 0W-20 with a filter change; 2025+ 6th-gen models are commonly listed at about 5.9 quarts with a filter, but always verify your VIN-specific owner’s manual.
- The 5th-gen 4Runner uses a replaceable cartridge-style oil filter element, while many 2025+ 6th-gen models use a spin-on filter.
- Use a new drain-plug crush washer every time and tighten the drain plug to about 30 ft-lb unless your service information says otherwise.
- Never work under a vehicle supported only by a jack; use ramps or jack stands on a level surface.
At a Glance
| Time Required | 45–90 minutes for a careful DIY oil change |
| Difficulty | Beginner to intermediate |
| Tools Needed | 14mm socket, ratchet, drain pan, funnel, torque wrench, gloves, rags, ramps or jack stands, and the correct filter wrench if equipped with a cartridge housing |
| Cost | Parts cost varies by oil and filter choice; expect oil, filter, and a new drain washer |
Quick 5-Step 4Runner Oil-Change Summary

- Warm and secure the vehicle. Run the engine for 5–10 minutes, park on level ground, set the parking brake, chock the wheels, and support the vehicle safely.
- Drain the old oil. Remove the skid plate or access panel if it blocks access, loosen the oil fill cap, place the drain pan under the plug, and remove the drain plug with a 14mm socket.
- Replace the filter. Use the correct filter style for your model year, replace the O-ring or gasket, and lubricate the new seal with fresh oil.
- Reinstall and refill. Install a new crush washer on the drain plug, torque the plug to the correct specification, then refill with the correct quantity of 0W-20 oil for your engine.
- Check your work. Start the engine briefly, confirm the oil-pressure light goes out, inspect for leaks, shut the engine off, wait a few minutes, and recheck the dipstick.
Warning: Engine oil can be hot enough to burn skin. Wear gloves, keep your face and arms away from the first rush of oil, and never crawl under a 4Runner that is supported only by a jack.
Tools & Parts for a 4Runner Oil Change
Gather everything before you loosen the drain plug. A clean, organized setup prevents spills, delays, and stripped fasteners.
[Products Worth Considering]

The Pigenius windshield sunshade protects your Tundra's interior from heat and UV damage while keeping the cabin cool. Its accordion design folds easily for storage and quick...
Essential Tools Overview
- 14mm socket and ratchet: For the oil drain plug.
- Skid-plate tools: Many 4Runners require removing a plate or access panel; bolt sizes can vary by model year and aftermarket skid plate.
- Torque wrench: Use this for the drain plug and cartridge filter housing when applicable.
- Oil filter wrench: A 5th-gen 4Runner commonly uses a cartridge housing that needs the correct cap-style wrench.
- Drain pan and funnel: Use a pan large enough for at least 8 quarts so oil does not splash over the edge.
- Nitrile gloves, rags, and cardboard: These make cleanup easier and help you spot fresh leaks.
- Ramps or jack stands: Use stable support on a level surface. Do not rely on the jack alone.
Required Parts List
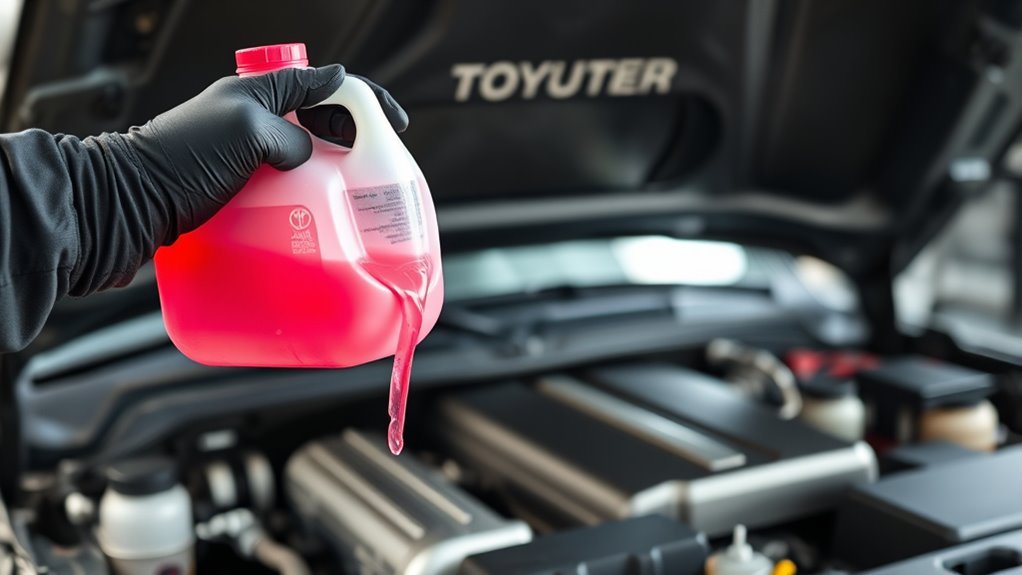
- Engine oil: Use the viscosity listed in your owner’s manual. For modern 4Runners covered here, that is typically SAE 0W-20.
- Oil filter: For many 2010–2024 5th-gen models, verify a cartridge element such as Toyota 04152-YZZA5. For many 2025+ 6th-gen models, verify a spin-on filter such as Toyota 90915-YZZN1.
- New drain-plug crush washer: Replace it at every oil change to reduce seepage risk.
- New filter O-ring or gasket: Use the one supplied with the filter kit and coat it lightly with clean oil.
Note: Part numbers can change by engine, production date, region, and supersession. Confirm fitment through your VIN, your owner’s manual, or Toyota’s parts catalog before buying.
5th vs. 6th Gen: Access, Capacity, and Quirks
The biggest differences are oil quantity, filter style, and underbody access. Do not assume a 2025+ 4Runner uses the same filter setup as a 2010–2024 model.
| Generation | Common Model Years | Typical Oil | Typical Capacity With Filter | Filter Style |
|---|---|---|---|---|
| 5th Gen | 2010–2024 | 0W-20 | About 6.6 qt | Cartridge element on many models |
| 6th Gen | 2025+ | 0W-20 | About 5.9 qt | Spin-on filter on many models |
Use those figures as planning numbers, not as a substitute for your manual. Toyota publishes model-year manuals and maintenance guides through the Toyota Owners manuals portal, and that should be your final reference for your exact vehicle.
Access and Filter Location
On a 5th-gen 4Runner, expect to work underneath the vehicle and remove the skid plate or access panel if it blocks the drain plug or filter housing. Keep all bolts organized because skid plates often use several fasteners.
On a 2025+ 6th-gen 4Runner, underbody panels and filter access differ from the older V6 layout. Look for the service access point before you drain the oil so you know where the filter is and what tool you need.
Oil Capacity Differences
A 5th-gen 4Runner oil-and-filter change commonly needs about 6.6 quarts, while a 2025+ 6th-gen oil-and-filter change is commonly listed around 5.9 quarts. Add slightly less than the full amount at first, then use the dipstick to bring the level to the proper mark.
Pro Tip: Pour in about half a quart less than the listed capacity, start the engine briefly, shut it off, wait several minutes, then top off slowly. This prevents the most common DIY mistake: overfilling.
Prep & Safety: Warming, Jacking, and Spill Control
Warm oil drains faster and carries more suspended contaminants out of the pan. Run the engine for 5–10 minutes, then shut it off before you work. Park on level ground, set the parking brake, and chock the wheels.
- Use ramps or a floor jack with properly placed jack stands. Never rely on a hydraulic jack by itself.
- Place cardboard, a tarp, or absorbent pads under the work area.
- Set the drain pan directly under the plug before loosening it.
- Loosen the oil fill cap to help oil drain smoothly.
- Keep pets and children away from the work area and used oil.
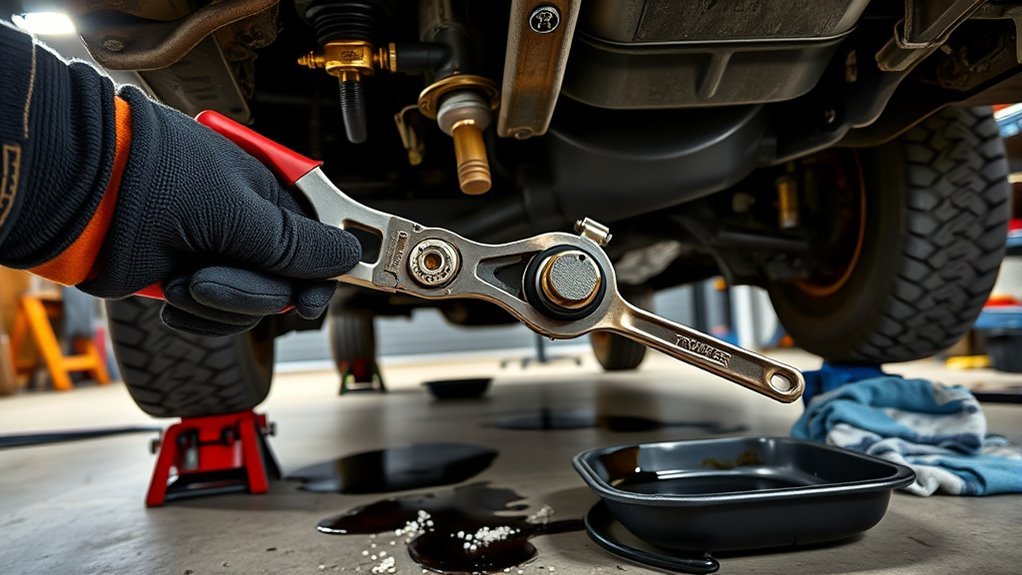
Drain the Old Oil and Remove the Drain Plug
Use the correct socket and steady pressure. If the plug was overtightened at the last service, do not round it off with a loose socket or angled ratchet.
Warm Engine Improves Flow
Warm oil flows more easily than cold oil, but it does not need to be scalding hot. After warming the engine, shut it off and wait a minute so oil is not splashing inside the engine. Then loosen the fill cap and prepare the drain pan.
Proper Drain Plug Tools
| Tool | Purpose |
|---|---|
| 14mm socket | Removes the engine oil drain plug on many 4Runners |
| Breaker bar | Adds controlled leverage if the plug is tight |
| Torque wrench | Tightens the plug accurately during reassembly |
| Drain pan | Catches used oil without splashing |
Catch and Inspect Oil
Remove the drain plug carefully and let the oil drain until it slows to an occasional drip. Ten minutes is a good minimum. While it drains, inspect the old oil and drain plug area.
- Milky oil can point to coolant contamination and needs diagnosis.
- Strong fuel smell can point to fuel dilution, short-trip use, or a running issue.
- Metal flakes are not normal and should be investigated.
- Damaged drain-plug threads should be repaired before the vehicle is driven.
Replace the Oil Filter and O-Ring: Tips & Torque

The exact filter procedure depends on your generation. Do not mix up cartridge-filter instructions with spin-on-filter instructions.
Cartridge Filter: Common 5th-Gen Style
- Place the drain pan under the filter housing.
- Remove the housing with the correct cap-style filter wrench.
- Remove the old cartridge and O-ring.
- Clean the housing and seal groove.
- Install the new O-ring in the correct groove and coat it lightly with fresh oil.
- Install the new cartridge element.
- Reinstall the housing and torque it to the specification listed for your vehicle, commonly around 18 ft-lb for the filter cap on many cartridge setups.
Spin-On Filter: Common 6th-Gen Style
- Make sure the old filter gasket came off with the old filter.
- Lightly coat the new filter gasket with clean oil.
- Thread the new filter on by hand until the gasket contacts the mounting surface.
- Tighten according to the filter instructions, usually a specified fraction of a turn after gasket contact. Do not crush the gasket with a wrench.
Warning: A double-gasketed spin-on filter can dump oil quickly. Always check that the old rubber gasket is not stuck to the engine before installing the new filter.
Refill With 0W-20, Check Level, and Start Engine
After the oil has drained, wipe the drain area clean. Install the drain plug with a new crush washer and tighten it with a torque wrench. A common drain-plug torque target is about 30 ft-lb, but confirm the value for your model year.
- Place a funnel in the oil fill opening.
- Add slightly less than the listed capacity.
- Reinstall the oil fill cap.
- Start the engine and let it idle for 30–60 seconds.
- Confirm the oil-pressure warning light goes out quickly.
- Shut the engine off and wait several minutes.
- Check the dipstick, wipe it, reinsert it fully, and check again.
- Add oil in small increments until the level is within the safe range.
Do not judge the level immediately after pouring oil. Give it time to drain back into the pan. Overfilling can cause foaming, leaks, and drivability issues, so sneak up on the final level instead of dumping in the full amount at once.
Check for Leaks, Torque Specs, and Post-Start Checks
Before reinstalling the skid plate, inspect everything you touched. Look closely around the drain plug, the filter housing or spin-on filter, and the ground below the engine.
- Before startup: Wipe the drain plug and filter area clean so new oil seepage is easy to see.
- During startup: Watch the oil-pressure light and look underneath for drips.
- After shutdown: Wait several minutes, recheck the dipstick, and top off as needed.
- After the first drive: Park level, inspect again, and verify the level once more.
A clean, dry drain plug and filter area after the first heat cycle is your best confirmation that the oil change was done correctly.
Troubleshooting: Stripped Bolts, Stuck Filters, and Spills
If the Drain Plug Will Not Move
Stop before you round the head. Make sure the socket is fully seated, use a six-point socket if available, and apply steady pressure. If the plug is seized or damaged, a repair shop may be the smarter choice because a stripped oil pan can turn a simple service into a costly repair.
If the Filter Is Stuck
For a cartridge housing, use the correct cap wrench and avoid grabbing the plastic housing with the wrong tool. For a spin-on filter, use a filter wrench only for removal. Install the new filter by hand according to the filter’s tightening instructions.
If You Spill Oil
Absorb spills immediately with pads, cat litter, or shop absorbent. Do not hose oil into a storm drain. Used motor oil should be stored in a sealed container and taken to a used-oil recycling location.
Maintenance Follow-Up: Reset Light, Intervals, and Record Keeping
After the oil level is correct and there are no leaks, reinstall the skid plate or access cover. Then reset the maintenance reminder using the method for your exact model year. Older 5th-gen 4Runners often use the trip-meter or instrument-cluster reset procedure, while newer models may use the multi-information display settings. Check your owner’s manual if the reminder does not reset on the first try.
Record the service date, mileage, oil brand and viscosity, oil quantity added, filter part number, and any observations. Toyota’s maintenance guidance for many 0W-20 vehicles is up to 10,000 miles or 12 months under normal conditions, but Toyota maintenance schedules also call for shorter intervals such as 5,000 miles or 6 months when the vehicle is mainly driven in dirt, dust, or other severe conditions.
Note: Off-road driving, towing, heavy loads, long idling, dusty roads, and frequent short trips can justify shorter oil-change intervals. When in doubt, follow the severe-service schedule in your Toyota maintenance guide.
Responsible Used-Oil Disposal
Pour the used oil into a sealed container and take it to a recycling center, auto-parts store, municipal collection site, or repair facility that accepts used motor oil. The U.S. EPA recommends recycling used oil and used oil filters instead of dumping them because used oil can contaminate soil and water if handled improperly.
Frequently Asked Questions
How often should oil be changed in a Toyota 4Runner?
Many Toyota vehicles that require 0W-20 synthetic oil use a normal-service interval of up to 10,000 miles or 12 months, whichever comes first. Use the shorter severe-service interval when your 4Runner is mainly driven in dusty, dirty, towing, heavy-load, or frequent short-trip conditions.
Can I just change my 4Runner oil myself?
Yes. A DIY 4Runner oil change is manageable if you have a safe work area, the correct tools, the correct oil and filter, a torque wrench, and a plan for recycling the used oil. If the drain plug, filter housing, or skid plate bolts are damaged or seized, get help before forcing them.
How many quarts of oil does my Toyota 4Runner take?
Most 2010–2024 5th-gen 4Runners take about 6.6 quarts with a filter change. Many 2025+ 6th-gen 4Runners are commonly listed around 5.9 quarts with a filter. Always verify the exact capacity in your owner’s manual and finish by checking the dipstick.
What oil does a Toyota 4Runner use?
Modern 4Runners covered in this guide typically use SAE 0W-20 engine oil. Use oil that meets the specification in your owner’s manual, and do not switch viscosity permanently unless Toyota’s manual for your exact vehicle allows it.
Do I need to replace the crush washer every oil change?
Yes, replacing the drain-plug crush washer is cheap insurance against seepage. A reused washer may not seal evenly, especially if it has already been compressed during the last service.
Should I fill the exact listed oil capacity all at once?
No. Add slightly less than the listed capacity first, run the engine briefly, shut it off, wait several minutes, and check the dipstick. Add small amounts until the level is correct. This avoids overfilling.
Conclusion
A careful 4Runner oil change is straightforward: warm the engine, support the vehicle safely, drain the oil fully, replace the correct filter and seal, use a new crush washer, refill with the right amount of 0W-20, and check for leaks before calling the job done. Keep a service record, recycle the used oil, and follow your Toyota maintenance schedule so your 4Runner stays ready for daily driving, towing, trails, and long trips.
Sources
- Toyota Owners Manuals and Warranties — official owner’s manual and model-year reference point
- Toyota 2025 4Runner Warranty & Maintenance Guide — maintenance schedule and severe-service guidance
- Toyota Customer Support: Oil Change Intervals Using Synthetic Oil — normal oil-change interval guidance for Toyota vehicles requiring 0W-20 synthetic oil
- Toyota Genuine Replaceable Element Oil Filter 04152-YZZA5 — cartridge-style oil filter reference
- Toyota Genuine Oil Filter 90915-YZZN1 — spin-on oil filter reference
- U.S. EPA: Managing, Reusing, and Recycling Used Oil — safe used-oil disposal and recycling guidance