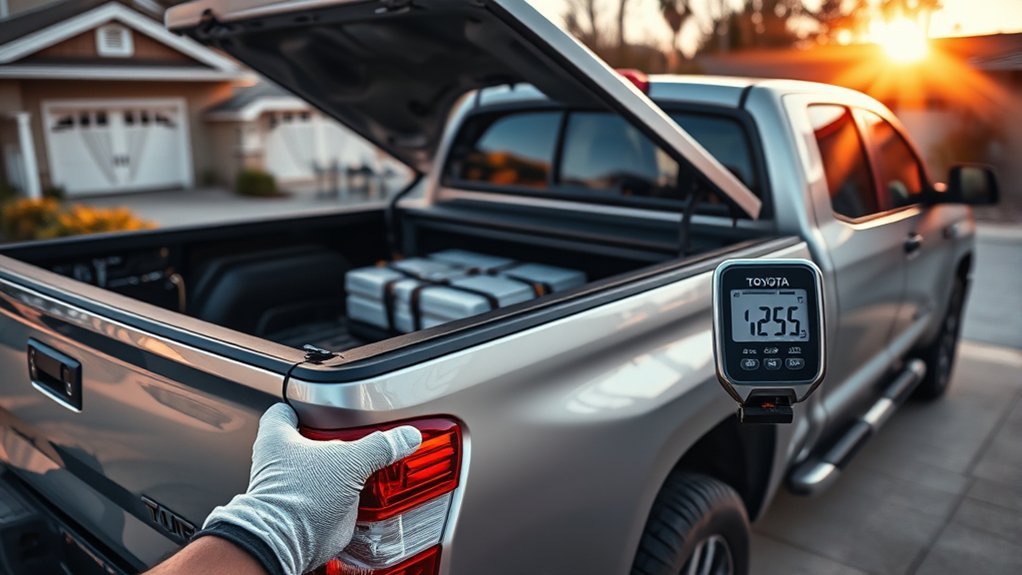
You’ll use 13-inch (≈330 mm) front rotors, nominal 1 3/32″ (≈28 mm) thick with a 1.024″ (≈26 mm) minimum; hubs must fit the bore to prevent runout and each rotor weighs ~20.7 lb for thermal mass. The 13WL caliper keeps the same 6 1/8″ width but is longer (10 1/8″ vs 8 1/2″), changing hose routing and wheel clearance; 16″ wheels minimum. Follow torque, trim dust shields, check runout ≤0.0028” and document measurements to learn more.
Front Rotor & Pad Specs : Diameters, Thickness, Min Thickness, Hub Bore, Weight
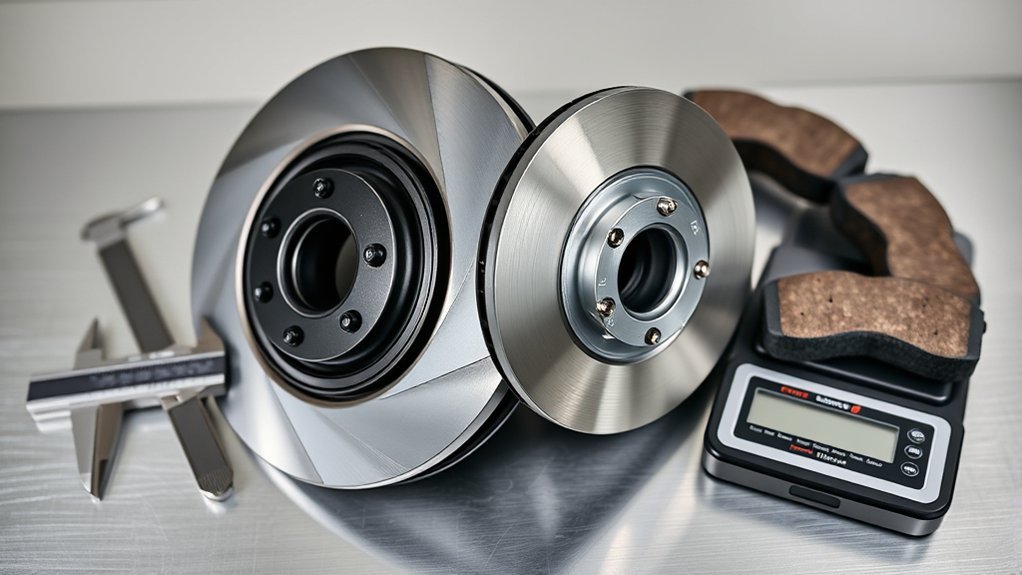
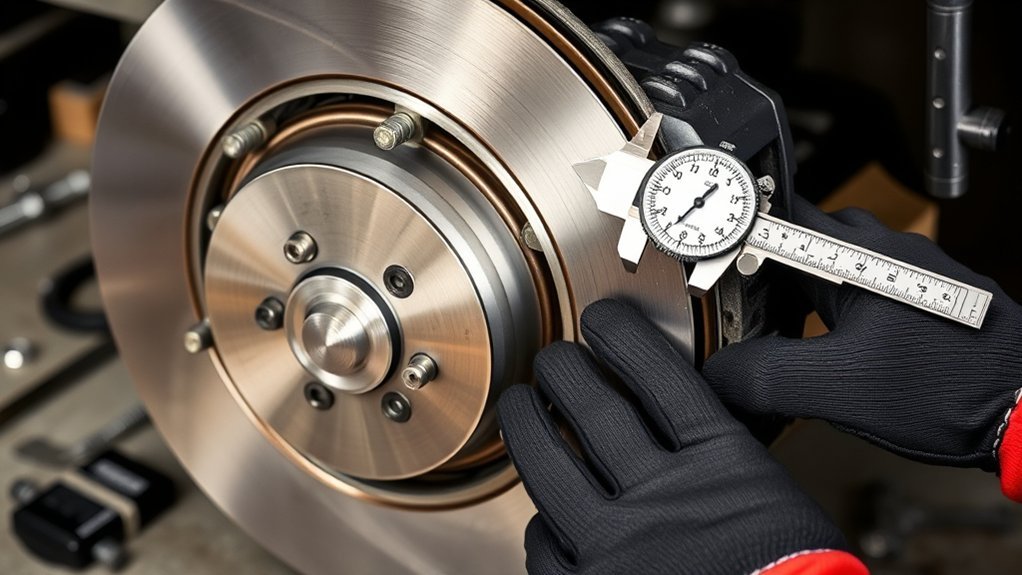
Start by confirming the front rotor dimensions: the Tundra uses 13-inch (≈330 mm) rotors with a nominal thickness of 1 3/32 in (≈28 mm) and a minimum safe thickness of about 1.024 in (≈26 mm), so you should replace rotors once they approach that limit to maintain braking performance. Inspect thickness with a micrometer at multiple points; measure against the minimum and log wear rates to schedule replacements. Verify hub bore fit on the hub—tight concentric clearance guarantees alignment and prevents runout. Note weight: 20.7 lbs per rotor increases thermal mass, improving heat dissipation versus lighter stock parts. Confirm bolt pattern matches stock for straightforward swaps and consistent mounting torque. When planning rotor upgrades, prioritize components that preserve hub bore fit and bolt compatibility to avoid fitment issues. Maintain clean mating surfaces and torque to spec. You’ll therefore preserve braking performance, reduce fade, and retain the vehicle control needed to pursue independent mobility.
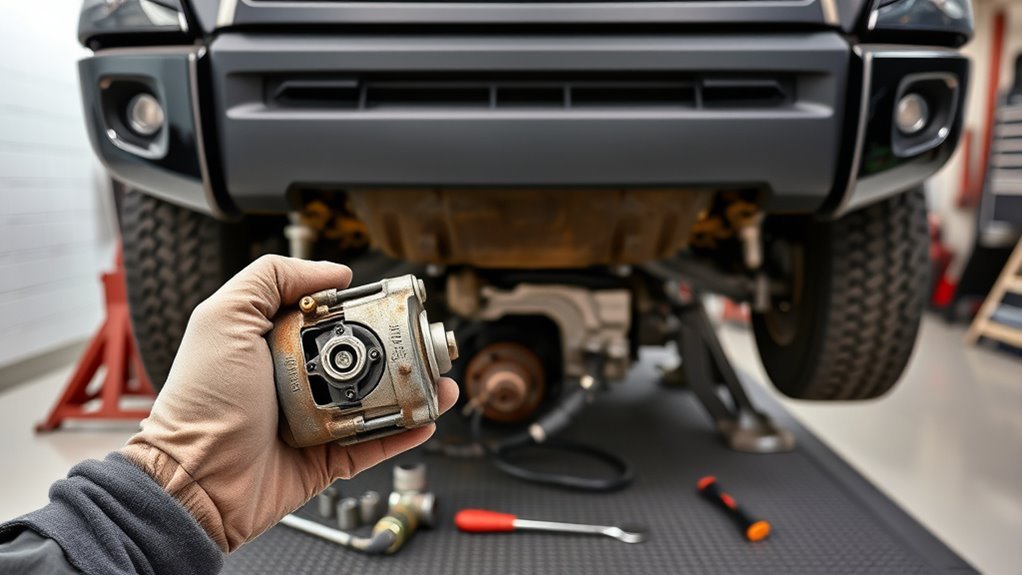
13WL (231mm) Caliper vs. Stock : Dimensions, Piston/Pad Cavity, Fit Implications
Although the WL (231mm) caliper shares the same 6 1/8″ overall width and mounting interface as the stock unit, its 10 1/8″ length and 9/32″ wider pad cavity change how it interfaces with pads, lines, and clearance envelopes, so you should verify physical fit and routing before installation. You’ll notice caliper advantages in pad contact area and braking efficiency, but the 9/16″ length increase can alter hose routing and wheel clearance. Weight delta is small per caliper, yet combined with thicker rotors yields a measurable unsprung weight change; account for handling effects.
| Feature | Stock | WL (231mm) |
|---|---|---|
| Overall width | 6 1/8″ | 6 1/8″ |
| Length | 8 1/2″ | 10 1/8″ |
| Pad cavity width | baseline | +9/32″ |
Inspect piston access, bleed fitting orientation, and pad seating. Verify wheel and hub clearance physically; adjust lines or use brackets if needed to realize liberated, reliable braking efficiency.
Parts Checklist & Compatibility : OEM Part Numbers, Pad/Shim Options, Wheel Minimum
With the caliper size and hose routing considerations noted, gather the exact parts and confirm wheel clearance before you begin. You’ll need two rotors and one pad set per axle: OEM rotors 43512-0C011 or Bosch QuietCast 50011223, and OEM pads 04465-35290. Include shims 04945-35120 or 04945-0C030 to maintain noise control and proper pad seating. Verify OEM Compatibility across hub splines, ABS tone ring location, and rotor thickness — Tundra rotors measure 1 3/32″ and weigh 20.7 lb versus stock 7/8″ and 15 lb for improved heat capacity.
Pad Selection must prioritize matched surface area and backing plate fit; stick with high-quality OEM components to avoid fitment or contact issues. Confirm minimum wheel diameter: 16″ wheels are required, and certain 01–04 Tacoma snowflake/flower designs clear the assembly. Finally, catalog brake lines and caliper variant (13WL) to verify parts list completeness before you liberate the vehicle from stock limitations.
Installation Steps Affecting Clearances : Dust Shield Trim, Rotor Seating, Brake Lines, Torques
Trim the dust shield where it interferes with the Tundra 13WL caliper ears so the assembly clears fully, then seat the rotor squarely on the 4Runner hub—use a rubber mallet to tap it into place if it binds—to guarantee true mounting and preserve hub-runout tolerances. After seating, verify the rotor sits flush and spins without wobble before proceeding.
Clamp the brake line to limit fluid loss, then connect fittings and torque to 11 ft·lbs. Keep the line routed clear of rotor, dust shield edges, and suspension articulation to avoid chafing. Mount the caliper and torque caliper bolts to 90 ft·lbs, tightening in a controlled sequence to maintain alignment.
Reinspect orientation of pads, shims, and hardware; confirm the trimmed dust shield doesn’t contact the pad or caliper at full travel. Bleed the brake circuit, cycle the pedal, and recheck torques. These steps free you from clearance faults and secure consistent braking performance.
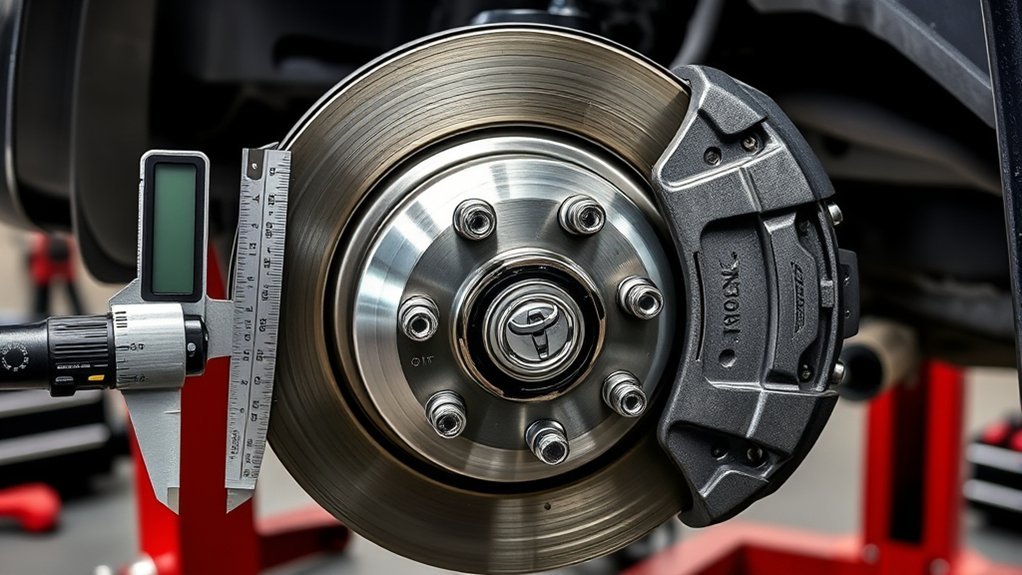
Fitment Checks & Troubleshooting : Min Thickness, Runout Limits, Wheel Clearance, Pad/Rotor Balance
When you check fitment and troubleshoot brakes, verify rotor thickness, runout, wheel clearance, and pad/rotor contact in that order to isolate issues quickly. First measure rotor thickness; replace if at or below the 29mm minimum (new ~32mm) to preserve brake performance and safe stopping. Next measure lateral runout; reject rotors exceeding 0.0028 inches to avoid vibration and uneven pad wear.
Then confirm wheel clearance and caliper fitment — minimum wheel diameter for upgrades is 16 inches, but specific wheel designs can still contact calipers or dust shields; adjust or choose compatible wheels to keep components free. Finally inspect pad/rotor balance: guarantee pads aren’t excessively chamfered or undercut, which reduces contact area and degrades brake performance. Maintain consistent pad geometry and parallel rotor surface.
Document measurements, perform rotor maintenance or replacement as required, and re-check after test drives to validate corrections and preserve liberated control.
Frequently Asked Questions
What Size Brake Pads and Rotors Do I Need?
You need OEM pads 04465-35290 and rotors 32mm thick (min 29mm), matching Tundra caliper dimensions; select compatible brake pad types and rotor materials (cast iron or coated variants), and install per procedural fitment checks.
Conclusion
You’ve got the numbers, parts, and steps to swap rotors and pads with confidence—now don’t rush the details. Trim the dust shield and seat rotors squarely; torque fasteners to spec; bleed and check lines; verify minimum thickness and runout; confirm wheel clearance and pad fit with the 13WL caliper. Like a good wrenching rhythm, patience keeps everything in tune—measure twice, fit once, and you’ll stop safely and evenly every time.