Last updated: July 31, 2026
How this guide was checked: The access sequence and torque values were compared with Toyota Technical Information System references and service-manual mirrors for the 2007 5.7L 3UR-FE. Wheel torque was checked against the Toyota owner’s manual, and the shop-cost range was refreshed from RepairPal. This source-based guide does not claim hands-on testing of this repair.
On a 2007 Toyota Tundra 5.7L, the starter sits on the passenger side of the 3UR-FE V8 behind the right exhaust manifold and a three-bolt starter cover. The factory-style repair is an advanced access job: confirm a no-crank fault first, isolate the battery, remove the required intake, accessory, and exhaust components, then remove the cover and two-bolt starter. Plan a full day for a first-time DIY repair, and stop if exhaust hardware begins to seize or break. For broader electrical diagnosis, use this Tundra no-start checklist.
Quick Answer
To replace a 2007 Toyota Tundra 5.7 starter, first prove the fault is in the starter circuit. After the ignition has been off long enough for modules to save data, disconnect the negative battery cable. Follow the verified access sequence for your VIN, remove the right-side exhaust manifold and starter cover, disconnect the starter wiring, remove the two mounting bolts, install the replacement starter, torque the hardware, reassemble with new disturbed gaskets and seals, then test for clean cranking and exhaust leaks.
Key Takeaways
- Confirm the truck is a 2007 Tundra with the 5.7L 3UR-FE V8 before using this guide.
- Test the battery, terminals, relay, fuses, neutral-safety circuit, and voltage drop before blaming the starter.
- The factory-style path removes covers, intake parts, the drive belt, right-side accessory items, the dipstick guide, front exhaust pipe, right exhaust manifold, starter cover, and then the starter.
- Do not remove ball joints or drive axles unless you are following a verified alternate procedure and can torque suspension parts correctly.
- The referenced 2007 3UR-FE procedure lists 37 N·m / 27 ft-lb for the starter bolts, 9.8 N·m / 87 in-lb for the starter wire nut, and 12 N·m / 9 ft-lb for the starter-cover bolts. Verify by VIN before tightening.
At a Glance
| Time Required | Plan a full day for a first-time DIY repair. Exact time depends on drivetrain, tools, access, and exhaust corrosion. |
| Difficulty | Advanced DIY |
| Tools Needed | Jack stands, wheel chocks, socket set, extensions, swivel, torque wrench, wrench set, penetrating oil, drain pan, pick, pliers, multimeter, gloves, and eye protection |
| Cost | DIY cost depends on starter brand, gaskets, O-rings, and hardware. RepairPal’s estimate updated June 18, 2026 lists $914–$1,292 before taxes, fees, location, and related repairs. |
Is the Starter Really Bad? Confirm Fitment and Diagnose First
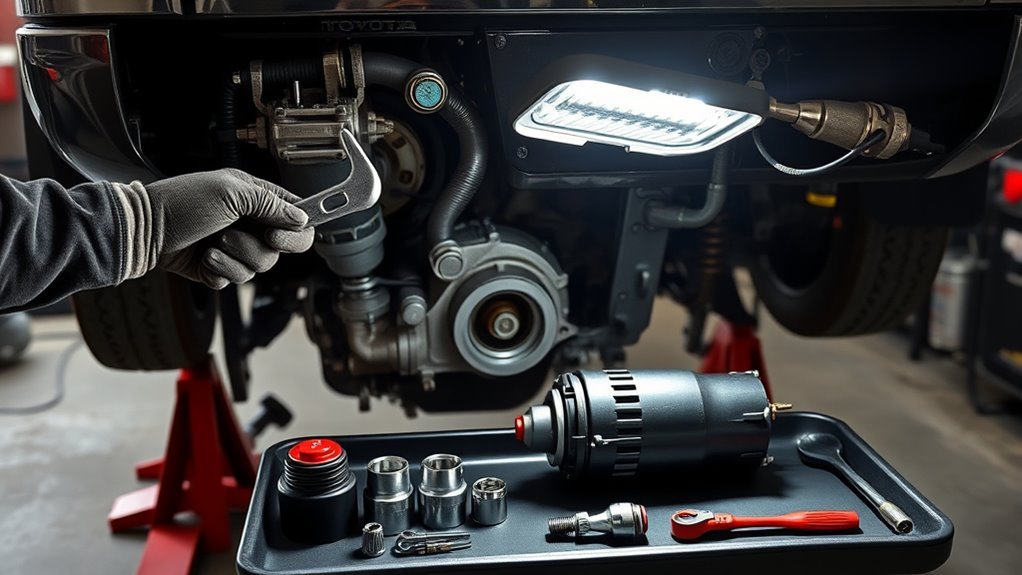
This guide is for a 2007 Toyota Tundra with the 5.7L 3UR-FE V8. Other Tundra engines and later configurations can use different access paths, parts, and torque values. Before buying a starter, match the replacement part by VIN or by the exact engine, drivetrain, build date, and starter rating. For final service information, use the Toyota Technical Information System or a verified Toyota repair manual.
Starter symptoms can look like battery or wiring problems. A single click, intermittent no-crank, slow crank, or no response from the key does not automatically prove the starter is bad. RepairPal also notes that loose or corroded battery terminals, cable issues, and neutral-safety-switch problems can show similar symptoms. Start with these checks:
- Measure resting battery voltage with the engine off. Interstate Batteries states that a fully charged 12-volt battery produces at least 12.66 volts. Use voltage as a screening check, then load-test the battery because resting voltage alone does not prove cranking capacity.
- Load-test the battery if voltage is low or the truck has been sitting.
- Inspect the battery posts, cable ends, engine ground straps, and starter power cable for looseness or corrosion.
- Check the starter relay, starting-system fuse, and park/neutral switch function.
- Use a multimeter for voltage-drop testing on the positive and ground sides while cranking.
- Scan for related trouble codes if the truck has other electrical symptoms.
Note: A bad starter can fail intermittently. However, replacing the starter before testing the battery, terminals, relay, and ground path is expensive guesswork.
| What You Hear or See | Start With | Why |
|---|---|---|
| Rapid clicking | Battery charge, terminal contact, and cable voltage drop | Low available voltage or high resistance can make the solenoid cycle repeatedly. |
| One solid click, no crank | Main starter power, ground path, and start-signal voltage | A click can come from the solenoid even when the motor, cable, or ground path cannot carry cranking current. |
| No click and no crank | Battery, starter relay, fuse, park/neutral switch, and immobilizer authorization | The starter may not be receiving a start command. |
| Starter spins but engine does not turn | Starter drive and flywheel ring gear inspection | The motor may run without the drive engaging the ring gear. |
Where Is the 2007 Tundra 5.7 Starter Located?
The starter is on the passenger side of the 3UR-FE engine, close to the transmission bellhousing. It sits behind the right exhaust manifold and under a three-bolt starter cover. This location explains why the factory sequence removes the front exhaust pipe, right exhaust-manifold heat insulator, and right exhaust manifold before the starter wiring and two mounting bolts are accessible.
Do not confuse this layout with the 4.7L Tundra V8, which uses a different starter location and removal procedure. Match the engine by VIN and confirm that the under-hood emissions label identifies the 5.7L 3UR-FE before following this guide.
Safety Checklist: Tools, PPE, Battery and Fluid Precautions
Gather everything before you start. You will be working around high-current battery wiring, hot exhaust parts, a lifted truck, and fluids. Use safety goggles, chemical-resistant gloves, wheel chocks, jack stands rated for the vehicle, a floor jack, a drain pan, a torque wrench, extensions, a swivel, penetrating oil, and basic electrical test tools.
Warning: Never rely on a floor jack alone. Support the Tundra on jack stands placed at safe frame points, chock the wheels, and work only on a level surface.
Battery Safety
Turn the ignition off and let vehicle modules power down before disconnecting the battery. The referenced Toyota procedure says navigation-equipped vehicles need at least 90 seconds after the ignition is switched off to record memory and settings. Wait at least 90 seconds, then disconnect the negative battery terminal and secure the cable away from the post. Some systems may need initialization after reconnection.
- Remove rings, watches, and loose jewelry before working near battery cables.
- Keep the positive starter cable away from ground once disconnected.
- Clean corrosion with the battery disconnected.
- Do not crank the engine while the starter wiring is loose.
Coolant, Oil and Exhaust Safety
The factory-style starter path does not call for opening the cooling system or disconnecting power-steering hoses. Keep the moved vane pump supported so its hoses are not stressed. If a previous repair or alternate method causes a fluid spill, catch it in a clean drain pan and store it in a sealed container. The EPA advises taking antifreeze and other household hazardous waste to an approved collection or recycling program instead of pouring it down a drain, dumping it on the ground, or placing it in regular trash.
Exhaust hardware can be sharp, rusty, and seized. Soak fasteners with penetrating oil, use six-point sockets where possible, and let the engine cool completely before touching heat shields, exhaust pipes, or the manifold.
Parts and Consumables to Have Before You Start
Do not begin this repair with only a starter in the box. The access work can disturb seals, gaskets, and rusty exhaust hardware. Having the right small parts nearby can keep the truck from sitting apart while you wait for another order.
- Replacement starter matched by VIN or exact application.
- New dipstick guide O-ring.
- New exhaust gaskets where the front pipe or manifold is opened.
- Replacement exhaust nuts, studs, or bolts if corrosion is heavy.
- Electrical contact cleaner for the starter terminal and connector area.
- Replacement belt if the existing belt is cracked, glazed, oil-soaked, or noisy.
Pro Tip: Keep the old starter until the truck starts cleanly, the wiring checks out, and no abnormal noises appear. Core returns are easier after you know the new unit is correct.
[Products Worth Considering]

This portable tire inflator delivers fast, convenient inflation for cars, bikes, motorcycles, and balls with dual power options from a rechargeable battery or a 12V car cord. Its digital LCD pressure gauge and automatic shutoff help prevent over-inflation, while multiple preset modes and a custom setting make it easy to use for different inflation tasks. Built-in flashlight and USB power ports add extra emergency utility on the road.

This click torque wrench delivers accurate, repeatable tightening for automotive and home repair tasks, helping prevent over-tightening and fastener damage. Its dual-range scale, knurled non-slip grip, and durable ratchet head make it easy to use, while the included extension bar and storage case add extra convenience.

Battery Tender Plus is a smart 12V charger and maintainer designed to keep automotive, motorcycle, and powersports batteries in optimal condition. Its adaptive 4-step charging program helps extend battery life while the quick disconnect harness and included cables make setup simple and convenient. The two-color LED status indicator provides clear charging feedback for easy, worry-free maintenance.
What Must Be Removed to Reach the 2007 Tundra 5.7 Starter?
Use the factory-style sequence as the safest backbone for this repair. The complete sequence below follows a 2007 Tundra 4WD 5.7L service-manual mirror. A 2WD service-manual mirror shows the same starter cover, wiring connections, two mounting bolts, and starter torque values, but verify the full access sequence for your VIN in Toyota TIS.
In broad order, the removal path is:
- Disconnect the cable from the negative battery terminal.
- Remove the No. 1 engine under cover.
- Remove the V-bank cover.
- Remove the air cleaner hose assembly.
- Remove the air cleaner assembly.
- Remove the fan and generator V belt.
- Remove the right front fender apron seal.
- Disconnect and move the vane pump/power steering pump assembly as needed without stressing hoses.
- Remove the generator/alternator assembly.
- Remove the engine oil level dipstick guide and replace its O-ring during reassembly.
- Remove the front exhaust pipe assembly with the required sensor connectors and clamps disconnected.
- Remove the No. 1 exhaust manifold heat insulator.
- Remove the right-hand exhaust manifold sub-assembly.
- Remove the starter cover.
- Disconnect starter wiring, remove the two starter bolts, and remove the starter.
Pro Tip: Take photos before each harness, bracket, sensor connector, and hose is moved. The starter itself is simple; the access work causes most reassembly mistakes.
Lift Truck, Remove Under Cover and Create Access
Raise the front of the truck only if needed for under-cover and exhaust access, then support it securely. Remove the No. 1 engine under cover. If the passenger wheel is removed for extra fender-well visibility, mark where fasteners came from and keep lug nuts together.
Remove the V-bank cover, air cleaner hose, and air cleaner assembly. These parts give you working room and reduce the chance of cracking plastic intake pieces while reaching deeper components. Inspect the intake hose for splits while it is off.
If a wheel is removed, torque the lug nuts correctly during reassembly. The Toyota 2007 Tundra owner’s manual lists 131 N·m / 97 ft-lb for aluminum wheels and 209 N·m / 154 ft-lb for steel wheels. Confirm the correct value for your wheel type in the Toyota owner’s manual. Aftermarket wheels may require the wheel maker’s torque spec.
Remove Belt, Move Accessories and Remove Dipstick Guide
Remove the fan and generator V belt. If the belt is cracked, glazed, oil-soaked, or noisy, replace it while everything is apart.
Disconnect the right-side fender apron seal as needed for access. Disconnect the clamps and power steering oil pressure switch connector from the vane pump area, then remove the pump mounting bolts and move the pump carefully without kinking or twisting hoses. Do not let the pump hang from its hoses.
Remove the generator/alternator assembly. Disconnect the connector, remove the terminal cap and nut, disconnect the generator wire, detach the wire harness bracket, and remove the mounting hardware. Store the alternator away from coolant, oil, and metal debris.
Pull the engine oil dipstick, remove the dipstick guide bolt, and remove the dipstick guide. Remove the old O-ring from the guide. Plan to install a new O-ring with a light coat of clean engine oil during reassembly.
Remove Front Exhaust Pipe, Heat Insulator and Right Exhaust Manifold
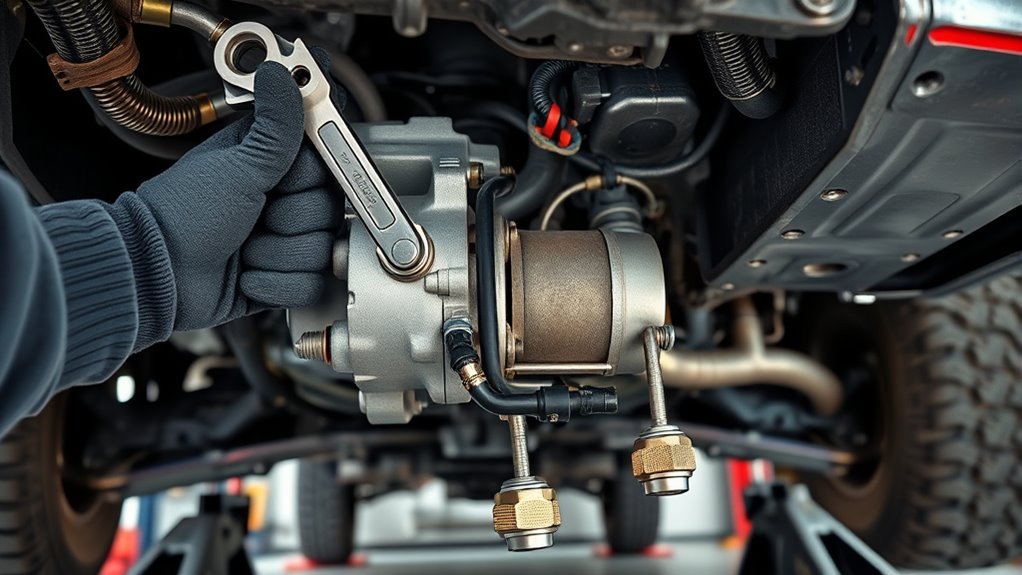
With the engine cool, disconnect the air-fuel ratio sensor connector, oxygen sensor connector, and related clamps before loosening the front exhaust pipe. Remove the front exhaust pipe hardware and replace exhaust gaskets during reassembly. Do not twist oxygen sensor wiring while moving the pipe.
Remove the No. 1 exhaust manifold heat insulator. Then remove the right-hand exhaust manifold sub-assembly as required for starter access. This is often where the job slows down, especially in rust-prone areas.
Warning: If exhaust studs or nuts feel like they are about to snap, stop and reassess. Broken exhaust hardware can turn a starter job into a larger repair.
Remove Starter Cover, Disconnect Wiring and Remove Starter
Once the surrounding components are out of the way, remove the starter cover. The cover is held by three bolts. Support the cover as the final bolt comes out so it does not fall or bend.
Now disconnect the starter connector. Remove the nut holding the starter wire, then move the wire away from the starter. Inspect the terminal end for heat damage, corrosion, loose crimping, or broken insulation. Clean the contact surfaces with electrical contact cleaner if needed.
Support the starter with one hand while removing the two starter mounting bolts. The starter is heavier and more awkward than it looks when you are working in a tight space. Pull it straight away from the flywheel housing and remove the flywheel housing side cover if it comes off with the starter or is specified in your service information.
What Not to Remove: Ball Joints and Axles
Some shortcut methods online approach the starter through the wheel well. Those methods may involve extra clearance tricks that are not part of the factory starter sequence. Do not pop the upper ball joint loose, lower the steering knuckle, or drive the front axle out of the differential unless you are following a verified procedure, have the correct suspension tools, and can torque and inspect everything afterward.
Removing suspension or axle parts adds risk: damaged ABS wiring, strained brake hoses, lost differential fluid, alignment changes, and unsafe reassembly. For most DIY readers, the safer advice is simple: follow verified service information, not a shortcut that turns a starter job into suspension work.
How Do You Install the New Starter and Torque It Correctly?
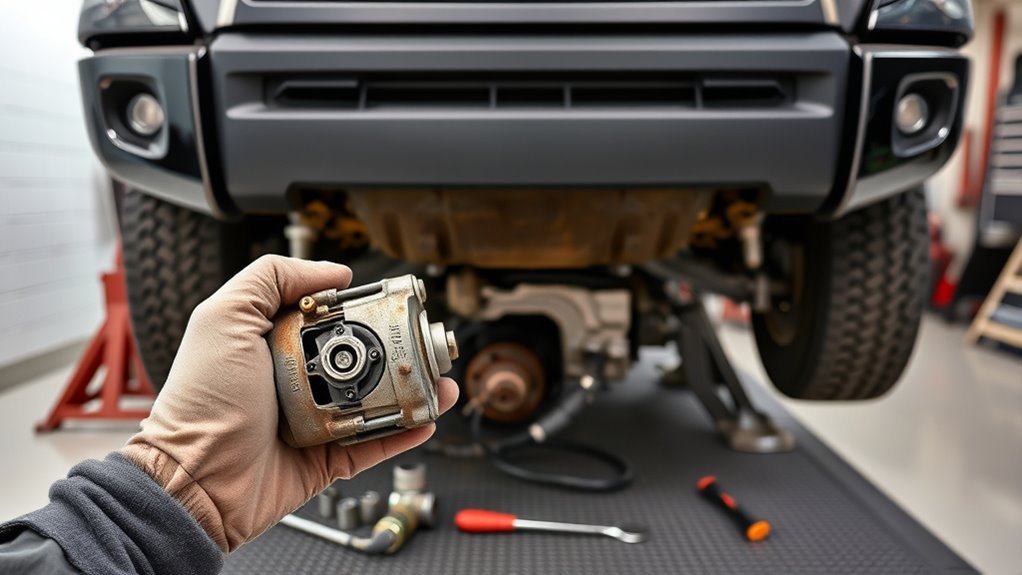
Compare the old and new starter before installation. Confirm the mounting ears, connector style, terminal position, gear, and overall clocking match. Clean the mating surface on the flywheel housing. Do not force the starter into position; it should sit flush when aligned correctly.
| Fastener | Torque | Notes |
|---|---|---|
| Starter mounting bolts | 37 N·m / 27 ft-lb | Tighten evenly with the starter seated flush. |
| Starter wire nut | 9.8 N·m / 87 in-lb | Do not over-tighten the terminal stud. |
| Starter cover bolts | 12 N·m / 9 ft-lb | Confirm the cover does not rattle or touch wiring. |
| Dipstick guide bolt | 10 N·m / 7 ft-lb | Use a new O-ring with a light coat of clean engine oil. |
| Exhaust pipe to RH exhaust manifold nuts | 54 N·m / 40 ft-lb | Use new gaskets and new nuts where specified. |
| Exhaust pipe to center exhaust pipe bolts | 48 N·m / 35 ft-lb | Check for leaks after the first warm-up. |
Install the flywheel housing side cover, then position the new starter. Install and torque the two starter mounting bolts. Reconnect the starter wire and torque the nut. Connect the starter connector until it clicks or seats fully. Reinstall the starter cover and torque its bolts.
Note: Torque values can vary by model year, engine, production date, drivetrain, or superseded service information. Verify all specs by VIN through Toyota service information when possible.
[Products Worth Considering]

The KONNWEI KW208 is a versatile 12V battery tester designed to quickly analyze battery health, cranking performance, and charging system status for cars, trucks, boats, motorcycles, and more. It supports multiple battery types and provides clear guidance on whether a battery should be recharged or replaced, helping you diagnose issues before they become failures. With plug-and-play use, high accuracy, and multilingual support, it offers a convenient way to test batteries in-vehicle or out-of-vehicle.

This heavy-duty car ramp set provides a stable, reliable lift for routine maintenance like oil changes, tire rotations, brake work, and undercarriage inspections. Built from high-impact poly with a non-skid tread and rubber feet, it helps keep vehicles secure while offering a lightweight, corrosion-resistant alternative to steel ramps. The wide, gradual design supports a broad range of vehicles, from compact cars to trucks, SUVs, and vans.
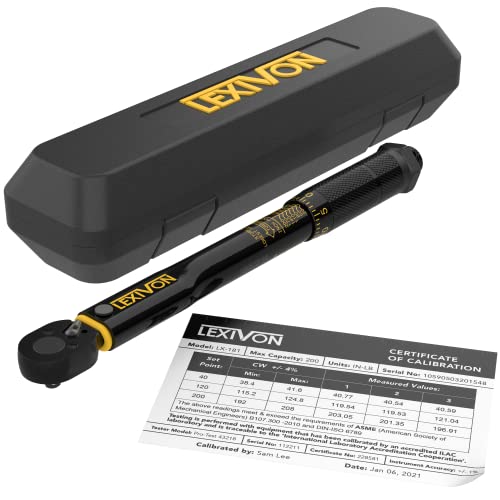
PRECISION & RELIABILITY - Manufactured in Taiwan and pre-calibrated to an accuracy of +/- 4%, ensuring dependable results. Includes a calibration certificate with a traceable serial number, so you can trust in the precision of every use.
Reinstall Exhaust, Dipstick, Alternator, Belt and Intake Parts
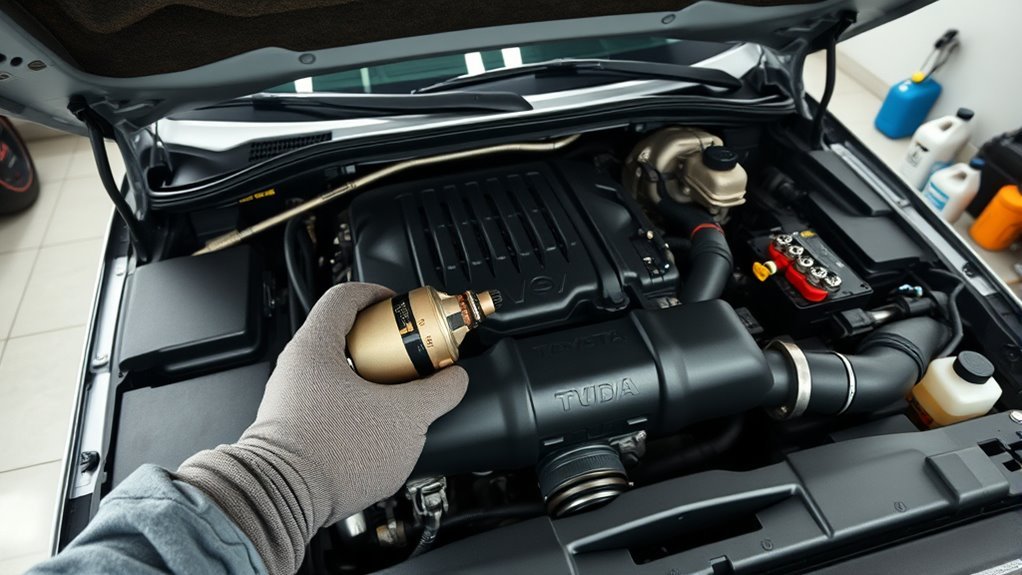
Reinstall the right-hand exhaust manifold sub-assembly, heat insulator, and front exhaust pipe with new gaskets where specified. Reconnect the air-fuel ratio sensor connector, oxygen sensor connector, and clamps. Route wiring away from exhaust heat.
Install a new O-ring on the dipstick guide with a light coat of clean engine oil. Reinstall the guide and torque the bolt to 10 N·m / 7 ft-lb, then reinstall the dipstick.
Reinstall the generator/alternator assembly and reconnect its wiring and harness bracket. Reinstall the power steering pump/vane pump assembly and reconnect the pressure switch connector and clamps. Reinstall the fender apron seal, belt, air cleaner assembly, air cleaner hose, V-bank cover, and engine under cover.
If a previous leak or alternate access method caused any oil or power-steering fluid loss, refill with the exact specified fluid and verify the level before starting the engine. If the front wheel was removed, reinstall it and torque the lug nuts to the correct specification for the wheel type.
When to Stop and Call a Professional
This repair crosses from normal parts replacement into exhaust, lifting, and high-current electrical work. Stop and call a qualified technician if the truck cannot be supported safely, exhaust hardware begins to break, a starter cable shows heat damage, or the no-crank diagnosis does not clearly point to the starter.
Also stop if you are tempted to remove suspension parts for more room without a verified procedure. A loose ball joint, strained brake hose, damaged ABS wire, or incorrect axle reassembly can create a safety problem after the starter repair is finished.
Final Checks and First-Start Test
Before reconnecting the battery, inspect the entire work area:
- Starter connector fully seated.
- Starter battery cable tight and covered.
- Harnesses clipped away from exhaust and rotating parts.
- Dipstick guide seated with no oil leak.
- Exhaust sensors reconnected.
- Exhaust hardware torqued.
- Air intake hose clamped and not cracked.
- Belt routed correctly.
- Tools removed from the engine bay.
Reconnect the negative battery terminal. Turn the key to ON and watch for warning lights that do not behave normally. Start the engine. Listen for clean starter engagement, exhaust leaks, belt noise, or abnormal grinding. Shut the engine off and recheck for loose wiring, fluid leaks, and exhaust leaks.
Why Won’t the Tundra Crank After Starter Replacement?
If the starter still will not crank after replacement, do not keep cycling the key. Work through the starting circuit step by step:
- Recheck battery voltage and load-test the battery.
- Confirm the negative battery terminal and engine grounds are tight.
- Check for power at the starter main terminal.
- Check for start-command voltage at the small starter signal wire while the key is held in START.
- Inspect the starter relay and starting-system fuse.
- Try starting in Neutral as well as Park to screen for park/neutral switch issues.
- Verify the security/immobilizer system is not preventing start authorization.
- Perform voltage-drop testing on both the positive and ground paths.
A new starter cannot fix a weak battery, a corroded ground, a damaged signal wire, a failed relay, or a park/neutral authorization problem. Use the site’s full Tundra no-start diagnostic order if the fault remains unclear. Stop replacing parts until voltage-drop and start-command tests identify the failed part of the circuit.
How Much Does a 2007 Toyota Tundra Starter Replacement Cost?
For a 2007 Toyota Tundra, RepairPal’s estimate updated June 18, 2026 lists a professional starter replacement at about $914–$1,292 before taxes, fees, location, and related repairs. Its estimate breaks that range into $634–$931 for labor and $279–$361 for parts. Labor dominates because the factory access sequence removes multiple right-side accessory and exhaust components before the starter comes out.
DIY cost depends on the starter brand, core charge, exhaust gaskets, dipstick-guide O-ring, replacement hardware, and whether corroded studs or nuts break during removal. Get a VIN-specific shop quote when exhaust corrosion is heavy because broken hardware can change the scope of the repair.
The starter itself is only one piece of the job. On the 5.7L Tundra, access labor is what makes the repair expensive.
[Products Worth Considering]

[Fitment] Compatible with Lexus LX570 2008-2011 V8 5.7L; Compatible with Toyota Land Cruiser 2008-2011 V8 5.7L, Toyota Sequoia 2008-2011 V8 5.7L(To 04/2011), Toyota Tundra 2007-2011 V8 5.7L(To 03/2011)

【Fitment】Compatible with Lexus LX570 2008-2011 V8 5.7L; Compatible with Toyota Land Cruiser 2008-2011 V8 5.7L, Toyota Sequoia 2008-2011 V8 5.7L(To 04/2011), Toyota Tundra 2007-2011 V8 5.7L(To 03/2011)

Compatible with or fits: 2021 Toyota Tundra Nightshade Crew Cab Pickup 5.7L V8 | 2015 - 2017 Toyota Tundra TRD Pro Crew Cab Pickup 5.7L V8
Frequently Asked Questions
How much does it cost to replace a starter on a 2007 Toyota Tundra?
RepairPal’s estimate updated June 18, 2026 lists about $914–$1,292 before taxes, fees, location, and related repairs. DIY cost can be lower, but you still need the starter, disturbed gaskets or O-rings, proper tools, and a plan for seized exhaust hardware.
How long does a Toyota Tundra starter last?
There is no fixed replacement interval for a Tundra starter. Many last for years, but heat, short-trip use, oil contamination, weak batteries, corroded cables, and frequent cranking can shorten starter life. Replace it only after diagnosing the battery, wiring, relay, and start signal.
How many hours does it take to change a Tundra 5.7 starter?
Plan a full day for a first-time DIY repair. Exact time depends on drivetrain, lift access, tool choice, and exhaust corrosion. The job can expand quickly if a manifold stud or front-pipe fastener breaks.
Do I need to remove the upper ball joint or front axle?
Not for the factory-style starter replacement path. The verified factory sequence focuses on engine, accessory, and exhaust components, then the starter cover and starter. Removing suspension or axle parts adds risk and should only be done when following a validated alternate method with the right tools.
Can I replace the 5.7L starter without removing the exhaust manifold?
Some alternate methods use engine-mount or wheel-well clearance, but they are not the factory sequence summarized here. The referenced factory procedure removes the right exhaust manifold. Do not lift the engine or separate suspension parts unless you have a verified alternate procedure, proper support, and the required torque specifications.
What torque should I use for the starter bolts?
For the 2007 Tundra 5.7L procedure referenced here, the starter mounting bolts are commonly listed at 37 N·m / 27 ft-lb. The starter wire nut is 9.8 N·m / 87 in-lb, and the starter cover bolts are 12 N·m / 9 ft-lb. Always verify specs for your exact truck by VIN.
Should I replace anything else while the starter is out?
Replace disturbed seals and gaskets, especially the dipstick guide O-ring and exhaust gaskets where required. Also inspect the belt, starter cable terminal, connector, exhaust hardware, and intake hose while access is open.
Conclusion
A 2007 Toyota Tundra 5.7 starter replacement is mainly an access and corrosion-management job. Confirm the fault before buying parts, wait at least 90 seconds before disconnecting the battery on navigation-equipped trucks, follow VIN-specific service information, replace disturbed gaskets and the dipstick-guide O-ring, and torque the starter hardware exactly. After the first start, check the exhaust joints, wiring routes, belt, and fluid levels again. If the truck still will not crank, stop replacing parts and test the start-command, positive-cable, and ground circuits.
Sources
- Toyota Technical Information System – official Toyota portal for repair manuals, wiring diagrams, service bulletins, and VIN-specific service information.
- 2007 Tundra 4WD 5.7L starter service-manual mirror – removal sequence and starter, terminal, cover, dipstick-guide, and exhaust fastener torque values. Verify against Toyota TIS.
- 2007 Tundra 2WD 5.7L starter service-manual mirror – starter cover, wiring, mounting-bolt, and flywheel-housing side-cover sequence. Verify against Toyota TIS.
- Toyota 2007 Tundra Owner’s Manual (OM34463U) – wheel lug-nut torque and owner information.
- RepairPal: 2007 Toyota Tundra starter replacement cost – estimate updated June 18, 2026 and starting-system diagnostic context.
- Interstate Batteries glossary – fully charged 12-volt battery voltage reference.
- U.S. EPA recycling guidance – disposal guidance for antifreeze, batteries, used oil, and other household hazardous waste.