
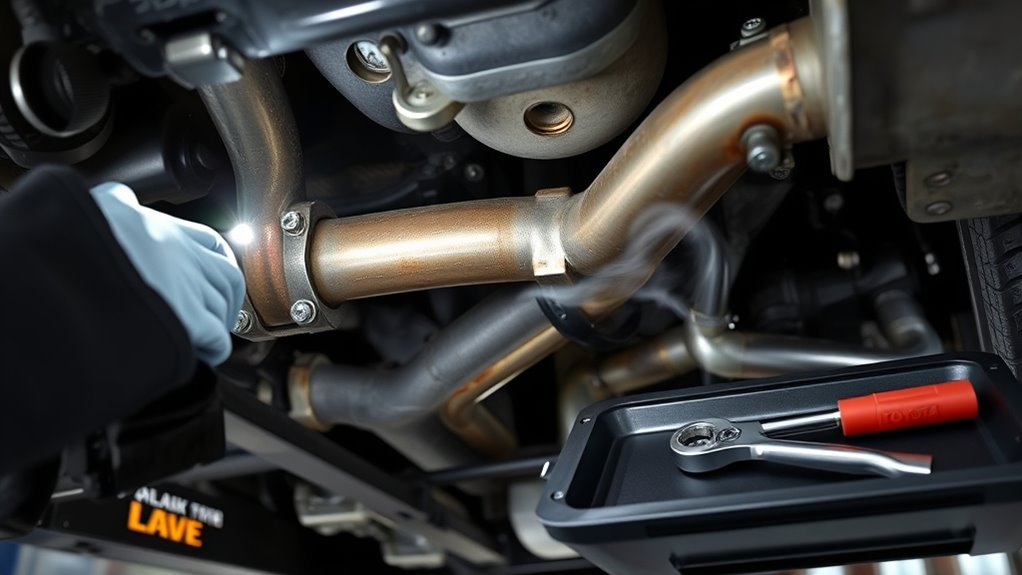
A 4Runner exhaust leak usually shows up as ticking, hissing, a deeper exhaust rumble, black soot around a joint, or exhaust odor. Start by deciding whether the leak is near the manifold/upstream sensors, around the catalytic converter or mid-pipe, or farther back at the muffler and tailpipe. That location matters: an upstream leak can affect exhaust-sensor readings and emissions diagnosis, while a rear leak is more likely to cause noise, fumes, or structural problems. Confirm the exact leak on a cold exhaust system before buying parts.
Last updated: August 31, 2026 · By: AutoReviewNest Editorial Team · Safety guidance and repair estimates rechecked against current CDC, EPA, and RepairPal sources.
Quick Answer
To diagnose a 4Runner exhaust leak, listen for ticking, hissing, popping, or rumbling, then inspect the manifold, flanges, pipe sections, catalytic converter area, muffler, tailpipe, and hangers for soot, rust, cracks, or loose hardware. For a safer DIY confirmation test, let the exhaust cool completely, keep the engine off, connect a Shop-Vac hose to the blower outlet and tailpipe, and spray soapy water on suspected joints. Escaping air creates bubbles at the leak. Use the leak location and condition of the surrounding metal to choose a gasket, sleeve, weld, or replacement.
Key Takeaways
- A ticking sound near the engine often points to the manifold, gasket, or flange area, while a deep rear rumble usually points to a larger pipe, muffler, tailpipe, or joint leak.
- Cabin exhaust odor is a safety red flag. Carbon monoxide itself has no smell, so exhaust odor cannot tell you whether dangerous CO is present.
- The preferred DIY bubble test uses a cold exhaust, the engine off, and low-pressure air from a Shop-Vac blower connected to the tailpipe.
- Small gasket and clamp repairs can be DIY-friendly, but badly rusted pipes, catalytic-converter damage, broken studs, and cracked manifolds usually justify professional repair.
- Current RepairPal model-level estimates put 4Runner general diagnosis around $122-$179, exhaust pipe replacement around $694-$760, and exhaust manifold replacement around $1,206-$1,373 before taxes, location adjustments, and related repairs.
At a Glance
| Time Required | 15-45 minutes for diagnosis; 30 minutes to several hours for repair, depending on leak location, rust, seized hardware, and access |
| Difficulty | Easy for inspection; moderate for accessible gaskets or clamps; advanced for welding, manifold studs, catalytic-converter work, or heavily rusted hardware |
| Tools Needed | Flashlight, gloves, eye protection, spray bottle, dish soap and water, mirror, Shop-Vac with blower outlet, ramps or jack stands, basic sockets, torque wrench, and the correct gasket or exhaust hardware if repairing |
| Current Cost Examples | DIY inspection: usually inexpensive if you already own the tools; general diagnosis: about $122-$179; manifold gasket: about $400-$578; exhaust pipe: about $694-$760; muffler: about $795-$843; exhaust manifold: about $1,206-$1,373 |
Warning: Do not ignore exhaust odor inside the cabin. CDC carbon-monoxide guidance states that even a small vehicle exhaust leak can allow CO to build up inside a car. Carbon monoxide is odorless and colorless. If fumes enter the cabin, stop in a safe location, get into fresh air, shut the engine off, and arrange inspection before normal driving.
Before Buying Parts, Identify Your 4Runner and the Leak Zone
Do not order a manifold, gasket, pipe, catalytic converter, or muffler from the symptom alone. First record your model year, engine or powertrain, stored diagnostic codes, leak location, and emissions configuration. Exhaust assemblies and sensor locations can differ by application, and RepairPal’s year-by-year estimates also show that replacement cost can vary substantially by 4Runner model year.
| Leak zone | Typical clues | Why location matters |
|---|---|---|
| Manifold / front exhaust | Cold-start tick, soot near a flange or gasket, engine-bay exhaust noise | An upstream leak can affect exhaust-sensor readings and deserves extra attention if fumes can reach the cabin |
| Converter / mid-pipe area | Hiss, soot at a flange or weld, rattling, emissions-related code | Damage may involve emissions equipment, oxygen-sensor bungs, flanges, or expensive pipe assemblies |
| Muffler / tailpipe area | Deep rumble, visible rust hole, split seam, sagging rear pipe | Usually less likely to alter upstream fuel-control readings, but fumes, noise, and structural failure still require repair |
If you suspect a model-specific service issue rather than ordinary corrosion or damage, use the 4Runner TSB lookup guide and match any bulletin to your exact vehicle before assuming it applies.
Quick 60-Second 4Runner Exhaust Leak Check
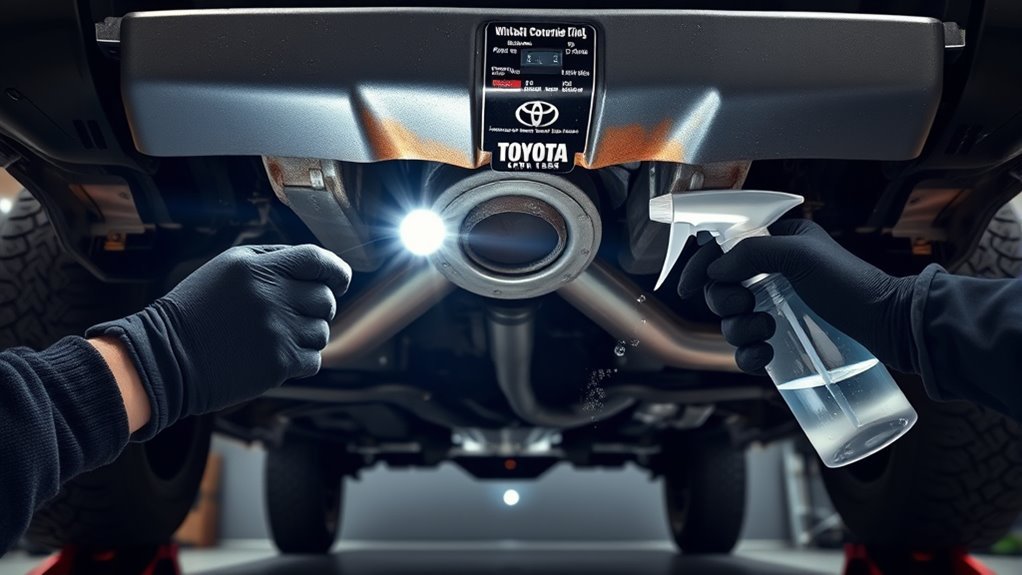
Start with the engine cold and the 4Runner parked outside or in a well-ventilated area. Start the engine and listen from a safe position near the front, middle, and rear of the exhaust path. A sharp ticking sound often points toward the manifold, gasket, or flange area. A hissing or popping sound can indicate a smaller joint or seam leak. A deeper rumble usually suggests a larger pipe, muffler, tailpipe, or connection problem.
Next, shut the engine off and let all exhaust parts cool before touching or closely inspecting them. Use a flashlight to check accessible manifold and flange areas, pipe sections, catalytic-converter area, muffler, tailpipe, clamps, and hangers. Look for black soot streaks, rust perforation, cracked welds, missing hardware, loose clamps, or a pipe that hangs lower than normal.
If you see soot around a joint, treat it as a strong suspect rather than automatic proof. Confirm the exact spot with the cold, engine-off bubble test described below before ordering parts.
What Does a 4Runner Exhaust Leak Sound Like?
Sound can narrow the search area before you begin a detailed inspection. Start the 4Runner when cold, let it idle outdoors, then gently raise RPM while listening from a safe location. Some small gaps can become less noticeable after warm-up because heat changes the dimensions of manifolds, flanges, and other exhaust parts.
| Signal | Likely implication | What to check first |
|---|---|---|
| Ticking with RPM | Possible manifold gasket, cracked manifold, or flange leak | Manifold flange, hardware, gasket edge, soot marks |
| Hissing or popping | Possible small-to-moderate leak at a joint, seam, pipe, or flange | Flanges, clamps, flex sections if fitted, weld seams |
| Deep rumble under load | Larger pipe, muffler, tailpipe, or joint leak | Muffler body, tailpipe, rear welds, hangers |
| Noise changes after warm-up | Heat expansion may be changing the size of a gap | Manifold, studs, flanges, gaskets, welds |
| Exhaust smell in cabin | Possible exhaust gases entering the passenger compartment | Stop normal driving, get fresh air, and arrange inspection |
| Check-engine light with exhaust noise | Leak may be affecting sensor or catalyst-monitor data, or a separate fault may also be present | Save codes and freeze-frame data, then inspect for upstream leaks before replacing sensors or a converter |
Do not rely on smell alone. You may notice exhaust compounds, fuel odor, or hot-metal smells, but carbon monoxide itself has no odor. Any exhaust odor inside the cabin deserves prompt attention.
Can You Drive With a 4Runner Exhaust Leak?
A small rear-section leak may allow a direct trip to a repair facility when the exhaust is secure and no fumes are entering the cabin. That does not make the leak safe to ignore. Do not continue normal driving if you notice exhaust odor inside, headache, dizziness, nausea, loud leakage near the firewall, dragging exhaust parts, heat damage to wiring, or poor engine operation with a check-engine light.
- Stop and get fresh air if fumes enter the cabin or anyone develops symptoms while the engine is running.
- Arrange towing if the exhaust is dragging, a converter or pipe is badly damaged, or hot exhaust is escaping near fuel-system parts, wiring, or the cabin floor.
- Avoid enclosed spaces. The CDC warns against running a vehicle in an attached garage even when the garage door is open.
Visual Checklist: Manifold, Pipe, Cat, Muffler, Hangers
Work from the engine toward the tailpipe. This keeps the inspection organized and reduces the chance of replacing the wrong part. Let the exhaust cool completely before placing your hands near a pipe, shield, flange, or converter.
Manifold Surface Inspection
Lift the hood and inspect accessible manifold areas with a flashlight. Look for hairline cracks, missing or loose fasteners, damaged flange areas, broken studs, and black soot trails around gasket edges. A manifold, gasket, or nearby flange leak often produces a fast tick that follows engine RPM.
Check nearby wiring, heat shields, and plastic parts for heat damage. Exhaust escaping near the engine can be extremely hot and may damage surrounding components.
Pipe, Catalytic Converter, and Muffler Check
Move under the 4Runner only when it is safely supported on suitable ramps or jack stands on firm, level ground. Never work under a vehicle supported only by a jack. Inspect pipe sections and any flexible exhaust section fitted to your application for crushed areas, failed braid, cracks, or soot. Check the catalytic-converter area for dents, cracks, loose flanges, damaged shields, and obvious leakage. Then inspect the muffler body and tailpipe for rust holes, split seams, or broken welds.
Do not bypass, hollow out, remove, or render a catalytic converter ineffective as an exhaust-leak “repair.” The EPA explains that removing a catalytic converter without an approved replacement is illegal tampering under federal law. Use a legal, vehicle-appropriate replacement when emissions equipment has failed.
Hanger and Mount Check
Broken hangers can contribute to leaks even when the pipe itself is still repairable. A sagging exhaust places extra movement and stress on flanges, welds, gaskets, and flexible sections. Fixing the leak without correcting the failed support can allow the problem to return.
- Inspect rubber hangers for tearing, stretching, or missing sections.
- Check metal brackets for rust, cracks, or loose hardware.
- Confirm that the exhaust sits correctly and does not hit the frame, skid plates, bumper, or suspension.
- Replace failed hangers before expecting a new gasket, sleeve, clamp, or welded section to stay aligned.
How Do You Test a 4Runner Exhaust Leak at Home?
After finding a suspect area, confirm it before ordering parts. The preferred DIY bubble test uses a completely cold exhaust, the engine off, and low-pressure air from a Shop-Vac blower. This keeps you away from exhaust heat, moving engine parts, and running-engine fumes while you inspect the system.
Soapy Water Bubble Test
Mix dish soap and water in a spray bottle. With the engine off and exhaust cold, connect a Shop-Vac hose to its blower outlet, attach the hose to the tailpipe, and seal most of the gap so low-pressure air enters the exhaust system. Spray the suspected joints, flanges, welds, gasket areas, and rust spots. A repeating cluster of bubbles or foam pushed outward identifies escaping air.
- Use only the low pressure produced by the blower setup; do not connect high-pressure shop air without the proper equipment and procedure.
- If the 4Runner has more than one tailpipe outlet, the other outlet may need to be sealed for the test to work effectively.
- Keep the engine off throughout this test.
- Use ramps or properly rated jack stands if under-vehicle access is required.
- Mark confirmed leak locations after testing so they are easy to find during repair.
Shop-Vac Blower Method (Engine Off)
The Shop-Vac is being used as a low-pressure blower, not as a running-engine exhaust extractor. Connect the hose to the vacuum’s blower outlet, direct that air into the tailpipe, and test the cold exhaust from rear to front with soapy water. This method makes small escaping-air paths visible without engine noise masking the leak.
If you cannot get a useful seal at the tailpipe, cannot safely reach the suspect area, or the leak remains hidden, stop the DIY diagnosis and have an exhaust shop perform a lift inspection or controlled smoke test.
Professional Smoke Test Option
A controlled smoke test is useful for leaks that remain hard to locate. A technician introduces test smoke into the exhaust system and watches for the point where it escapes. This can help identify small flange leaks, gasket leaks, sensor-bung leaks, and cracks that are difficult to hear or see.
Pro Tip: If the sound is loudest on cold start and becomes much quieter after warm-up, inspect the manifold, manifold gasket, nearby flanges, and hardware before assuming the rear muffler is responsible.
DIY Fixes: Gaskets, Patches, Muffler Cement, and Sleeves
DIY repairs work best when the leak is small, accessible, correctly identified, and surrounded by structurally sound metal. Clean metal matters. Rust flakes, oil, dirt, and loose scale can prevent gaskets, clamps, sleeves, and sealants from seating correctly.
- Gasket replacement: Appropriate for a confirmed gasket or flange leak when the mating surfaces and hardware are serviceable. Use the correct gasket and torque procedure for the exact application.
- Exhaust clamp or sleeve: Useful on a solid straight pipe section when the product is designed for the pipe diameter and damage.
- Muffler cement or exhaust paste: A limited repair option for suitable small leaks when the product manufacturer permits that application. Follow its preparation and cure instructions.
- Emergency exhaust wrap or tape: Treat exhaust-rated wrap as temporary unless its manufacturer specifically describes the application as permanent. Ordinary household tape, foil, or non-exhaust products are not substitutes.
Do not cover severe corrosion, a cracked manifold, damaged catalytic-converter shell, or structurally weak pipe with repeated layers of patch material. After any DIY repair, repeat the cold bubble test. If air still escapes, move to the correct gasket, sleeve, weld, pipe section, or component replacement.
[Products Worth Considering]

This oxygen O2 sensor set is designed for select Toyota Camry and RAV4 models with 2.4L engines, providing upstream and downstream replacement coverage in one package. Built to OEM specifications for plug-and-play installation, it helps improve fuel efficiency, support accurate air-fuel monitoring, and restore reliable engine performance. The stainless steel and heat-resistant construction is made for long-lasting durability and stable operation.

Walker exhaust pipe flange gasket is designed to help complete exhaust repairs with a reliable seal for compatible vehicles. Built to work with OE exhaust components and Walker replacement parts, it features heat-deflecting construction, durable materials, and slotted bolt holes where applicable for easier installation. Engineered and tested for real-world performance, it supports long-lasting exhaust system service.

Walker 36454 is a spring bolt kit designed to help secure exhaust components and maintain a tight, leak-resistant connection. It is made for ball and socket joint applications and uses durable materials for long-lasting performance. This hardware is a practical choice for exhaust repairs and compatible replacement needs on select vehicles.
When Should You Clamp, Weld, or Replace a 4Runner Exhaust Pipe?
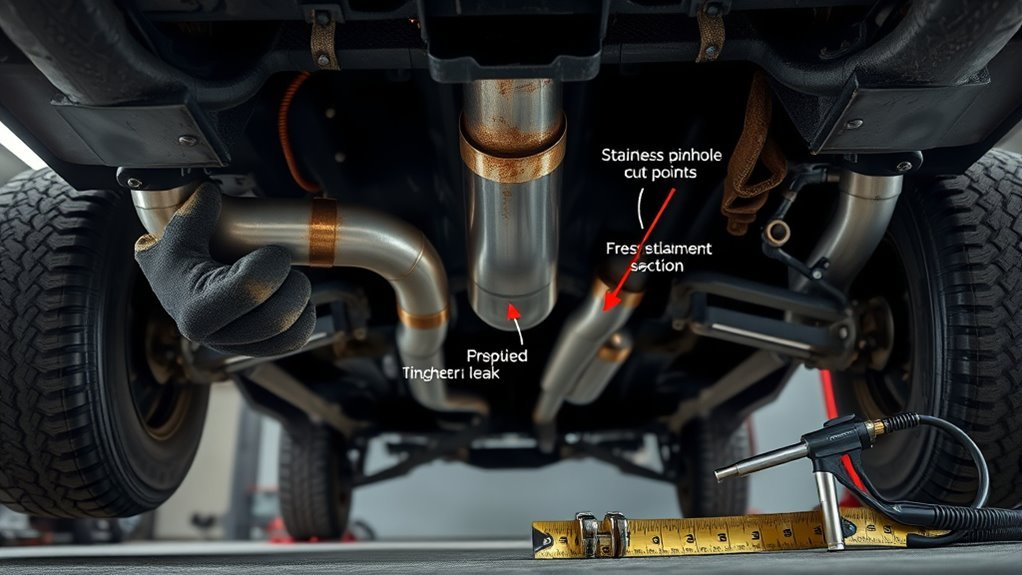
Choose the repair according to the condition of the metal around the leak, not just the size of the visible hole. A clamp or sleeve can work when the surrounding pipe remains solid. Welding can make sense when damage is localized and clean, weldable metal remains. Replacement becomes the better choice when corrosion extends beyond one spot, several seams are thin, hangers have failed, or a structural/emissions component itself is damaged.
| Leak situation | Best repair path | Why |
|---|---|---|
| Flange leak with intact mating surfaces | Correct gasket and serviceable hardware | Restores the joint without replacing usable pipe |
| Small localized hole in solid straight pipe | Properly sized sleeve, clamp, or professional weld | Repairs the damaged section while retaining sound metal |
| Corrosion around several seams or a long pipe area | Section or pipe replacement | Avoids repairing one hole only to have the adjacent thin metal fail |
| Cracked manifold or broken studs | Professional manifold repair or replacement | Stud extraction, sealing surfaces, access, and torque procedures can make the job substantially harder |
| Damaged catalytic converter or emissions component | Legal, application-correct repair or replacement | Keeps required emissions equipment functional rather than disabling it |
RepairPal’s current model-level estimate for Toyota 4Runner exhaust pipe replacement is about $694-$760 before taxes, location adjustments, and related repairs. Its current model-level exhaust manifold estimate is about $1,206-$1,373. Individual model years can differ substantially, so use these figures as planning ranges rather than quotes.
[Products Worth Considering]

This 3-piece intake manifold gasket set is designed to help restore a tight, reliable seal between the intake manifold and cylinder head. It is compatible with a range of Lexus and Toyota vehicles and is made from durable silicone for dependable performance under demanding engine conditions. The set is sized to match original specifications for a proper fit and is intended as a practical replacement for worn or damaged intake gaskets.

This damaged screw extractor set helps remove stripped, broken, and rusted screws or bolts with ease. Designed for use with most drills, it works across a wide range of sizes and is made from hardened high-speed steel for durability and reliable performance. It also makes a practical gift for DIYers, homeowners, dads, husbands, and anyone who likes useful tools.

These low profile jack stands provide secure vehicle support for routine garage and repair work on most cars and small vehicles. Built with a welded steel frame, adjustable ratchet design, and wide base for stability, they offer dependable lifting support with a concave saddle for safer contact. The low minimum height and compact design make them a practical choice for many automotive maintenance tasks.
How Much Does a 4Runner Exhaust Leak Cost to Diagnose or Repair?
A good exhaust shop should show you the confirmed leak, explain whether the nearby metal is sound, and separate a temporary repair from a longer-lasting one. Ask for a written estimate tied to your exact 4Runner before approving work.
| Service | Current RepairPal estimate | Planning note |
|---|---|---|
| General diagnosis | $122-$179 | Diagnosis fees and whether they are credited toward repair vary by shop |
| Exhaust manifold gasket replacement | $400-$578 | Broken studs, warped parts, or seized hardware can raise labor |
| Exhaust pipe replacement | $694-$760 | Year-specific prices can vary substantially |
| Exhaust muffler replacement | $795-$843 | Related pipe, hanger, or corrosion work may add cost |
| Exhaust manifold replacement | $1,206-$1,373 | Model year, broken studs, access, and related parts can materially change the quote |
- Ask how the leak was confirmed. Useful answers include visual evidence, soot, an engine-off pressure/bubble test, or controlled smoke testing.
- Ask whether damaged hardware and hangers are included. Reusing failed supports or badly corroded hardware can undermine a new repair.
- Ask whether emissions equipment is involved. Catalytic converters and oxygen-sensor systems should remain legal and functional.
- Ask about the warranty. Get parts and labor coverage in writing.
- Ask why the recommended repair is better than the alternatives. The shop should be able to explain why a gasket, clamp, weld, section replacement, or complete component is appropriate.
If the check-engine light is on, save the stored, pending, and freeze-frame information before clearing codes. A confirmed upstream exhaust leak should generally be repaired before replacing an oxygen sensor or catalytic converter solely because of a fuel-mixture or catalyst-efficiency code.
[Products Worth Considering]
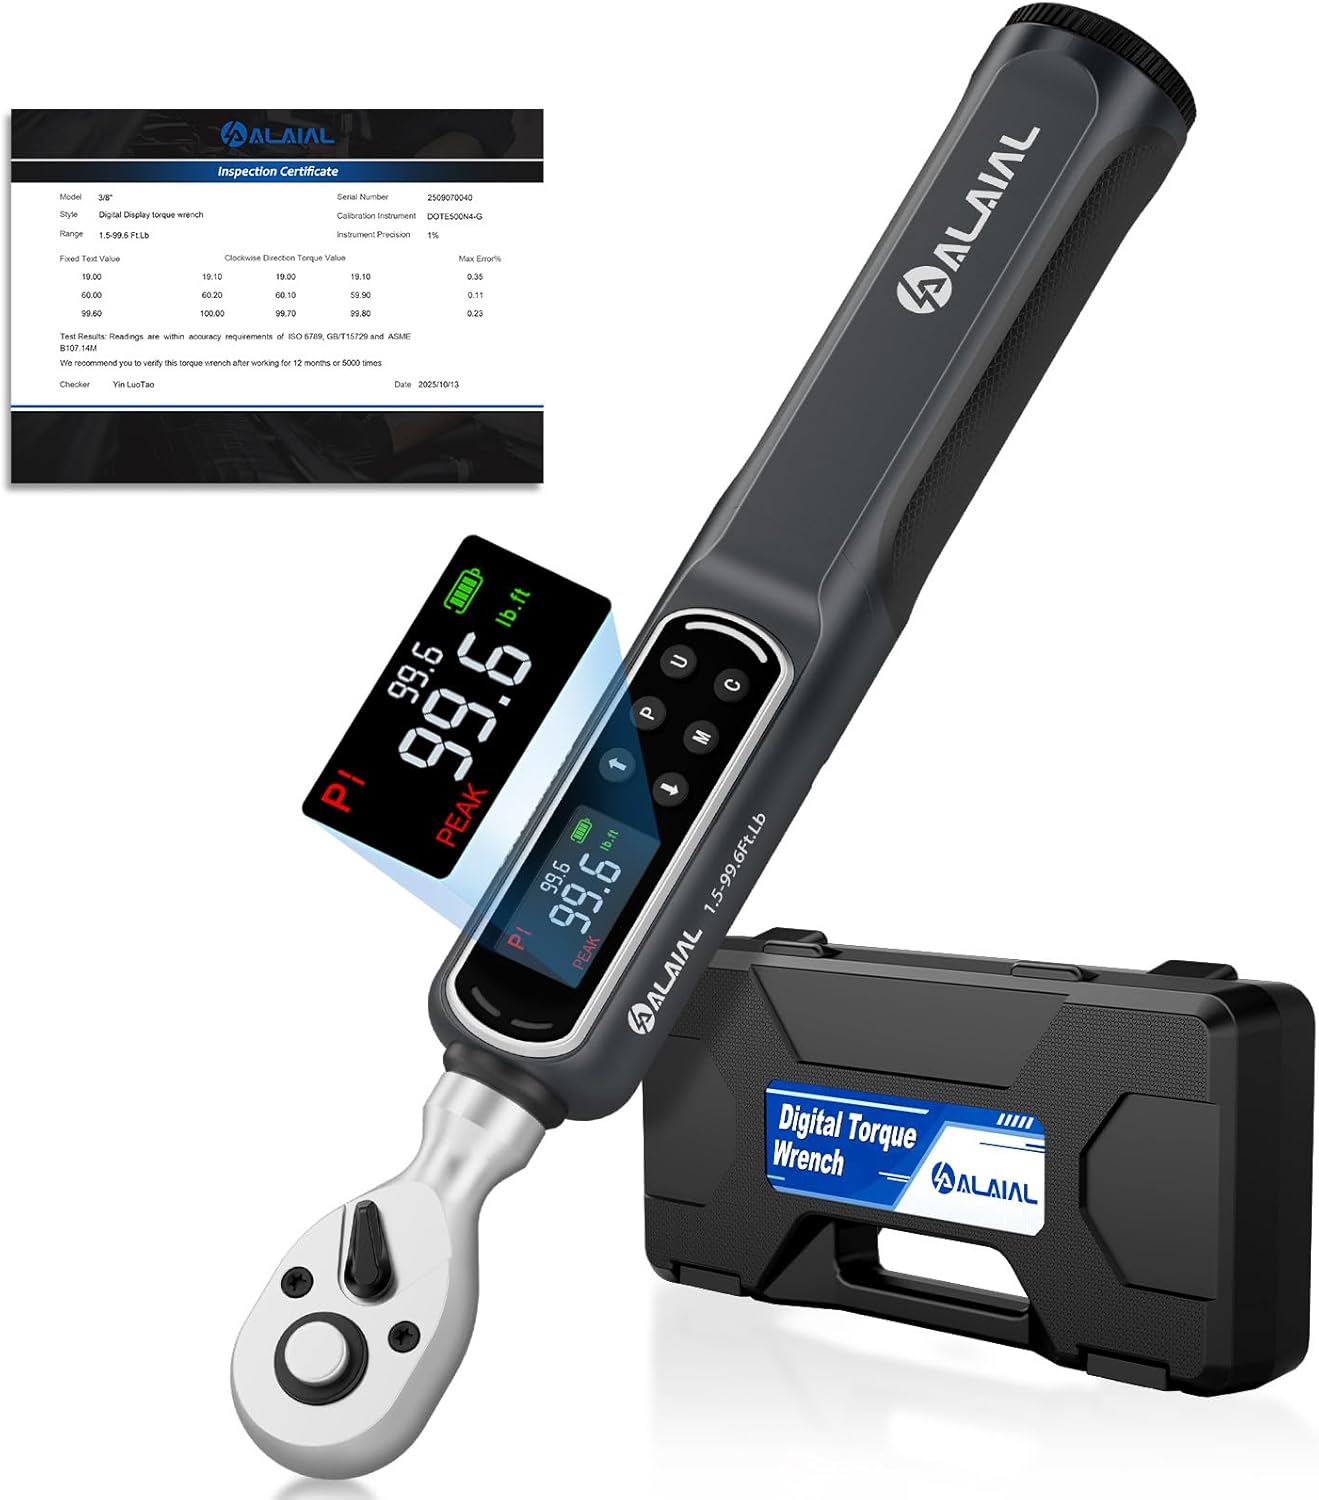
This digital torque wrench delivers precise fastening across a wide torque range with strong accuracy, making it a reliable choice for automotive, motorcycle, and general repair work. Its LED display, buzzer, and vibration alerts help prevent overtightening, while PEAK and TRACE modes plus preset memory and data logging add control and consistency for repeat jobs. Built for comfort and durability, it includes a storage case and batteries for ready-to-use convenience.

These Amazon Basics steel jack auto stands provide dependable support for vehicle maintenance with a self-locking ratchet design for easy height adjustment. Built from durable steel with a rustproof coating, they meet recognized safety standards and are designed for sedans and urban SUVs. The pair offers a stable, easy-to-read solution for routine garage work and comes backed by a limited warranty.

This 65-piece household tool kit provides a versatile collection of hand tools for everyday repairs, DIY projects, and basic mechanic tasks. Built with high quality steel alloy and comfortable non-slip handles, it is designed to help you tackle common home fixes with confidence. The included carry case keeps everything organized and easy to transport.
After-Repair Checklist
Do not assume the leak is fixed just because the exhaust becomes quieter. Verify the repair after the system has cooled and again after a short drive.
- Listen again at idle and during gentle acceleration.
- Repeat the cold, engine-off soapy-water blower test at the repaired joint or pipe section.
- Check that the exhaust does not touch the frame, suspension, bumper, or skid plates.
- Confirm that hangers hold the system without obvious sagging or strain.
- Watch for a check-engine light, poor running, or returning exhaust odor.
- Recheck clamps after heat cycles when the clamp or repair-product instructions call for it.
Frequently Asked Questions
How do you diagnose and fix a 4Runner exhaust leak?
Listen for ticking, hissing, popping, or rumbling, then inspect the manifold, flanges, pipe sections, catalytic-converter area, muffler, tailpipe, and hangers for soot, rust, cracks, or loose hardware. Confirm the spot on a cold system with an engine-off Shop-Vac blower and soapy water or have a shop perform a smoke test. Choose a gasket, sleeve, weld, pipe section, or component replacement according to the leak location and condition of the surrounding metal.
How much does it cost to diagnose an exhaust leak on a Toyota 4Runner?
RepairPal’s current Toyota 4Runner general-diagnosis estimate is about $122-$179 before taxes, location adjustments, and related repairs. Ask the shop whether its diagnostic charge is separate from the eventual exhaust repair.
How much does it cost to replace the exhaust manifold on a Toyota 4Runner?
RepairPal’s current model-level estimate for Toyota 4Runner exhaust manifold replacement is about $1,206-$1,373. The actual price can change substantially with model year, location, broken studs, seized hardware, access, and related gasket or sensor work.
What is the most common 4Runner exhaust leak location?
There is no single leak point that can be called the most common across every 4Runner model year and powertrain. Use the symptom to prioritize the inspection: a cold-start tick points you toward the manifold, gasket, or front flanges first, while a deep rear rumble points toward the muffler, tailpipe, rear joints, and hangers.
Can you drive with a 4Runner exhaust leak?
A direct trip to a repair facility may be reasonable for a small rear leak when the system is secure and no fumes enter the cabin. Stop normal driving if you smell exhaust inside, develop headache or dizziness, hear a severe leak near the engine or firewall, see a dragging pipe, or find heat damage near wiring or fuel-system parts.
Will an exhaust leak cause a check-engine light?
It can, especially when the leak is upstream near exhaust sensors or the catalytic converter. Outside air entering the exhaust can distort sensor data and emissions-monitor results. Save the diagnostic codes and test the leak before replacing an oxygen sensor or converter based on the code alone.
Can a 4Runner exhaust leak cause P0420 or P0430?
An upstream exhaust leak can contribute to misleading catalyst-monitor readings and may be one factor behind a P0420 or P0430 code, but the code does not prove that a leak is the only cause. Save scan data, inspect and repair confirmed exhaust leaks, then continue model-specific sensor and catalyst diagnosis if the code returns.
How can I find a 4Runner exhaust leak without running the engine?
Let the exhaust cool completely, keep the engine off, connect a Shop-Vac hose to its blower outlet and the tailpipe, then spray soapy water over suspected flanges, seams, welds, gaskets, and rust spots. Escaping low-pressure air creates bubbles at a leak. If the area cannot be reached safely or the test is inconclusive, use a professional exhaust inspection or smoke test.
Conclusion
A 4Runner exhaust leak is easier to repair correctly when you identify the exact leak zone before buying parts. Start with sound and soot clues, inspect from the manifold toward the tailpipe, then confirm the suspect area with a cold, engine-off test. Use a gasket, clamp, sleeve, or weld only when the surrounding metal and the specific joint make that repair appropriate. Choose replacement when corrosion has spread, a manifold is cracked, hardware failure makes sealing unreliable, or an emissions component itself is damaged.
If exhaust fumes enter the cabin, treat the problem as urgent. Get into fresh air, shut the engine off when safe, and have the vehicle inspected before returning to normal use. If a check-engine light is also present, save the scan data and repair confirmed exhaust leaks before assuming an oxygen sensor or catalytic converter has failed.
Sources
- CDC: Carbon Monoxide Poisoning Basics — supports the carbon-monoxide safety guidance and the warning that even a small vehicle exhaust leak can allow CO to build up inside a car.
- RepairPal: Toyota 4Runner General Diagnosis Cost — supports the current $122-$179 diagnosis estimate.
- RepairPal: Toyota 4Runner Exhaust Pipe Replacement Cost — supports the current model-level exhaust-pipe estimate and shows that prices vary by model year.
- RepairPal: Toyota 4Runner Exhaust Manifold Replacement Cost — supports the current $1,206-$1,373 model-level manifold estimate and manifold diagnostic guidance.
- RepairPal: Toyota 4Runner Exhaust Manifold Gasket Replacement Cost — supports the current $400-$578 gasket replacement estimate.
- RepairPal: Toyota 4Runner Exhaust Muffler Replacement Cost — supports the current $795-$843 muffler replacement estimate.
- U.S. EPA: Transportation Air Pollution Frequently Asked Questions — supports the warning that removing a catalytic converter without an approved replacement is prohibited emissions tampering.
- FCP Euro: Diagnosing Exhaust Leaks With a Shop-Vac — demonstrates the cold-engine, engine-off Shop-Vac blower and soapy-water method used in this guide.



[…] Vacuum leaks, fuel pressure, oxygen-sensor feedback, injectors and exhaust leaks […]