Quick 4Runner Sunroof Maintenance Answer
Last updated: July 7, 2026
A clean 4Runner sunroof needs four things: clear drain channels, clean tracks, flexible rubber seals, and smooth glass movement. Start by parking on level ground, switching the vehicle off, and removing loose debris before you add water. Clean the glass, trim, tracks, seals, and visible drain openings with soft tools, then test each drain with a slow, small pour of water.
Do not force the glass, push rigid wire into a drain tube, soak the switch area, or pull headliner trim without checking the correct steps for your model year. If water reaches the headliner, pillars, wiring, airbag areas, or carpet, stop the DIY test and get a qualified technician to inspect the drain tubes and glass alignment.
What’s in This Article
- Quick 4Runner Sunroof Maintenance Answer
- Safety & Prep Checklist Before You Start
- What You’ll Need and Estimated Time
- Step-by-Step 4Runner Sunroof Cleaning Process
- 4Runner Sunroof Leak Symptom Map
- How to Clean 4Runner Sunroof Glass, Tracks & Trim
- How to Inspect & Clear 4Runner Sunroof Drain Channels
- How to Test Drain Flow and Confirm Drains Are Clear
- Lubricate Sunroof Tracks & Hinges Safely
- Inspect, Clean & Spot-Repair 4Runner Sunroof Rubber Seals
- When to Replace Seals & Molding
- Remove Sunroof Glass & Access Headliner
- Troubleshoot Common Sunroof Leaks
- Preventive Maintenance Schedule & Tips to Avoid Leaks
- Source and Safety Notes
- Frequently Asked Questions
- Conclusion
Quick Answer
Park on level ground, turn the engine off, remove the keys, and wear gloves and eye protection. Open the sunroof, remove loose debris first, clean the glass, tracks, trim, seals, and drain channels with gentle tools, then test one drain corner at a time with a slow pour of water. Use flexible trimmer line and only light compressed air for clogs. Treat rubber seals with a rubber-safe silicone product, and use only the lubricant your manual or service information approves for moving track points.
Key Takeaways
- Clean the tracks and seals before testing the drains so loose dirt doesn’t wash deeper into the tubes.
- Use flexible trimmer line, not rigid wire, coat hangers, screwdrivers, or sharp metal tools.
- Test one sunroof drain corner at a time with a small, slow pour of water.
- Use rubber-safe silicone products on seals and avoid petroleum products on rubber.
- Check your model-year manual before removing glass, trim, or headliner parts.
- Stop and get professional help if the glass binds, cables skip, or water reaches the headliner.
Safety & Prep Checklist Before You Start
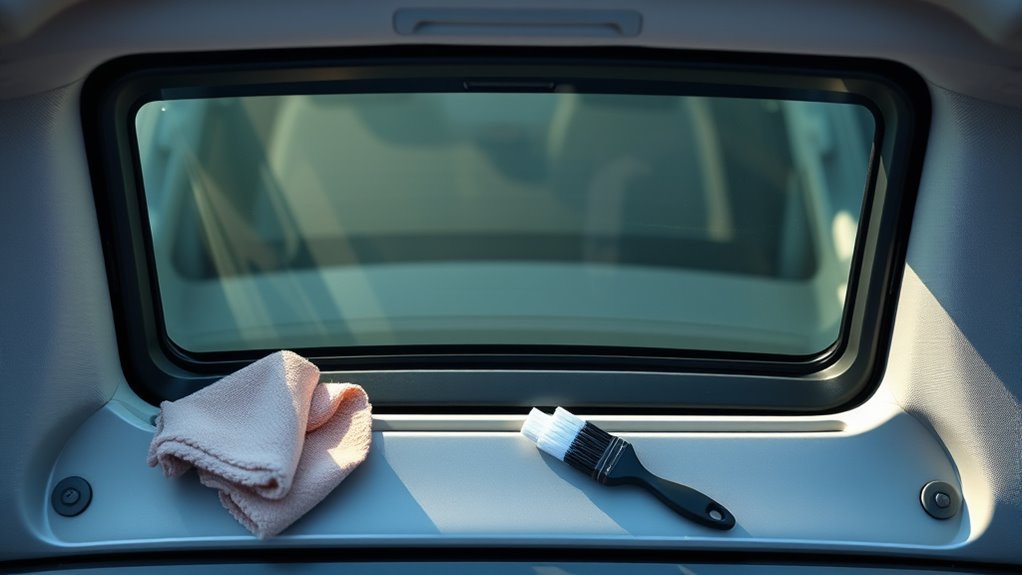
Park on level ground, turn the engine off, remove the keys, and clear the work area. Keep loose tools away from the seat tracks and pedals. Put on gloves and eye protection before you touch the tracks, trim, or drain openings.
Inspect the sunroof perimeter for leaves, sand, pine needles, or other loose debris. Check the visible drain openings and plan how you’ll reach the tracks. Keep a small container nearby so removed dirt doesn’t fall back into the cabin.
Warning: Don’t force the glass, trim, or drain tube because one broken clip or kinked drain can cause a larger leak.
What You’ll Need and Estimated Time
Most basic sunroof cleaning jobs take about 30 to 60 minutes. Plan more time if the drains need repeated testing or the seals show damage. Work slowly so you don’t scratch the paint, glass, or interior trim.
- Soft microfiber cloths
- Mild detergent or automotive glass cleaner
- Soft detailing brush
- Vacuum with a narrow nozzle
- Low-pressure compressed air
- Flexible string trimmer line
- Silicone spray or rubber-safe conditioner for seals
- Manufacturer-approved lubricant for tracks and hinges
- Cup or low-flow bottle for drain testing
Before you remove trim or glass, confirm the exact sunroof operation and safety warnings for your model year in the Toyota owner’s manual and warranty resources. A 4Runner sunroof can vary by generation, trim, and prior repair history.
[Products Worth Considering]

Keep your vehicle looking freshly detailed with this all-in-one car care wipe kit from Armor All. It includes cleaning, protectant, and glass wipes to remove dirt, defend against UV damage, and deliver a streak-free shine on interior and glass surfaces. Convenient, lint-free, and disposable, these wipes make everyday car interior cleaning fast and simple.

The XINDELL Interior Windshield Cleaner Tool makes it easy to clean car glass inside and out with an extendable handle and 180° pivoting head for better reach and streak-free results. Designed for auto detailing and home windows, it includes reusable microfiber pads and a wash sponge for dry or wet cleaning, helping remove dust, fog, grime, and smudges with less effort.

This GSPSCN portable air compressor delivers fast, reliable inflation for a wide range of vehicles, making it a practical companion for road trips, emergencies, and everyday tire maintenance. Its dual-cylinder direct-drive design helps provide powerful airflow with quieter operation, while the long power cord and air hose improve reach and convenience. A complete accessory kit and durable metal construction add versatility and long-term value for inflating tires, sports gear, and more.
Step-by-Step 4Runner Sunroof Cleaning Process
Follow the steps in order so you clean the sunroof before you test it. Dirt can move during the job, so don’t test the drains until you remove loose debris. Use gentle pressure at every step.
- Park safely. Stop on level ground, turn off the engine, remove the keys, and wear gloves and eye protection.
- Open the sunroof. Move the glass to the full-open or service position listed in your owner’s manual.
- Clean the glass and trim. Use mild detergent or automotive glass cleaner with a soft cloth.
- Remove loose debris. Vacuum the tracks and brush dirt away from corners and drain openings.
- Clear the drains. Use short bursts of low-pressure compressed air or flexible trimmer line to loosen clogs.
- Test water flow. Pour a small amount of water into one channel corner and watch the outlet point.
- Clean and treat the seals. Wipe rubber seals dry, then apply a thin layer of silicone-based protectant.
- Lubricate moving points. Apply approved lubricant sparingly to tracks and hinges, then cycle the sunroof.
- Check the result. Listen for binding, watch glass alignment, and confirm the cabin stays dry.
4Runner Sunroof Leak Symptom Map
Use the symptom to choose the first check instead of removing parts too early. Many sunroof leaks start with debris near the tray or a drain tube that flows slowly. Damaged seals and glass alignment problems need closer inspection because cleaning alone may not fix them.
| Symptom | Likely First Check | Best Next Step |
|---|---|---|
| Water pools in sunroof tray | Drain mouth blockage | Remove debris, then test one corner |
| Damp front footwell | Slow or disconnected drain path | Stop heavy testing and inspect drain flow |
| Water mark near headliner | Seal, alignment, or drain overflow | Get professional help before pulling trim |
| Wind noise after closing | Seal compression or glass height | Inspect rubber and check alignment |
| Motor runs but glass binds | Dirty track or mechanical fault | Clean lightly, then stop if it still binds |
How to Clean 4Runner Sunroof Glass, Tracks & Trim
Open the sunroof fully or move it to the service position listed in your owner’s manual. Wipe the glass with mild detergent or automotive glass cleaner and a soft, lint-free cloth. Don’t use abrasive pads, harsh solvents, or sharp tools near the glass or painted roof edge.
Inspect the tracks and remove loose debris with a soft brush, vacuum, or light compressed air. Clean trim surfaces with a gentle cleaner and keep liquid away from switches, wiring, and the motor area. Apply the manufacturer-recommended lubricant sparingly to moving track points, then cycle the sunroof several times.
Check the rubber seals for cracks, hard spots, flattening, or gaps. Replace damaged seals before they allow water or wind noise into the cabin. Smooth travel, even glass height, and clean drains tell you the basic cleaning step worked.
How to Inspect & Clear 4Runner Sunroof Drain Channels
After cleaning the glass, tracks, and trim, inspect the sunroof drain channels. Look for leaves, dirt, pine needles, and grit at the visible channel openings. Clear loose material first so you don’t push debris deeper into the drain tube.
Use a soft brush, vacuum, or short bursts of low-pressure compressed air to remove surface debris. If you find a blockage, feed flexible string trimmer line slowly into the drain. Move it back and forth with light pressure, then pull debris out when possible.
Don’t use rigid rods, coat hangers, or sharp wire inside the drain tube. Those tools can puncture, kink, or disconnect the tube. Clean the visible channel again before you move to the water test.
[Products Worth Considering]
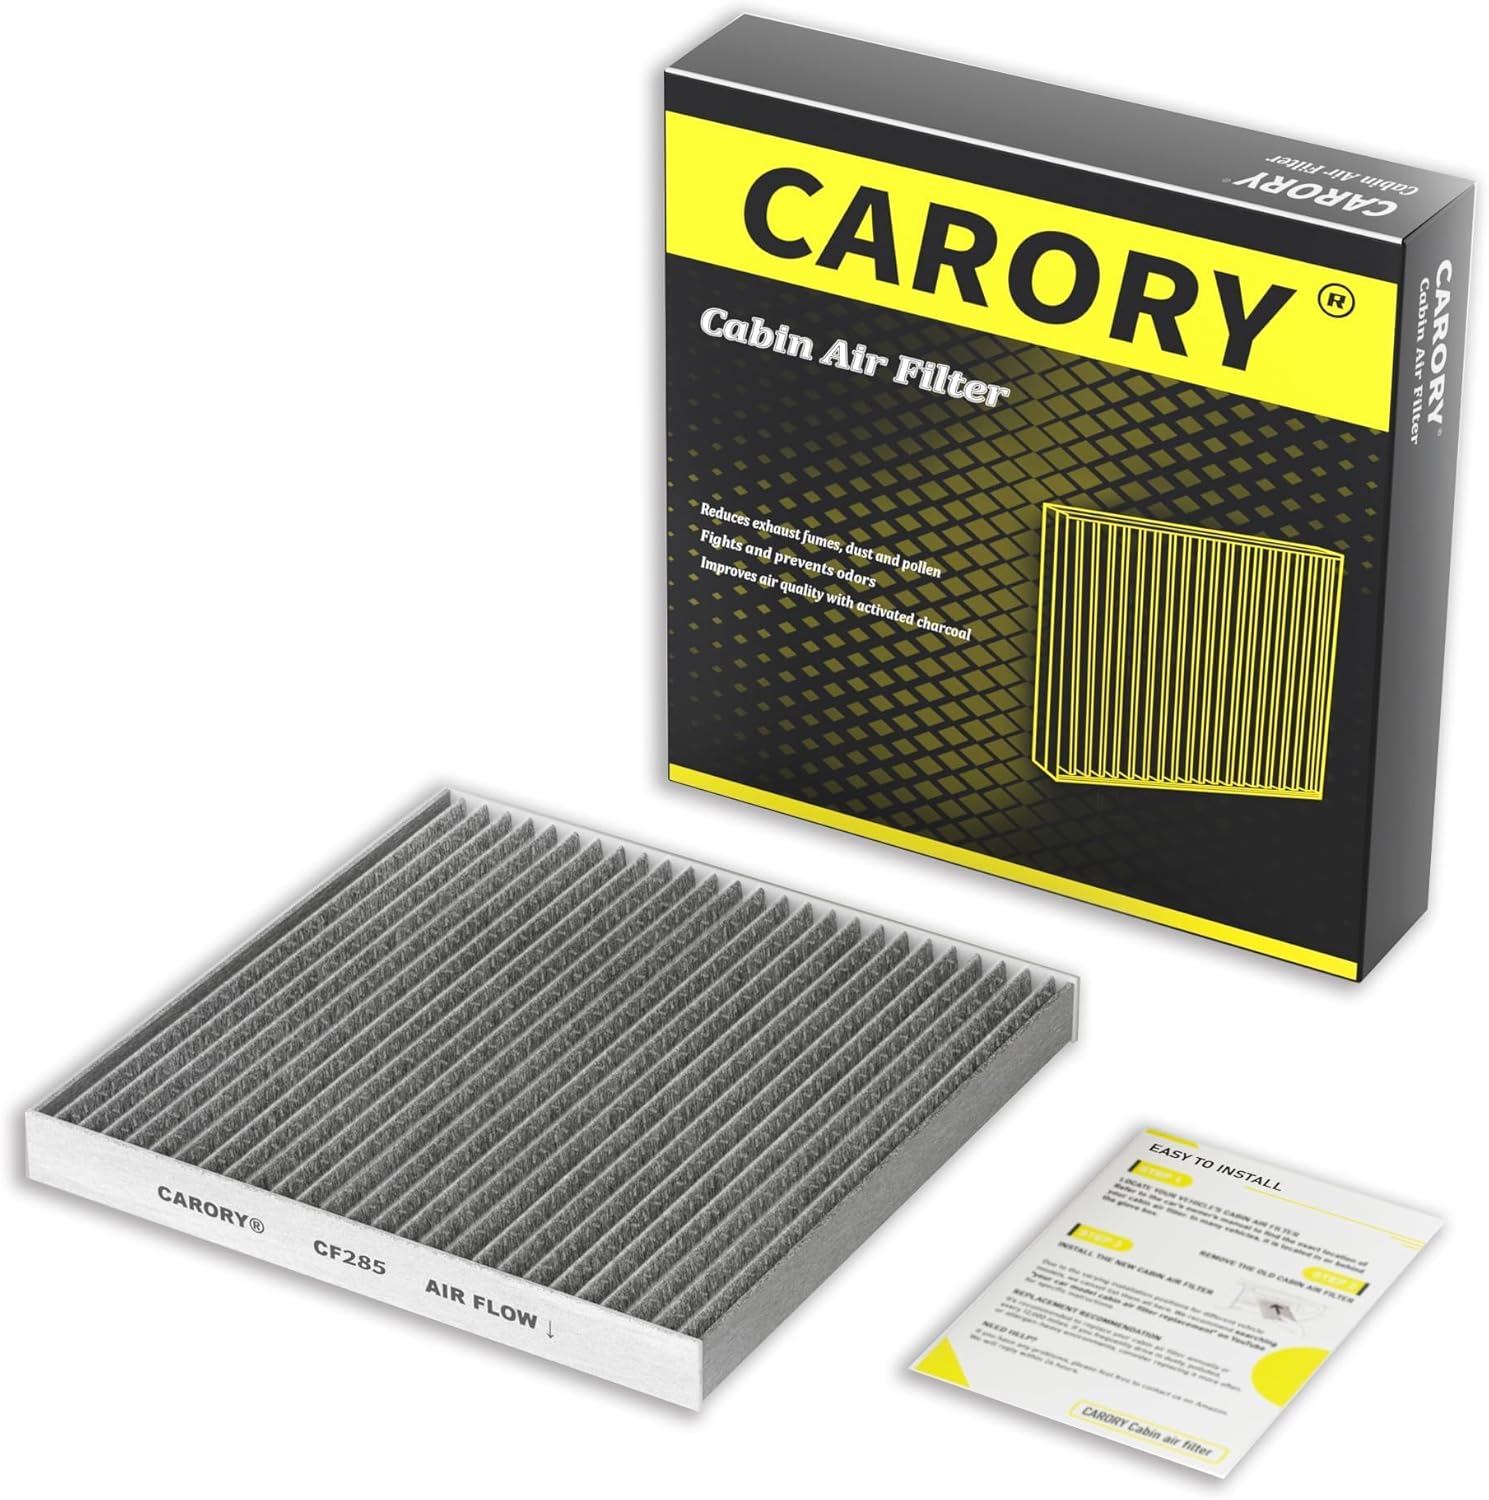
This CARORY cabin air filter helps refresh the air inside your vehicle by trapping dust, pollen, and other airborne contaminants before they enter the passenger compartment. Its activated carbon design adds odor control for a cleaner, more comfortable driving experience, and the wide fitment list covers many Toyota, Lexus, Subaru, Jaguar, Land Rover, Scion, and Pontiac models.

ECOGARD XA5786 is a premium engine air filter designed to help protect your engine by trapping dust, dirt, pollen, and road particles before they enter the intake system. It supports smooth airflow for consistent engine response and fuel efficiency, and it is intended for regular replacement to help maintain reliable performance and engine longevity.

【120 Inches Longer Drain Brush】Upgrade lengthened to 120 inches (300 cm), long enough to clean narrow pipes that cannot be reached by an ordinary cleaning brush. As well as flexible enough to even work with curved tubing.
How to Test Drain Flow and Confirm Drains Are Clear
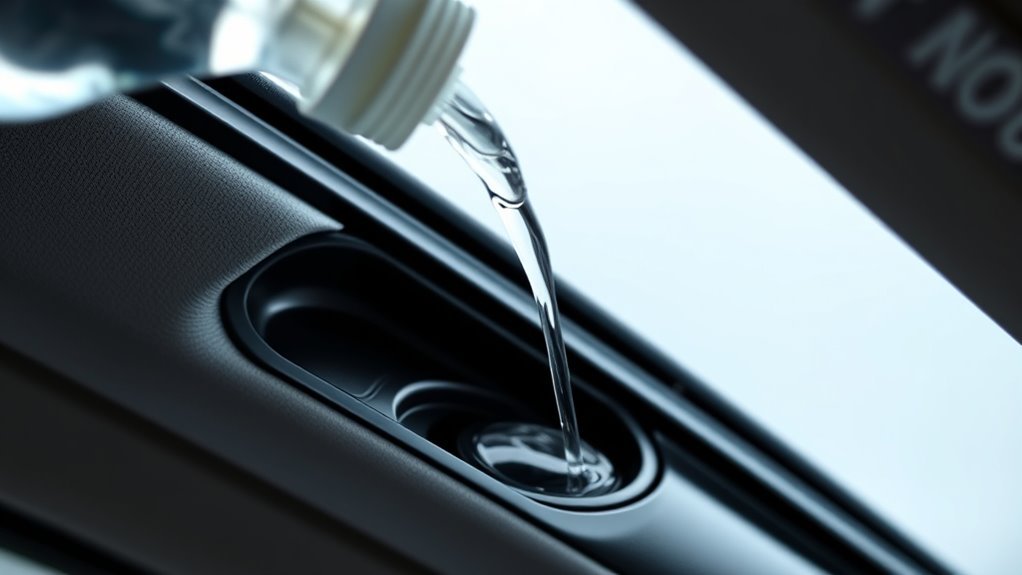
Pour a small amount of water into one sunroof channel corner and watch for flow toward the expected outlet area. Use only a slow stream so you don’t overflow the channel. Outlet locations can vary by model year, so confirm the route before assuming a drain has failed.
If water stalls, backs up, or enters the cabin, stop the test. Clear the tube again with flexible trimmer line or light compressed air. Repeat the water test until each drain flows without pooling.
[Products Worth Considering]

Package Includes: You will receive a set of sunroof drain cleaning tools, including a 120 inch sunroof drain brush, two 7 inch cleaning brushes, a 39 inch injector hose, and an 80ml injector. These tools are specially designed for cleaning narrow pipes that are difficult to reach.
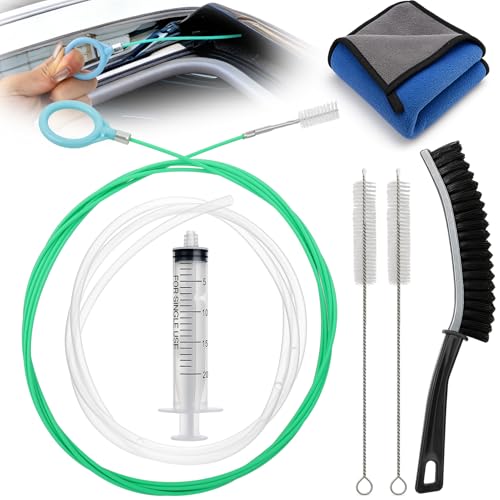
Extra-Long Reach for Thorough,No-Dead-Zone Cleaning:Do you find yourself frustrated when cleaning your car sunroof drain holes because standard brushes just aren't long enough to reach those narrow, hidden channels? Our sunroof drain brush in this cleaning kit features an upgraded length of 118 inches—long enough to effortlessly tackle those hard-to-reach narrow channels. Its flexible design even handles curved pipes with ease, clearing obstructions in both straight and bent conduits. Restore your sunroof drainage system to unimpeded flow.

Package Includes:Includes 1 piece 118-inch sunroof drain brush, 2 pieces 35.4inch detail cleaning brushes, 1 syringe, and 1 syringe hose,specially designed for cleaning hard-to-reach narrow pipes, such as those in your car sunroof drain and auto sunroof drain cleaner systems, fully meeting your daily usage needs.
Pour Water Into Channel
Remove loose debris from the channel by hand before you pour water. Use a cup or low-flow bottle and add water slowly at one corner. Watch the outlet point for prompt flow.
- Use a small water volume so the channel doesn’t overflow.
- Watch for pooling because it signals a blockage.
- Test one corner at a time for easier diagnosis.
- Repeat the test after heavy rain or after parking under trees.
Inspect Drain Exit Points
Inspect each drain exit point for mud, leaves, or trapped road grit. Water should flow freely and exit outside the cabin. If flow looks weak, clean the outlet area and test again.
For stubborn clogs, guide flexible trimmer line into the drain with light pressure. Don’t push so hard that you disconnect the tube behind the trim. Test again after clearing and dry any wet interior area right away.
Lubricate Sunroof Tracks & Hinges Safely
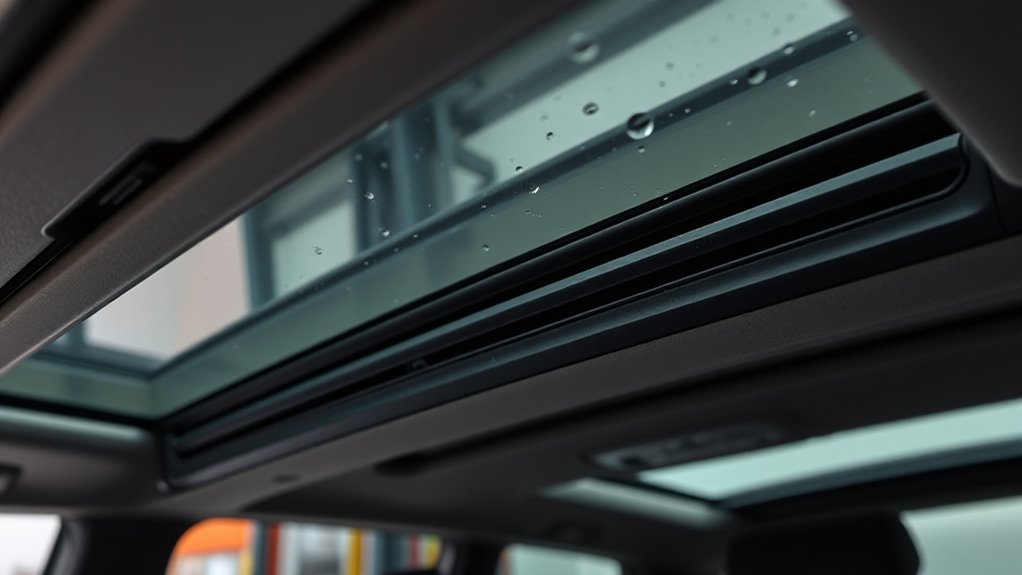
Choose a lubricant made for automotive sunroof tracks or use the product your owner’s manual recommends. Silicone spray can help rubber seals, while some track points may need a different approved grease. Avoid petroleum products on rubber because they can dry, swell, or weaken the seal.
Select automotive-grade lubricant, apply it sparingly to tracks and hinges, then cycle the sunroof to spread it evenly.
- Apply lubricant lightly because excess grease attracts grit.
- Focus on moving track points, hinge pivots, and sliding channels.
- Keep lubricant away from fabric, switches, and exposed electrical parts.
- Cycle the sunroof several times and wipe away extra product.
Lubricate the system at least twice a year if you use the sunroof often. Clean before you lubricate so dirt doesn’t turn the grease into abrasive paste. If the roof still binds, stop using it and inspect the tracks again.
Pro tip: Spray silicone onto a cloth first, then wipe the seal instead of soaking the roof opening.
Inspect, Clean & Spot-Repair 4Runner Sunroof Rubber Seals
Inspect the sunroof seals for cracks, hardening, gaps, or uneven compression. Clean the seal surfaces with mild detergent and a soft cloth, then dry them fully. Spot-repair small cuts only when the seal still sits flat and remains flexible.
Inspect Seal Integrity
Run your fingers along the entire seal and feel for splits, ridges, flat spots, or soft areas. Open and close the sunroof while you watch how the rubber compresses. After heavy rain, check the headliner, pillars, and floor for damp spots or musty smells.
- Check the front corners because debris often collects there.
- Watch glass alignment as the sunroof closes.
- Look for wind noise, water marks, or damp trim.
- Replace seals that show wide cracks or uneven seating.
Small defects can spread when heat, road salt, and dirt attack the rubber. Fixing seal issues early helps prevent cabin damage.
Clean Seal Surfaces
Wipe the sunroof seals with a soft cloth and mild detergent. Rinse lightly with a damp cloth, then dry the rubber before treatment. Avoid abrasive pads, petroleum products, and strong solvents.
Apply silicone spray or rubber-safe conditioner sparingly to help the seal stay flexible. Don’t leave wet product on the glass, paint, or fabric trim. Use this simple schedule to keep the seals clean.
| Task | Tool | Frequency |
|---|---|---|
| Visual inspection | Bright light | Monthly |
| Cleaning | Soft cloth, mild detergent | As needed |
| Protectant application | Silicone spray | Every 3–6 months |
Spot Repair Or Replace
When you find cracks, gaps, or hardened sections, decide if the seal needs repair or replacement. Clean the area first and let it dry before any repair. Use only rubber-safe adhesive for small local cuts.
- Repair small cuts only when the surrounding rubber remains flexible.
- Clamp the repaired area gently while the adhesive cures.
- Replace the seal when damage crosses seams or covers several sections.
- Run a water test after any repair or replacement.
A weak seal can let water bypass the drain channel. Replace questionable rubber before it damages the headliner or carpet.
When to Replace Seals & Molding
Inspect your 4Runner’s sunroof seals and molding every six months. Replace them sooner if you find cracks, deformation, softening, shrinkage, or water marks near the opening. Damaged rubber can cause leaks, wind noise, and poor glass seating.
| Task | Guidance |
|---|---|
| Frequency | Every 6 months |
| Signs | Cracks, softening, deformation |
| Parts | OEM seals & molding |
| Who | DIY with skill or professional |
| Risk | Water intrusion, wind noise |
For replacement, isolate power if you work near wiring, clean the contact surfaces, and remove the old seal carefully. Test-fit the new molding before you apply adhesive or seat the seal. After the repair, let any adhesive cure, cycle the glass, and run a controlled water test.
Remove Sunroof Glass & Access Headliner
Remove the sunroof glass only when basic cleaning doesn’t give you enough access. Slide the interior shade back, remove trim pieces carefully, and confirm the fastener count, glass alignment marks, and torque procedure for your exact model year before removal.
Slide the shade back, remove trim carefully, mark the glass position, confirm the fastener layout, and lift the glass straight up with help.
- Mark the glass position before loosening fasteners so you can realign it.
- Keep all hardware in labeled bags during removal.
- Support the glass with a helper to avoid chips or scratches.
- Watch for wiring, clips, and sharp metal edges near the headliner.
Don’t force panels or pull the headliner without checking clip locations. Sunroof glass alignment affects wind noise, leaks, and smooth movement. If you feel unsure, let a qualified technician handle glass removal and reassembly.
Troubleshoot Common Sunroof Leaks
Use the symptom to narrow the cause before you remove parts. Most leaks come from clogged drains, dirty channels, damaged seals, or poor glass alignment. Start with the easiest checks before you touch the motor or headliner.
Motor Runs But Stuck
When the motor runs but the sunroof doesn’t move, inspect the tracks first. Dirt, grit, and broken plastic pieces can jam the mechanism. Clean the tracks, lubricate moving points, and cycle the sunroof only if it moves without force.
- Clear visible dirt and leaves with a soft brush and vacuum.
- Inspect the rails for broken clips or shifted trim.
- Lubricate only after the tracks are clean and dry.
- Stop if the cable skips, clicks, or binds under load.
If the roof still sticks, ask a technician to inspect the motor, cables, and drive assembly. Continued use can make a small track issue more costly.
Water In Footwell
Water in the footwell often points to clogged sunroof drains, a loose drain tube, or leaking seals. Inspect the drain channels and clear visible debris with flexible trimmer line or low-pressure compressed air. Push gently so you don’t damage the drain path behind the trim.
Check the rubber seals for cracks, hard spots, or separation from the frame. Remove debris from the tracks and dry the area before you test again. If the carpet already feels wet, dry it quickly to reduce odor and mold risk.
Slow Or No Drain
Slow drainage often starts with a small clog at the channel opening. Inspect the visible drain mouths and remove leaves, grit, or packed dirt. Pour a small amount of water into the channel and watch each exit point.
- Clean drain openings before using water.
- Use light compressed air only after loose debris is gone.
- Feed trimmer line slowly if water still drains poorly.
- Repeat the flow test after each clearing step.
When to Seek Professional Help
Get professional help if the glass sits unevenly, the motor clicks, the cables skip, or the sunroof stops halfway. You should also get help if water reaches the headliner, airbags, wiring, or electronic modules. Those issues need careful diagnosis and safe trim removal.
Note: If your 4Runner has side-curtain airbags near the headliner, avoid pulling trim until you confirm the safe removal steps.
Preventive Maintenance Schedule & Tips to Avoid Leaks
Clean the tracks and seals with mild detergent or automotive glass cleaner on a regular schedule. Inspect and clear drain channels every few months, especially after storms or parking under trees. Lubricate moving parts at least twice a year with the product your owner’s manual recommends.
Use a simple schedule: check seals monthly, clear drains quarterly, and lubricate tracks twice a year. Replace cracked or aged seals as soon as you find them. Keep a maintenance log so you can spot repeat leaks or slow drain flow.
Book a professional inspection once a year if you use the sunroof often or park outside. A technician can check motor function, cable movement, glass alignment, and drain flow. Preventive care costs less than drying carpet, replacing trim, or tracing hidden water damage.
Source and Safety Notes
This guide uses general sunroof maintenance principles and points you back to Toyota’s official manual resources for model-year-specific operation, warnings, and trim procedures. If your 4Runner has had prior body repair, aftermarket glass work, or repeated leaks, treat it as a diagnostic job rather than a simple cleaning job.
- Use the owner’s manual first: confirm the service position, switch behavior, and warnings before moving the glass or removing trim.
- Keep water tests controlled: use a small volume so you test the drain path without flooding the tray.
- Escalate early: wet headliner, airbag-area moisture, electrical symptoms, or repeated drain failure need professional inspection.
Frequently Asked Questions
How do you clean 4Runner sunroof seals?
Clean the seals with mild detergent, a damp cloth, and light pressure. Dry the rubber fully, then apply a thin layer of silicone spray or rubber-safe conditioner. Avoid petroleum products because they can damage rubber over time.
How do you rejuvenate a sunroof seal?
You can refresh a dry but intact seal by cleaning it, drying it, and applying a rubber-safe silicone conditioner. Massage the product in with a cloth and wipe away excess. Replace the seal if it has deep cracks, gaps, or hard sections.
How often should you clean 4Runner sunroof drains?
Check the drains every few months and after heavy rain, leaf fall, or dusty driving. Clean them sooner if you see pooling water in the sunroof channel. A quick water-flow test helps confirm each drain works.
Can compressed air damage sunroof drains?
Strong compressed air can push debris deeper or disconnect a weak drain tube. Use short, low-pressure bursts only after you remove loose dirt by hand. Flexible trimmer line gives you better control for stubborn clogs.
Where are 4Runner sunroof drains located?
Most sliding sunroof systems route water from the sunroof tray through drain paths that exit outside the cabin. Exact drain mouth and outlet locations can vary by 4Runner generation and trim, so use your model-year manual or service information before probing a drain tube.
Why does my 4Runner smell musty after rain?
A musty smell after rain often means moisture reached the carpet, headliner, or insulation. Check the sunroof drains, door seals, windshield area, and floor mats. Dry the cabin quickly and fix the leak source before odor gets worse.
Conclusion
A clean 4Runner sunroof needs clear drains, flexible seals, and smooth tracks. Start with gentle cleaning, then test water flow before you finish the job. Keep a simple maintenance schedule and act fast when you see pooling, damp carpet, or cracked rubber. With steady care and model-year-specific checks, your sunroof can stay quiet, smooth, and watertight through each season.