
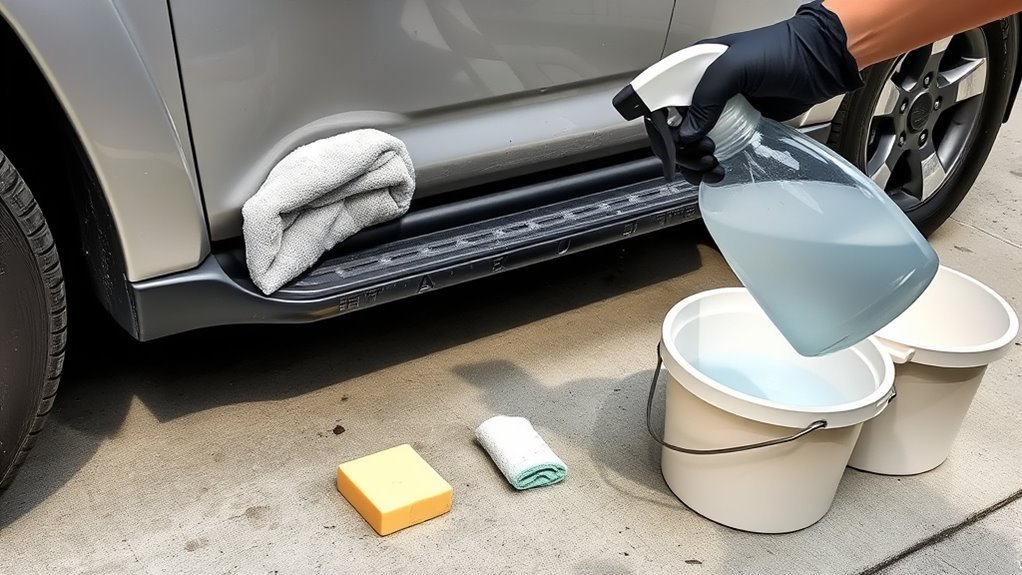
Road tar can stick hard to the lower doors, rocker panels, wheel arches, and rear bumper of your Toyota 4Runner, but you do not need to scrub the paint to remove it. The safest method is to wash the area first, work on cool paint in the shade, use a dedicated automotive tar remover in small sections, let the product soften the contamination for the label-directed time, lift the tar with clean microfiber, then wash and protect the panel afterward.
Last updated: September 16, 2026
Quick Answer
To remove road tar from a 4Runner without damaging paint, wash the panel, test a paint-safe automotive tar remover on a hidden spot, apply it only to the contamination, follow the product’s dwell-time directions, and wipe gently with a clean microfiber cloth. Rinse and wash the area afterward. Reapply wax, sealant, or another compatible protectant if the remover has reduced the existing protection.
Key Takeaways
- Start with a dedicated automotive tar remover labeled for cured automotive paint, not an industrial or household solvent.
- Always spot-test first, especially on repainted panels, decals, textured trim, matte finishes, wraps, or paint protection film.
- Use clean microfiber and light pressure. Reapply the remover instead of scraping or scrubbing a resistant tar spot.
- Follow the exact product label for dwell time, dilution, rinsing, ventilation, and surface compatibility.
- Wash the treated panel afterward and restore wax, sealant, or other compatible protection when needed.
At a Glance
| Time Required | Varies with the amount and age of the tar; stubborn contamination may need several short treatment cycles |
| Difficulty | Easy for fresh tar; moderate for old, heavy, or baked-on buildup |
| Tools Needed | Car shampoo, water, dedicated automotive tar remover, several microfiber towels, nitrile gloves, optional detailing clay for tiny residue after chemical removal |
| Best First Choice | A dedicated automotive tar remover whose label specifically permits use on cured automotive paint |
Check the 4Runner Surface Before Removing Road Tar
Before choosing a chemical, identify the surface underneath the tar. A product that is compatible with factory-cured clear coat may not be suitable for textured plastic, fresh repaint, vinyl, matte finishes, wraps, or paint protection film. Treat the surface type as the first decision and the tar remover as the second.
| Surface | Safest Starting Point | Stop or Change Course If |
|---|---|---|
| Factory-painted lower door, rocker, fender, or bumper panel | Paint-labeled automotive tar remover, hidden spot-test, microfiber, short label-directed treatment cycles | You see haze, color transfer, swelling, tackiness, or other finish change |
| Textured or unpainted plastic trim | Use only a cleaner whose label explicitly permits that material | The product can stain, soften, bleach, or change the sheen of the plastic |
| PPF, vinyl wrap, decal, or matte finish | Follow the film, wrap, finish, or installer’s care instructions before applying solvent | Edges lift, gloss changes, adhesive softens, or the care instructions do not approve the product |
| Repainted or recently repaired panel | Ask the body shop or paint supplier what is safe for that coating and cure stage | The finish history or cure status is unknown |
What Is the Safest Quick Method for 4Runner Road Tar?
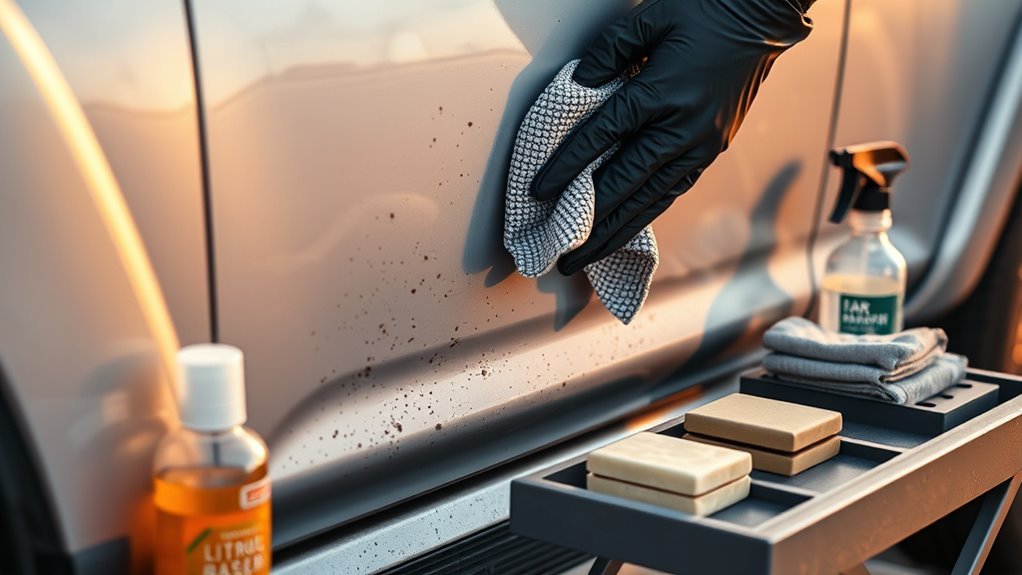
Start with a dedicated automotive tar remover such as Stoner Tarminator or another product whose label permits use on cured automotive paint. Tarminator’s manufacturer directions call for an inconspicuous test, a cool surface, small treatment areas, a 30-to-60-second dwell, prompt wiping, and immediate rinsing rather than extended soaking. Always follow the directions on the exact product in your hand.
- Cool the paint. Park in shade and let hot panels cool before using any chemical.
- Wash or pre-rinse first. Remove loose grit so it does not scratch the paint while wiping.
- Spot-test. Apply a tiny amount in a hidden area according to the product directions, then inspect for haze, swelling, color transfer, tackiness, or softening.
- Treat only the contamination. Work in small areas and use the product’s specified amount and dwell time.
- Lift gently. Wipe with a clean microfiber towel and fold to a clean section frequently.
- Rinse and wash. Remove tar and cleaner residue, then dry with a soft towel.
This method works best on fresh tar dots and light lower-panel splatter. If a spot remains, repeat another label-compliant treatment cycle instead of increasing wiping pressure.
Warning: Do not use gasoline, brake cleaner, lacquer thinner, acetone, steel wool, metal or household razor blades, magic erasers, or abrasive pads on 4Runner paint. Do not substitute a stronger solvent simply because a paint-labeled product needs more than one application.
[Products Worth Considering]

Meguiar's Ultimate Liquid Wax delivers a glossy finish, long-lasting protection, and exceptional water beading in an easy one-step application. Its pure synthetic formula helps shield paint from contaminants and UV rays while enhancing depth, shine, and reflections on glossy finishes and clear coats. Designed for simple use by hand or with a dual action polisher, it applies smoothly even in full sun for professional-looking results.
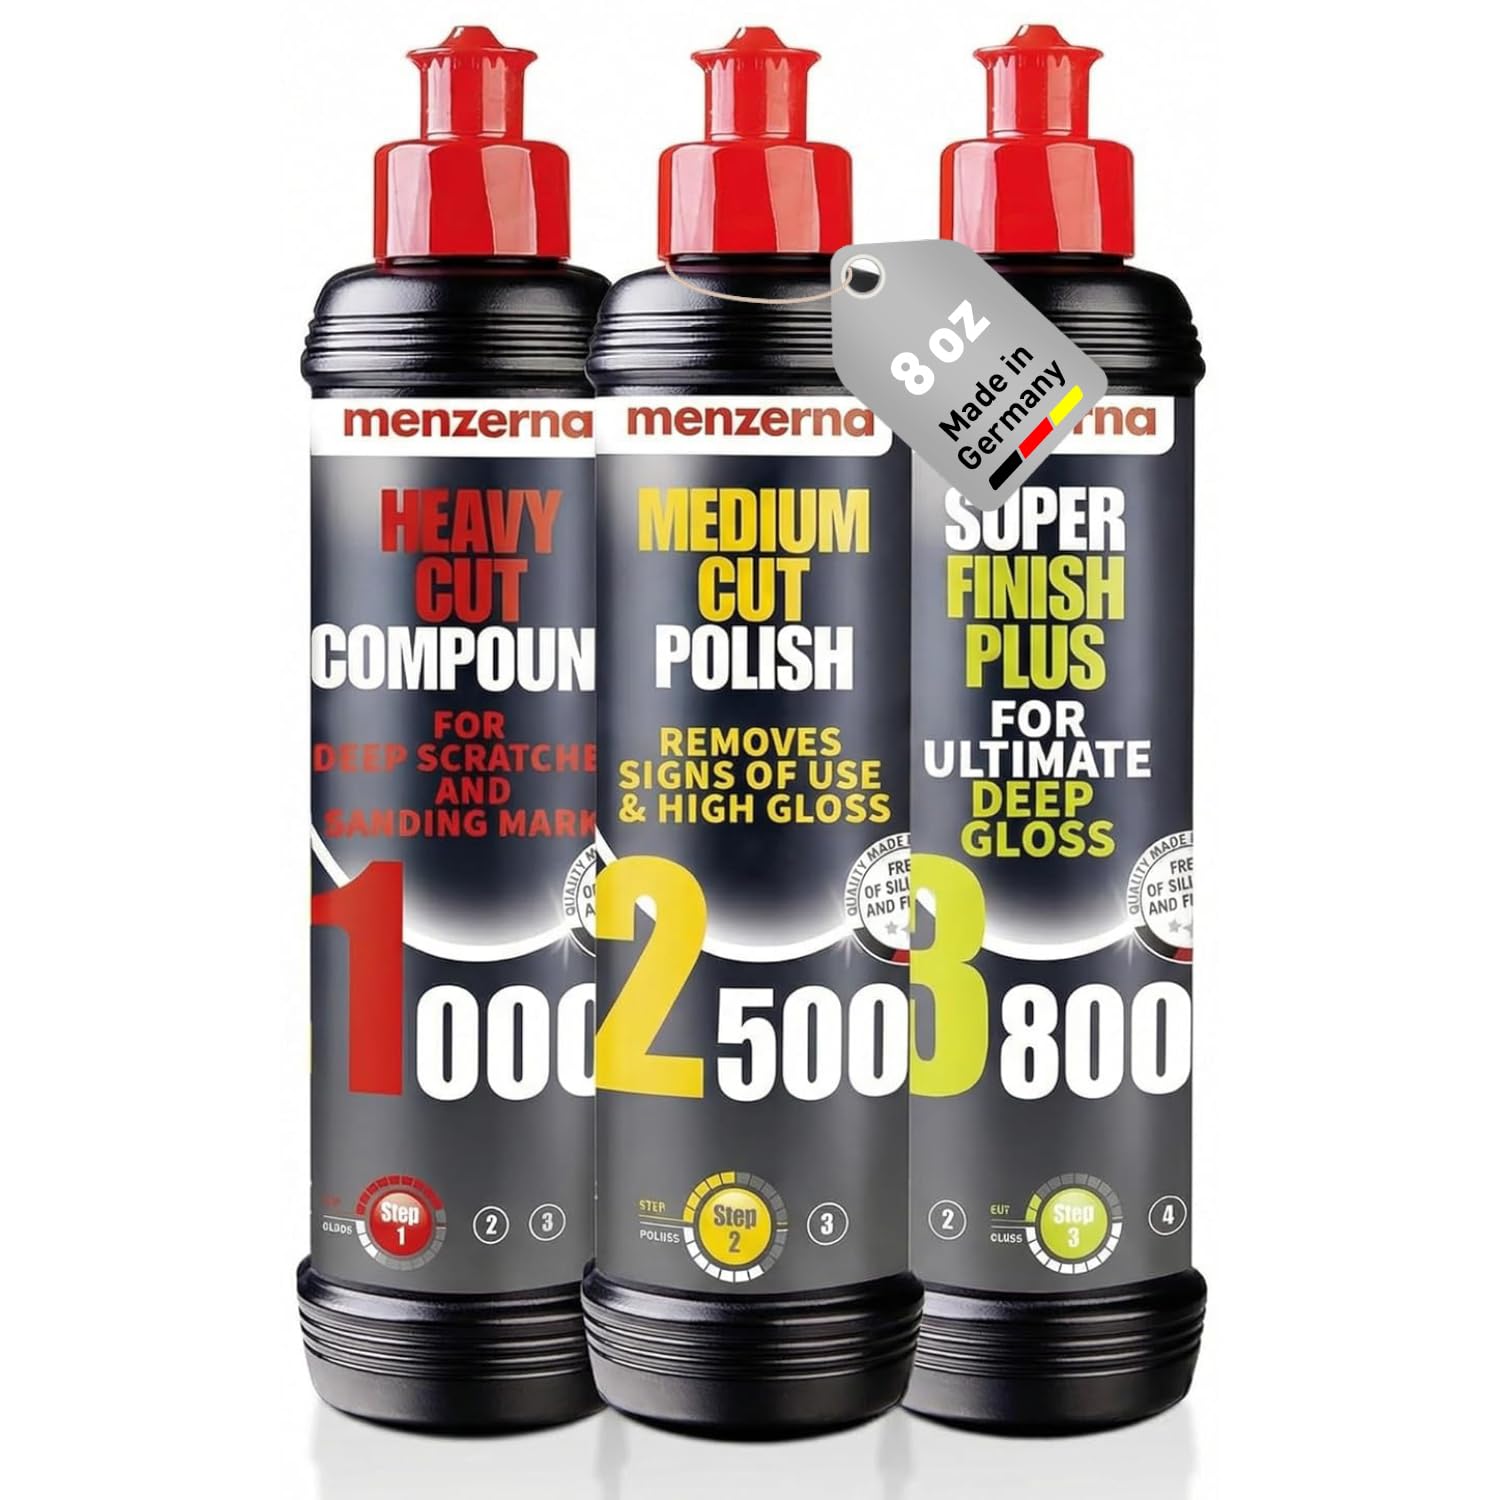
This Menzerna polishing set delivers a complete three-step paint correction process for removing scratches, refining surface defects, and producing a deep, mirror-like gloss. It combines heavy cut, medium cut, and super finish compounds to help restore clarity and create professional-quality results for detailing projects. Ideal for enthusiasts and professionals, it simplifies achieving a smooth, showroom-worthy finish.

Armor All Ultra Shine Car Wash and Wax combines cleaning power and wax protection in one easy step for a brilliant finish. Its pH neutral formula helps gently lift dirt, enhance water beading, and support faster drying while delivering a deep, mirror-like shine. Safe for automotive surfaces when used as directed, it is ideal for keeping cars, trucks, and motorcycles looking freshly detailed.
Which Tar Removers Are Safest for 4Runner Paint?
The safest choice is the least aggressive product whose manufacturer specifically allows the intended automotive surface. A dedicated consumer automotive tar remover should normally come before general-purpose or industrial cleaners. If the panel is repainted, wrapped, protected by PPF, matte, or otherwise non-standard, check that surface’s care instructions first.
| Option | When It Makes Sense | Critical Limitation |
|---|---|---|
| Tarminator or another dedicated automotive tar remover | Normal road tar on compatible cured painted exterior surfaces | Follow the exact label. Tarminator warns against clear plastics and solvent-sensitive materials and requires prompt rinsing. |
| Citrol 266 | An advanced cleaner when its technical directions specifically fit the job | Schaeffer says painted surfaces require diluted product, an initial spot-test, immediate rinsing, and no use on fresh paint. Do not let it dry. |
| WD-40 Multi-Use Product | A small tar spot when a dedicated automotive tar remover is unavailable | WD-40 says it may soften or remove wax or polish. Test first, wipe gently, then wash the area. See WD-40’s tar-removal guidance. |
| Professional detailer | Large areas, unknown repaint history, damaged finish, PPF/wrap edges, or tar that resists repeated safe treatment | Stop before escalating to an unlabeled industrial solvent or aggressive scraping tool. |
Skip household-oil and food-based hacks when a labeled automotive product is available. They add oily residue and do not provide the same surface-compatibility instructions as a purpose-made cleaner.
Note: If your 4Runner has aftermarket paint, a wrap, decals, matte finish, or PPF, follow the coating, film, or installer’s care instructions before using tar remover. A cleaner that is acceptable on cured factory clear coat is not automatically safe on every neighboring material.
[Products Worth Considering]

Meguiar's Ultimate Ceramic Coating Kit delivers durable paint protection with enhanced gloss, slickness, and impressive water beading for easier washing and drying. Its spray-on, wipe-off application makes it simple to use, while helping conceal light defects and adding protection to glossy paint, trim, decals, paint protection film, and wheels.

This complete vinyl wrap applicator kit provides the essential tools needed for smooth vehicle wrapping, window tinting, and film installation. It includes a versatile mix of squeegees, cutting tools, holding magnets, and protective accessories to help with corners, bumpers, marking, trimming, and finishing. Designed for precision and convenience, it supports cleaner application and more efficient installation on a variety of wrap and film projects.

HOMEXCEL Professional Large Microfiber Car Drying Towels deliver a soft, scratch-free clean with excellent absorbency for fast, streak-free drying. The extra-large size helps cover cars, SUVs, RVs, trucks, and boats efficiently, while the reusable design supports long-lasting use across many washes. These versatile towels also work well for household cleaning tasks on glass, mirrors, tiles, and more.
Step-by-Step Tar Removal: Test, Apply, Lift, Rinse
Use this method for road tar on a compatible, cured painted 4Runner panel. The goal is to let the approved cleaner soften the contamination so microfiber can lift it with minimal friction.
[Products Worth Considering]

Adam's Advanced Graphene Ceramic Coating delivers long-lasting protection for your vehicle with a durable 10H-rated surface that helps defend against weather, chemicals, UV exposure, and everyday grime. Its patented UV tracing technology makes application easier and more precise, while the slick, high-gloss finish enhances depth of color and repels water for easier maintenance.

Meguiar's Quik Eraser Kit makes it easy to remove light scratches, scuffs, and paint transfer from glossy paint and clear coats with minimal effort. The drill-activated pad and ScratchX formula work together to restore a smooth, polished finish, while the included microfiber towel helps reveal a clean, showroom-worthy shine. It is a convenient all-in-one solution for quick touch-ups and routine vehicle care.

This plastic razor blade scraper set is designed to remove stickers, decals, glue, grease, and paint without scratching delicate surfaces. It includes four ergonomic scrapers and 100 replacement plastic blades for convenient, long-term use on glass, windows, cars, walls, appliances, and more. Easy blade changes and a comfortable grip make it a practical choice for everyday cleaning and removal tasks.
1. Wash the Area First
Rinse the lower doors, rocker panels, fender areas, and bumper area. Wash with automotive shampoo to remove dust, sand, and road grit. Dry the treatment area if the tar-remover label calls for application to a dry surface.
2. Spot-Test the Remover
Apply a small amount to a hidden compatible area using the product’s directions. Inspect the finish under good light. Stop if you see haze, color transfer, swelling, unusual softness, tackiness, staining, or another surface change.
3. Apply a Small Amount to the Tar
Apply the remover exactly as its label directs. Keep the treatment area controlled and avoid unnecessary runoff into badges, trim edges, sensors, seams, decals, or PPF edges.
4. Follow the Product’s Dwell Time
Give the cleaner only the label-directed time to soften the tar. Do not assume that a longer soak is safer or more effective. Keep the panel cool, do not allow a product to dry when its instructions prohibit drying, and rinse when directed.
5. Lift With Microfiber
Wipe lightly with a clean microfiber cloth. Fold the towel often so softened tar is not dragged back across the finish. If the spot still requires pressure, stop wiping and repeat another permitted treatment cycle instead of scraping it.
6. Rinse, Wash, and Dry
Rinse according to the cleaner directions, wash the treated area with car shampoo, and dry it with a clean soft towel. Removing chemical and oily residue gives you a clear view of whether any contamination actually remains.
Pro Tip: Use several microfiber towels rather than one towel for the whole job. Tar quickly loads a towel with sticky contamination; switching to a clean section reduces smearing and unnecessary friction.
What Should You Do With Old or Heavy Road Tar?
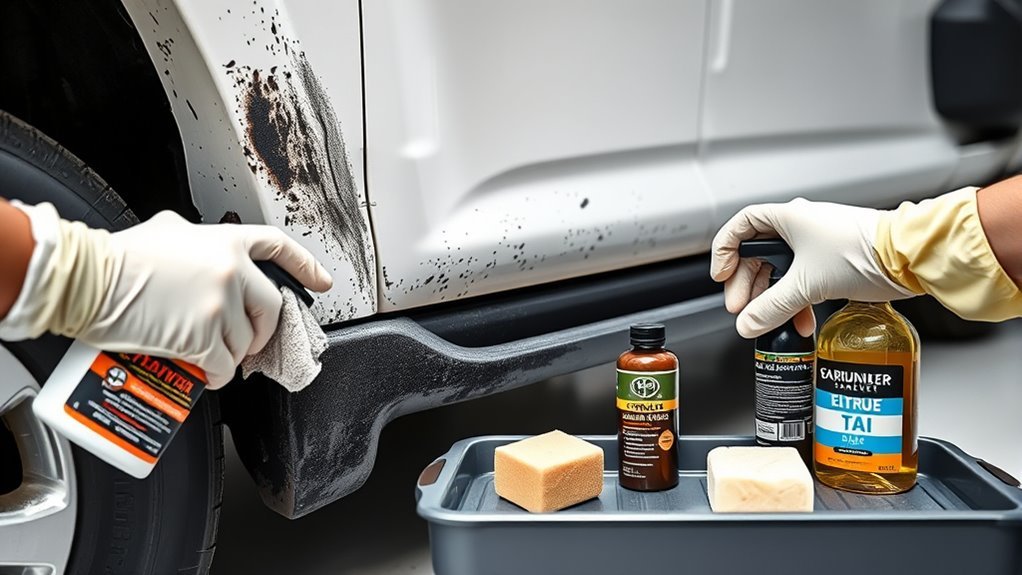
Large tar patches, old asphalt residue, or baked-on lower-panel buildup need patience. Start by repeating the labeled automotive tar-remover process in short cycles. If the tar smears, switch to fresh microfiber and allow the next application to work for the permitted dwell time rather than pressing harder.
If a dedicated automotive remover repeatedly fails, stop before escalating to gasoline, brake cleaner, lacquer thinner, acetone, or another strong solvent that is not labeled for the surface. A professional detailer can inspect whether the remaining mark is still tar, another bonded contaminant, staining, clear-coat damage, or residue that needs a different process.
| Situation | Best Action | When to Stop |
|---|---|---|
| Fresh tar dots | Paint-compatible dedicated tar remover and clean microfiber | If the surface hazes, softens, or transfers color to the towel |
| Thick tar blobs | Repeat controlled chemical-softening cycles within the product directions | If removal requires scraping or increasing pressure |
| Heavy lower-panel splatter | Work in small sections and rotate through multiple clean towels | If nearby trim, PPF, decals, or another material begins reacting |
| Old mark that remains after safe removal cycles | Wash, dry, inspect the finish, and use a professional detailer if the mark cannot be identified safely | If more solvent, longer dwell, scraping, or aggressive polishing would be required |
Call a professional detailer if tar covers a large area, sits on an unknown or recently repaired paint finish, reaches wrap or PPF edges, or remains after repeated label-compliant treatment. Once the contamination is gone, additional solvent cannot repair haze, scratches, staining, or damaged clear coat.
Warning: Follow the cleaner label and safety data for storage and disposal. Do not pour leftover solvents or hazardous household chemicals onto the ground, into a drain, or into a storm sewer. The EPA recommends using local household hazardous-waste programs for products that require special disposal.
Aftercare: Inspect, Protect, and Prevent Future Tar Buildup
After the tar is gone, wash and dry the panel and inspect it under good light. If the surface is smooth and looks normal, the next step is usually protection rather than more cleaning. If the remover or repeated washing has reduced the existing wax or sealant, apply a compatible wax, sealant, or paint-protection product according to its instructions.
If the paint still feels rough, tiny bonded residue may remain. Use detailing clay only after the bulk tar has been chemically removed and the panel is clean. Use plenty of clay lubricant and light pressure. Do not use clay as the first attack on a thick sticky tar spot because the contamination can load the clay and be dragged across the clear coat.
If the panel is smooth but still looks hazy, stained, unusually dull, softened, or visibly scratched, stop applying tar remover. Those symptoms are no longer a simple bonded-contamination problem. An experienced detailer or paint professional can determine whether polishing or another corrective process is appropriate.
To reduce future buildup, clean lower doors, rocker areas, wheel-arch edges, rear bumper areas, and other splash zones soon after driving through fresh paving or roadwork. If you are already cleaning accumulated grime around the lower doors, it is also a good time to clean your 4Runner door jambs and weather seals.
The safest tar-removal rule is simple: let the approved cleaner soften the contamination, let clean microfiber lift it, and never make extra pressure the solution.
Frequently Asked Questions
How do you get road tar off a car without damaging paint?
Wash away loose grit first, spot-test a dedicated automotive tar remover, apply it according to the label, give it the specified dwell time, and lift the softened contamination with clean microfiber. Rinse and wash afterward. Repeat the chemical treatment instead of scrubbing or scraping a resistant spot.
Will WD-40 remove road tar from a 4Runner?
WD-40 Multi-Use Product can loosen road tar, and WD-40 publishes instructions for that use. However, the company warns that it may soften or remove wax or polish. Use it only on a compatible surface, test first, wipe gently, then wash the treated area afterward.
Can road tar damage Toyota 4Runner paint?
Road tar should be removed promptly rather than allowed to harden and collect more road grit. The biggest avoidable risk during DIY removal is damaging the clear coat with aggressive rubbing, scraping, or an incompatible solvent. Use a paint-compatible cleaner and light pressure.
Does tar remover remove wax or sealant?
Some tar removers and general-purpose solvents can weaken or remove wax, polish, or sealant in the treated area. Check the cleaner label, wash the panel after tar removal, inspect the finish, and reapply compatible protection when needed.
What dissolves asphalt tar on car paint?
A dedicated automotive tar remover is the safest starting point because it is sold with specific surface and application directions. Use the least aggressive product that is labeled for your surface rather than escalating to gasoline, brake cleaner, lacquer thinner, acetone, or another unlabeled solvent.
Can I use a clay bar to remove road tar?
Use clay only after the bulk of the tar has been chemically softened and removed. A lubricated clay bar can help with tiny remaining bonded specks, but thick sticky tar can load the clay and be dragged across the clear coat. Use plenty of lubricant and light pressure.
When should I call a professional detailer?
Use a professional if the tar covers a large area, the panel has unknown or recent repaint work, contamination reaches PPF or wrap edges, the finish reacts to the cleaner, or the mark remains after repeated label-compliant treatment. Stop before stronger solvents or aggressive scraping turn a contamination problem into paint repair.
Conclusion
You can remove road tar from your Toyota 4Runner safely by matching the cleaner to the surface and letting chemistry do the work. Start with a clean, cool panel, spot-test a dedicated automotive tar remover, follow its exact dwell and rinsing directions, and lift softened contamination with fresh microfiber instead of pressure. Rewash and protect the panel afterward. If the finish reacts, the vehicle has sensitive film or repaint work, or the tar will not release after repeated safe treatment, stop and use a professional detailer rather than escalating to stronger solvents.
Sources
- Stoner Car Care Tarminator — automotive tar-removal use, compatibility testing, cool-surface guidance, controlled dwell time, and rinsing precautions.
- Schaeffer Citrol 266 Technical Data — road-tar use plus dilution, painted-surface, rinsing, drying, and fresh-paint cautions.
- WD-40: How to Remove Tar From Car Surfaces — manufacturer tar-removal procedure and wax/polish compatibility warning.
- EPA Household Hazardous Waste — household chemical and solvent disposal guidance.
- Toyota Owner’s Manuals and Warranty Information — model-year-specific Toyota exterior-care and owner-information reference.


[…] pressure washer can help remove packed road grime, but it should be used with restraint. For painted surfaces, use a wide fan nozzle and keep the […]