
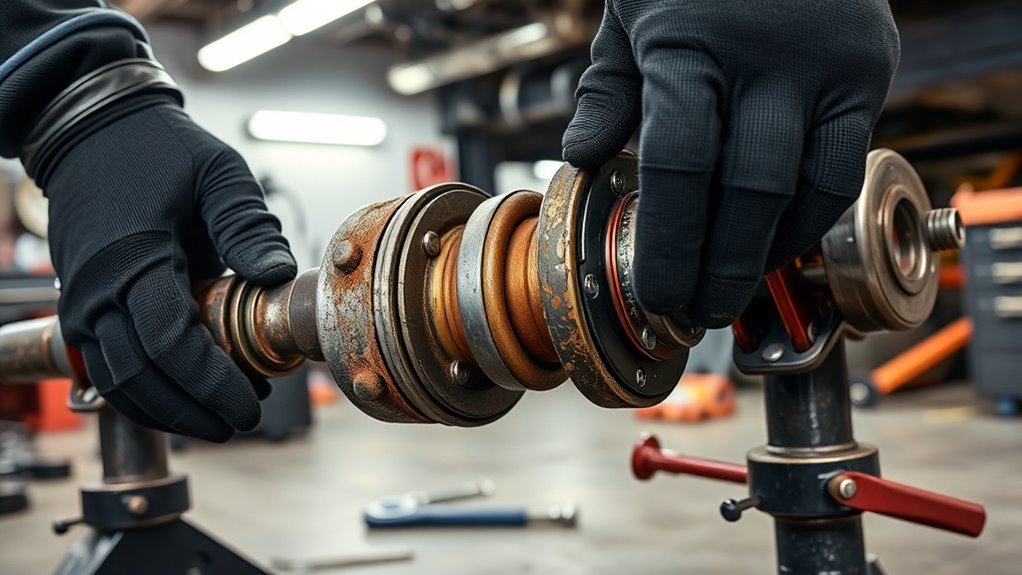
Find the driveshaft between the transmission and rear differential and inspect the cross-shaped U‑joints for play, rust, grease leaks, or missing needles. If you hear clunks during shifts, feel vibrations at speed, or hear rhythmic squeaks under load, stop driving and check caps by prying and spinning the shaft. Measure play and pinion angle with calipers and an angle finder, grease serviceable joints, or replace sealed/worn units. Continue for step‑by‑step removal, install, torque, and test tips.
Find the 4Runner U‑Joint
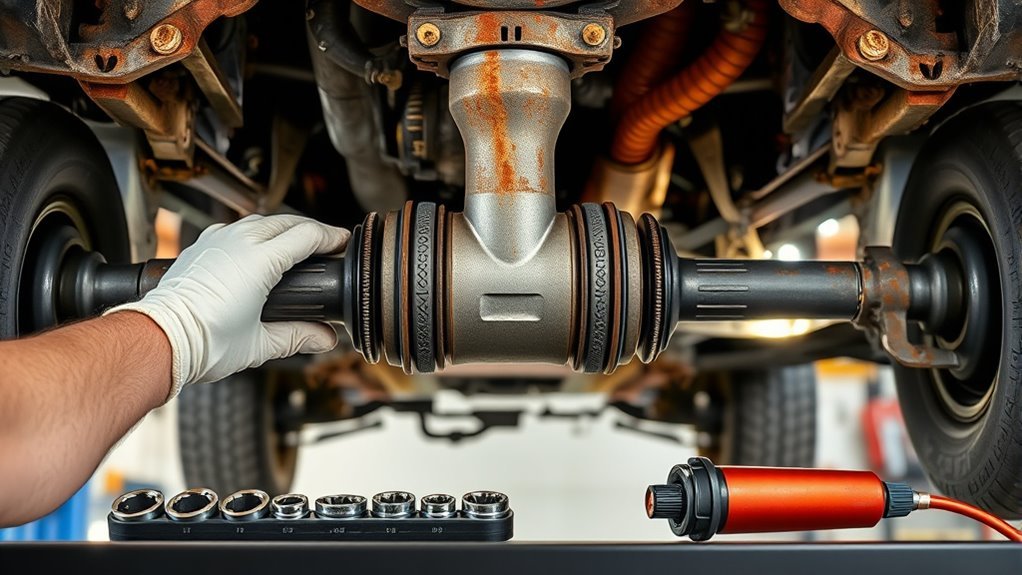
When you look under your 4Runner, locate the driveshaft running from the transmission to the rear differential and spot the cross-shaped U-joints at each end where the shaft connects to the yokes; these joints allow the drivetrain to flex with suspension movement and are the points to inspect for clunking, vibration, or rust. You’ll position yourself safely, use adequate lighting, and trace the shaft to both transmission and differential connections. Confirm locations visually, then use basic driveshaft inspection methods: pry test the caps for play, spin the shaft to feel roughness, and look for leaked grease or corrosion at the bearing caps. Apply U joint maintenance tips: keep fittings greased where serviceable, note any metal flakes, and document wear for progressive repair planning. You’re diagnosing, not guessing—focus on observable wear, quantify play, and prioritize replacement based on condition to reclaim dependable, liberated mobility.
Is My U‑Joint Failing? Quick Verdict
If you hear clunks, feel vibrations at speed, or notice rhythmic squeaks during acceleration, your U‑joint is likely failing — check for play in the driveshaft and rust or missing needle bearings at the caps. If any of those symptoms or excessive shaft movement are present, don’t drive hard: secure the vehicle, avoid highway speeds, and arrange for immediate inspection or tow. Regularly inspect and grease serviceable joints to prevent recurrence and guarantee safe drivetrain operation.
Quick Symptom Checklist
Start with a quick audit: listen for loud clunks when you shift into drive or reverse, feel for vibrations at speed, and check for rhythmic squeaks that change with engine or road speed. You’re diagnosing quickly; use these targeted checks to decide if the joint demands attention. Apply U joint maintenance tips and ignore common U joint myths that downplay symptoms.
- Clunking: excessive play on shift — likely worn cross or caps.
- Vibration: driveline imbalance at speed — suspect bearing collapse or shaft runout.
- Squeak/visual: rhythmic noise plus rust or missing needles — lubrication failure or bearing loss.
If any item matches, the joint’s compromised. You’ll want measured action, not fear—restore control and mobility.
Immediate Safety Steps
Because a failing U‑joint can suddenly seize or separate, stop driving at the first clear sign—clunks on shift, speed‑dependent vibration, rhythmic squeaks, visible rust, or loose play—and move the vehicle to a safe spot off the road. You’ll perform quick diagnostic checks: park, engage parking brake, chock wheels, and visually inspect the U‑joint for rust, missing needle bearings, or grease loss. With the vehicle secured, pry and rotate the driveshaft by hand to detect excessive play or roughness. If vibration or clunks persist, don’t resume driving. Call for a tow or prepare to replace the U‑joint. These safety precautions and emergency measures protect you and let you reclaim control—avoid improvising repairs on the roadside; get professional service or a proper parts swap.
Spot U‑Joint Symptoms: Clunks, Squeaks, and Vibration
If you hear a sharp clunk when you apply throttle or shift into gear, that’s usually excessive play in the U‑joint under load and needs inspection. A persistent squeak at low speed typically signals a dry or failing bearing that’s losing lubrication. Mid‑range vibrations at road speeds point to driveshaft imbalance from a deteriorating U‑joint and warrant immediate attention.
Clunking Under Load
When you hear a distinct clunk as you shift into drive or reverse or feel it under acceleration, that’s often a U‑joint with excessive play—wear has let the cross or bearing caps move instead of holding the driveline steady. You should treat this as an immediate sign during U joint maintenance and apply a focused Clunking diagnosis: inspect flange-to-shaft play, check for loose or damaged bearing caps, and verify driveline alignment. Don’t tolerate it; liberation from breakdowns requires prompt intervention.
- Measure axial/play movement at each joint under load to quantify wear.
- Visually inspect seals, caps, and grease presence; absence indicates failure.
- Replace or service the U‑joint immediately if measurable play or metal debris is found.
Squeak At Low Speed
After you’ve checked for clunks under load, listen for a persistent squeak at low speeds—it’s a classic sign the U‑joint bearings are running dry or wearing unevenly. You’ll diagnose by isolating drivetrain sources: with parking brake set, put vehicle in neutral and slowly rotate driveshaft by hand; feel for roughness and hear squeaking causes tied to bearing rust, metal‑on‑metal contact, or collapsed seals. Grease fittings that don’t accept lubricant indicate internal failure. Prioritize lubrication importance — a properly greased joint suppresses noise and delays replacement. Inspect boot integrity, yoke alignment, and play at each bearing. If grease won’t flow or you detect scoring, schedule immediate service or swap the U‑joint to prevent accelerated wear and potential driveline failure.
Mid‑Range Vibrations
Vibration between about 40–50 mph often points to a worn U‑joint, and you’ll feel it as an oscillating shake that grows with speed and load. You’ll also detect a rhythmic tonal change as imbalance from a failing joint transmits through the driveline. Diagnose quickly: assess play, rust, and grease condition; clunks on shifts mean excess play, squeaks that vary with speed usually indicate poor lubrication.
- Check for play at the yoke and visible rust — signs you need U joint maintenance.
- Inspect seals and grease fittings — dry bearings cause squeaks and are primary vibration causes.
- Replace a suspect U‑joint promptly to prevent driveline damage and reclaim control and freedom on the road.
Quick No‑Tool Checks You Can Do Now
Start by listening and feeling: put the vehicle in gear (or have a helper gently roll it) and note any clunks when engaging drive or reverse, steady squeaks that change with speed, or vibrations at cruising speed—these symptoms point to excessive play or lubrication loss in a U‑joint. For quick no‑tool checks, sit in the driver’s seat and perform a basic noise diagnosis: shift between drive and reverse, then coast at low speed while varying RPMs to isolate squeaks versus balance issues. Step outside and inspect the driveshaft visually for rust, torn seals, or missing needle bearings at the caps—those are immediate red flags. With the vehicle safely parked and brakes set, grasp the driveshaft near each U‑joint and attempt small up/down and side/side motions; measurable looseness means worn bearings. These checks are part of prudent U joint maintenance: they don’t replace measurements but tell you whether immediate service or further testing is required.
Measure Play and Pinion Angle With Tools
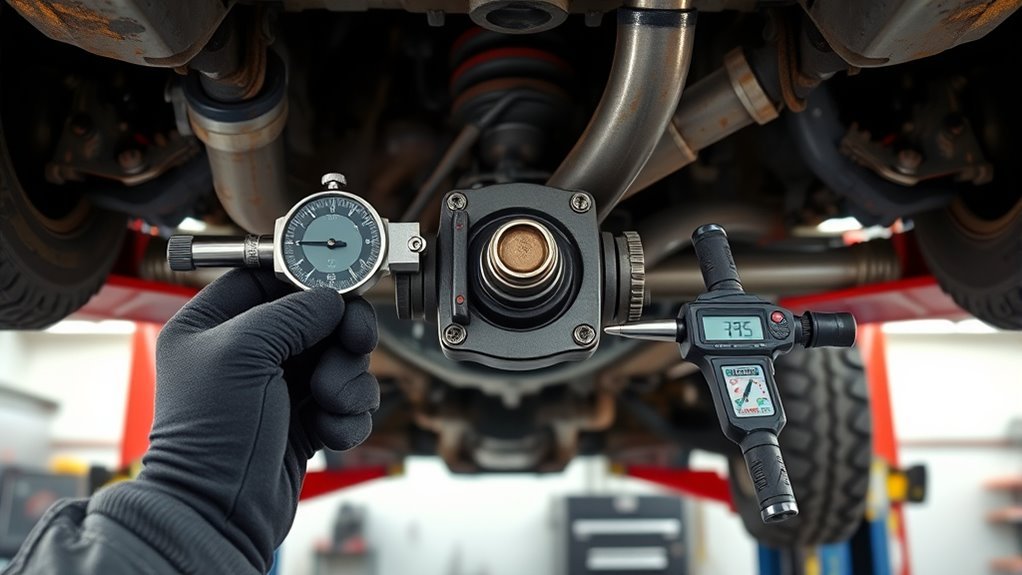
Those quick no-tool checks will tell you if further measurement is needed, so now grab a caliper and angle finder to quantify play and pinion angle. Use the caliper to record U-joint cap diameter and overall width so you can source the correct replacement. For play measurement, support the driveshaft, then gently wiggle it and note axial or radial movement at each cap; any perceptible slop means wear. A magnetic digital angle finder lets you measure the driveshaft and pinion angles; compare them with the service manual, because U-joint operating angles generally need to stay small (a few degrees) and roughly equal at each end. Keep reference marks on the driveshaft to guarantee repeatable alignment during removal and installation.
- Measure cap diameter and overall width with a caliper to identify parts.
- Quantify play: document axial/radial movement at each U-joint.
- Record driveshaft and pinion angles and correct them if they are outside the service-manual range.
You’ll diagnose accurately, maintain driveline freedom, and avoid compounding stress on 4Runner components.
Grease or Replace: A 4Runner Decision Guide
If your 4Runner’s U-joints still have grease fittings and show only light play or surface corrosion, re-greasing is the low-cost first step; however, if you hear clunks, persistent vibrations, or any cap slop under axial/radial checks, you should plan on replacement. You’ll choose greasing or replacing by evaluating wear indicators, joint type, and symptoms. Use proper greasing techniques: purge old grease, inject until seals bulge, wipe excess. Sealed joints can’t be serviced — replace them if they show noise, binding, or looseness. Replacement costs typically run $250–$450; factor labor and alignment to avoid premature failure. Liberation-minded owners will prioritize preventative maintenance and decisive swaps when diagnostics demand it. Inspect regularly, document play measurements, and act on definitive wear indicators rather than marginal signs.
| Condition | Action | Notes |
|---|---|---|
| Light play/surface rust | Re-grease | Use proper greasing techniques |
| Sealed joint | Replace | Cannot be serviced |
| Clunking/vibration | Replace | Indicative wear indicators |
| Slight noise | Inspect | Measure play and monitor |
Remove the Driveshaft Safely (Step‑by‑Step)
- Begin with driveshaft maintenance and strict safety precautions: lift the 4Runner securely and set quality jack stands so you can work without constraint. Verify stability before going underneath.
- Use the proper socket and wrench set to unbolt the driveshaft at the differential and transmission/transfer case. Label and bag hardware immediately to prevent loss; cataloging accelerates reassembly.
- Detach the driveshaft from the yoke by wiggling gently—never force it. Remove any snap rings or retaining clips with snap ring pliers for precision. Once free, slide the shaft straight out of the transmission or transfer case, controlling motion to avoid sudden shifts.
These steps are diagnostic and technical: you’ll inspect yokes, splines, and U-joint faces as the shaft exits. Move deliberately, maintain workspace clearance, and respect safety precautions so driveshaft maintenance becomes an act of reclaiming control—efficient, exact, and liberating.
Install a New 4Runner U‑Joint: Tools and Torque
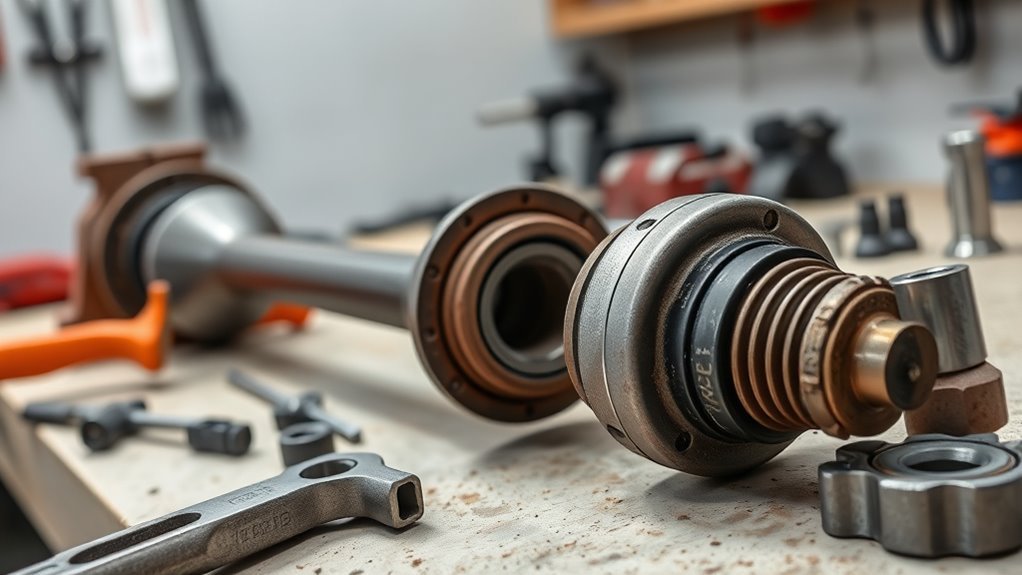
With the driveshaft out and the yoke exposed, gather a hydraulic press, snap ring pliers, a brass punch, and a socket/wrench set before you begin; these tools let you remove and install bearing caps safely and accurately. Clean the yoke and surrounding area to prevent contamination; debris ruins seals and undermines U joint maintenance goals. Measure the old cap diameter and overall width precisely so you choose a part with correct U joint compatibility.
Grease the replacement U‑joint before assembly. Use the press to seat bearing caps squarely, protect threads, and avoid hammer trauma; a brass punch helps align caps without marring surfaces. Install snap rings to factory depth to lock caps. Torque driveshaft bolts with a calibrated torque wrench to the manufacturer’s spec—under‑torque invites movement, over‑torque crushes bearings. Work methodically, verify dimensions and part fitment, and insist on correct compatibility to reclaim control of drivetrain reliability.
Post‑Install Checks, Balancing, and Test‑Drive Tips
Now that the U‑joint and driveshaft are reinstalled, confirm torque on every fastener to spec and visually inspect the yoke and shaft for alignment or damage before you lower the vehicle. Tighten to manufacturer’s values, then perform a driveshaft inspection for runout, dents, or wobble. Liberation comes from confident, repeatable checks.
Confirm fastener torque to spec, inspect yoke and shaft for runout or damage, then recheck after a test drive.
- Use a balancing machine or add calibrated weights to eliminate residual vibration; an unbalanced driveshaft will betray you at speed.
- Test-drive under varied loads and speeds, listen for clunks, hums, or rhythmic vibration; monitor the U joint maintenance points — play, binding, and lubrication.
- After the drive, recheck torque, retest alignment, and inspect seals and caps for movement or grease leaks.
If you detect excessive play or binding, stop and correct alignment or replace components. These diagnostic steps close the loop on installation, guarantee safety, and free you from uncertainty.
Frequently Asked Questions
How Much Does It Cost to Replace a 4runner U-Joint?
You’ll pay about $250–$450 for a 4Runner u-joint replacement; DIY parts cost $20–$100. Consider u joint materials, replacement frequency, and upgraded heavy-duty units raising costs; keep greasing inspections to postpone failure.
What Are the Signs of a Worn U-Joint?
Common signs include clunks when shifting, feel vibrations at speed during vibration diagnosis, notice rhythmic squeaks, increased driveshaft play, rusted caps or missing needles; prioritize u joint maintenance to avoid seizure.
What Is the Average Lifespan of a U-Joint?
Typically 70,000–150,000 miles, though towing/off‑road use can cut life to 50,000–100,000 miles. You’ll extend service with u joint maintenance, verify u joint compatibility, inspect seals, grease fittings, and replace at first play signs.
How Expensive Is It to Replace U-Joints?
Like exchanging worn shackles for freer motion, you’ll pay about $250–$450 typically, $400–$700 for heavy or older models; parts run $20–$50 each. Prioritize u joint maintenance for clear replacement benefits and lasting freedom.
Conclusion
You’ve now got the tools to find, diagnose, and fix a wavering 4Runner U‑joint—don’t let it rattle you into a roadside emergency. Follow the quick checks, measure play and pinion angle precisely, and decide between grease or replacement based on wear. Remove and install the driveshaft with the correct tools and torque specs, then balance and test‑drive to verify. Do this right, and you’ll silence drivetrain chaos like a mechanic with superhuman hearing.