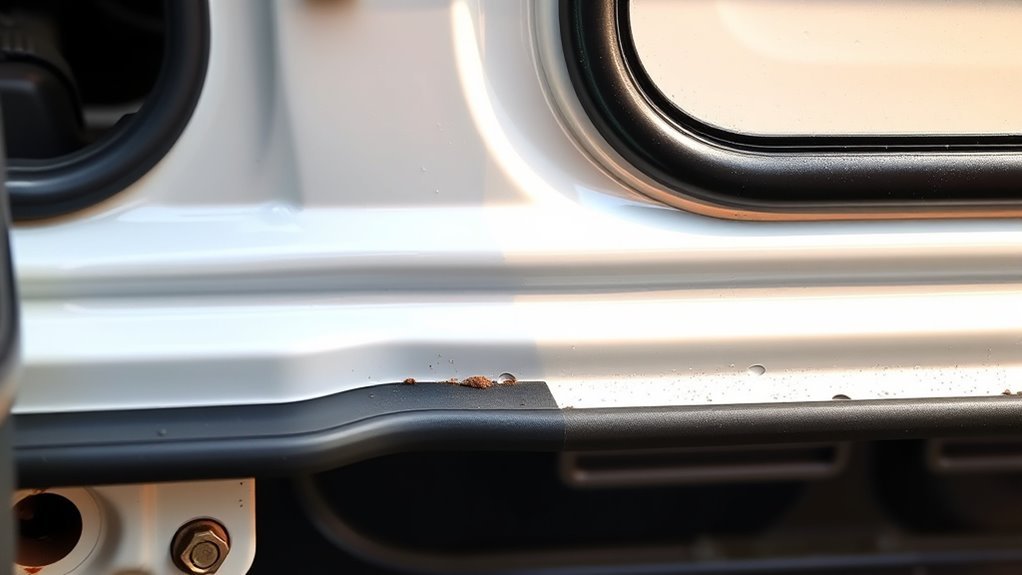
Door jamb rust on a 3rd-gen Toyota 4Runner usually starts where you do not look often: under weather seals, along lower door edges, around pinch welds, and near small drain openings. A careful cleaning routine removes the dirt, road salt, and trapped moisture that feed corrosion, while seal care and light rustproofing help keep water moving out instead of sitting in seams.
Quick Answer
Clean your 3rd-gen 4Runner’s door jambs by washing the seams with mild car soap, clearing lower drain holes, drying every pocket, inspecting weatherstripping, treating only true surface rust, and applying a light corrosion inhibitor in seams without blocking drains. Repeat after winter, mud, beach driving, or heavy rain.
Key Takeaways
- The lower door edges, rocker-panel seams, pinch welds, and drain openings are the first places to inspect.
- Use mild soap, soft brushes, plastic picks, and clean water; avoid harsh solvents around paint, seals, wiring, and interior trim.
- Only remove push-on weatherstripping if it releases easily. Clean fragile, glued, or hardened seals in place.
- Treat surface rust early, but send perforation, swelling seams, loose hinges, or soft metal to a body shop.
- Rustproofing helps only after the jamb is clean and dry. Do not seal over wet dirt or clog factory drain holes.
At a Glance
| Time Required | 45–90 minutes for cleaning; longer if rust treatment or seal repair is needed |
| Difficulty | Easy for cleaning; moderate for rust treatment |
| Tools Needed | Mild car soap, microfiber towels, soft detailing brush, plastic trim tool, plastic pick, vacuum, compressed air or blower, gloves, eye protection |
| Cost | Low for cleaning supplies; varies for OEM weatherstripping, rust converter, primer, seam sealer, or professional repair |
Why Cleaning Your 3rd-Gen 4Runner Door Jambs Prevents Rust
On a 1996–2002 4Runner, door jambs collect mud, grit, leaves, road salt, and moisture. Toyota’s owner guidance for this generation warns that road salt, dirt, and moisture in hard-to-reach areas can cause corrosion, and that lower door, rocker-panel, and frame drain holes should not be allowed to clog because trapped water can cause rust. You can review Toyota owner resources through the official Toyota Manuals and Warranties portal.
The problem is simple: grime holds moisture against painted seams. Salt makes that moisture more conductive. Abrasion from dirty seals can also wear paint at the contact points. Once paint is broken and water stays in the seam, surface rust can spread under the coating before it is obvious from the outside.
Routine cleaning does three things. It removes the debris that traps water, opens the drain paths that let water leave the door, and gives you a chance to catch torn seals or paint chips before they become expensive body repairs.
Supplies and Safety Before You Start
Gather everything before opening the doors. A simple setup is enough for most 4Runners:
- Mild car-wash soap or a pH-neutral cleaner
- Soft detailing brush and microfiber towels
- Plastic trim tool or plastic pick for drain slots and seal edges
- Vacuum with a crevice tool
- Compressed air, a small blower, or clean towels for drying
- Rubber-safe protectant, such as 303 Automotive Protectant, or a silicone-based rubber-care product
- Rust converter only for actual rusted metal
- Automotive primer/topcoat, seam sealer, or cavity wax/rustproofing if paint has been damaged
- Nitrile gloves and eye protection
Warning: Do not flood door switches, speakers, lock actuators, wiring, or connectors. Avoid gasoline, kerosene, strong solvents, and aggressive wire wheels near paint and rubber. If metal is soft, perforated, swollen at a seam, or cracked around a hinge or striker, stop and have the area inspected by a body shop.
Quick Inspection Checklist for 3rd-Gen 4Runner Door Jambs
Open all four doors and inspect one jamb at a time. Work top to bottom so dirt does not fall onto areas you already cleaned.
- Upper jamb and hinge area: Look for trapped leaves, hardened grease, chipped paint, and loose hinge bolts.
- Weather seals: Press the rubber lightly. Check for cracks, flat spots, tears, shrinking, and loose clips.
- Pinch welds and lower seams: Look for bubbling paint, orange staining, seam swelling, or rough edges.
- Lower door edge: Check the drain slots. They should be open, not packed with mud, wax, or old undercoating.
- Rocker-panel edge: Inspect the painted edge under the door opening for chips and trapped grit.
- Interior floor edge: Lift mats and check for damp carpet, especially after rain or a car wash.
Write down what you find. Treat rust first, seal leaks second, and cosmetic detailing last. A clean jamb with an active leak will get dirty and wet again quickly.
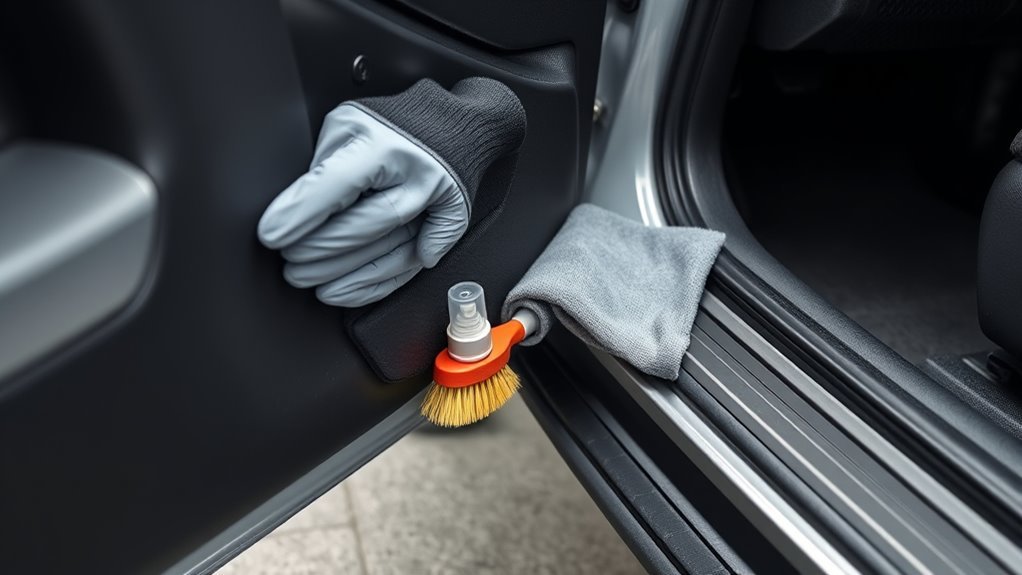
Clean, Dry, and Unclog Drains: Step-by-Step for Trapped Moisture
Use this process after winter, trail runs, beach trips, mud, or any time you see grime building up around the lower door seals.
- Rinse loose dirt gently. Use low-pressure water or a damp microfiber towel. Avoid blasting water directly into switches, speakers, and trim openings.
- Wash the jamb. Mix mild car soap with water and clean painted surfaces with a soft brush or microfiber towel.
- Clean the seal contact line. Wipe the painted area where the rubber seal touches the body. This is where grit can rub through paint.
- Clear the drain openings. Use a plastic pick, zip tie, or gentle compressed air. Never use a screwdriver that can chip paint or enlarge the slot.
- Vacuum hidden pockets. Remove leaves and grit from the hinge pocket, lower jamb, and rocker edge.
- Rinse or wipe again. Remove soap residue so it does not dry in seams.
- Dry thoroughly. Use microfiber towels first, then warm air or a blower for seams, folds, and lower edges.
- Recheck with a flashlight. If orange staining remains, decide whether it is surface rust, old dirt, or paint damage.
Pro Tip: After clearing a lower door drain, pour a small amount of clean water into the lower door edge away from electrical parts and confirm it exits through the drain slot. If it backs up, keep cleaning before applying any protectant.
Remove, Inspect, and Care for Weatherstripping (Tools & Tips)
Weatherstripping keeps water, dust, and wind out of the cabin, but it can also hide dirt against the metal. Handle it carefully, especially on an older 4Runner.
Remove only seals that are clearly push-on style and release without force. Support clips with a plastic trim tool and pull evenly. If a seal is glued, brittle, torn, or stuck, do not yank it off. Clean the exposed edge in place with mild soap, a soft brush, and a towel.
Inspect each seal for these problems:
- Tears or missing sections: Replace the seal if water can pass through the damaged area.
- Compression set: If the rubber stays flat and does not spring back, it may not seal well.
- Loose clips or channels: Re-seat the seal evenly before using adhesive.
- Sticky residue: Clean with a rubber-safe cleaner. Avoid harsh solvents unless the product label says it is safe for automotive rubber and paint.
- Wind noise or water marks: Check door alignment, seal fit, and the body-side contact line.
For rubber care, apply a thin coat of rubber-safe protectant to clean, dry seals and wipe off excess. 303 Automotive Protectant is listed by its manufacturer for rubber, vinyl, plastic, and weather seals; the manufacturer says to apply it to a clean, dry surface, wipe evenly, and buff dry. In harsh sun, reapply about every 30–45 days; for a garaged or lightly used 4Runner, seasonal use may be enough.
Note: Skip petroleum jelly on door weatherstripping unless the seal manufacturer specifically approves it. A silicone-based rubber-care product is the safer general choice because lubricant compatibility matters for rubber and elastomers.
[Products Worth Considering]

The SINGARO Car Door Edge Guard provides durable protection for vehicle doors with its high-quality PVC natural rubber and stainless steel core, preventing damage from accidental impacts and wear. Easy to install by cutting and clamping, it fits cars, trucks, SUVs, and ATVs, and can also be used for sealing edges on other surfaces. Its flexible design ensures smooth door operation while safeguarding the vehicle exterior.
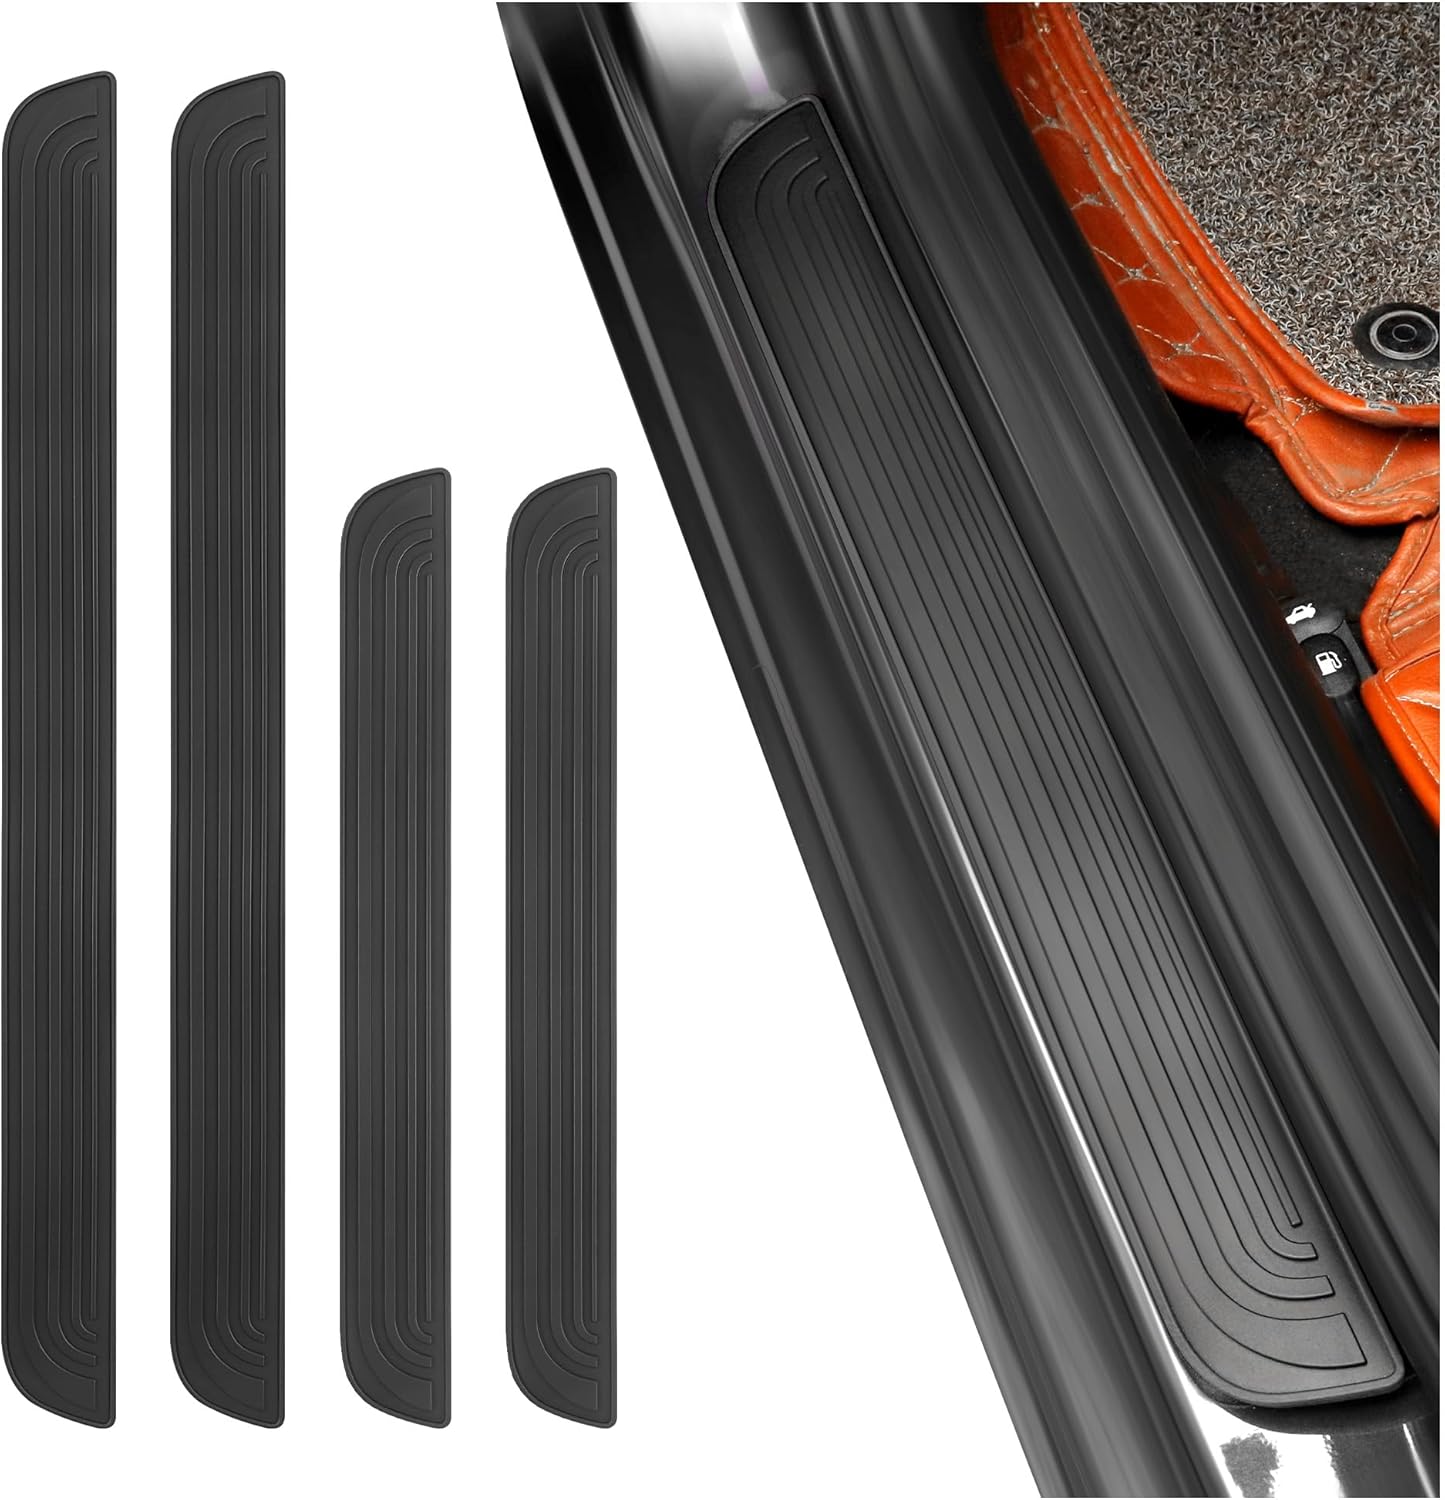
Protect your vehicle's door sills from scratches, abrasions and wear with these durable rubber guards. The anti‑slip stripe design offers soft, pliable cushioning while the strong adhesive backing allows easy, tool‑free installation. Suitable for cars, trucks, SUVs and RVs, they extend the life of your door thresholds and keep your vehicle looking neat.

This high-definition car visor mirror provides crystal clear 4K HD reflection for on‑the‑go makeup and grooming. Made from durable ABS with a double elastic band strap, it stays securely in place while blocking glare. Its universal size fits most cars, trucks, SUVs, and RVs, and it can be mounted on headrests or windows for versatile use. Ideal for travel, it keeps your appearance tidy without taking up space.
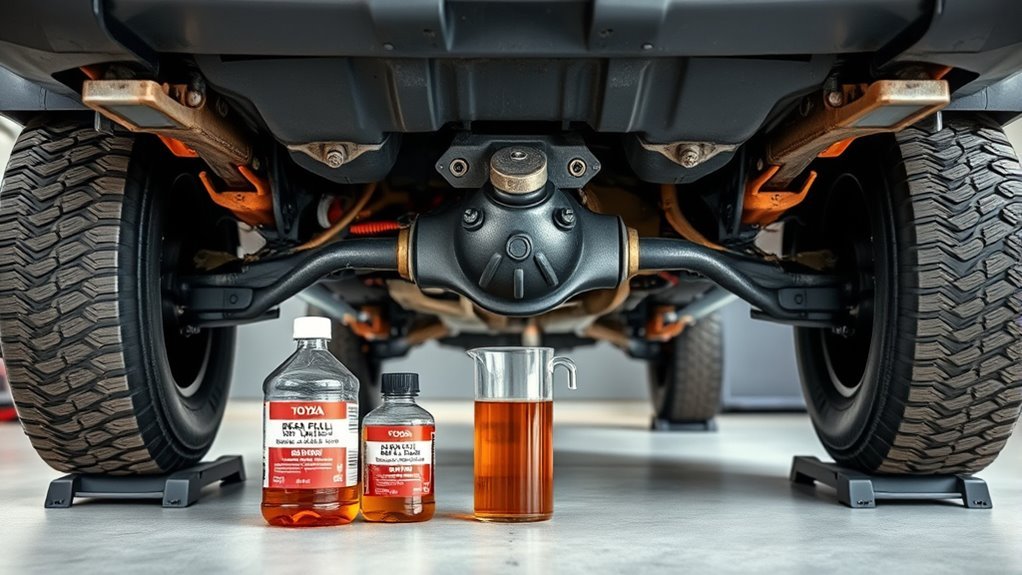
DIY Rust Treatment for Door Seams and Jambs: Materials and Steps
Rust treatment works only when you match the repair to the damage. Surface rust can often be handled at home. Perforation, swollen seams, loose hinges, cracked metal, or rust around structural mounting points needs professional repair.
[Products Worth Considering]

Protect your vehicle's door handles and bowls with high-quality, reflective, self‑adhesive stickers that resist scratches, water, heat and fading. The subtle reflective glow improves night‑time visibility, enhancing safety while adding a sleek, luxurious look. Easy to install and durable, they fit most cars, trucks, SUVs and RVs.

The CARTIST 420D car cover offers custom fit protection for Toyota RAV4 and Honda CRV models from 1994 to 2026, featuring a durable Oxford fabric that repels moisture while allowing breathability. Reflective safety strips and a driving‑side zipper enhance visibility and convenience, and four buckles with elastic hem secure the cover against strong winds and rain. This all‑weather cover shields against rain, snow, UV rays, and scratches, making it a reliable choice for year‑round vehicle care.

Filler and sandable primer is suitable for use on wood, metal and fiberglass surfaces
Rust Prep Steps
Start with a clean, dry jamb. Mask nearby rubber, trim, glass, and good paint. Wear gloves and eye protection.
- Remove loose rust only. Use a plastic scraper, fine abrasive pad, or small wire brush by hand. Do not grind through nearby good paint.
- Clean away oil and dirt. The surface must be free of grease before treatment.
- Dry the area completely. Rust converter and primer should not trap water in the seam.
- Apply rust converter only to rusty metal. For example, Permatex Rust Treatment instructs users to scrape or wipe off dirt and oil, sand or wire-brush the area, apply thin coats, and allow 24 hours before topcoat. It is not meant for clean, non-corroded surfaces.
- Prime and topcoat exposed metal. Rust converter is not a substitute for a durable finish on a visible, wear-prone door jamb.
- Seal seams only after paint has cured. Use automotive seam sealer where the original seam sealer has cracked or failed.
Surface Rust vs. Structural Rust
| What You See | Likely Severity | Best Next Step |
|---|---|---|
| Light orange staining on intact paint | Contamination or early surface rust | Clean, clay or polish if appropriate, then protect |
| Small chip with rust in the center | Localized surface rust | Clean, treat, prime, and touch up |
| Bubbling paint along a seam | Rust spreading under paint | Inspect deeper; body-shop repair may be needed |
| Soft metal, holes, swelling, or loose striker/hinge area | Structural or advanced corrosion | Stop DIY repair and get professional assessment |
Seal Protection Methods
After the metal is clean, dry, and painted or sealed, protect the hidden seams. Use a light, creeping rust inhibitor in cavities and folds, not a thick layer that blocks drains. Fluid Film describes its aerosol and bulk product as a penetrant and lubricant used for corrosion prevention, formulated for corrosion control, metal wetting, penetration, and water displacement. Wool-grease products such as WoolWax are another common lanolin-based option for vehicle corrosion protection.
Apply these products sparingly in seams, lower door folds, and protected cavities. Wipe overspray from visible paint, rubber, and latch surfaces. Keep drain openings open. Recheck after a week because creeping products can move and collect dust.
Best Products to Protect 4Runner Door Jambs (When and How to Apply)
The best product depends on the surface. Do not use one chemical for everything.
[Products Worth Considering]

Rubber Seal Protectant For Car : Car Rubber Seal Protectant, Contains silicone oil to lubricate rubber seals, reducing friction and preventing sticking, ensuring smooth door and window operation without wear or damage to the rubber.

【Door Dampening】: This rubber car door shock absorber helps cushion the force when closing your vehicle's door, acting as a reliable buffer to reduce impact. It provides effective protection against dents, deformation, and damage, helping preserve the door's appearance and structure. Designed to offer long-term support, it enhances the overall durability of your car door and contributes to a more secure and well-maintained vehicle. A practical solution for everyday use, it brings peace of mind to frequent drivers and car owners alike.

Car Door edge guards: High-quality rubber will protect your vehicle from nicks, chips & scrtches, for most universal car.
Seal Conditioning Schedule
For weather seals, use a rubber-safe protectant on clean, dry rubber. In sun-heavy climates, use 303 Automotive Protectant about every 30–45 days for best UV protection, following the manufacturer’s directions to wipe evenly and buff dry. In colder climates, use a silicone-based rubber-care product before freezing weather to reduce sticking. Always wipe off excess so it does not attract grit.
Rustproofing Product Options
- Fluid Film: Good for seams, folds, and hidden areas where a soft, creeping corrosion inhibitor is helpful.
- WoolWax: Thicker lanolin/wool-grease style coating that remains soft and is often used for vehicle undercoating and cavities.
- Krown-style oil-based rustproofing: Often applied professionally and designed to creep into seams and high-risk areas.
- Cavity wax: Useful after paint repair where you want a more body-shop-style internal panel coating.
- Seam sealer: Use only where factory seam sealer has failed or after proper rust repair and primer. Do not smear seam sealer over wet rust.
Application Tips and Timing
Apply protection after cleaning, drying, and rust repair—not before. A good schedule for a daily-driven 3rd-gen 4Runner is:
- After winter: Deep-clean jambs, lower door edges, rockers, and drains.
- After mud or trail use: Rinse and dry the lower jambs and drain openings.
- Before winter: Inspect seals, touch up chips, and apply rubber-safe seal care.
- Once a year: Inspect rustproofing coverage and reapply where it has thinned.
- After body repair: Recheck seam sealer, paint edges, and cavity protection.
The goal is not to make the jamb greasy. The goal is to keep seams clean, dry, painted, and lightly protected while letting factory drains keep doing their job.
Replace vs Repair: When to Fix Seals Yourself and When to Call a Pro
Small weatherstrip issues can often be handled at home. Larger seal failures and rust around attachment points need more care.
| Condition | DIY Repair? | Recommended Fix |
|---|---|---|
| Seal is dirty or dry but still flexible | Yes | Clean and apply rubber-safe protectant |
| Small loose section | Often | Re-seat clips or use weatherstrip adhesive where appropriate |
| Seal is torn, shrunken, or permanently flattened | Sometimes | Replace with correct OEM or quality aftermarket seal |
| Water leak continues after seal replacement | Maybe not | Check door alignment, body seam sealer, glass run channel, and vapor barrier |
| Rust under seal channel or around hinge/striker | No for advanced rust | Body-shop inspection and metal repair |
If you need to glue a loose weatherstrip section, use an automotive weatherstrip adhesive rather than general household glue. 3M Black Super Weatherstrip Adhesive is designed to bond rubber gaskets and weatherstripping to metal and forms a flexible, waterproof bond. Follow the product directions and work in short sections so the seal sits evenly.
Troubleshooting Common Door Jamb and Seal Problems
| Problem | Likely Cause | What to Do |
|---|---|---|
| Water drips from the door long after rain | Partly clogged lower door drains | Clear drains with a plastic pick and re-test water flow |
| Door freezes shut | Wet rubber seal or dirty contact line | Clean, dry, and apply a thin rubber-safe silicone product |
| Wind noise after cleaning | Seal not fully seated or door alignment issue | Re-seat seal, inspect clips, then check alignment |
| Rust comes back after treatment | Moisture remains in seam or rust was deeper than surface level | Strip back farther, dry thoroughly, or seek body repair |
| Carpet near door stays damp | Seal leak, vapor barrier leak, clogged drain, or wet floor mat area | Dry carpet fully and trace leak with controlled water testing |
Frequently Asked Questions
How often should I schedule professional inspections for door jamb corrosion?
Inspect the jambs yourself every wash or at least once per season. Schedule a professional inspection once a year if the 4Runner sees road salt, beach driving, mud, or visible bubbling paint. Get professional help sooner if rust is near hinges, strikers, rocker seams, or structural metal.
Can aftermarket accessories worsen door jamb rust?
Yes. Door sill plates, rock sliders, mud flaps, trim clips, and poorly sealed fasteners can trap grit or hold moisture against paint. Use corrosion-resistant hardware, protect drilled holes with primer, keep edges clean, and inspect under accessories at least once a year.
Do paint touch-ups void vehicle warranty coverage?
For a 1996–2002 4Runner, the original new-vehicle corrosion warranty is generally no longer the main issue. The bigger concern is repair quality. Clean and dry the chip, use compatible primer and touch-up paint, and document the repair. Poor prep can trap rust and make the area fail again.
How do interior carpets affect door jamb moisture levels?
Wet carpet raises humidity around the lower jamb and rocker area. It can also hide leaks from door seals, vapor barriers, or clogged drains. If the carpet is damp, remove mats, dry the area fully, and trace the leak before adding rustproofing.
Are electric door components vulnerable during seal replacement?
Yes. Power windows, speakers, locks, courtesy switches, and wiring can be damaged by water, tools, or excess adhesive. Keep liquids controlled, do not probe blindly inside the door, and test switches and locks after cleaning or seal work.
Should I remove all weatherstripping to clean behind it?
No. Remove only push-on seals that release easily and are still flexible. If the seal is glued, brittle, torn, or hard to re-seat, clean around it in place. Damaging an old seal can create a leak that is worse than the dirt you were trying to remove.
Can I spray undercoating over rusty door jamb seams?
Do not spray heavy undercoating over dirty, wet, or active rust. Clean and dry the area first, treat surface rust, repair paint, and keep drain holes open. Heavy coatings can trap moisture if used as a cover-up instead of a final protective layer.
Conclusion
Keeping a 3rd-gen 4Runner’s door jambs clean is simple preventive maintenance, but it pays off because the risky areas are small, hidden, and easy to ignore. Clean the jambs, clear the drains, dry the seams, care for the rubber, and touch up paint chips before they spread. Use rust converter only on real surface rust, protect repaired seams lightly, and keep factory drain openings open. If rust has bubbled, softened, or reached hinge and striker areas, let a professional inspect it before the repair becomes structural.
Sources
- Toyota Manuals and Warranties — official Toyota owner-manual portal for 4Runner owner resources.
- Toyota 4Runner Corrosion Prevention and Appearance Care manual text — corrosion causes, drain-hole guidance, washing, and drying guidance for 1996–2002 4Runner manuals.
- Gold Eagle 303 Automotive Protectant — rubber/weather-seal use, clean/dry application, buffing, and reapplication guidance.
- Fluid Film Aerosol & Non-Aerosol/Bulk Technical Data — corrosion-prevention, penetration, metal-wetting, and water-displacement product information.
- Permatex Rust Treatment — rust-treatment prep, application, drying, and topcoat instructions.
- 3M Black Super Weatherstrip Adhesive — automotive weatherstrip adhesive use for rubber-to-metal bonding.