Last updated: July 31, 2026. This update separates fifth-generation and sixth-generation fuse-box layouts, corrects the multimeter procedure, and removes the universal TAIL-fuse accessory recommendation. [VERIFY: add the real author name and the person who reviewed the electrical guidance.]
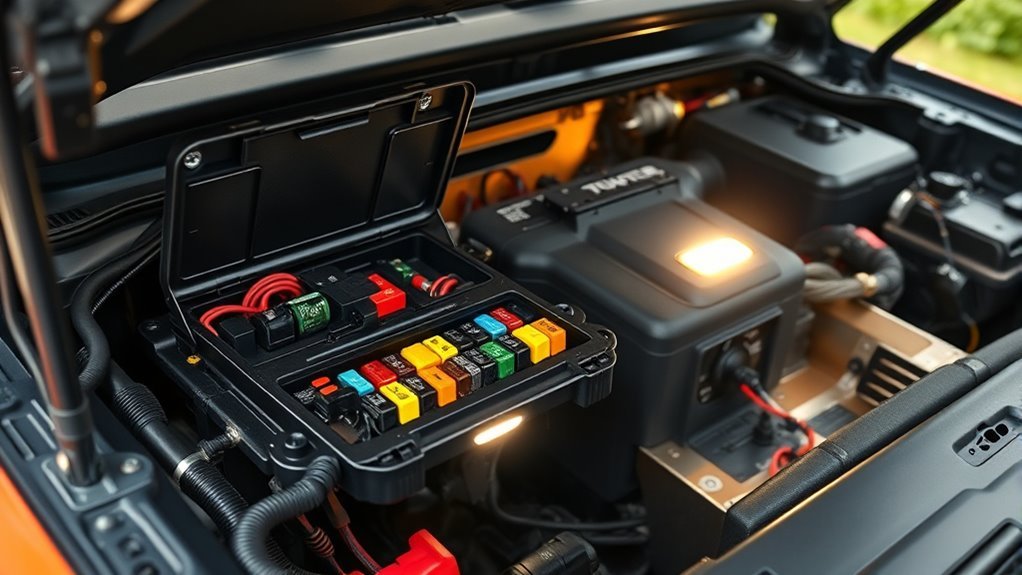
The Toyota 4Runner fuse box location depends on the model year. Most 1996–2024 4Runners have one fuse box in the engine compartment and another beneath the driver-side instrument panel. The redesigned 2025 model uses a different layout, with two engine-compartment fuse boxes and a passenger-side instrument-panel box. Do not use a diagram from another generation.
To replace a fuse, switch the engine off, identify the circuit from the exact owner’s manual or fuse-box lid, remove the fuse with the correct puller, and install the same physical type and amperage. Test an isolated fuse with continuity only when it is unpowered. To test an installed fuse, use the meter’s DC-voltage setting. If the replacement blows again, stop replacing fuses and diagnose the short, overload, wiring, or failed component.
How Do You Check and Replace a Toyota 4Runner Fuse?
- Confirm the model year and powertrain. Fuse locations and assignments changed with the 2025 redesign. Hybrid and non-hybrid layouts can also differ.
- Turn the engine switch off. Switch off the lights, climate system, radio, power outlets, and aftermarket accessories.
- Find the correct panel and diagram. Use the lid label or the owner’s manual for the exact year. Toyota’s current manuals are available through Toyota Manuals and Warranties.
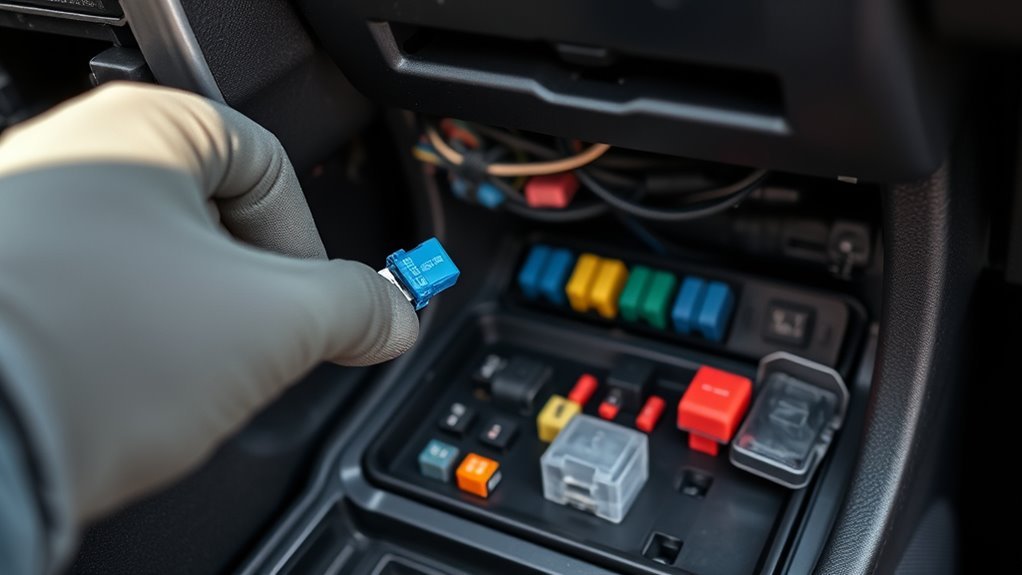
- Remove the suspect fuse. Use the supplied pullout tool only on the fuse types the manual identifies as removable. Pull straight out without levering against nearby terminals.
- Inspect or test it. A broken or burned element normally indicates a blown fuse. If the element is difficult to see, test the removed fuse for continuity.
- Install an exact replacement. Match the physical fuse type and the printed amperage. Never install a higher-amperage fuse.
- Operate the circuit once. If the new fuse blows immediately or fails again later, stop. A short circuit, overloaded accessory, damaged harness, wet connector, or failed component needs diagnosis.
Important: Switching the engine off does not guarantee that every fuse terminal has zero voltage. Avoid touching adjacent terminals with metal tools. Never use continuity or resistance mode on a powered circuit.
[Products Worth Considering]

This 12-piece automotive electrical disconnect pliers kit is designed to help you safely remove push-tab style connectors from sensors, ignition coils, fuel injectors, and wiring harnesses. Built from carbon steel with ergonomic red handles, it provides dependable grip, control, and durability for working in tight engine bay spaces without damaging clips or wires. The varied tool designs and angled tips make it a versatile choice for both DIY repairs and professional automotive electrical work.

The V500 Pro is an all-in-one automotive electrical diagnostic tool that combines circuit testing, wire tracing, oscilloscope analysis, multimeter functions, injector testing, relay and fuse checks, and component activation in one device. It helps technicians and DIY users quickly find open circuits, short circuits, broken wires, and current leaks while reducing disassembly and guesswork. With a rotating screen, built-in flashlight, and adjustable low-voltage power supply, it is designed to speed up troubleshooting in tight and low-light work areas.

These grille retainer clips provide a reliable replacement for the OEM Toyota 90467-12040 part number, helping restore secure body panel attachment on compatible vehicles. Designed for a tight push-in fit, they are made from durable black nylon to resist wear, corrosion, and cracking during everyday use. This set of 10 is ideal for keeping spare clips on hand for grille and trim repairs.
Where Is the Toyota 4Runner Fuse Box Located?
The correct location depends on the generation. The table below identifies the usual main panels, but it does not replace the diagram for the exact model year, trim, powertrain, and market.
| Model years | Usual main fuse-box locations | What to know |
|---|---|---|
| 1996–2002 | Engine compartment and driver-side instrument panel | Panel assignments can change within the generation. Use the manual for the exact year. |
| 2003–2009 | Engine compartment and driver-side instrument panel | Do not assume that a 2009 diagram applies to a 2010 vehicle. |
| 2010–2024 | Engine compartment and beneath the driver-side instrument panel | The cabin panel is normally below the dashboard near the driver’s left knee. |
| 2025 and newer | Use the exact sixth-generation manual. The 2025 gasoline owner’s manual shows Type A and Type B engine-compartment boxes plus a passenger-side instrument-panel box. | Do not use a 2010–2024 fuse map. Powertrain and production revisions can affect the junction-block layout. |
A cargo-area fuse box is not a standard location that should be assumed for every 4Runner. If a diagram from another Toyota model shows a luggage-compartment panel, do not apply it to a 4Runner without confirmation from the correct manual.
On an i-FORCE MAX hybrid, this guide applies only to accessible 12-volt fuse panels identified in the owner’s manual. Do not touch orange high-voltage cables, connectors, battery components, or inverter equipment.
How Do You Read a 4Runner Fuse-Box Diagram?
The fuse-box lid or owner’s manual maps each position to a circuit label and amperage. Match the physical layout carefully because a neighboring slot may protect a completely different system.
- Circuit label: A short name such as TAIL, PANEL, GAUGE, HORN, WIP, P/OUTLET, IGN, or EFI. These are examples only; the exact label and function vary by year.
- Amperage: The maximum current rating printed as a number such as 7.5, 10, 15, 20, or 30. Use only the rating specified for that slot.
- Fuse position: The numbered or illustrated location in the junction block.
- Spare position: A storage location for an unused replacement fuse. A spare slot is not necessarily connected to a circuit.
- Relay position: Some covers also identify relays. A relay and fuse require different tests.
Use the printed amperage, not color alone, when selecting a replacement. Different fuse families can share similar colors or shapes. If the manual identifies a larger cartridge, multi-fuse, or integrated element as dealer-serviced, do not pry it from the junction block.
Component names can also be shared across several fuses. For example, a radio or power outlet may depend on an accessory fuse, an ignition-fed fuse, a relay, and a shared body-control supply. Check every fuse named by the exact diagram rather than assuming one label controls the entire system.
How Do You Test a 4Runner Fuse Safely?
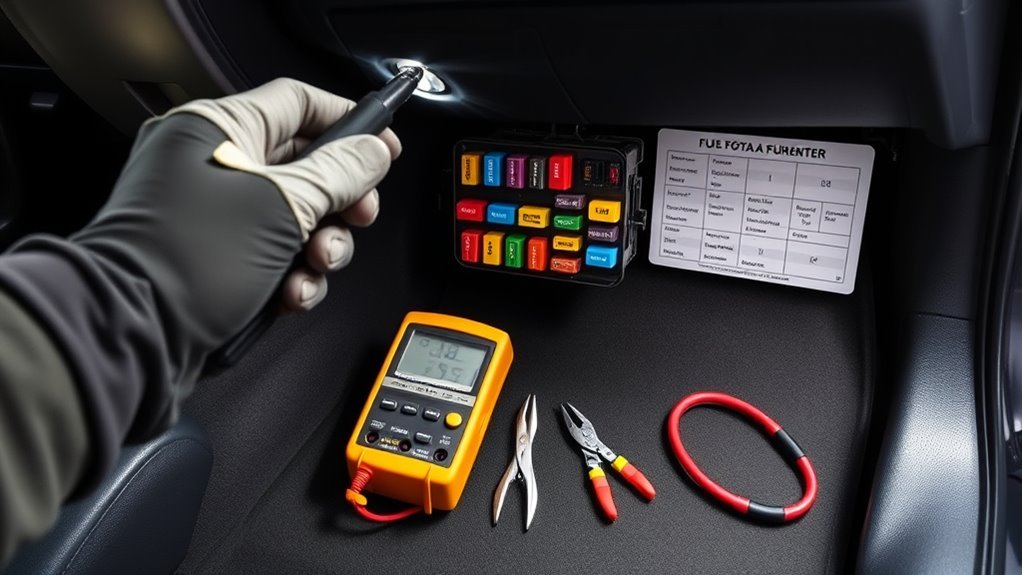
Gather a flashlight, the correct fuse puller, an exact replacement fuse, and a digital multimeter. Keep the replacement package available so you can confirm both the fuse size and amperage.
Test a Removed Fuse for Continuity
- Switch the engine off and remove the suspect fuse.
- Set the meter to continuity or resistance mode. Place the black lead in COM and the red lead in the voltage/ohms jack.
- Touch one probe to each fuse terminal.
- A low-resistance reading or steady continuity tone normally indicates a complete fuse element.
- An open or OL reading with no tone indicates a blown fuse.
Continuity testing must be performed on an isolated, unpowered fuse. A detailed explanation is available in Fluke’s automotive continuity guide.
Test an Installed Fuse for Voltage
Many blade fuses have small exposed test points on top. This method can identify a blown fuse without removing it.
- Leave the fuse installed and set the meter to DC volts, not continuity or resistance.
- Connect the black probe to a known-good chassis ground.
- Turn the relevant circuit on if its fuse is ignition- or switch-controlled.
- Touch the red probe to each fuse test point.
| Meter result | Likely meaning |
|---|---|
| Voltage at both test points | The fuse is normally conducting. |
| Voltage at only one test point | The fuse element is open or blown. |
| No voltage at either test point | The circuit may be switched off, the ignition state may be wrong, or an upstream supply is missing. |
Do not push a probe deeply into the fuse box or spread a terminal. Use light pressure on the exposed test points.
Install and Verify the Replacement
- Compare the replacement with the removed fuse.
- Confirm the same amperage is printed on both.
- Press the replacement straight into the correct slot until fully seated.
- Reinstall the panel lid securely.
- Operate the failed component once and watch for heat, odor, smoke, or another failure.
Never replace a fuse with wire, foil, a metal object, or a higher-amperage fuse. Those changes can allow the wiring harness to overheat before circuit protection opens.
Which Fuse Types Does a Toyota 4Runner Use?
The exact fuse types vary by model year and current demand. Many accessory circuits use removable blade-style fuses. Higher-current circuits can use larger cartridge, multi-fuse, or integrated fuse elements within the engine-compartment junction block.
Toyota owner’s manuals may label the illustrated fuse shapes as Type A, Type B, Type C, and additional types. Those labels should be interpreted through the manual for that vehicle, not treated as universal names for mini, low-profile, standard, or maxi fuses.
- Match the physical format. A fuse that has the correct amperage but the wrong terminal or body size is not an acceptable substitute.
- Match the amperage. Never increase the original circuit rating to stop a fuse from blowing.
- Follow removal limits. Use the pullout tool only for the fuse types Toyota identifies as puller-removable.
- Leave integrated elements alone. If the manual says to contact a dealer for a fuse type, the junction block may require disassembly or a larger repair.
Melting around a fuse, browned plastic, loose terminals, or green corrosion indicates more than a simple blown element. Do not install another fuse until the damaged holder or connection is inspected.
[Products Worth Considering]

This car fuse assortment kit provides a handy mix of micro, mini, and standard blade fuses to help replace blown fuses across a wide range of vehicles and equipment. With multiple current ratings, color-coded identification, and an included puller, it is designed to make emergency repairs and routine maintenance faster and easier. It is a practical backup solution for cars, RVs, trucks, boats, motorcycles, and more.

This automotive test light combines a bright LED voltage display with quick polarity indication for fast, accurate circuit checks in a wide range of vehicle systems. It helps diagnose battery, charging, lighting, and fuse issues with a sharp stainless probe, long spring wire, and easy-to-use alligator clip for efficient troubleshooting.

This metal replacement center console latch is designed to restore secure closing performance for a wide range of Toyota and Scion vehicles. Built as an upgraded metal part, it helps solve broken latch issues and provides a more durable alternative to the original component. It is compatible with many popular models and includes the needed screws and screwdriver for installation.
What Is the Difference Between a Fuse and a Relay?
A fuse protects wiring by opening the circuit when current exceeds its rating. It is a one-time protective device and must be replaced after it blows.
A relay is an electrically controlled switch. It allows a low-current control circuit to operate a higher-current load. A relay can fail with the fuse still intact, leaving a starter, horn, fan, light, compressor, pump, or other component inoperative.
| Part | Primary job | Common failure result |
|---|---|---|
| Fuse | Opens during excessive current to protect the circuit | Loss of power beyond the fuse |
| Relay | Switches a load in response to a control signal | Component stays off, stays on, or works intermittently |
A click from a relay does not prove that its contacts are carrying current. When diagnosing a relay, verify the correct fuse first, then check the control signal, relay output, ground, and load circuit. Do not swap relays unless the part number, pin arrangement, rating, and function are confirmed to be identical.
Can You Use a Fuse Tap for 4Runner Accessories?
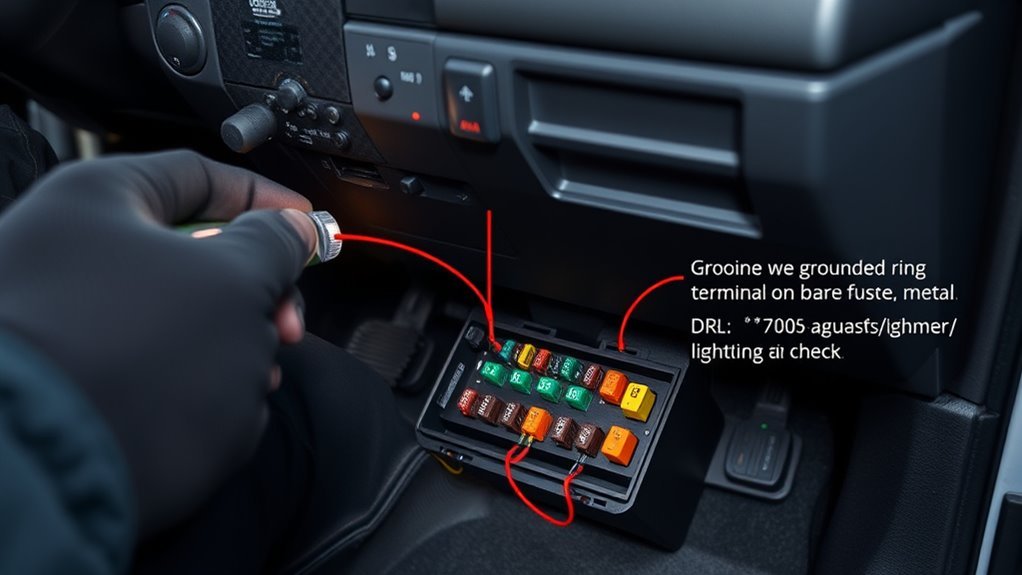
Toyota warns against modifying fuses or fuse boxes. A dedicated fused accessory circuit installed according to the accessory manufacturer’s instructions is usually safer than guessing at an existing fuse. High-current lights, compressors, audio amplifiers, refrigerators, and similar equipment should normally use a dedicated battery feed, an appropriately placed fuse, and a relay rather than drawing their operating current through a factory accessory circuit.
If a properly specified add-a-circuit adapter is used for a small accessory or relay trigger, follow these rules:
- Confirm the model year and fuse format. An adapter that fits a 2010–2024 panel may not fit a 2025-and-newer junction block.
- Choose a non-safety-critical circuit. Avoid airbag/SRS, ABS, stability control, steering, engine control, fuel-system, transmission, hybrid, braking, and driver-assistance circuits.
- Verify when the circuit is powered. Test whether it is always hot, accessory-switched, ignition-switched, or lighting-switched. Do not assume that a TAIL-labelled circuit has the same behavior on every year.
- Identify the supply side. Remove the original fuse and use the meter’s DC-voltage setting to find the powered terminal. Orient the adapter so its common input receives power from that terminal before current passes through the two fuse branches.
- Keep the original fuse rating. Install the factory-rated fuse in the original-circuit position. Never increase it to support the accessory.
- Fuse the accessory separately. Size the accessory fuse for the accessory wiring and manufacturer’s requirement, while staying within the adapter and fuse-block limits.
- Protect the wiring. Crimp or terminate connections correctly, insulate exposed conductors, add strain relief, avoid sharp edges and hot parts, and keep the fuse-box lid able to close without crushing the lead.
An add-a-circuit creates an additional fused branch; it does not increase the safe capacity of the factory circuit or junction block. If the correct circuit, orientation, load, or wiring size is uncertain, use a qualified automotive electrician.
[Products Worth Considering]

This custom-fit 4-pin trailer wiring harness adds reliable towing light connectivity for compatible Toyota RAV4 and RAV4 Prime models, with plug-and-play installation into the vehicle's rear wiring. It powers trailer tail lights, brake lights, and turn signals, while the included dust cover helps protect the connector when not in use. Built with durable bonded wire and corrosion-resistant terminals, it is designed for dependable performance on everyday towing setups.

This 26-piece terminal removal tool kit is designed to help you depin and service automotive wire connectors with greater speed and accuracy. It supports a wide range of connector types used in cars, trucks, motorcycles, and other equipment, while the organized case keeps each tool easy to find and carry. Built for reliable, damage-free terminal removal, it is a practical choice for professional electrical work and DIY wiring repairs.

This AstroAI digital multimeter is designed for accurate troubleshooting of automotive and household electrical systems. It measures AC/DC voltage and current, resistance, continuity, capacitance, frequency, duty cycle, diode, and temperature, while the True RMS and auto-ranging functions help deliver reliable readings. A backlit LCD, data hold, kickstand, and safety-focused fuse protection make it practical and dependable for everyday diagnostics.
Why Does a 4Runner Fuse Keep Blowing?
A fuse blows because current exceeded the circuit’s rating. The fuse is usually the result of the fault, not the root cause. Do not solve a repeat failure by installing a larger fuse.
| Symptom | What it can indicate | Next check |
|---|---|---|
| One component is dead | Fuse, relay, switch, connector, ground, wiring, or failed component | Check the exact fuse and test for voltage at the component. |
| Several related components are dead | Shared supply fuse, fusible link, relay, junction-block feed, or common ground | Use the wiring diagram to find the shared point. |
| Replacement blows immediately | Hard short to ground, internally shorted component, wrong fuse rating, or incorrect accessory wiring | Disconnect the affected load and trace the circuit before installing another fuse. |
| Fuse fails after rain or washing | Water in a lamp, connector, trailer socket, accessory, or harness | Inspect for moisture, corrosion, and damaged seals. |
| Fuse fails over bumps or vibration | Chafed wire or loose conductor contacting metal | Inspect harness routing near brackets, hinges, body seams, and aftermarket installations. |
| Fuse has voltage on both test points but the component is dead | Downstream relay, switch, connector, ground, wiring, or component fault | Continue testing after the fuse instead of replacing it. |
| No voltage at either fuse test point | Circuit not commanded on or missing upstream supply | Confirm ignition and switch state, then check upstream fuses, relays, and feeds. |
Arrange professional electrical diagnosis when:
- The correct replacement fuse blows more than once.
- The fuse holder is melted, loose, discolored, or corroded.
- You smell burning insulation or see smoke.
- A high-current cartridge, fusible link, or integrated junction-block element has failed.
- The fault involves airbag, ABS, stability control, steering, engine management, fuel delivery, hybrid equipment, or other safety-critical systems.
- The circuit has been modified by lights, trailer wiring, audio equipment, alarms, remote starters, dash cameras, or other aftermarket accessories.
- You cannot identify the correct diagram for the vehicle’s year and powertrain.
Frequently Asked Questions
Where Is the Fuse Box on a Toyota 4Runner?
Most 1996–2024 4Runners have an engine-compartment fuse box and a driver-side instrument-panel fuse box. The redesigned 2025 model uses a different layout with two engine-compartment boxes and a passenger-side instrument-panel box. Check the exact owner’s manual before removing trim or selecting a diagram.
How Can I Tell Whether a 4Runner Fuse Is Blown?
A broken or burned element normally indicates a blown fuse, but visual inspection is not always conclusive. Test a removed, unpowered fuse with continuity or resistance mode, or test both top test points of an installed fuse with the meter set to DC volts.
Can I Replace a 4Runner Fuse With a Higher-Amperage Fuse?
No. Install only the amperage specified on the fuse-box lid or in the owner’s manual. A higher-rated fuse can allow the wiring to overheat before the fuse opens.
Can I Test a Fuse Without Removing It?
Yes, if the fuse has accessible test points. Set the meter to DC volts, connect the black probe to a good ground, power the circuit as required, and test both points. Voltage on one side only usually indicates an open fuse.
Why Does the New Fuse Blow Again?
A repeat failure usually indicates a short circuit, overloaded accessory, damaged wire, wet connector, internally failed component, or incorrect fuse rating. Do not keep installing replacements or increase the amperage.
Which Fuse Controls the Radio, Power Outlet, or Lights?
The controlling fuse varies by year, trim, and circuit design. Some systems depend on more than one fuse or relay. Use the exact fuse-box diagram and owner’s manual instead of a generic label list.
Does Turning the Engine Off Remove Power From Every Fuse?
No. Some circuits remain connected to battery voltage with the engine and ignition off. Keep metal tools away from adjacent terminals, and never use continuity or resistance mode on a circuit that may be powered.
Is There a Cargo-Area Fuse Box in Every 4Runner?
No. A cargo-area fuse panel should not be assumed. The common 1996–2024 layouts use an engine-compartment box and a driver-side instrument-panel box, while the redesigned 2025 layout changed to engine-compartment and passenger-side instrument-panel locations.
Conclusion
Start every Toyota 4Runner fuse diagnosis with the model year. Most 1996–2024 vehicles use an engine-compartment panel and a driver-side instrument-panel panel, while the redesigned 2025 model uses a different arrangement. Find the exact circuit in the correct manual, switch the engine and accessories off, and replace the fuse only with the same physical type and amperage.
Use continuity only on an isolated, unpowered fuse. Use DC voltage when checking an installed fuse. If the correct replacement blows again, or the holder shows heat damage, stop and have the circuit traced for a short, overload, damaged harness, wet connector, or failed component.
Editorial source note: This guide was checked against Toyota owner-manual information and automotive multimeter guidance. It does not replace the fuse layout or repair procedure for the reader’s exact VIN, powertrain, or production date.