

Replacing the front wiper blades on a Toyota 4Runner is a quick DIY job when you buy the right blade lengths and match the arm connector. For many 5th-generation 4Runner front sets, the common pairing is a 24-inch driver-side blade and a 20-inch passenger-side blade, but you should always confirm fitment by your current blades, VIN, owner information, or a blade finder before buying. The Rain-X Weatherbeater line uses a pre-installed adapter that fits J-hook arms, so the key is to match both the blade length and the Small J-hook connector before you start.
Quick Answer
To replace Toyota 4Runner wiper blades, lift each arm carefully, press the release tab on the blade adapter, slide the old blade down and off the J-hook, then pull the new blade into the hook until it clicks. Tug lightly, lower the arm slowly, and test for streaks.
Key Takeaways
- Confirm the blade lengths and the Small J-hook connector before opening the package.
- Protect the windshield with a towel because the spring-loaded wiper arm can crack glass if it snaps down.
- Press the release tab on the blade adapter, not the bare metal arm, then slide the old blade off the hook.
- A click is not enough by itself; tug gently and run a low-speed wipe test before driving in rain.
At a Glance
| Time Required | 10 to 15 minutes for both front blades |
| Difficulty | Easy beginner DIY task |
| Tools Needed | Gloves, towel, glass cleaner, and a small flat screwdriver only if a clip is stuck |
| Cost | Varies by blade size, brand, and retailer |
| Common Front Sizes | Often 24 inches driver side and 20 inches passenger side on many 5th-generation 4Runner front sets; verify before buying |
| Connector Type | Small J-hook, often listed as 9 x 3 J-hook |
Quick How-To: Replace Toyota 4Runner Wiper Blades
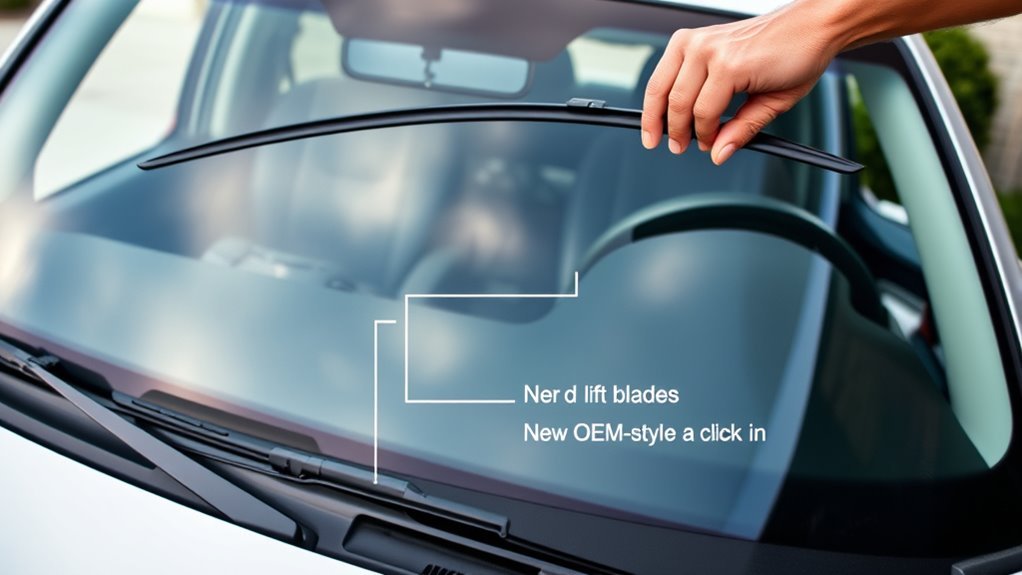
Park on level ground, turn off the 4Runner, and lift one wiper arm at a time. Place a folded towel on the windshield under the bare arm before you remove the old blade. Press the release tab on the old blade adapter, slide the blade down toward the base of the arm, and unhook it from the J-shaped end. Line up the new Rain-X Weatherbeater adapter with the J-hook, pull the blade into place until it clicks, then tug lightly to confirm it locked.
Warning: Never let a wiper arm snap back against the windshield while the blade is removed. The arm is spring-loaded and can chip or crack the glass. Keep one hand on the arm and use a towel as a cushion until the new blade is locked in.
- Confirm you have the correct driver-side and passenger-side blade lengths.
- Confirm the new blades include a Small J-hook compatible adapter.
- Lift one arm and protect the windshield with a towel.
- Press the release tab on the blade adapter.
- Slide the old blade down and off the J-hook.
- Pull the new blade into the hook until it clicks.
- Tug gently, lower the arm slowly, and repeat on the other side.
- Run the wipers with washer fluid and check for streaks, chatter, or skipping.
Confirm Size, Connector, and Side Before Buying
Before you open the package, check three things: blade length, side placement, and connector type. The 9 x 3 Small J-hook label describes the hook style on the wiper arm. It does not replace the blade length. Many front blade sets for 5th-generation Toyota 4Runner models are sold as a 24-inch driver-side blade and a 20-inch passenger-side blade, but you should verify your exact fitment with the current blades, the vehicle year, or the Rain-X blade size finder.
If you are replacing only the front windshield blades, do not buy a rear blade by mistake. The rear blade uses a different size and may use a different connection style depending on the product. When in doubt, take a photo of the old blade, measure both front blades from end to end, and compare the adapter shape before you leave the store.
Note: If one blade is longer than the other, install each blade on the correct side. Reversing driver and passenger blades can leave missed areas or cause the blade tip to hit trim.
[Products Worth Considering]
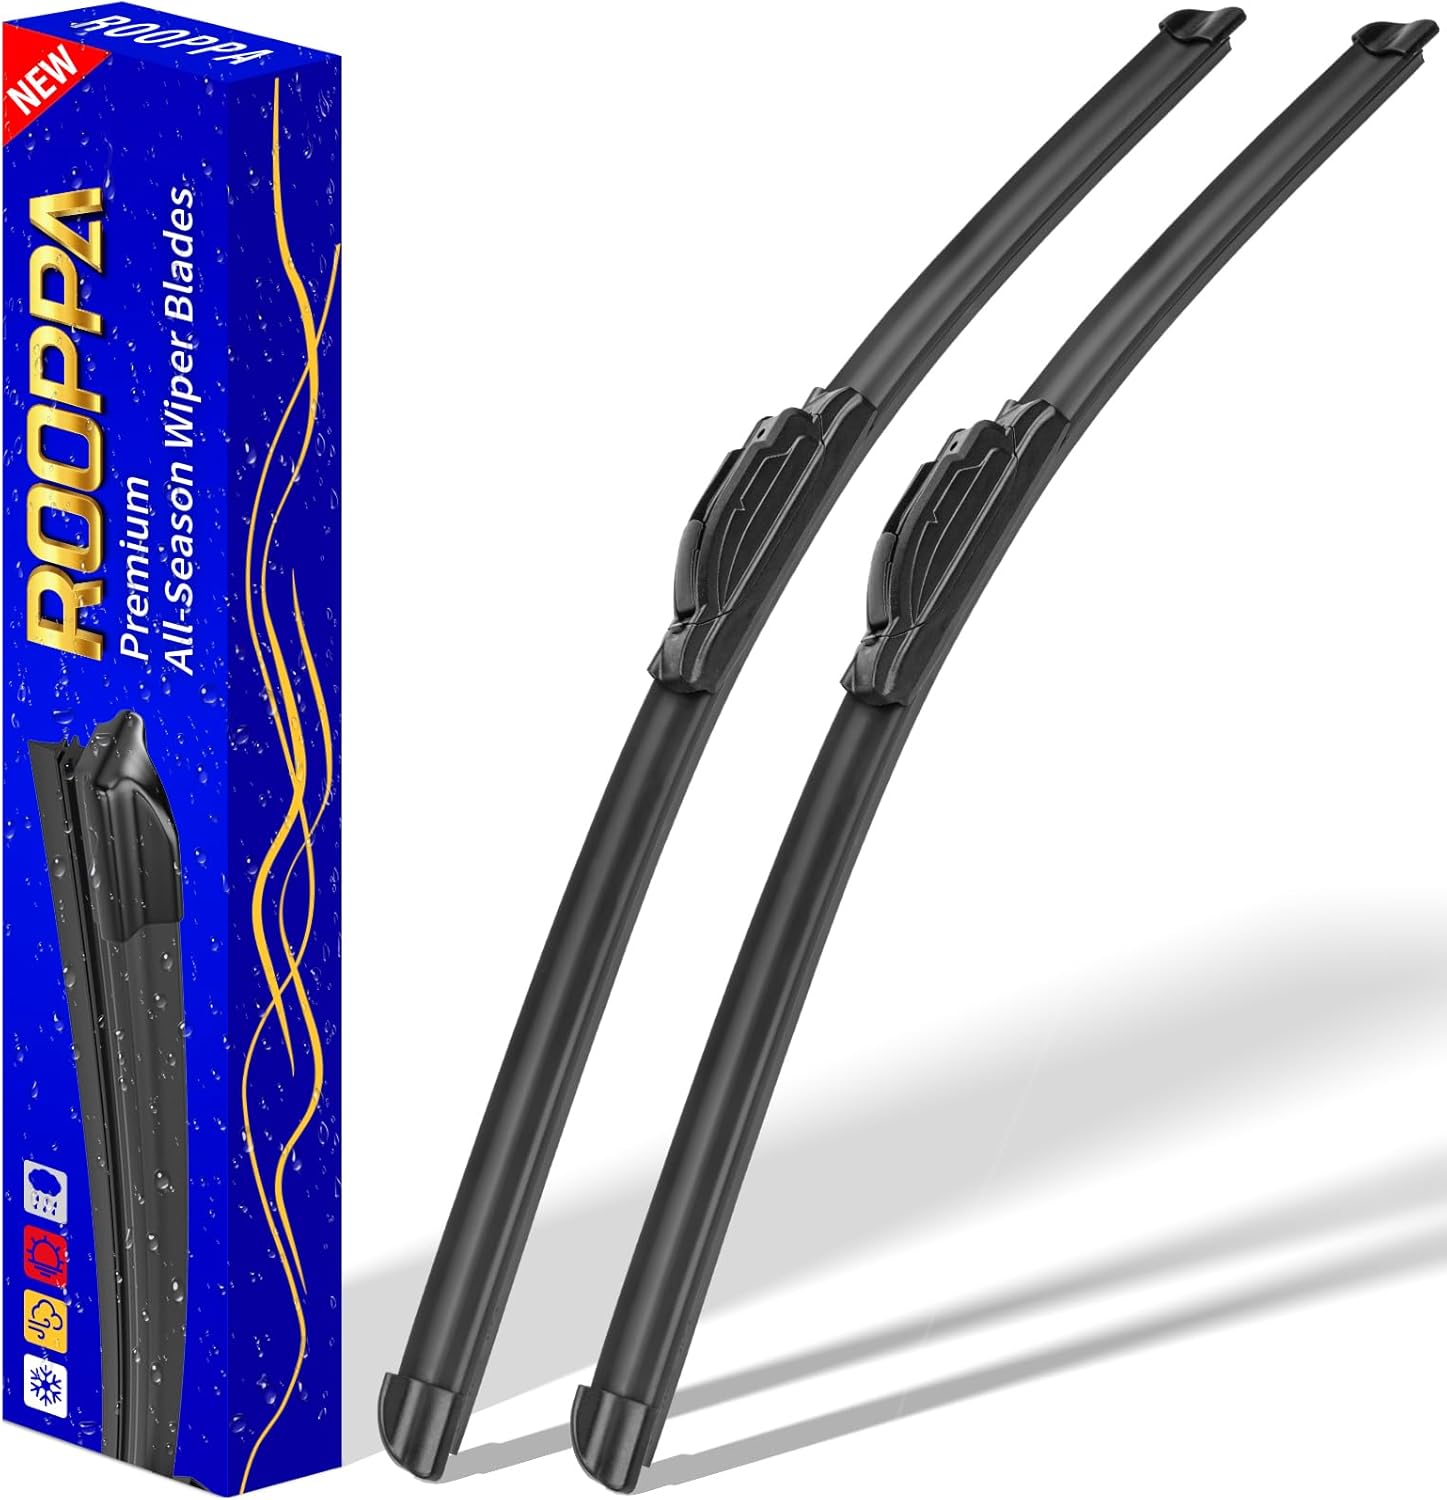
This front wiper blade set is designed as a direct replacement for select Toyota Corolla and RAV4 models, helping restore clear visibility in rain and road spray. Built for smooth, quiet performance with an easy plug-and-play installation, it includes both blades needed for the front windshield and is made to support dependable everyday driving.

These premium replacement windshield wiper blades are designed to deliver smooth, quiet, and reliable wiping performance for improved visibility in changing weather. Compatible with select Toyota Camry and 4Runner models, they feature all-season natural rubber and a frameless design that helps resist snow and ice buildup for dependable everyday driving.

Rain-X WeatherBeater wiper blades are conventional replacement blades designed to meet or exceed OEM standards for quality, durability, and dependable performance. The pre-installed multi-adapter helps simplify installation on many vehicles, while the natural rubber squeegee and galvanized steel frame deliver a clean wipe, rust resistance, and long-lasting all-weather reliability.
Gather Parts, Tools, and Position Your 4Runner
Gather the replacement blades, gloves, a clean towel, and glass cleaner. A small flat screwdriver can help with a stubborn plastic release tab, but you should not pry against the windshield, the painted arm, or the blade frame. Most Small J-hook replacements are tool-free when the adapter is aligned correctly.
- Park the 4Runner on level ground with the ignition off.
- Make sure the windshield is clean enough that dirt will not scratch the glass during testing.
- Lift one wiper arm at a time so the other arm stays safely parked.
- Place a folded towel under the raised arm before removing the old blade.
- Keep the new blade within reach so the arm is not left bare longer than needed.
You can stop the wipers near the middle of the windshield if that gives you more room, but it is not required on every 4Runner. The safer rule is simple: keep control of the arm, protect the glass, and work on one blade at a time.
Identify Your Wiper Hook Type: Small J-Hook Explained
The Small J-hook is the curved metal end of the wiper arm. It slides into the connector on the wiper blade and locks with a small plastic tab or cover. On many replacement packages, this connector is listed as 9 x 3 J-hook. Rain-X says Weatherbeater blades include a pre-installed adapter for quick installation and fit J-hook, pin, and bayonet wiper arms.
Before removing the old blade, look at how the connector sits on the hook. You should see the curved end of the arm tucked inside the blade adapter. If the hook is bent, rusty, or loose, do not force the new blade on. A damaged wiper arm can keep a new blade from locking securely.
Pro Tip: Take a quick phone photo of the old connector before you remove it. If the new adapter feels confusing, the photo shows how the J-hook should sit once the blade is locked.
[Products Worth Considering]

Rain-X WeatherBeater wiper blades deliver dependable, conventional performance designed to meet or exceed OEM standards for quality and durability. The natural rubber squeegee, galvanized steel frame, and multiple pressure points work together to provide a clean, consistent wipe while resisting cracking, rust, and corrosion. A pre-installed multi-adapter helps simplify installation on many vehicles.

Bosch ICON beam wiper blades are designed to deliver reliable all-weather performance with a custom-contoured fit for improved windshield contact. Their dual-rubber blade technology helps resist heat and ozone deterioration for longer life, while the asymmetrical spoiler maintains steady pressure to reduce lift-off and improve visibility at higher speeds. Installation is quick and easy with a hook-style adapter compatible with common 9x3mm and 9x4mm wiper arms.

These premium replacement windshield wiper blades are designed to deliver smooth, quiet, and reliable wiping performance for compatible Toyota vehicles. Built with all-season rubber and a frameless design, they help maintain clear visibility in rain, snow, and icy conditions while fitting select Camry and Prius models with ease.
Remove Old Small J-Hook Blades Step-by-Step
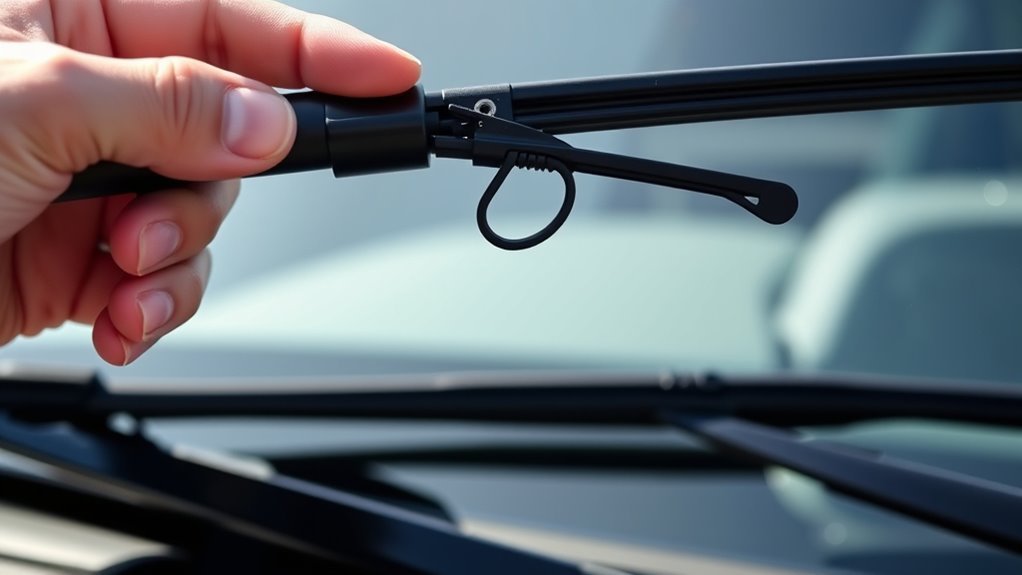
Start with the driver side or passenger side, then repeat the same process on the other arm. Keep your hand on the metal arm the whole time. The goal is to release the plastic adapter, slide the blade off the hook, and avoid bending the arm or dropping it onto the glass.
Position Wiper Arm Safely
Lift the wiper arm away from the windshield until it stands on its own. It does not need to be perfectly perpendicular; it only needs to give you enough room to access the blade connector. Place a towel on the windshield under the arm as a backup.
- Hold the arm with one hand before touching the release tab.
- Rotate the blade slightly if needed so you can see the adapter.
- Find the release tab or button on the blade connector.
- Keep fingers clear of the hinge and spring area.
Unlock and Slide the Old Blade Off
Press the release tab on the blade adapter, then slide the old blade down toward the base of the wiper arm. Once the adapter clears the curved end of the J-hook, lift the old blade away. If the adapter sticks, press the tab again and wiggle the blade in line with the arm. Do not twist hard, pry the hook open, or bend the metal arm.
Set the old blade aside where it will not scratch the paint or windshield. If you are replacing both front blades, remove and install one side completely before starting the second side.
Install Rain-X Weatherbeater Blades and Check Fit
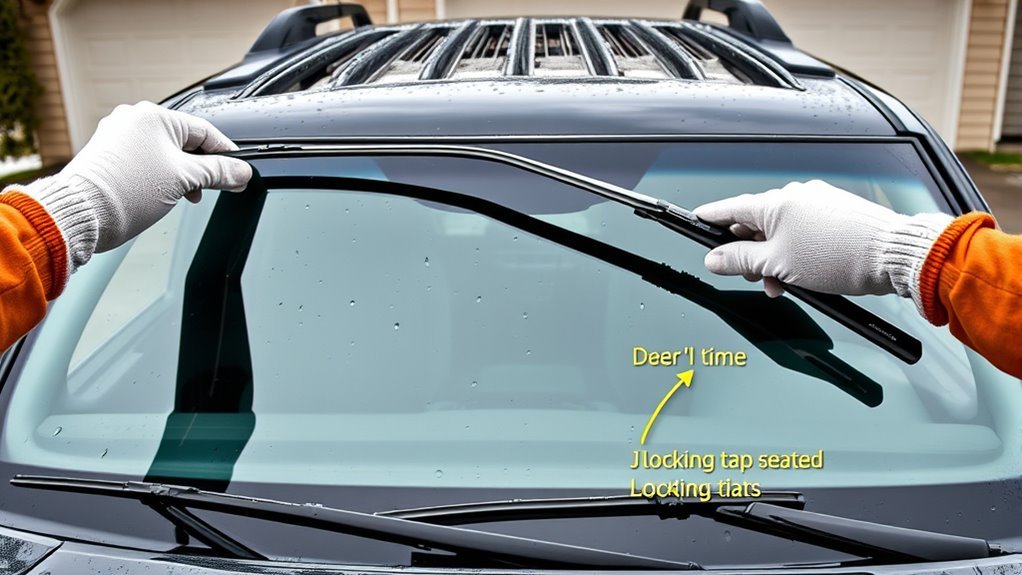
Hold the new blade so the rubber edge faces the windshield and the adapter opening faces the J-hook. Slide the curved hook into the adapter opening, then pull the blade upward along the arm until the connector clicks into place. Rain-X Weatherbeater blades use a traditional frame, natural rubber squeegee, and adapter system designed for quick installation.
- Make sure the blade is facing the same direction as the old blade.
- Seat the hook fully inside the adapter before pulling upward.
- Listen and feel for the locking click.
- Tug gently downward to confirm the adapter does not slide off.
- Lower the arm slowly onto the windshield.
Repeat the same process on the second front blade. If one blade looks longer, confirm it is on the correct side before you test the wipers.
[Products Worth Considering]

This all-season wiper blade set is designed to deliver smooth, streak-free visibility for a wide range of vehicles, including popular Toyota, Ford, Dodge, Chrysler, and Acura models. Built with premium silicone and a reinforced steel frame, these blades are made for dependable performance in wet or dry conditions while offering easy J/U-hook installation and long-lasting durability.
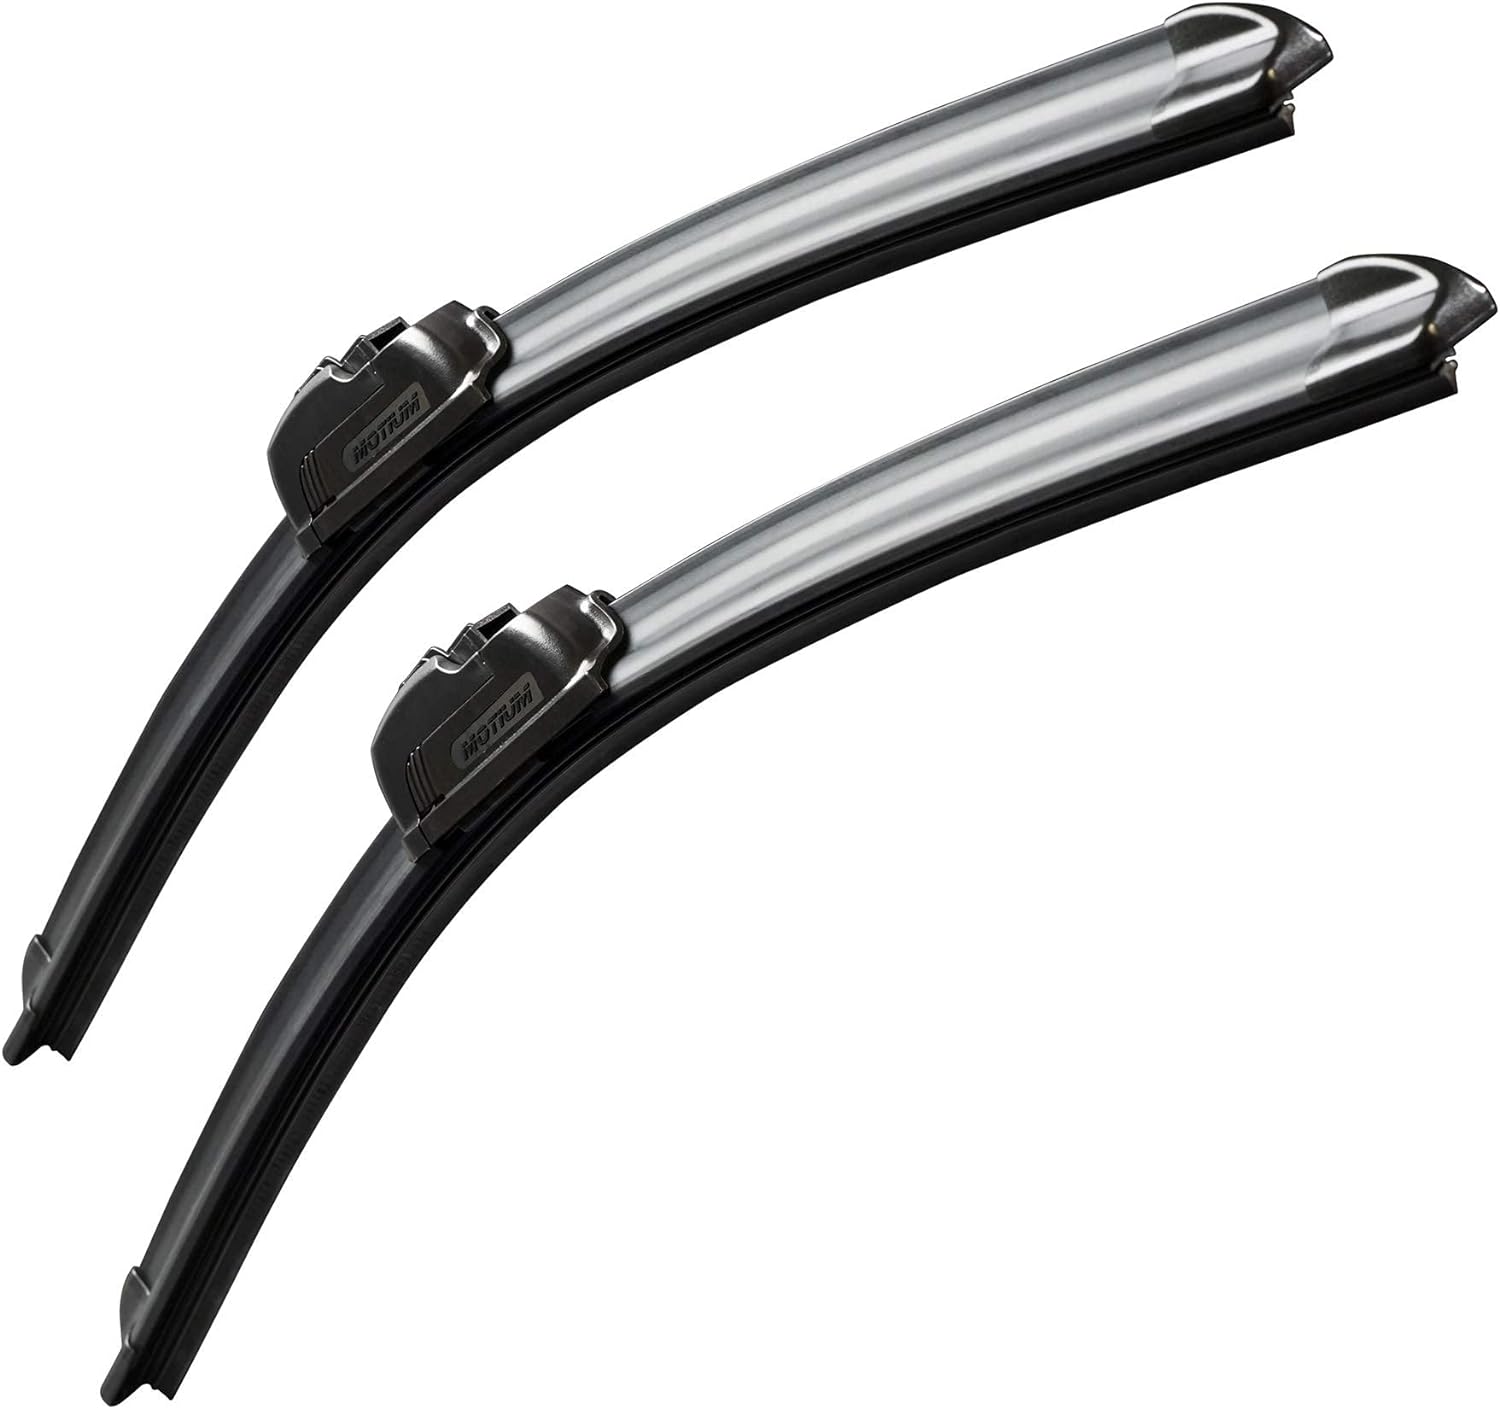
These MOTIUM windshield wiper blades deliver clear, streak-free wiping for improved visibility in rain, snow, and extreme heat. Designed for quiet, smooth operation and easy installation, they include both driver and passenger blades for a quick replacement solution that helps keep driving safer in all seasons.

This front windshield wiper blade set provides a direct replacement option for compatible vehicles needing 26 inch and 18 inch front blades. Designed for J/U hook wiper arms, it offers secure fitment, smooth contact, and quiet wiping to help maintain clear visibility in rain, snow, and road spray.
Test Wipers, Troubleshoot Common Issues, and Maintenance Tips
After both blades are installed, spray washer fluid and run the wipers on low speed. Do not test new blades on a dry windshield because dry wiping can chatter and drag. Watch the full sweep from the driver seat and from outside the vehicle if needed.
| Problem | Likely Cause | Fix |
|---|---|---|
| Streaks | Dirty glass, shipping film, or damaged rubber | Clean the windshield and blade edge; replace the blade if the rubber is torn |
| Skipping | Dry glass, old rubber shape, or poor contact | Wet the glass, clean the blade, and confirm the blade sits flat |
| Chatter or squeak | Dirty blade, dirty windshield, worn rubber, or dry wiping | Clean both surfaces and test with washer fluid |
| Blade slides loose | Adapter not locked or wrong connector | Remove and reinstall until it clicks, then tug-test before driving |
| Missed area at edge | Wrong blade length or driver/passenger blades reversed | Confirm each blade length and reinstall on the correct side |
Maintain Your New Wiper Blades
Rain-X recommends replacing wiper blades every six months to a year, or sooner if you notice a drop in visibility. During routine maintenance, look for rubber cracks, tears, missing pieces, rounded wiping edges, loose frame joints, corrosion, or a blade that no longer makes even contact with the glass.
- Clean the windshield regularly so grit does not wear the rubber edge.
- Wipe the blade edge with a damp cloth when you wash the vehicle.
- Do not run the wipers over ice, heavy snow, or a dry dirty windshield.
- Replace both front blades together unless one blade is nearly new.
- Recheck the connector after the first few drives to confirm it stayed locked.
Clear wipers are a visibility item, not just a comfort item. If the blade smears, skips, or chatters after cleaning, replace it before the next storm.
Frequently Asked Questions
Can I replace 4Runner wiper blades without parking the wipers midway on the windshield?
Yes. Parking the wipers midway can make access easier, but it is not required for every replacement. The more important steps are to turn the vehicle off, lift one arm at a time, protect the windshield with a towel, and keep control of the arm while the blade is removed.
What size wiper blades does a Toyota 4Runner use?
Many 5th-generation Toyota 4Runner front wiper sets are sold as 24 inches for the driver side and 20 inches for the passenger side. Still, confirm your exact year and blade style before buying because blade listings, rear blades, and aftermarket adapters can differ.
Are heated wiper blades compatible with a 4Runner?
They can be compatible only if the heated blade kit fits your 4Runner’s arm connector and can be wired safely. Check the kit’s adapter, power draw, fuse requirements, wire routing, and installation instructions before buying. If wiring is unclear, use a standard winter or beam-style blade instead.
How often should I replace both blades versus just one?
Replace both front blades every 6 to 12 months, or sooner if they streak, chatter, skip, split, or smear after cleaning. Replacing only one blade is fine if the other blade is almost new and still wipes clearly, but matched pairs usually give more even visibility.
Can OEM wiper arms be upgraded for better performance?
Usually, you do not need to replace the OEM arms. Better performance normally comes from correct blade size, a secure adapter, clean glass, and fresh rubber. Replace or inspect the arm only if it is bent, corroded, loose, or no longer presses the blade evenly against the windshield.
Do blade sizes differ between the driver and passenger sides?
Yes. The driver-side blade is often longer than the passenger-side blade. If you reverse them, the blades may leave missed areas, overlap incorrectly, or contact trim. Check the size label before installing each blade.
Do I need Rain-X Weatherbeater blades specifically?
No. Rain-X Weatherbeater blades are one compatible conventional option when the size and adapter match. You can also use other quality conventional, beam, hybrid, silicone, or winter blades as long as they fit your 4Runner’s blade length and connector type.
Conclusion
You can replace Toyota 4Runner wiper blades in a few minutes when you confirm the right blade lengths, match the Small J-hook connector, and protect the windshield while the arm is bare. Remove one old blade at a time, lock the new blade until it clicks, tug-test it, then run a wet wipe test before you drive. If the blades streak, chatter, or skip after cleaning, reseat them or replace them so your visibility stays reliable in rain.
Sources
- Rain-X Weatherbeater Wiper Blades — supports adapter compatibility, material, and product details.
- Rain-X Installation Instructions — supports using product-specific installation guidance.
- Rain-X Wiper Blade Information & Maintenance — supports replacement interval and inspection signs.
- K&N 24-Inch / 20-Inch Wiper Blade Combo Specifications — supports common 24-inch and 20-inch front blade sizing language.
- 49 CFR 571.104: Windshield Wiping and Washing Systems — supports the safety relevance of windshield wiping systems.




[…] Avoid hot water, metal scrapers, and running wipers over dry or frozen glass because they can damage the windshield or wiper blades. […]
[…] How to replace Toyota 4Runner wiper blades […]