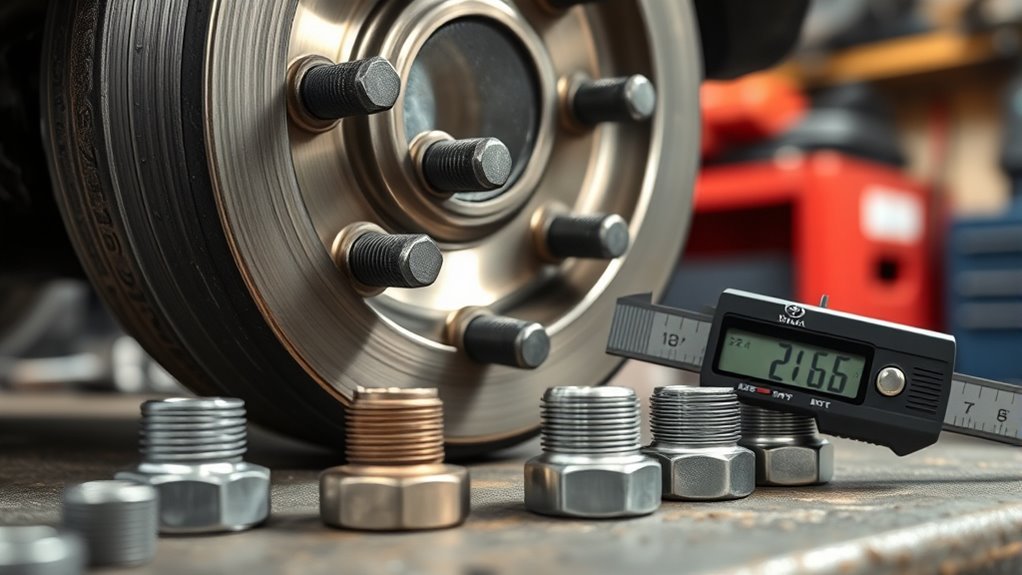
You’ll most likely need M14×1.5 lug studs with 60° tapered‑seat lug nuts on modern Toyota 4Runners (older models may use M12×1.5). Measure stud diameter and count threads per 10 mm to confirm pitch. Verify bolt pattern (6×139.7), hub bore (95.1 mm), offset (+20–+55 mm) and stud length before buying. Torque aluminum wheels to 97 ft‑lb (steel spares 154 ft‑lb) and re‑check after 50–100 miles — more fitment and nut‑type details follow.
Quick Guide: 4Runner Model → Lug Stud Size (M14×1.5 vs M12×1.5)
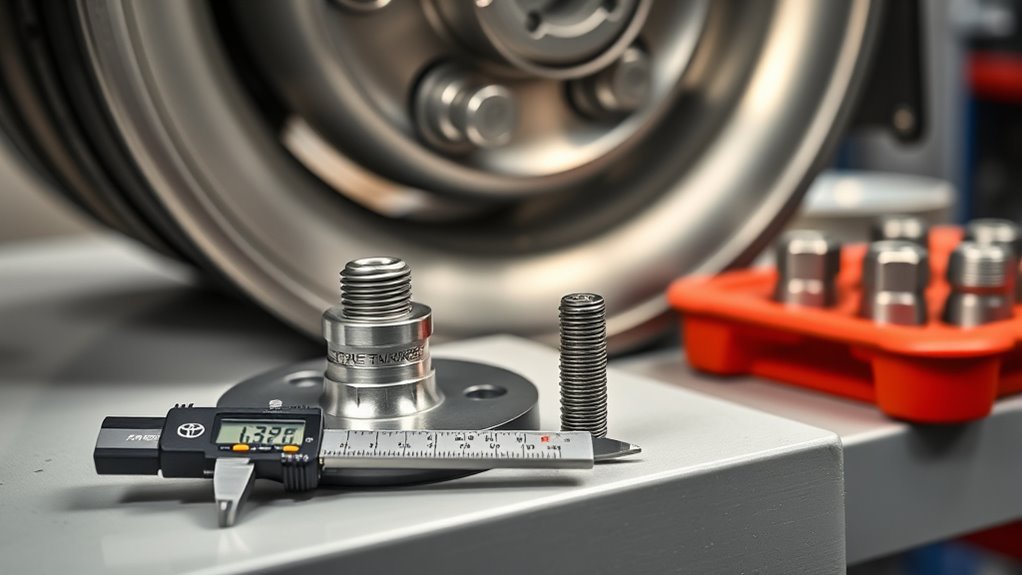
Although most Toyota 4Runners use M14×1.5 lug studs, some older models may have M12×1.5, so you should confirm your vehicle’s specification before buying lug nuts. You’ll prioritize lug nut types that match stud compatibility: M14×1.5 is standard across recent generations and engineered to handle higher torque (around 97 ft-lb), providing reliable clamping force and fatigue resistance. If you buy incompatible lug nuts, you’ll compromise thread engagement and safety. For older 4Runners with M12×1.5, select nuts sized to that pitch and diameter; they’re less common but still viable. You’ll consult the vehicle manual or factory specifications to verify the correct size by model year and trim. In practice, choose lug nut materials and profiles compatible with wheel design and torque specs to maintain integrity. Confirming stud compatibility before purchase liberates you from fitment errors and preserves vehicle safety and performance.
How to Measure Thread Size and Pitch on Your 4Runner
First, measure the stud diameter with dial or digital calipers across the external threads to confirm M14 or M12. Next, determine thread pitch by counting threads in a 10 mm section for metric sizes (M14 x 1.5 common). Finally, verify both size and pitch with a test-fit lug nut and torque to the specified ~97 ft·lb to guarantee proper engagement and wheel security.
Measure Stud Diameter
To measure your 4Runner’s stud diameter and thread pitch, use dial or digital calipers to measure the outside diameter of the wheel stud threads and then count threads over a 10 mm length to determine pitch. Use precise measuring tools and perform a stud diameter comparison against known standards (14 mm common). You’ll confirm both diameter and pitch before replacing lug nuts.
| Measurement | Typical Value | Action |
|---|---|---|
| Stud diameter | 14 mm common | Verify with calipers |
| Thread pitch | 1.5 mm typical | Count threads per 10 mm |
| Safety check | Bolt pattern/hub bore | Match specifications |
Accurate measurements free you from guesswork; they guarantee compatible lug nuts and safe installation while asserting control over your vehicle maintenance.
Determine Thread Pitch
How do you confirm the correct thread pitch on your 4Runner? Use dial or digital calipers as primary measuring tools to record the outside diameter of the wheel stud threads precisely. For pitch, count threads per unit length: for metric threads, count the number of thread crests in a 10 mm section; for SAE, count in a one-inch section. Common 4Runner studs are 14 mm × 1.5 mm, so validate that measurement against vehicle specs. Accurate pitch measurement guarantees thread compatibility and prevents mismatched lug nuts. Work in good light, stabilize the stud, and mark your 10 mm or 1″ section before counting. Record both diameter and pitch, then cross-check with manufacturer data to maintain safe, liberated control of your wheel assembly.
Verify With Test Fit
Now that you’ve measured diameter and pitch, confirm those readings with a physical test fit before buying or installing lug nuts. Use calipers to verify a 14 mm OD and count threads per 10 mm to confirm a 1.5 pitch, then hand-thread a known-good lug nut onto the stud. It should engage smoothly without cross-threading or excessive force; that indicates a secure installation. If resistance appears, stop and recheck measurements and specs.
| Step | Tool | Expected Result |
|---|---|---|
| Diameter | Calipers | 14 mm OD |
| Pitch | Visual/count | 1.5 threads per mm |
| Fit check | Hand-thread | Smooth engagement |
| Final | Torque wrench | Secure installation |
Fitment Checklist: Bolt Pattern, Hub Bore, Offset, Stud Length
Start by confirming the bolt pattern—Toyota 4Runners use 6×139.7, and mismatching this will prevent proper wheel mounting. Next, verify the wheel’s hub bore is 95.1 mm or that you use correct hub-centric rings to maintain alignment and avoid vibration. These two checks eliminate the most common fitment failures before you consider offset or stud length.
Bolt Pattern Match
Because wheel fitment depends on several precise dimensions, you should confirm the 4Runner’s 6×139.7 bolt pattern, 95.1 mm hub bore, appropriate offset (+20 to +55 mm for most trims), and compatible stud length before buying wheels. Bolt pattern match is non-negotiable: a 6-139.7 spec guarantees lug holes align and torque transfers correctly. Aftermarket wheel options must state this pattern; adapters or incorrect patterns introduce stress and failure risk. Check stud length to assure full lug engagement without bottoming or excess exposure. Use wheel alignment tips after installation to verify geometry hasn’t shifted. Validate specs against the vehicle VIN and wheel manufacturer data; insist on precision so you retain safety and the freedom to modify confidently.
Hub Bore Fitment
Having confirmed the 4Runner’s 6×139.7 bolt pattern and proper stud length, check the 95.1 mm hub bore next—this mating diameter centers the wheel on the hub and prevents runout that causes vibration or premature bearing wear. You’ll verify hub bore compatibility to guarantee the wheel seats concentrically; an undersized bore won’t fit, an oversized bore requires a hub-centric ring to restore centering. Also confirm offset (commonly +55 mm) because lateral position affects suspension geometry and clearance. Account for stud length so lug engagement is secure without interference. For liberated ownership, insist on precise measurements: measure bore, test fit with rings if necessary, and include wheel alignment considerations after installation to finalize true tracking and minimize tire wear.
Choosing the Correct Lug Nut Seat for 4Runner Wheels (60°, Shank, Mag)
When you fit wheels to a 4Runner, confirm the lug nut seat type—most stock wheels use 14×1.5 lug nuts with a 60° tapered seat—because using a shank or mag-style seat meant for certain aftermarket wheels will prevent correct seating, cause imbalance, and can even lead to wheel detachment. You need to identify lug nut types and assess aftermarket compatibility before installation. The 60° tapered seat centers the wheel against the hub face; torque loads distribute around the cone, preserving alignment and balance.
Shank-style nuts index on a cylindrical pilot and suit wheels with matching stepped holes; mag-style (flat-seat) nuts bear on the hub face and require precise face contact. Mixing seat types with wheel hole geometry produces point loading, looseness, vibration, and failure risk. Verify thread size and pitch (14×1.5 standard) and cross-check wheel manufacturer specs. Use the vehicle torque chart and proper seating procedure. Choose the seat that matches wheel design to retain safety, performance, and the freedom to modify confidently.
Wrenching Types for 4Runner Lug Nuts: Hex, Spline, Key – Pros & Cons
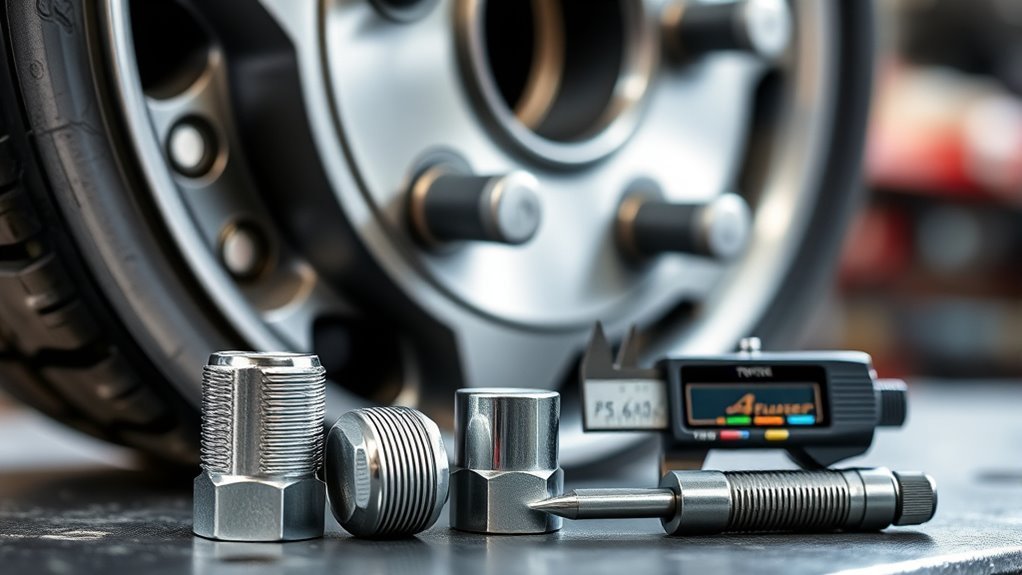
After you’ve matched the correct lug seat and thread pitch to your 4Runner wheels, pick the wrenching style that fits your priorities for convenience, security, and wheel protection. You’ll choose between hex, spline, and hex‑key lug nuts based on Lug nut aesthetics, Security features, and available Installation tools.
| Type | Pros | Cons |
|---|---|---|
| Hex | Universal sockets, fast roadside service | Exposes wheel face; lower Theft prevention |
| Spline | Sleek Lug nut aesthetics; better Theft prevention | Requires special socket; lose it and you’re stuck |
| Hex‑Key | Protects wheel finish; minimalist look | Special tool needed; slower emergency use |
Hex is practical: standard 14×1.5 fitment and ubiquitous tools. Spline elevates Security features and appearance but ties you to a unique socket. Hex‑key maximizes wheel protection and aesthetics while sacrificing immediate accessibility. Choose the style that liberates you from compromise: prioritize serviceability, stealth security, or preserved finish.
Torque the Right Way: OEM Specs and the Two‑Step Seating Method
Because correct torque prevents rotor warping and loose wheels, you should follow Toyota’s two-step seating method: start at 40 ft-lbs to seat the wheel, then apply final torque per spec. You’ll use a 1/2” drive torque wrench for accurate torque calibration and adhere to seating techniques that distribute clamp load evenly. Follow the star pattern sequence to avoid uneven seating and potential rotor distortion. For most 4Runner trims set final torque to 97 ft-lbs; for steel Type B spare wheels use 154 ft-lbs. Perform the two-step process on each wheel, checking wrench calibration periodically. Tighten progressively and verify readings; if values drift, stop and recalibrate. You want control and freedom from unsafe failures—this method gives it.
Seat wheels in two steps: 40 ft‑lbs to snug, then final torque (97 ft‑lbs; 154 for steel spare), using a 1/2″ wrench.
- You’ll feel confidence when each lug shows the correct calibrated click.
- You’ll reject guesswork and embrace precise seating techniques.
- You’ll gain liberation from roadside anxiety with disciplined torque calibration.
Aftermarket Lug Nuts: Functional Choices and Finish Options
Although you may stick with stock hardware, choosing aftermarket lug nuts lets you match function and finish to your 4Runner’s needs: You’ll select 14×1.5 threads with a 60-degree tapered seat to maintain factory fit and balance. Choose hex, spline drive, or hex key styles to vary access and lug nut security features; spline and hex key types resist casual removal, hex is fastest for service. Acorn-shaped nuts offer clean contact and proper wheel clamping.
| Type | Characteristic |
|---|---|
| Hex | Fast service |
| Spline drive | Higher theft resistance |
| Hex key | Low-profile security |
| Acorn shape | Proper clamping |
| 60° seat | OEM fitment |
Finish choices shift intent: chrome plating prioritizes sheen, zinc plating prioritizes corrosion resistance. Match aesthetic finish options to your vision—polished show truck or rust-proof daily driver—without compromising torque specs. Pick torque values per OEM two-step seating to keep freedom from failure.
Fitment Troubleshooting: Cross‑Threading, Loose Wheels, Wrong Seat
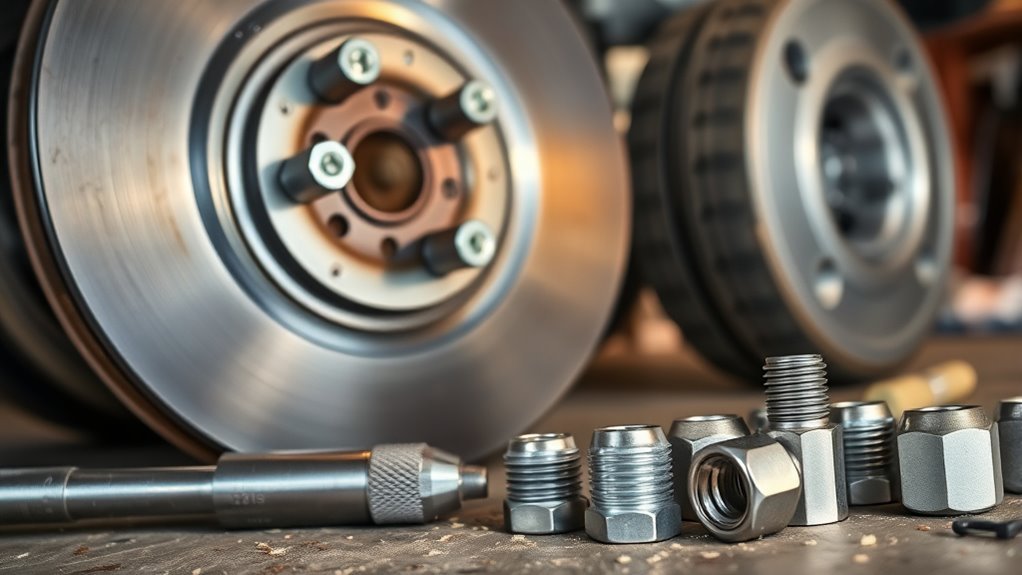
When troubleshooting wheel fitment issues on your 4Runner, check for cross-threading, incorrect seat angle, and under- or over-torqued lug nuts, since each can compromise clamping and lead to vibration or failure. Inspect studs and nuts visually and by hand—threads should run smooth; any resistance often signals cross-threading that weakens engagement and risks catastrophic loosening. Follow torque specifications (97 ft-lbs for 14×1.5) and a star torque sequence to distribute preload evenly. Confirm seat type: a 45° tapered nut on a 60° seat will cant the wheel and produce imbalance and stress risers.
Check studs, seat angle, and torque—replace damaged or mismatched hardware and re-torque after 50–100 miles to prevent vibration.
Do this to reclaim control:
- Verify threads and replace damaged studs or nuts to prevent failure and restore trust.
- Use a calibrated torque wrench and re-check after first 50–100 miles as disciplined wheel maintenance.
- Replace mismatched seat hardware immediately to eliminate vibration and regain safe motion.
Act deliberately; precise checks and disciplined wheel maintenance free you from avoidable risk.
Quick‑Reference Chart: 4Runner Lug Sizes, Pitches, Torque, and Sockets
Start with these key specs so you can match wheels to your 4Runner without guesswork: lug nut size 14×1.5, bolt pattern 6-139.7, torque 97 ft-lb (154 ft-lb for steel wheels), socket 21mm (13/16″), use a 1/2-inch drive torque wrench. You’ll keep alignment, safety, and freedom when you use this compact reference.
Use this chart mentally when selecting or mounting wheels:
- Lug nut: 14×1.5 — correct thread engagement prevents cross-threading.
- Bolt pattern: 6-139.7 — wheels must match flange geometry.
- Torque (aluminum/most): 97 ft-lb — apply with 1/2″ torque wrench.
- Torque (steel): 154 ft-lb — higher clamp required.
- Socket: 21mm / 13/16″ — tight fit reduces rounding.
For resilient wheel maintenance tips and lug nut care, clean studs, inspect threads, apply proper torque sequence, and re-torque after 50–100 miles. Follow these specs precisely to liberate yourself from uncertainty and maintain safe, reliable wheel fitment.
Frequently Asked Questions
Do Aftermarket Wheel Spacers Affect Required Lug Stud Length?
Yes — you’ll need longer studs for many wheel spacer types; check stud compatibility, spacer thickness, and thread engagement. Use hub-centric, threaded spacers that preserve sufficient thread length so wheels stay secure and you stay liberated.
Can Anti-Seize on Threads Change Torque Readings?
Yes — anti-seize lowers friction and can raise applied torque for same clamp; for example, a mechanic found 20% higher torque needed. Verify torque specifications and thread compatibility account for lubrication to avoid overstress and failure.
Are Extended Lug Nuts Safe for Steel Wheels?
Yes — you can use extended lug nuts on steel wheels if they match lug nut materials, seat type, and torque specs; you’ll guarantee wheel safety by verifying fit, avoiding interference, and using proper installation, inspection, and maintenance.
Do TPMS Sensors Interfere With Lug Nut Installation?
Yes — you won’t usually have issues; TPMS compatibility depends on sensor placement and wheel design, so you’ll verify clearance, torque access, and use compatible lug nuts to guarantee sensors stay secure while you maintain autonomy over wheel choices.
Can Wheel Locks Be Rekeyed to Match New Lug Nuts?
Yes — you can rekey wheel locks to match new lug nuts; wheel lock compatibility depends on key pattern and manufacturer, and the rekeying process involves machining or ordering matching cylinders to unify security while preserving your freedom to change wheels.
Conclusion
You’ve got the facts to fit, measure, and torque 4Runner lug nuts like a pro—no guessing, no drama. Follow M14×1.5 vs M12×1.5 guidance, check bolt pattern, hub bore, offset, stud length, and match the seat (60°, shank, mag). Use correct sockets and OEM torque with the two‑step seating method. Avoid cross‑threading and mismatched seats; one wrong lug nut can cause catastrophe—so double‑check fitment and torque every time.