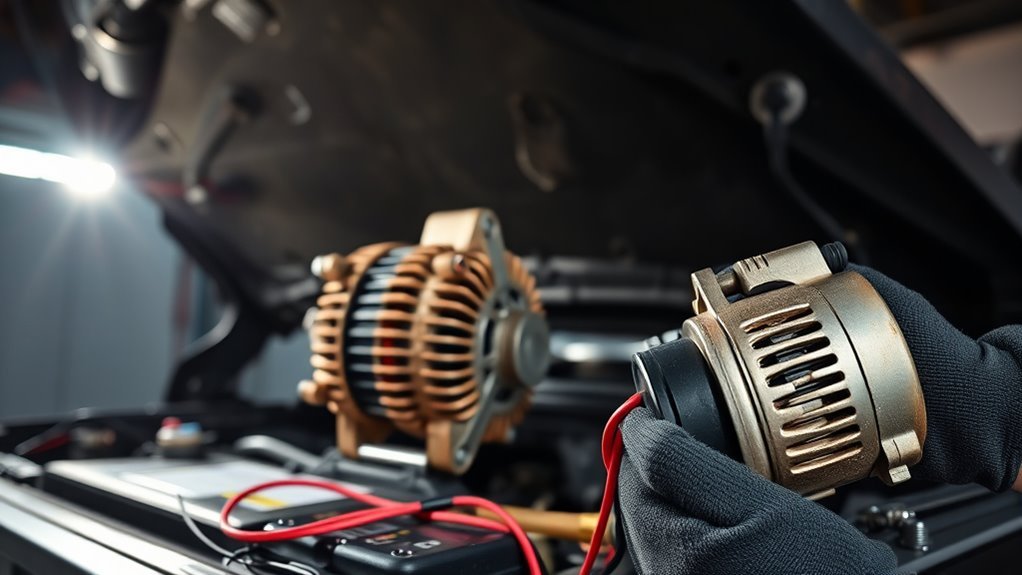
Your 4Runner’s alternator converts engine rotation to 12.5–14.5V charging power and usually lasts 100–150K miles, but bearings, diodes, or the regulator often fail by 80–120K. Watch for flickering headlights, slow accessories, hard starts, burning smells, or grinding noises. Pull over, reduce electrical load, and test battery and charging voltage with a multimeter (engine: ~13.8–14.4V). You can DIY with basic tools or pay a shop; keep going to get diagnostic steps and cost guidance.
4Runner Alternator: Function and Lifespan
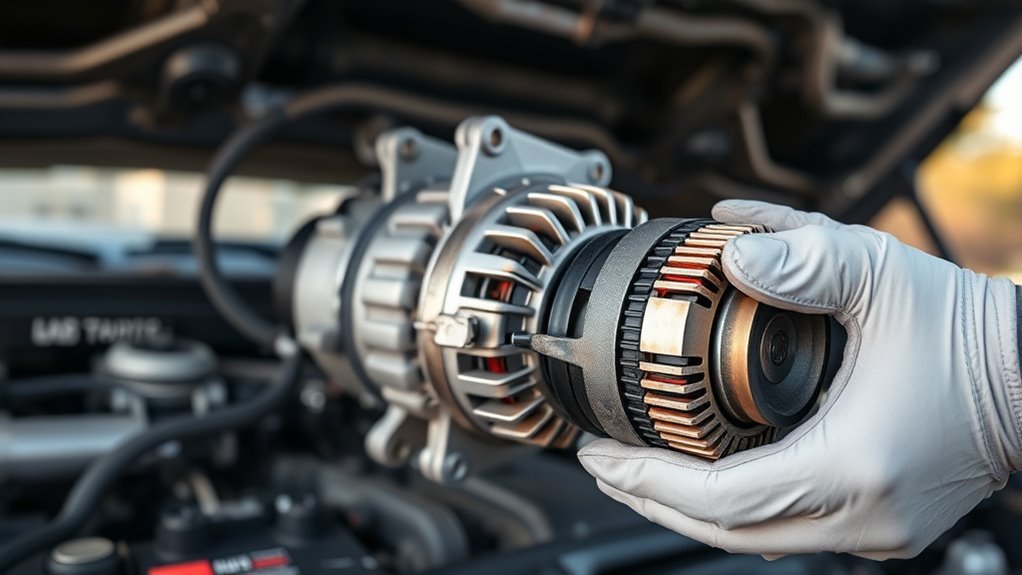
While your 4Runner’s alternator converts engine rotation via the serpentine belt into the electrical power that keeps the battery charged and systems running, it’s designed to hold output between roughly 12.5 and 14.5 volts; deviations from that range signal charging problems. You should view the alternator as a controlled generator: it converts mechanical torque into current, then a regulator maintains voltage for battery recharging and accessory operation. Typical lifespan runs about 100,000–150,000 miles or seven to ten years, though heat and heavy demand shorten that. Bearings, diodes, and the regulator are common failure points, often showing wear by 80,000–120,000 miles. Use alternator maintenance tips: inspect the serpentine belt for tension and glazing, check electrical connections for corrosion, and test output under idle and load. Practice electrical load management by staggering high-draw accessories and limiting aftermarket additions. That disciplined approach gives you independence from roadside failures and extends component life.
[Products Worth Considering]
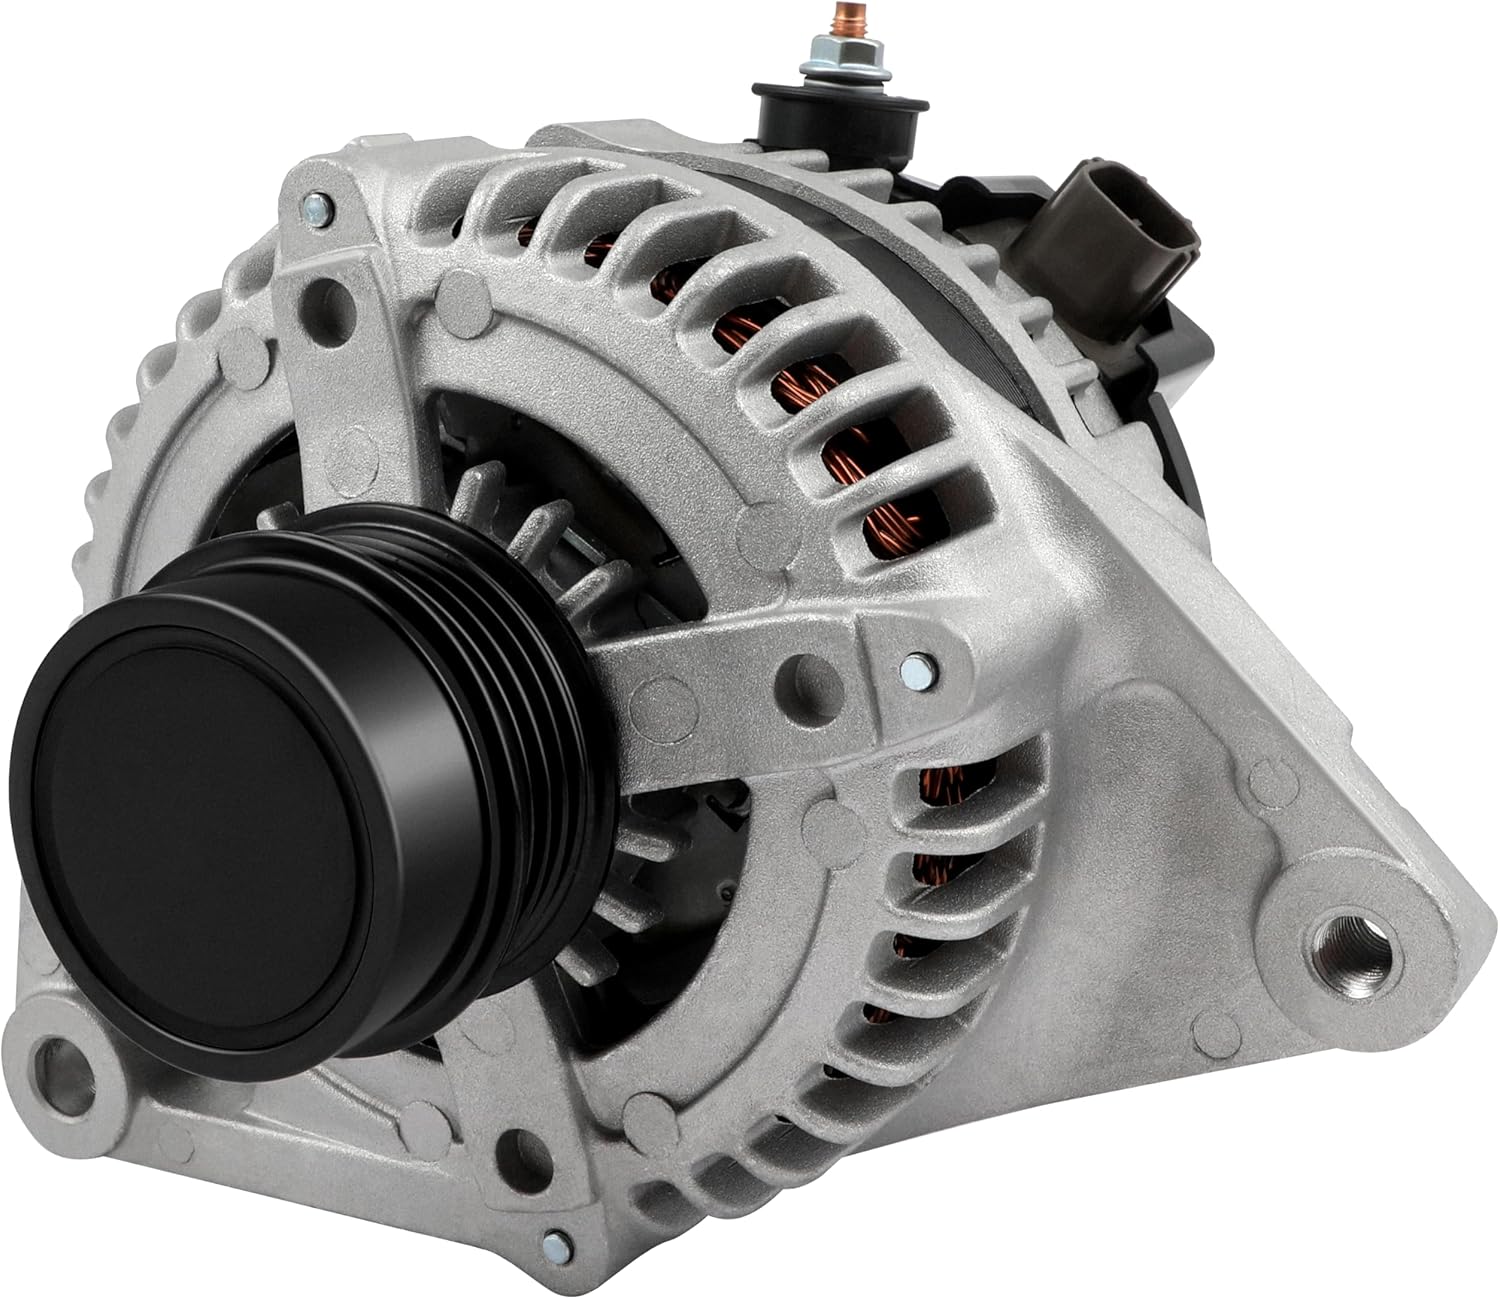
This high output alternator is designed to fit select Toyota, Scion, and RAV4 2.5L applications, delivering reliable charging performance for everyday driving. Built with a 12-volt, 100-amp design and precision-engineered components, it helps support battery recharge, stable electrical output, and consistent operation when your vehicle shows signs of charging issues.

The TOPDON BT100 helps you quickly check the health and charge status of 12V lead-acid batteries with clear analytical results, including state of health, state of charge, voltage, and cranking performance. It supports a wide range of battery types and vehicles, making it a practical tool for diagnosing starting and charging issues at home or in the shop. Compact and easy to use, it provides fast, reliable testing without needing to charge the device first.

The ANCEL BA101 helps diagnose 12V batteries quickly with clear readings for battery health, charge level, voltage, CCA, cranking, and charging system performance. Designed for a wide range of vehicles and battery types, it offers easy-to-read results, reliable clamp connections, and built-in protection to make testing safer and more convenient.
8 Clear Signs Your 4Runner Alternator Is Failing
If your 4Runner’s electrical system starts acting up—dim or flickering headlights, sluggish power accessories, or the battery/ALT light on the dash—you’re likely seeing early alternator failure. You should treat these alternator symptoms as diagnostic flags: inconsistent voltage delivery shows up as lighting fluctuations; slow windows or seat heaters point to inadequate charging under load. Frequent stalling or hard starts after accessory use signals the alternator isn’t replenishing the battery. A burning odor or whining/grinding noise indicates internal overheating or bearing failure, escalating risk.
- Dim/flickering headlights: inconsistent voltage delivery revealing electrical issues.
- Slow or intermittent power accessories: insufficient alternator output under load.
- Hard starts/stalling after accessory use: battery not being charged effectively.
- Burning smells or unusual noises: overheating or mechanical failure inside the alternator.
These signs free you from guesswork—recognize patterns, prioritize repair, and reclaim control of your vehicle’s electrical system before failures compound.
Immediate Actions: Can You Drive It? (Safety Tips)
When you spot alternator warning signs—dimming lights, battery/ALT lamp, or stalling—you shouldn’t keep driving; pull over when safe and assess the situation. Act decisively: turn off non-essential electronics (radio, climate blower, phone chargers) to reduce load and extend remaining alternator function. Avoid driving at night; reduced visibility and dimming headlights increase the chance you’ll be stranded. Monitor the dash—if the battery or ALT light stays on or the engine hesitates, arrange towing or professional service rather than continuing.
These steps tie into basic emergency preparedness: keep a charged phone, roadside kit, and contact for tow service. Use practical driving tips—signal early, coast to a safe shoulder, and don’t attempt long trips when symptoms appear. Driving with a failing alternator can produce a sudden shutdown that endangers you and costs more to fix. Prioritize safety and liberation: remove dependence on risky improvisation and secure a prompt, proper repair.
Diagnosing 4Runner Alternator vs. Battery Issues (DIY Tests)
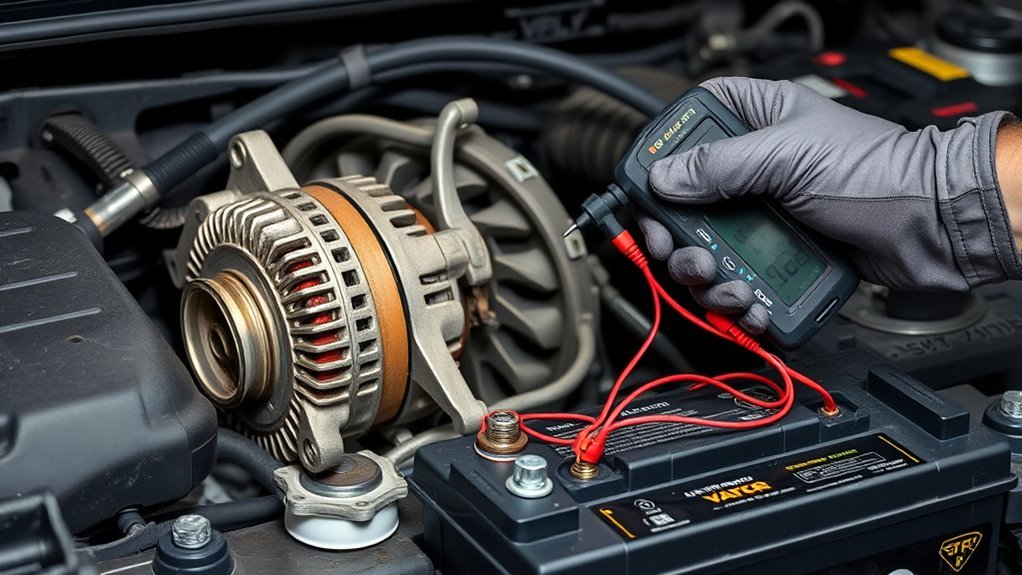
Anyone working on a 4Runner should start by isolating the battery from the charging system with simple, repeatable tests: you want definitive data before replacing parts. Begin with battery testing and voltage monitoring using a multimeter. Measure engine off (12.4–12.7V = good battery); then start the engine and expect 13.8–14.4V. Below ~13.5V while running suggests a charging fault.
- Jump-start test: if engine dies after cables removed, alternator likely failing.
- Headlight check: flicker or dimming with engine running points to alternator inconsistency.
- Listen: grinding or squeal can indicate worn bearings or belt tension problems affecting output.
- Dash indicators: any battery/alt lamp on requires immediate charging-system inspection.
You’ll act deliberately: collect voltage numbers, observe symptoms, and free yourself from guesswork. That data guides repair or replacement decisions without wasting effort on trial-and-error.
[Products Worth Considering]

This A-Premium serpentine belt is engineered for select Toyota, Scion, and Pontiac vehicles with the L4 2.4L gas engine, delivering dependable air conditioning drive performance. Made with durable EPDM and precision dimensions, it helps resist cracking, reduce noise, and maintain stable tension for smooth operation. It's designed for straightforward installation and backed by a one-year unlimited-mileage guarantee for added confidence.

This A-Premium serpentine belt is designed to deliver dependable drive performance for compatible Toyota and Scion vehicles with exact-fit sizing for smooth operation. Built with premium EPDM and polyester cord construction, it helps resist cracking, reduce noise, and maintain stable tension in demanding engine conditions. It is a practical replacement choice for restoring reliable accessory drive performance and long-term confidence.

TOPDC heavy duty jumper cables are designed to help drivers get a dependable boost when a battery runs down. The 20-foot length offers added reach for cars, SUVs, and trucks, while insulated serrated clamps provide a secure connection to top-post and side-terminal batteries. A flexible PVC jacket, carry bag, and included guide make these cables practical for everyday emergency use.
Why 4Runner Alternators Fail (Common Causes & Risk Factors)
Check the alternator’s bearings and heat exposure first, because worn bearings and chronic high temperatures accelerate wear and produce grinding noise before failure. Inspect the voltage regulator for erratic output or signs of overcharging that can damage the battery and electronics. Finally, look for fluid contamination or corrosion from coolant, oil, or road salt that shorts windings and degrades connections.
Bearing Wear And Heat
Because bearing surfaces take most of the alternator’s mechanical load, heat and wear quickly become critical failure drivers; after roughly 100,000 miles you’ll often hear whining or grinding as lubrication breaks down and friction rises. You should prioritize bearing inspection and understand lubrication importance to prevent seizure and loss of charging capacity. Excessive engine heat and belt over-tension accelerate metal fatigue and grease breakdown, shortening service life.
- Check for play and roughness during spin tests.
- Monitor noise under load; heat amplifies defects.
- Verify belt tension to avoid added radial load.
- Replace contaminated or dried bearings promptly.
Diagnose early: find wear, restore free rotation, liberate yourself from roadside failure with targeted maintenance.
Voltage Regulator Failure
Heat and bearing failure aren’t the only mechanical issues that end an alternator’s life; the voltage regulator often does too, and its failure presents electrical symptoms you can measure. You’ll detect overcharging or undercharging: voltage regulator testing will show fluctuating readings above 15V or dips below normal, risking battery and component damage. Expect dimming or flickering headlights and unstable dash electronics. Inspect the regulator regularly, especially past 80,000–120,000 miles, to avoid shortened alternator life. Look for clear replacement signs: persistent high voltage, erratic output, or electrical anomalies under load. Act decisively—diagnose with a multimeter, record voltage under idle and load, and replace the regulator promptly to regain control and automotive freedom.
| Symptom | Test | Action |
|---|---|---|
| Flicker | Multimeter | Replace |
| High V | Load test | Replace |
| Erratic | Data log | Replace |
Fluid Contamination And Corrosion
If your 4Runner develops oil or coolant leaks near the engine bay, those fluids can seep into the alternator and corrode bearings, windings, and terminal connections, quickly degrading output and causing intermittent charging faults. You need to diagnose fluid leaks early and act to prevent progressive damage; moisture and contaminants promote rust and electrical shorts that undermine voltage stability. Inspect seals, hoses, and the alternator housing regularly; even minor seepage will reduce reliability.
- Check for oil or coolant trails on or under the alternator.
- Test terminal resistance to detect corrosion at connections.
- Clean and dry the area; replace compromised seals or gaskets.
- Adopt corrosion prevention: dielectric grease and routine inspections.
Take control—eliminate contamination to restore electrical freedom.
Alternator Replacement: DIY vs. Professional Costs and What to Expect
You can save significant money by replacing a 4Runner alternator yourself with basic tools, but expect 2–3 hours depending on model and experience and factor in the cost of a quality remanufactured or OEM unit. Professional service typically runs $300–$800 (avg. ~$500) installed and includes diagnostics, labor, and warranty coverage. Before any work, confirm the fault with a charging system test so you don’t spend on an unnecessary replacement.
DIY Cost Breakdown
Cost estimates help you choose between DIY and professional alternator replacement: shops typically charge $200–$600 total (parts plus $100–$300 labor), while a DIY swap usually costs $150–$300 for the part plus $50–$100 for tools and supplies. You’ll save cash and gain autonomy but must respect diagnostic steps, timing (2–4 hours), and warranty considerations; inspect aftermarket terms before installing. Tool recommendations include a good set of wrenches, a multimeter, torque driver, and belt tools.
- Prep: disconnect battery, document wire locations, wear eye protection.
- Diagnostic: verify alternator output with multimeter before replacement.
- Installation: follow service manual torque specs and routing.
- Post-check: test charging system at idle and under load.
Stay precise, follow specs, own the process.
Professional Service Pricing
Having weighed DIY time, tools, and warranty implications, it helps to compare what professional shops charge and what that buys you. You’ll see alternator replacement services typically run $300–$800 including parts and labor; pricing factors include vehicle model, regional labor rates, and diagnostic needs. If you’re competent, DIY parts cost $100–$400, but pros eliminate reinstall risks that can shorten alternator lifespan through improper fit or testing. Expect diagnostic fees of $50–$150 if the fault isn’t clear. Labor often runs $70–$150 per hour and can push totals higher on complex jobs. Professionals provide 1–3 year warranties on parts and labor, giving you documented recourse and quicker restoration of mobility.
What To Expect
While DIYers can expect to spend roughly $150–$300 on parts and take 2–4 hours to swap a 4Runner alternator, a professional will typically finish in 1–2 hours with labor running about $100–$200 and parts included depending on the shop. You’ll decide between control and convenience: DIY saves money and builds skill; pros save time and provide labor warranties. Post-install testing is mandatory—target 13.8–14.4 V at idle with engine running. Check warranty terms and verify connections.
- Inspect belt tension and wiring; follow alternator maintenance tips.
- Use a multimeter to confirm charging under load.
- Avoid common replacement mistakes: loose terminals, improper belt routing.
- Keep receipts and warranty info for future claims.
Make a choice that frees you from repeat failures.
Frequently Asked Questions
How Do I Tell if My Car Alternator Is Bad and Needs Replacement?
You’ll know it’s bad if a battery warning lights, you’ve electrical issues like dim lights or stalling, the engine struggles to start, you hear whining, or running voltage reads below ~13.5V — get it tested/replaced.
What Is the Average Cost to Replace an Alternator?
By Jove, you’ll pay about $300–$800 to replace an alternator. You’ll weigh cost factors like OEM vs remanufactured parts, labor and belts; use replacement tips: compare quotes, demand warranties, and reclaim control.
Conclusion
When your 4Runner’s alternator starts failing, you’ll notice symptoms early if you watch for them. Don’t ignore dimming lights, a battery warning, or erratic electronics—about 60% of roadside battery jump incidents trace back to alternator problems, not dead batteries. You can do basic voltage and belt checks, but if readings stay under 13.5V or you see noise/overheating, stop driving. Replace the unit promptly; costs and complexity favor a professional for late-model engines.
[Products Worth Considering]

These Energizer jumper cables are built to help start dead or weak batteries quickly and safely for a wide range of vehicles, including cars, SUVs, and trucks. The 16-foot length and flexible cable design make it easier to reach battery connections, while the protective coating and sturdy handles support secure placement. A carrying bag is included for convenient transport and storage.

This compact relay tester quickly checks the condition of most common 12-volt 4- and 5-pin automotive relays outside the vehicle. It provides self-contained testing without needing to connect to the battery, helping you identify coil and contact issues fast. Clear green and red LED indicators make pass or fail results easy to read, and the included batteries let you start using it right away.

This car emergency kit bundles essential roadside safety tools in one easy-to-carry black bag, helping drivers stay prepared for common breakdowns and unexpected situations. It includes jumper cables, lighting, first aid items, gloves, and other practical accessories for travel, commuting, camping, and winter driving. Built with durable nylon storage, it is a smart gift for new drivers and a useful backup for any vehicle.