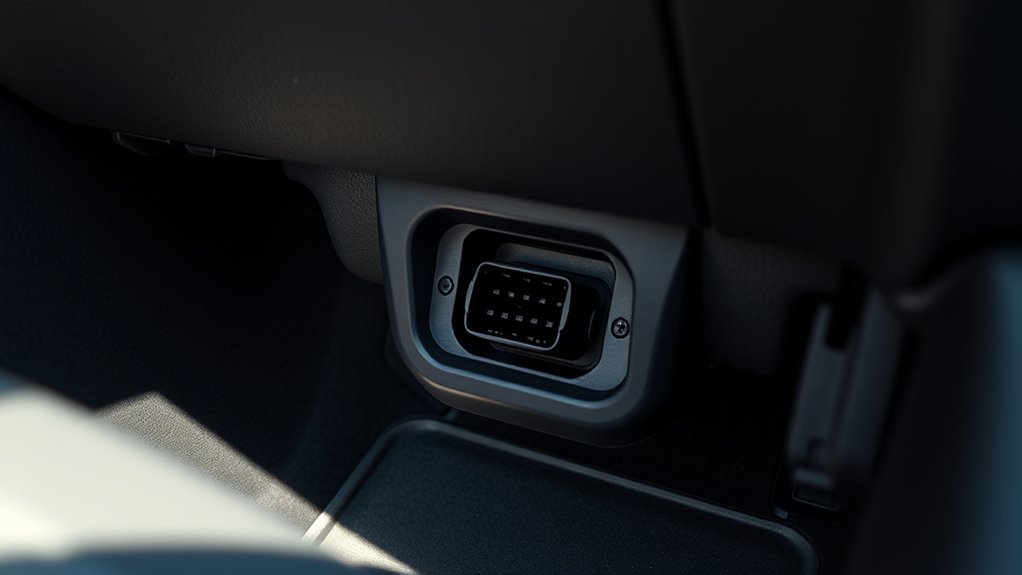
The Hyundai Sonata’s OBD2 port is a 16‑pin DLC under the dash near the steering wheel, usually within two feet of the driver and often above the pedals; you’ll plug a scanner in and turn the ignition to read DTCs and live data. Check terminal 16 for battery voltage and 4/5 for ground before attempting a protocol handshake; older (pre‑2007) Sonatas may need dealer tools. Continue for pinout, tool guidance, and troubleshooting steps.
Quick Answer: Where the Hyundai Sonata OBD2 Port Is and How to Use It
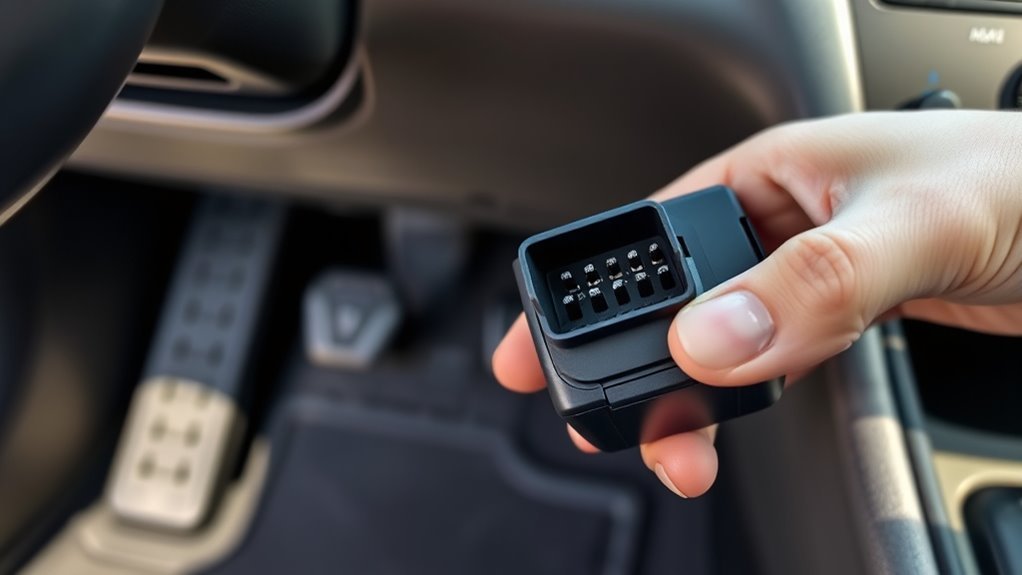
You’ll find the Hyundai Sonata’s OBD2 port under the dashboard near the steering wheel, typically within about 2 feet of the driver’s seat, and it uses the standardized 16‑pin connector. You’ll plug an OBD2 scanner into that port, turn the ignition on, and follow prompts to read DTCs and live data. Select the appropriate OBD2 scanner types for your model: generic scanners provide basic P0 codes and live parameters, while manufacturer or Hyundai‑specific tools decode P1 codes and access proprietary modules. Inspect diagnostic tool features—protocol support, live-data sampling rate, and bi‑directional control—before you act. You’ll prefer tools that free you from guesswork, revealing exact faults so you can choose repair or further testing.
[Products Worth Considering]

The BLCKTEC 440 Bluetooth OBD2 scanner helps drivers and DIY mechanics quickly read and clear trouble codes, monitor live data, and check emissions readiness with confidence. Its color display, graphing capabilities, and battery and charging system testing make it a versatile diagnostic tool for OBD-compliant vehicles. Designed for plug-and-play convenience, it runs directly from your vehicle and includes support for report sharing and ongoing updates.

The FOXWELL NT301 is a plug-and-play OBD2 code reader designed to help drivers and home mechanics diagnose check engine light issues with ease. It reads fault codes, clears emissions-related warnings, displays live sensor data in graph form, and shows I/M readiness so you can quickly check vehicle status before an emissions test. With broad compatibility across many OBD2 vehicles and a clear color screen, it offers a practical, user-friendly way to monitor and troubleshoot engine performance.

Turn your iPhone, Android device, or Windows PC into a professional-grade diagnostic scan tool with this Bluetooth OBD2 adapter. It is designed for broad vehicle compatibility and supports popular apps for deeper diagnostics, live data, and code clearing. Built-in protections and firmware updates help keep your vehicle and scanner safe while delivering reliable performance.
Find the Sonata OBD2 Port (Model-Year Specifics)
Now that you know the general OBD2 location and how scanners connect, check exact placement and protocol by model year. You’ll find the 16-pin connector under the dashboard on the driver’s side—often above the pedals or behind a trim panel—so approach with eyes and hands freed to inspect. For 2007 and later Sonatas, the port follows OBDII/CAN standards; standard OBDII Diagnostic tools will communicate via pins 6 and 14 while pins 4 and 5 provide ground. For pre-2007 Sonatas, expect limited OBDII support; you may need a Hyundai-specific interface such as Hi-Scan for full data access. Consult the owner’s manual or reputable online resources to confirm the exact panel location and guarantee unobstructed access for diagnostics.
Confirm OBD2 Compatibility: Power, Ground, and Protocol Checks
Before you begin diagnostics, confirm the DLC is powered and grounded: check for battery voltage on terminal 16 and verify terminals 4 and 5 are solid chassis/logic grounds. You’ll perform OBD2 compatibility checks by measuring terminal voltage verification and continuity to ground. If voltage and grounds pass, attempt protocol handshake; if no response, a Hyundai-specific scan tool may be required.
| Check | Target | Action |
|---|---|---|
| Power (pin 16) | ~12V | Measure battery voltage with meter |
| Ground (pins 4/5) | <1Ω to chassis | Continuity test to chassis |
| Protocol | Standard OBD2 / OEM | Use generic then OEM scanner |
These steps free you to diagnose reliably and determine readiness for deeper fault retrieval.
Hyundai Sonata OBD2 Pinout Explained
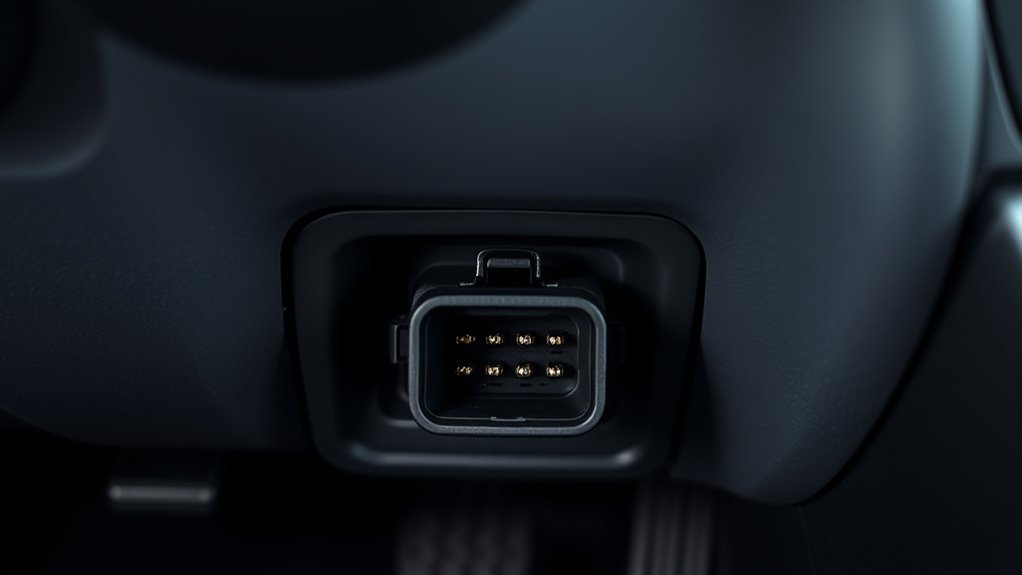
Start with the 16-pin standardized OBD2 connector under the Sonata’s dash and use a multimeter to identify each terminal function before probing. You’ll verify power, pins 4 and 5 ground continuity, and CAN high/low on pins 6 and 14 as part of an OBD2 diagnostics overview. Locate the port near the steering column, then reference the model-year wiring diagram: terminal layouts can vary. Probe methodically, logging pin voltages and resistance; don’t assume configuration. Remember Hyundai proprietary codes use the P1 prefix, so capture both standard and P1 faults for full visibility. This disciplined approach frees you from guesswork, enables accurate fault isolation, and preserves system integrity while you assert control over your vehicle’s diagnostics.
Which Scan Tools Work With Hyundai Sonata Models
Which scanner will reliably read your Sonata depends on its model year and protocol support. You’ll check OBDII scanner compatibility before buying: post‑2007 Sonatas generally accept standard OBDII scanners, while pre‑2007 units often need Hyundai diagnostic tools or dealer gear. The Hi Scan tool interfaces deeply with Sonatas for full code sets, including P1 codes. Verify scanner firmware supports Hyundai protocols and P1 interpretation. If you value control and liberation, choose tools that expose complete data, not just generic faults.
| Model Year | Recommended Tool | Notes |
|---|---|---|
| <2007 | Hi Scan / dealer tool | Full Hyundai-specific codes |
| 2007–2010 | Advanced OBDII scanner | Check protocol list |
| 2011+ | Most OBDII scanners | Broad compatibility |
[Products Worth Considering]

This plug-and-play OBD2 scanner helps drivers quickly read and clear engine error codes while providing live data, freeze frame information, I/M readiness, and MIL status for more confident troubleshooting. It adds a built-in voltage test and clear status indicators to support electrical checks and faster diagnostics, making it a practical choice for home users, car enthusiasts, and repair professionals. Compatible with most OBDII vehicles since 1996 and designed with an easy-to-use interface, it offers broad coverage and simple operation in one compact tool.

FOXWELL NT201 is an easy-to-use OBD2 scanner designed to help drivers quickly read and clear check engine codes, view live engine data, and check emissions readiness. Its color screen, one-key I/M readiness test, and broad compatibility with most gasoline vehicles since 1996 make it a practical tool for everyday diagnostics and maintenance. With plug-and-play operation and lifetime free updates, it offers a simple way to understand vehicle issues without expensive shop visits.

This enhanced OBD2 scanner helps drivers quickly diagnose check engine light issues, read and clear trouble codes, and check emissions readiness before a smog test. It also adds EVAP and O2 sensor testing, live data, freeze frame capture, and a one-click battery health check in a simple plug-and-play tool with a bright color screen.
What to Do If Your OBD2 Scanner Won’t Respond (Manual Code‑Reading)
If your OBD2 scanner won’t respond, first verify power and connection then access ECU blink codes by observing the check engine light patterns. You can read codes manually by shorting the specified DLC terminals to force the ECU to flash stored codes, following the exact terminal numbers for your Sonata. Confirm terminal mapping against the Hyundai wiring diagram and be prepared to use a dealer-level tool if blinking/shorting methods fail.
Accessing ECU Blink Codes
When your OBD2 scanner won’t respond, you can still retrieve ECU fault codes by manually triggering the diagnostic blink mode—typically by shorting specific pins in the diagnostic connector and counting check-engine light flashes with the key in the “On” position (engine off). You’ll need wiring diagrams to identify the correct terminal pair—Hyundai configurations vary by model/year. Short the specified terminals (commonly terminals 1 and 2) to force the ECU to flash codes; each flash sequence maps to a fault code. Use code interpretation guides and basic diagnostic tools to translate flashes into P1-style Hyundai codes. If you hit uncommon codes, seek technician support.
- Verify terminal pair and ignition state.
- Short terminals, count flashes precisely.
- Translate codes; act or escalate.
Using Terminal Shorting
Although modern OBD2 scanners usually communicate digitally, you can still pull engine codes manually by shorting the correct pins in the Sonata’s diagnostic connector to force the ECU into blink mode. You’ll use terminal shorting as a straightforward diagnostic technique when a scanner fails. First, confirm your Sonata’s wiring diagram and identify the proper pair (often terminal 1 and the designated terminal). With ignition ON (engine off), briefly short the terminals to trigger the check engine light flash sequence. Count long and short flashes, consult the vehicle-specific code chart, and record DTCs. Exercise caution: incorrect shorts can harm electronics. These diagnostic techniques reclaim control, letting you read codes without proprietary tools.
| Step | Action | Note |
|---|---|---|
| 1 | Verify diagram | Model/year specific |
| 2 | Ignition ON | Engine off |
| 3 | Short pins | Brief contact |
| 4 | Count flashes | Long/short |
| 5 | Lookup codes | Use chart |
Wiring Quirks and Model-Year Exceptions (2002–2007 Notes)
When working on 2002–2007 Sonatas, note that pre‑2007 models can use nonstandard OBDII protocols that may block generic scanners. Verify connector pinouts against Hyundai diagrams because terminal numbering and wiring may differ from the SAE pinout. If your scanner won’t communicate, prepare to use manufacturer tools or controlled manual flash‑code methods, but only after confirming exact terminal functions.
Pre‑2007 Protocol Differences
Because Hyundai shifted their electrical architecture gradually between 2002 and 2007, you’ll find that pre-2007 Sonatas often present protocol and wiring quirks that break compatibility with generic OBDII tools. You’ll face OBDII standards gaps, diagnostic challenges from protocol variations, and a need to use Hyundai tools for reliable access. Expect inconsistent terminal assignments and partial protocol support until 2007, so plan for targeted procedures rather than plug‑and‑play scanning.
- Verify protocol: confirm which communication protocol the ECU exposes before connecting generic scanners.
- Use manufacturer tools: Hi Scan or equivalent often grants access to modules generic tools miss.
- Fallback methods: be prepared for manual code reads (terminal shorting) and controlled power checks.
Connector Pinout Oddities
After confirming protocol and tool requirements, you’ll need to verify the Sonata’s physical connector layout before hooking up any scanner. You’ll encounter connector variations that deviate from SAE numbering, so map pins visually and with a multimeter. Models from 2002–2007 sometimes present absent or reassigned terminals—terminal 1 may be unused—which creates diagnostic challenges if you assume standard pin functions. Access beneath the dash often requires removing trim or the coin tray; don’t force the connector. Work methodically: document each terminal, confirm power and ground, then probe communication lines. Knowing exact wiring prevents misreads and tool damage, and empowers you to bypass misleading assumptions when a vehicle’s OBD2 implementation resists standard diagnostic workflows.
Manual Flash‑Code Methods
If you plan to read flash codes manually on a 2002–2007 Sonata, verify the exact terminal layout before you short anything, since Hyundai’s numbering and terminal assignments often differ from SAE standards and vary by year and trim. You’ll need to access the connector under the dash near the steering column, cross-check wiring diagrams, and use jumper probes suited for confined spaces. Treat each pin as unique; wrong shorts cause confusion or damage. Manual diagnostics will free you from scanner limitations, but require discipline and accurate references.
- Map: confirm connector pinout against year- and trim-specific diagrams.
- Method: short only specified terminals briefly; observe MIL flashes for flash codes.
- Tooling: use Hyundai-aware tools or verified adapters for reliable reads.
Troubleshooting Steps and When to Visit a Dealer
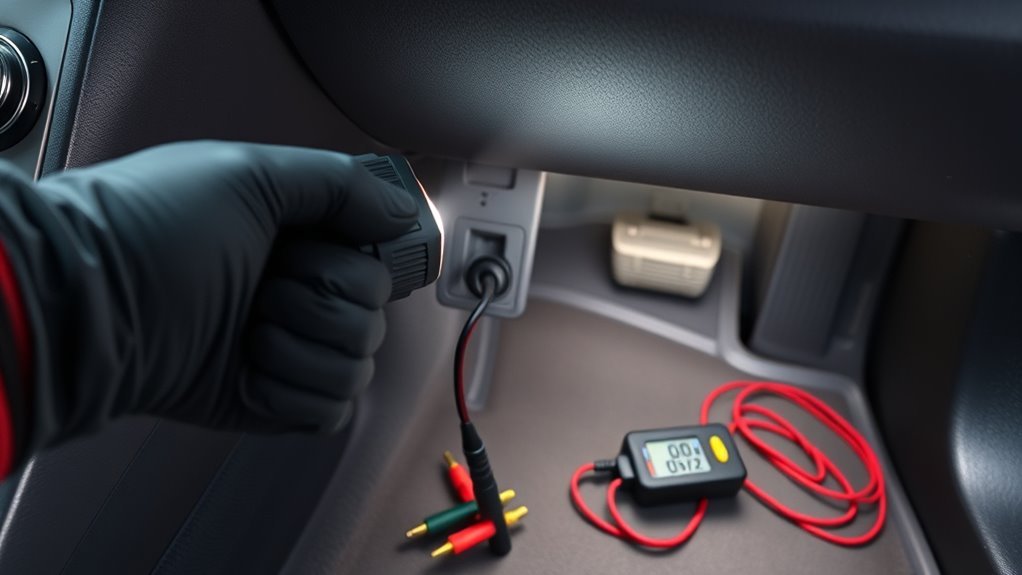
Start by confirming the car is powered on and the OBD2 connector is properly seated and undamaged; an unresponsive port is often a simple power or connection issue. Use diagnostic tools and troubleshooting tips: inspect the port beneath the dash near the steering wheel for bent pins, debris, or poor accessibility. Prefer a Hyundai-specific scan tool—many generic OBDII scanners won’t fully communicate with pre-2007 Sonatas. If the scanner returns unclear or uncommon trouble codes, document them and cross-reference manufacturer resources. For intermittent communication or persistent failures, rule out fuses and wiring continuity before escalating. Visit a Hyundai dealer when specialized protocols, factory-level software, or harness repairs are required; dealers have proprietary equipment and certified technicians who’ll resolve issues you can’t liberate yourself from safely.
Frequently Asked Questions
Can I Access the OBD2 Port Without Removing Trim Panels?
Yes — you can usually access the OBD2 location access without full trim panel removal; you’ll reach the port under the dash or knee bolster, using minimal prying, light tools, and steady hands to avoid clips or damage.
Can I Use Bluetooth OBD2 Adapters for Dealership-Level Functions?
No — Bluetooth compatibility won’t grant dealership-level diagnostic capabilities; you’ll get basic codes, live data, and resets, but advanced programming, module coding, and security functions remain restricted to dealer tools and authenticated interfaces.
Does the OBD2 Port Stay Powered With the Key Off?
No, the OBD2 port generally won’t stay powered with the key off; OBD2 power behavior is key-switched, so Key off functionality disables most circuits, though some models keep terminal 16 live for limited diagnostics or accessory power.
Are There Legal Restrictions to Reading or Clearing Codes Myself?
Yes — generally you can read and clear your own codes, but OBD2 legality concerns vary: emissions tampering or selling cloned tools can be illegal. Use DIY diagnostic tools responsibly, document changes, and avoid circumventing regulations.
Can I Connect Two Scan Tools to the OBD2 Port Simultaneously?
You generally can’t reliably connect two scan tools simultaneously; bus arbitration causes OBD2 compatibility issues. Use one tool at a time, or employ a dedicated multiplexing interface matched to scan tool types to avoid conflicts.
Conclusion
You’ll find the Sonata’s OBD2 port under the dash—usually left of the steering column—but location can shift by year, so confirm visually. Verify 12V power on pin 16, chassis ground on pins 4/5, and the expected protocol (CAN, K-Line) before scanning. If your tool won’t respond, probe power/ground and swap to a known CAN-capable scanner; for 2002–2007 models check for K-Line quirks. If troubleshooting fails, get dealer-level diagnostics. Test the theory that intermittent contacts cause false “no communication” errors by lightly wiggling the connector while monitoring live data.
[Products Worth Considering]

The ANCEL AD410 PRO combines engine diagnostics and 12V battery testing in one easy-to-use tool, helping you read and clear check engine codes while checking battery health, cranking, and charging performance. It also provides live data, freeze frame details, and I/M readiness checks to help you diagnose issues faster and prepare for emissions testing. With plug-and-play operation, a clear screen, and broad vehicle compatibility, it is a practical solution for home mechanics and everyday drivers.

Veepeak OBDCheck BLE is a Bluetooth LE OBD-II scanner designed to read and clear check engine codes, view live sensor data, and access freeze frame and readiness information through a compatible third-party app. It works with most 1996+ gas vehicles and many light trucks for standard diagnostics, with broader features depending on the app and vehicle support. This compact adapter is built for iOS and Android users who want a simple wireless way to monitor vehicle health without WiFi pairing.
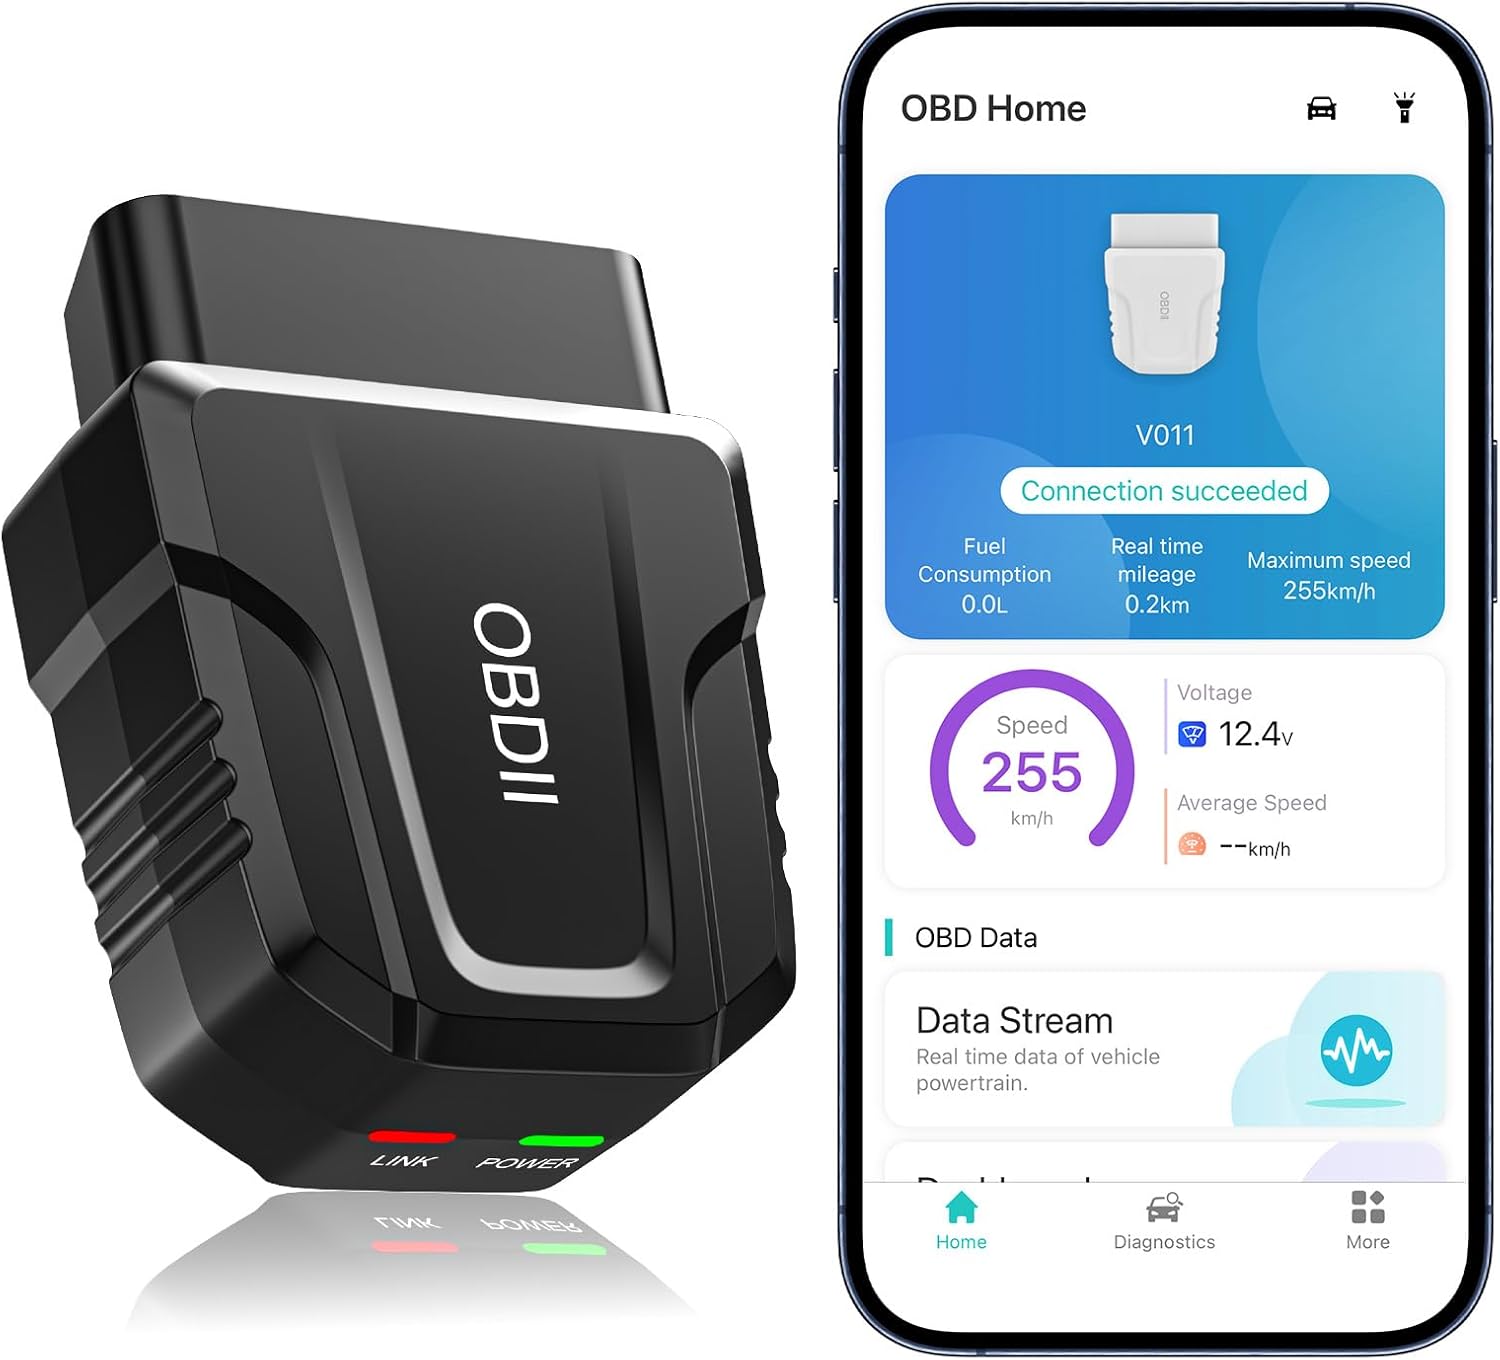
The UMEIJA V011 OBD2 scanner delivers comprehensive vehicle diagnostics with Bluetooth connectivity and a dedicated app for iOS and Android. It supports live data, fault code reading and clearing, readiness checks, freeze frame, sensor data, and performance testing to help drivers understand and monitor vehicle health. With broad compatibility across many car and truck models and easy-to-read data visualization, it is a practical tool for both beginners and experienced users.