Last updated: August 8, 2026.
A Hyundai Sonata interior rattle is usually easiest to solve by identifying exactly when the noise happens before removing any trim. First empty the door pockets, glove box, console, and loose cabin items. Then compare the noise with the audio off and on, over rough pavement, at different HVAC fan speeds, and while the car is safely parked. If gently pressing one trim panel stops the sound, a loose clip, switch housing, speaker grille, or plastic-to-plastic contact point is a reasonable suspect. If the noise changes with engine RPM, steering, or braking, do not assume it is an interior-trim problem; have the relevant mechanical system inspected.
How to Quickly Locate Your Hyundai Sonata’s Interior Rattle

Start with a controlled test instead of pulling panels immediately. Park safely, remove loose objects, and reproduce the sound one variable at a time. If the rattle only appears while driving, have a passenger listen and lightly press suspected trim while you keep your attention on the road. Do not reach across the cabin or manipulate trim while driving.
| When the rattle happens | Likely area to check first | Simple isolation test |
|---|---|---|
| With bass or certain songs | Door panel, speaker grille, switch housing, trim clips | Turn audio off, then replay at low volume while pressing one panel area at a time |
| Over bumps or rough pavement | Door clips, B-pillar trim, seat-belt buckle, headliner edge, loose storage items | Empty storage areas and secure the buckle before testing trim pressure |
| As HVAC fan speed changes | Dash vent, glove-box area, blower-related trim | Change fan speed while safely parked and listen for a matching change |
| With engine RPM while parked | Possibly outside the cabin trim | Do not start removing trim; have engine/exhaust-related causes ruled out if the sound follows RPM |
| With steering, braking, or a felt clunk | Steering, suspension, brake, or chassis system | Treat it as a mechanical symptom rather than a cosmetic rattle and arrange inspection |
Sonata owners commonly describe noises around the passenger door, dashboard, and pillar areas, but sound can travel through the cabin and make the true source seem farther away. A panel-pressure test is therefore more useful than guessing from direction alone.
Should You Remove the Passenger Door Panel to Check Clips?
Remove the passenger door panel only after you have isolated the noise to that area and checked the simple causes first. Door-trim fasteners, clips, wiring, switch modules, speakers, and handle cables vary by Sonata model year and trim. Use the correct factory procedure for your vehicle rather than a generic screw-and-clip sequence. Hyundai provides model-specific resources through its Manuals & Warranties portal.
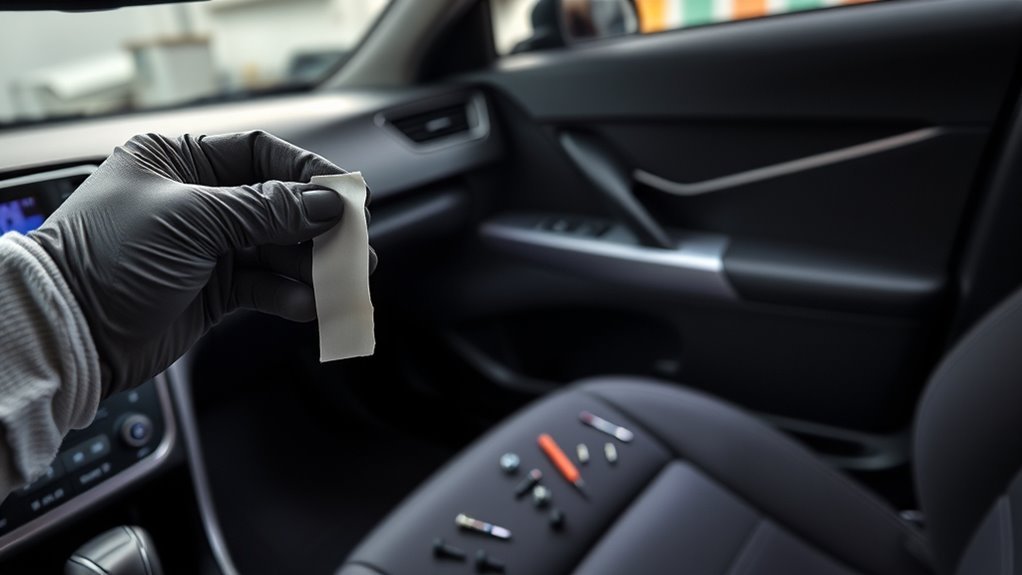
If the panel must come off, work with the vehicle parked and powered down, use plastic trim tools, keep fasteners organized, and support the panel while disconnecting only the connectors required by the correct service procedure. Do not probe or modify airbag, seat-belt pretensioner, or other supplemental-restraint components. Avoid removing pillar trim merely to chase a rattle because restraint-system hardware may be located behind or near those panels.
Once the panel is accessible, inspect for cracked or missing retaining clips, a loose switch or speaker-grille housing, displaced foam, a cable or connector touching hard plastic, and any foreign object inside the door pocket or trim cavity. Replace damaged clips with the correct part and restore displaced factory padding. Before final reassembly, confirm that the suspected contact point—not just the open panel—was actually causing the noise.
DIY Fixes for Sonata Door-Panel and Dashboard Rattles
For a confirmed trim rattle, the goal is to stop unwanted movement without interfering with wiring, vents, latches, switches, airbags, or moving window parts. Tighten only fasteners you have positively identified and use the model-specific procedure or torque specification where one is provided. Do not guess at torque values.
- Loose or damaged clip: replace the clip rather than stacking tape around a broken mount.
- Plastic-to-plastic buzz: add a thin piece of automotive felt or foam tape at the verified contact point.
- Loose switch or trim insert: reseat its retainers and verify that all tabs are intact.
- Seat-belt buckle tapping trim: reposition the buckle for the test; if the belt, anchor, or height adjuster itself is loose or damaged, have it inspected rather than padding over the problem.
- Glove-box, console, or door-pocket noise: remove or secure the item before modifying the vehicle.
Avoid spraying lubricant into the dash or door as a general rattle cure. Lubricant can migrate onto electrical parts, trim finishes, or surfaces that were never the source. Apply damping material only after you have reproduced the noise and confirmed the exact contact point.
[Products Worth Considering]

This activated carbon cabin air filter is designed as a replacement for select Hyundai Sonata gas models and Kia Cadenza vehicles, helping improve in-cabin air quality. It is engineered to capture odors, VOCs, and common pollutants for a fresher driving environment, while matching multiple OE and reference numbers for convenient fitment confirmation.

This 8-piece auto trim removal tool kit makes interior car disassembly cleaner, faster, and easier while helping protect delicate surfaces from scratches and damage. It includes trim clip removal pliers, fastener removal tools, and a variety of plastic pry tools designed for door panels, dashboards, molding, and other interior trim tasks. Built for comfortable handling and versatile access to tight spaces, it is a practical choice for automotive repair and detailing projects.

This 8-piece auto trim removal kit is designed to help you remove interior panels, moldings, clips, and fasteners without scratching or damaging surfaces. Made from durable nylon fiber, the tools are shaped for easy access to tight spaces and are suitable for cars, boats, and RVs. It is a practical choice for stereo installs, dash work, and other interior trim tasks.
When Should You Take a Sonata Interior Rattle to the Dealer?

Use a dealer or qualified repair shop when the sound cannot be isolated, when trim removal reaches restraint-system components, or when the rattle is accompanied by an airbag warning, loose seat-belt hardware, a door-latch problem, steering vibration, braking symptoms, or a mechanical clunk. Bring a short symptom log that states the road condition, temperature, speed range, audio/HVAC setting, and the exact area where pressing the trim changes the noise. A short recording can also help a technician reproduce an intermittent problem.
For U.S. vehicles, Hyundai lists a 5-year/60,000-mile New Vehicle Limited Warranty for components defective in material or factory workmanship, while its warranty overview separately lists a shorter 1-year/12,000-mile period for adjustments. That means an interior rattle is not automatically covered just because the car is within five years or 60,000 miles; coverage depends on what the technician identifies as the cause and the applicable warranty terms. Check Hyundai’s current U.S. warranty information and your vehicle’s warranty booklet. Outside the U.S., use the warranty terms for your market.
Before authorizing non-warranty work, ask whether a diagnostic fee applies, whether it is waived if a covered defect is found, and request a written estimate for any paid repair.
[Products Worth Considering]

This cabin and engine air filter kit is designed for compatible Hyundai Sonata gas models from 2015 to 2019 with a 2.4L engine. It helps improve airflow, capture dust and impurities, and support cleaner cabin air and efficient engine performance. The kit is engineered for long service life and simple installation, making routine maintenance easier.

This filter combo is designed for Hyundai Sonata gas models from 2015 to 2019, including non-hybrid 2.4L vehicles, and replaces both the engine and cabin air filters in one convenient set. It helps improve engine airflow while also refreshing the cabin environment with activated carbon odor control and high-efficiency particle filtration for cleaner, quieter driving.

This thin stainless steel clip removal pliers tool is designed to help lift push pins, plastic clips, and trim fasteners with more control and less damage than a flathead screwdriver. Its angled jaw reaches into tight spaces around door panels, bumpers, dashboards, and interior trim, while the spring-loaded design reduces hand fatigue during repeated removals. Ideal for DIY repairs, detailing, and mechanic work, it helps make automotive trim disassembly faster and cleaner.
Preventive Checks and Quick Wins to Keep Rattles Away
Most cabin-rattle prevention is simple: keep loose objects from becoming noise sources, avoid forcing trim clips during accessory installation, and correct a loose panel before repeated vibration enlarges the gap. Temperature changes can also make plastic trim expand or contract, so note whether the sound appears only when the cabin is very hot or cold; that clue can help locate a contact point.
| Action | Target | What it tells you |
|---|---|---|
| Empty storage areas | Door pockets, console, glove box | Rules out loose objects before trim work |
| Press one panel at a time | Door and dashboard trim | A noise change identifies a likely contact point |
| Inspect visible clips and gaps | Previously removed trim | Broken or mis-seated retainers can allow movement |
| Secure the seat-belt buckle for testing | B-pillar/seat area | Separates buckle contact from pillar trim noise |
| Record the trigger | Road, audio, HVAC, temperature | Helps reproduce intermittent rattles |
[Products Worth Considering]

This 5-piece auto trim removal kit is designed to help you safely remove interior panels, clips, dashboards, and audio components without scratching delicate surfaces. The set includes four pry tools and one clip remover made from durable impact-resistant nylon for precise control and dependable performance. It's a versatile choice for automotive work and also useful for furniture, electronics, and other trim repair projects.
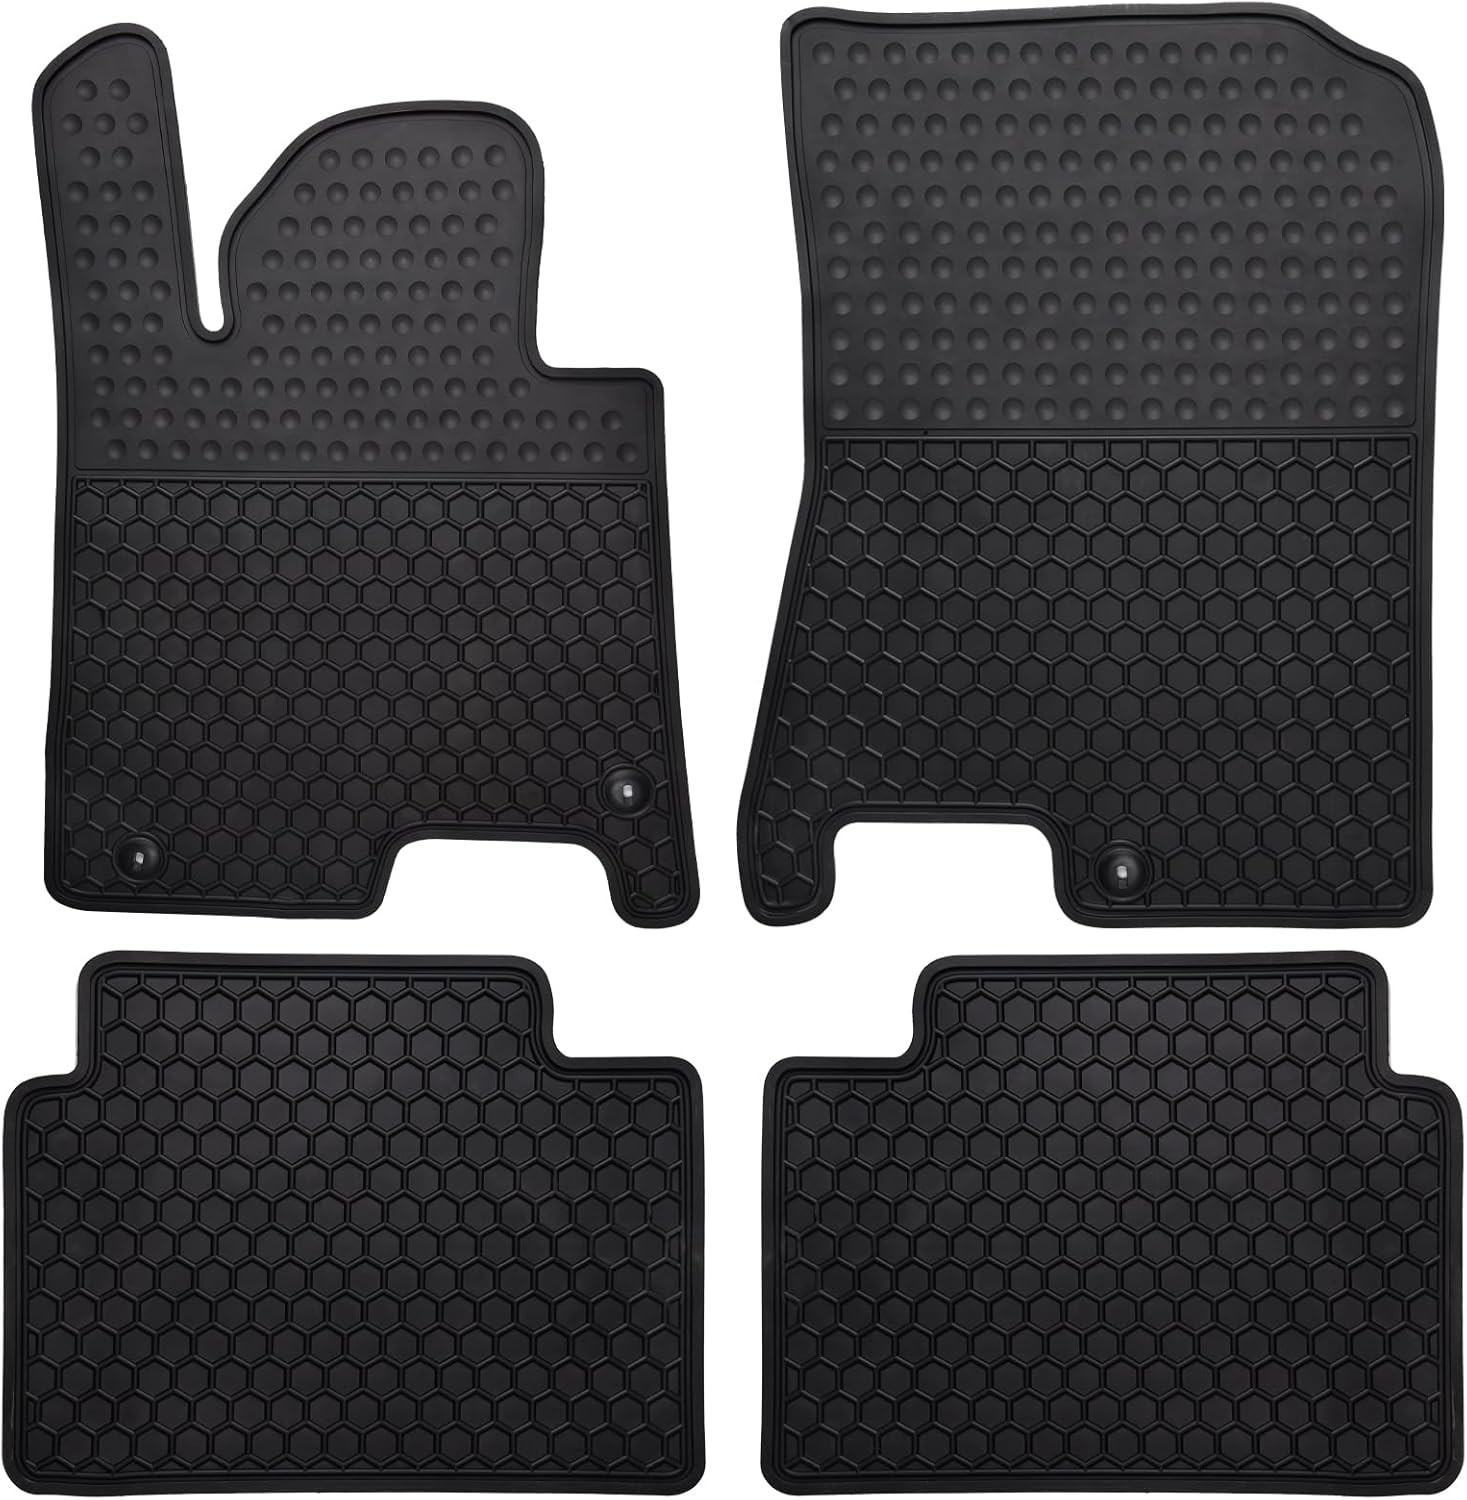
These custom-fit all-weather floor mats are designed for compatible Hyundai Sonata and Kia K5 models to help protect your vehicle's interior from mud, slush, dirt, and spills. Made from odorless, durable rubber with a deep hexagon pattern, they offer reliable anti-slip coverage and are easy to remove and clean with water or a damp towel. The set is built for long-lasting use in every season and helps keep your car looking clean while supporting resale value.

This 5-piece auto trim removal kit is designed to help with car panel, dashboard, and interior trim work without scratching surfaces. Made from durable nylon fiber with an ergonomic, lightweight design, it offers comfortable handling and reliable performance for installing or removing audio systems, moldings, emblems, window trims, and other interior components.
Frequently Asked Questions
Why Is My Hyundai Sonata Making a Rattling Noise?
If the sound is clearly inside the cabin, start with loose items, door-panel clips, switch or speaker-grille housings, dashboard contact points, seat-belt buckles, and nearby trim. The fastest diagnosis is to reproduce the rattle and change one variable at a time. If the sound follows engine RPM, steering, braking, or comes with vibration or a warning light, have mechanical causes checked instead of assuming the trim is responsible.
How Do I Stop My Car Interior From Rattling?
First remove loose objects and identify the exact panel or component that changes the noise when lightly pressed. Reseat or replace damaged clips, secure loose trim inserts, and use thin automotive felt or foam only at confirmed plastic contact points. Avoid blanket applications of lubricant or sound-deadening material because they can hide the real cause and may interfere with service access.
Why Is My Car Making a Rattling Noise on the Inside?
Interior rattles can come from storage items, trim clips, switch housings, vents, speaker grilles, seat-belt buckles, or panels touching each other. Noise can also travel through the body, so what sounds like a dashboard rattle may originate elsewhere. Compare the sound with audio and HVAC off, on smooth versus rough roads, and while pressing suspected trim to narrow the source.
Is a Hyundai Sonata Interior Rattle Covered by Warranty?
Possibly, but not automatically. In the U.S., Hyundai’s New Vehicle Limited Warranty covers defects in material or factory workmanship for 5 years/60,000 miles, while adjustments have a separate 1-year/12,000-mile limit. The dealer must diagnose the cause before coverage can be determined. Warranty terms also vary by market and vehicle history.
Can I Remove a Hyundai Sonata Door Panel Myself?
Basic trim work may be manageable for an experienced DIYer, but the fastener layout and electrical connections vary by model year and trim. Use the correct factory procedure and stop if the job reaches airbag, seat-belt pretensioner, or unfamiliar electrical components. A generic removal sequence should not be treated as universal across all Sonata years.
Conclusion
For a Hyundai Sonata interior rattle, diagnose before disassembling. Remove loose items, identify whether the trigger is bass, road vibration, HVAC, temperature, engine RPM, steering, or braking, and confirm the suspected panel with a controlled pressure test. Fix only the verified source with the correct clip, fastener procedure, or a small amount of felt or foam at a contact point. If the noise involves restraint hardware, warning lights, steering, braking, or an unresolved mechanical clunk, move from DIY trim work to professional diagnosis.