You’ll stop a Toyota 4Runner from 60 mph in roughly 120–140 ft under dry conditions, but total stopping distance adds about 132 ft for a 1.5 s reaction time; wet or icy roads can double to tenfold the braking distance. Speed, mass, tire–road friction, brake type, and fatigue all combine nonlinearly (braking distance ∝ speed²). Maintain tires, brakes, and safe following gaps; continue for detailed calculators, surface multipliers, and maintenance tips.
Quick 4Runner Stopping-Distance Answer & On-the-Road Calculator
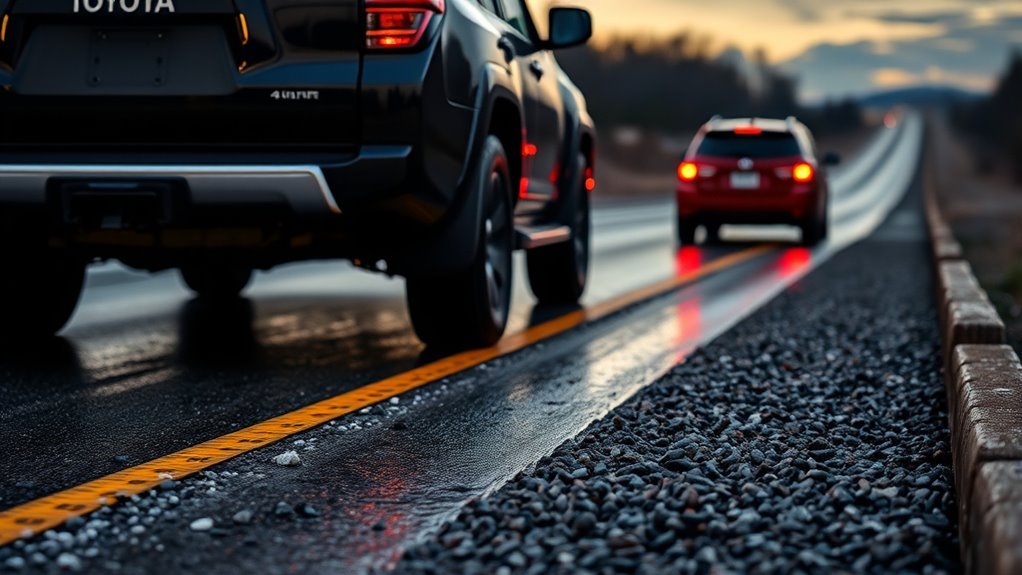
Want a quick, practical answer? You’ll stop a Toyota 4Runner from 60 mph in roughly 120–140 feet of braking distance on dry pavement; add about 132 feet traveled during the ~1.5-second reaction window before you even touch the pedal. That’s your baseline for braking techniques and emergency stops. Expect wet or icy surfaces to double or triple braking distance as coefficient of friction (μ ≈ 0.7 on dry) drops sharply. Use an on-the-road calculator to combine speed, reaction time, and surface condition to get a tailored total stopping estimate for your route. Practice progressive, controlled braking techniques so you can convert that calculation into safe action during an emergency stop: modulate pressure, avoid locking, and prioritize steering if needed. These data-driven steps give you agency—clear numbers and repeatable actions—to reduce risk and reclaim control whenever roads turn hazardous.
Braking Distance vs. Total Stopping Distance : What’s Included
You’ve seen the quick numbers for a 4Runner’s stop from 60 mph; now let’s separate the pieces that make up that total. You’ll distinguish braking distance — the ground covered once you apply the brakes until the vehicle halts — from total stopping distance, which adds thinking distance: the travel during your reaction time (commonly ~1.5 seconds). Braking distance scales with the square of speed: roughly 60 feet at 30 mph versus about 180 feet at 60 mph under ideal dry conditions. Environmental and equipment variables — tire wear, road surface, wet or icy conditions — can multiply both braking distance and total stopping distance by 2–10x. For liberation-minded drivers, knowing these components gives control: you can set safe following gaps and choose speeds that keep stopping demands within your capability. Measure risk by combining realistic reaction intervals with adjusted braking distance for conditions, and plan maneuvers so you stop within the space you can confidently claim.
How Reaction Time and Fatigue Change Your Total Stopping Distance
Because your perception-reaction time directly adds to stopping distance, even small delays matter: at an average 1.5 seconds you’ll travel about 132 feet at 60 mph before braking begins, and any increase — from fatigue, distraction, or poor visibility — multiplies that gap. You need to treat reaction time as a controllable risk factor: fatigue impact can slow you to levels comparable with impairment, extending the distance you cover before corrective action. Cognitive overload and distraction effects — like glancing at a phone or processing complex navigation — add measurable milliseconds that convert to feet. Environmental influence worsens this: low light, rain, or fog degrade visibility conditions and slow perception, so you must increase following distance proactively. Aim to reduce cognitive load, avoid tasks that create distraction effects, and recognize fatigue early. By prioritizing alertness and adjusting spacing to expected environmental influence and visibility conditions, you preserve freedom to maneuver and materially lower your total stopping distance.
How Speed (Energy) Determines Braking Distance
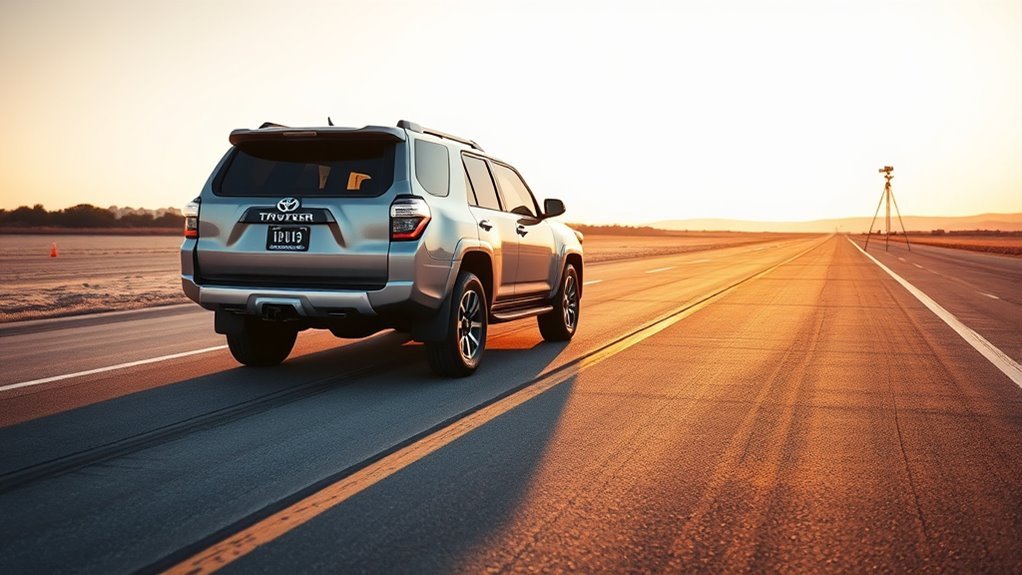
While speed may feel like a linear change, the energy your 4Runner carries rises with the square of its velocity, so doubling speed multiplies braking distance roughly fourfold; at 30 mph you’ll need about 45 feet to stop under ideal conditions, but at 60 mph that braking distance jumps to roughly 180 feet. You should understand that this speed influence is governed by kinetic energy (E = 1/2 mv²): higher speed means exponentially more energy for brakes to remove. Using a typical deceleration of 0.35g gives baseline braking distances, but emergency stops often require greater deceleration and still demand much more distance at high speeds. Include perception-reaction distance—about 1.5 seconds—to see total stopping length grow substantially. For liberated driving, you’ll manage speed proactively, recognizing that energy dissipation limits how quickly your vehicle can halt. Respect higher speeds with increased following gaps and deliberate speed reduction to keep stopping demands within your vehicle’s practical capabilities.
Tire–Road Friction and Surface Conditions for 4Runner Stopping Distances
When road surface grip falls, your 4Runner’s stopping distance rises sharply because braking force is directly tied to the tire–road friction coefficient (μ); typical μ values are about 0.7 on dry pavement, ~0.4 on wet roads, 0.2–0.3 on snow, and down to ~0.1 on ice, which translates into roughly double, three- to fourfold, and five- to tenfold increases in braking distance respectively. You’ll see weather impact immediately: rain reduces μ and doubles stopping distance, snow multiplies it three to four times, and ice can make braking distances catastrophic. Surface texture matters—coarse asphalt gives better grip than polished concrete or compacted snow. Monitor tire wear and tread depth because worn tires magnify traction loss under adverse weather and thin the margin for safe stops. For liberation on the road, prioritize maintenance importance: check tread, maintain proper inflation, and replace tires before legal minimums. These data-driven steps preserve braking performance and reduce your exposure to avoidable risk when surfaces betray you.
How Weight, Load, and Brake Type Affect Stopping Performance
You should account for vehicle mass and momentum because a heavier 4Runner needs substantially more braking force, often translating to noticeably longer stopping distances. Pay close attention to cargo placement and balance—poorly distributed loads can increase stopping distance by shifting weight away from driven or braked axles and degrading tire grip. Choose and maintain the proper brake type and cooling strategy, since disc systems resist fade under heat better than drums and routine pad/fluid checks keep stopping performance consistent under load.
Vehicle Mass And Momentum
Because mass directly multiplies momentum, a loaded 4Runner will need substantially more braking force and distance than an empty one at the same speed, so you should account for added weight when judging stopping capability. You’ll want to understand mass impact and momentum factors: heavier mass raises momentum (p = mv) and kinetic energy (E = ½mv²), so braking systems must absorb and dissipate more energy. Modern disc brakes improve heat dissipation and reduce fade versus drums, shortening stops for a given load. Remember that greater mass magnifies the effect of reduced tire-road friction—wet or icy surfaces lengthen stopping distances disproportionately. For safe, liberated travel, adjust speed and following distance to match load, brake type, and surface conditions to maintain controllable stopping margins.
Cargo Placement And Balance
Having covered how added mass raises momentum and braking energy, let’s look at how where that mass sits changes stopping performance. You’ll want to prioritize cargo distribution and load stability to keep the 4Runner’s center of gravity centered and low; uneven loads shift weight, increase stopping distance, and raise the risk of instability under hard braking. Follow these three data-driven actions:
- Place heavy items low and near the vehicle centerline to maintain traction across all tires and minimize brake workload.
- Secure loads to prevent shift during deceleration; moving mass converts potential control into longer stopping distances.
- Observe manufacturer payload limits; exceeding them increases kinetic energy and undermines braking effectiveness and safety.
These steps free you to carry gear without compromising control.
Brake Type And Heat Management
While heavier loads increase the kinetic energy your 4Runner’s brakes must absorb, the brake type and how well heat’s managed determine how effectively that energy gets converted to stopping force. You’ll notice disc brakes outperform drums in brake performance because they offer superior heat dissipation, reducing fade during repeated stops or downhill runs. As mass rises with passengers or cargo, required braking force climbs and stopping distance increases; inadequate heat management accelerates brake fade and degrades brake fluid, further lengthening stops. To preserve stopping power, choose systems with ventilated discs, quality pads, and monitoring of fluid condition; schedule inspections after heavy use. That technical discipline protects your freedom to travel confidently, minimizing risk by keeping braking predictable and repeatable.
Rules of Thumb, Safe Following Gaps, and Maintenance Checklist
Use the “square the first digit ×10, plus 2× speed” rule to estimate stopping distance (for 50 MPH that’s ~225 ft), and remember that weather multiplies that baseline—rain 1.5–2×, ice up to 10×. Keep a safe following gap (about 23 m/75 ft at 30 MPH; double on wet roads, ~10× on ice) so you have the calculated room to stop. Maintain your braking system by checking tire tread (>1.6 mm) and pressure, inspecting pads and fluid, and addressing any mechanical issues that could lengthen stopping distance.
Safe Following Distances
Because stopping distance combines reaction time and braking distance, you should keep a clear gap that reflects speed and conditions: use about one car length per 10 mph (≈23 m at 30 mph, ≈73 m at 60 mph) in dry conditions, double that in rain, and increase it roughly tenfold on ice. You’ll factor reaction time (≈1.5 s) into distance measurement and perform regular gap adjustment when conditions change. Maintain liberation by choosing safety over tailgating.
- Monitor speed and visibility; increase your gap when rain, fog, or heavy traffic reduces traction.
- Check tires (tread depth, pressure) as part of a maintenance checklist to preserve braking performance.
- Use conservative margins: expect longer stops than calculations suggest and leave room to maneuver.
Braking System Maintenance
Start by treating braking system maintenance as a non‑negotiable safety routine: check pads for wear, verify brake fluid level and replace fluid every two years, and inspect tires monthly for correct pressure and adequate tread depth, since worn pads, low fluid, or underinflated/tread‑poor tires all increase stopping distances. You’ll follow rules of thumb: one car length per 10 mph as a minimum gap and stricter gaps in poor conditions. Be disciplined about brake pad wear and scheduled fluid replacement to preserve stopping power.
| Task | Frequency | Target |
|---|---|---|
| Brake pad inspection | Every 6,000–12,000 mi | Replace if <3mm |
| Brake fluid check | Annually | Replace every 2 yrs |
| Tire pressure | Monthly | Manufacturer PSI |
| Tread depth | Monthly | ≥4/32″ front |
| Following gap | Always | 1 car/10 mph minimum |
Frequently Asked Questions
What Is the 3 to 6 Second Rule?
The 3 to 6 second rule is a following-distance guideline: you keep 3–6 seconds behind the vehicle ahead so your reaction time and braking efficiency give measurable space to stop safely, especially in poor conditions for liberation-driven drivers.
What Are the Three Factors of Total Stopping Distance?
Imagine braking hard on a wet highway; you’ll recall three factors: reaction distance, braking distance, and external conditions. You’ll use speed awareness, adaptive braking techniques, and data-driven caution to reclaim safe, liberated control.
Conclusion
You now know the main variables that determine 4Runner stopping distance: speed, reaction time, tire–road friction, vehicle mass, and brake condition. Remember that braking distance grows with the square of speed — doubling speed quadruples stopping distance — so a 60 mph approach can require roughly four times the stopping distance of 30 mph. Maintain safe following gaps, check tires and brakes regularly, and factor fatigue into reaction-time estimates to stay safe.