Last updated: July 31, 2026
Scope: This guide covers U.S.-market 2010–2024 fifth-generation Toyota 4Runner models. The redesigned 2025-and-newer 4Runner uses different jack equipment, wheel hardware, and torque specifications, so use the owner’s manual for that generation.
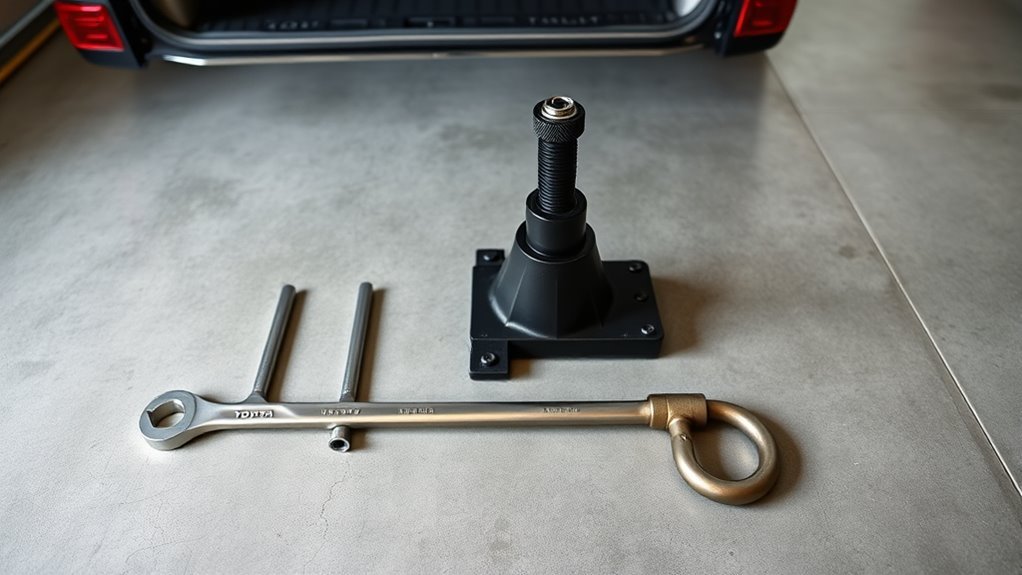
The 2010–2024 4Runner factory tire-change setup includes a jack, tool bag, multi-piece jack handle, wheel-nut wrench, wheel-ornament remover, and an underbody spare-tire carrier. Before a trip, test the 21mm socket or factory wrench on your actual lug nuts, confirm any wheel-lock key is present, lower the spare far enough to prove the hoist works, and check the spare’s cold pressure. During a tire change, park on firm level ground, chock the opposite wheel, loosen the nuts before lifting, use the factory jack point, install the spare, then tighten the nuts in a star pattern with a torque wrench set to the specification for your model year and wheel type.
Does This Guide Cover Your 4Runner?
| Model years | Generation | Use this guide? | Important note |
|---|---|---|---|
| 2010–2024 | Fifth generation | Yes | The tool and spare-carrier details below match the fifth-generation layout. Confirm torque and part fitment in the manual or by VIN. |
| 2025 and newer | Sixth generation | No | The jack kit and wheel-nut torque specifications changed. Do not apply fifth-generation part numbers or torque values. |
What Is in the 2010–2024 4Runner Jack and Tool Kit?

A complete fifth-generation kit should let you lower the spare, operate the jack, remove the wheel ornament if fitted, and remove the wheel nuts. Toyota parts catalogs list the following components for many 2010–2024 models. Part numbers can change by production date, trim, or supersession, so verify each item with your VIN before ordering.
| Component | Common catalog number | What to check |
|---|---|---|
| Wheel-ornament or wheel-cap wrench | 09183-00030 | Make sure it is not bent or cracked and fits the factory ornament. |
| Wheel-nut box wrench | 09150-0E010, replacing 09150-26010 on many listings | Test it on every lug type installed on the vehicle. |
| Jack-handle rod | 09115-35110 | Check the connection points and confirm it turns the jack smoothly. |
| Jack-handle lever | 09116-60020 on many later listings | Confirm it locks securely to the rod and extensions. |
| Jack-handle extensions | 09114-35080 and 09114-35060 on many listings | Assemble the full length and test engagement with the spare-tire hoist. |
| Factory jack | 09111-60132 on many later fifth-generation listings | Inspect the screw, saddle, base, and pivots for rust, bending, or stiff movement. |
| Tool bag | 09120-35170 | Keep every section together so no piece is missing during an emergency. |
A separate six-point 21mm socket, a 1/2-inch breaker bar, wheel chocks, gloves, a flashlight, and a calibrated torque wrench make the factory kit easier and safer to use. Test-fit the socket because aftermarket lug nuts, wheel locks, or swollen capped lug nuts may need a different key or socket.
How Do You Change a 2010–2024 4Runner Tire Safely?
Use the owner’s-manual jacking point for the flat corner, and lift only high enough to remove the tire. Toyota’s fifth-generation instructions place the front jack under the chassis frame side rail and the rear jack under the rear axle housing. The exact illustrated point matters, so check the manual for your model year before an emergency.
How Should You Park and Secure the 4Runner?
- Move as far from traffic as possible. Turn on the hazard lights.
- Park on firm, level ground. Shift to Park, set the parking brake, and switch off the engine.
- Keep passengers away from traffic and the raised side of the vehicle.
- Chock the wheel diagonally opposite the flat tire. If no safe, stable work area is available, call roadside assistance.
- Do not change a tire on a steep slope, soft shoulder, loose gravel, ice, or unstable ground.
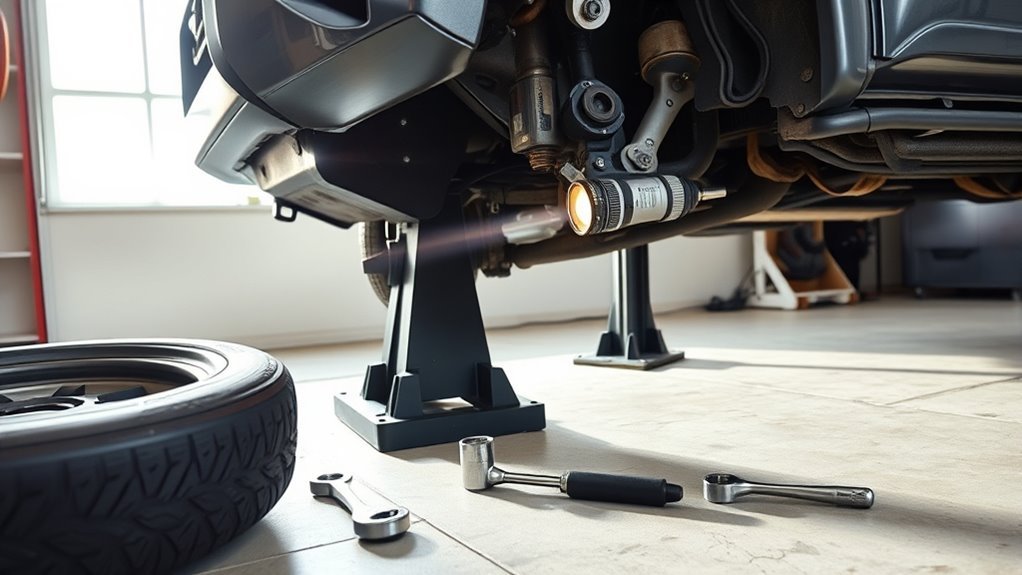
Never place any part of your body under a 4Runner supported only by the factory jack. A correctly placed jack stand can provide backup on firm ground, but it does not make an unsafe roadside location safe.
Where Are the Jack, Tools, and Spare Tire?
On 2010–2024 models, the spare tire is carried under the rear of the vehicle. The jack and tool bag are stored in the rear cargo-area side compartment. Open the storage cover, remove the jack and tool bag, and lay out every handle section before starting.
- Confirm the wheel-lock key is present if locking lug nuts are installed. It may be stored with the tool bag, in the glove box, or in another dealer-selected location.
- Assemble the jack-handle sections before inserting them into the rear access opening for the spare carrier.
- Turn the handle counterclockwise until the spare reaches the ground and the carrier cable or chain has enough slack to remove the holding bracket.
- Pull the spare out from under the vehicle and inspect it for low pressure, cracking, damage, or an incompatible wheel and lug-nut seat.
How Do You Loosen, Lift, and Install the Spare?
- Remove the wheel ornament if fitted.
- With the flat tire still on the ground, loosen each wheel nut about one turn. Do not remove the nuts yet.
- Position the factory jack at the owner’s-manual point. Make sure the jack base is flat and the saddle is fully engaged.
- Raise the vehicle until the flat tire is only slightly clear of the ground. Stop if the jack leans, sinks, or shifts.
- Remove the nuts and tire. Place the removed wheel with the finished face upward so it is less likely to be scratched.
- Clean loose dirt from the wheel-to-hub contact surface. Do not apply oil, grease, or anti-seize to the wheel studs, nuts, or mounting faces.
- Install the spare and hand-thread every nut. Each nut should turn freely by hand for several threads.
- Snug the nuts in a star pattern, then lower the vehicle until the tire is fully on the ground.
- Use a calibrated torque wrench and tighten in a star pattern in two or three passes.
Torque warning: Toyota fifth-generation manuals commonly list 83 ft-lbf (112 N·m) for steel wheels and 76 ft-lbf (103 N·m) for aluminum wheels. Confirm the specification in the owner’s manual for your exact year, wheel, and lug-nut design. The redesigned 2025-and-newer 4Runner uses different values.
How Do You Use the Spare Hoist, Lug Wrench, and Wheel-Lock Key?
Test the full system at home before relying on it beside the road. Assemble the handle sections, insert the hoist end fully through the rear access opening, and turn counterclockwise to lower the spare. If the tool slips or spins without moving the hoist, stop and confirm the correct end, angle, and engagement depth. Do not force a mismatched extension into the mechanism.
- Wheel-lock key: Test it on the locking nut and store it with the tire tools. Record any replacement-key code separately.
- Factory wrench: Use it for emergency removal and initial snugging, but use a torque wrench for final tightening.
- Breaker bar: Apply smooth force with a fully seated six-point socket. Do not jump on the bar or use a loose-fitting socket.
- Stowing the spare: Install the holding bracket through the wheel opening as shown in the owner’s manual, raise the tire, then push, pull, and try to rotate it. Lower and reinstall it if it remains loose or touches nearby parts.
When Should You Use a Compressor or Tire Repair Kit?
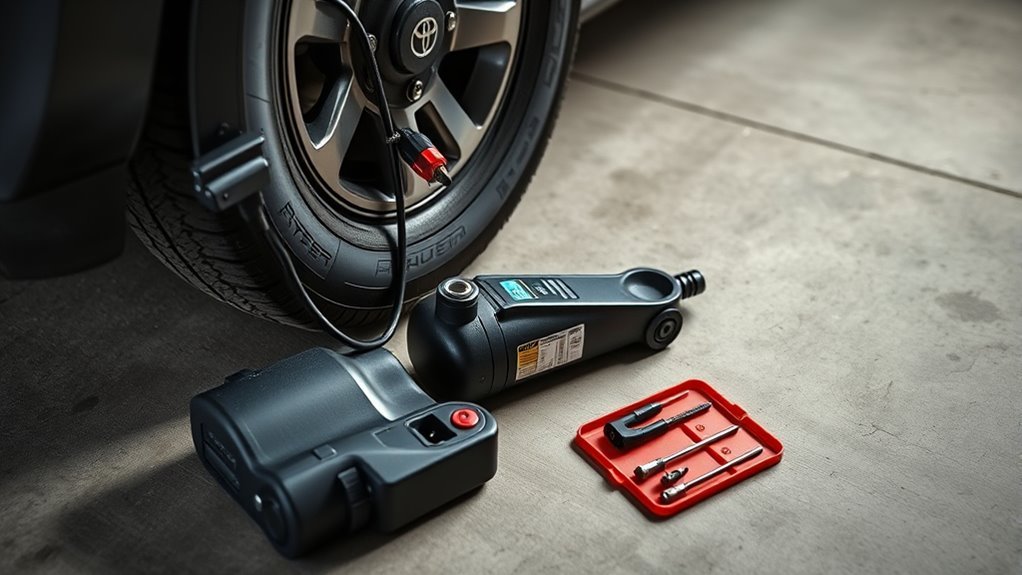
A compressor can help with a slow pressure loss when the tire has no visible sidewall damage, exposed cords, bead separation, or signs that it was driven while flat. Inflate only to the cold pressure shown on the driver-door placard, then watch for rapid pressure loss. If the tire will not hold pressure, install the spare or call roadside assistance.
Do not treat an outside-in rope plug as a permanent repair. The U.S. Tire Manufacturers Association says a proper puncture repair requires removing the tire, inspecting the inside, limiting repair to the tread area, and using both a rubber stem or plug and an internal patch. The puncture must be no larger than 1/4 inch, or 6 mm, and must not extend into the shoulder or sidewall.
- Use the spare for sidewall cuts, shoulder damage, a separated bead, exposed cords, a bent wheel, or a tire that was driven flat.
- If an emergency sealant is used, follow its label and the tire or vehicle manufacturer’s instructions. Tell the tire shop that sealant was added.
- Have the tire removed and inspected by a qualified tire professional as soon as possible.
[Products Worth Considering]

This wheel lock key set is designed to help remove and replace compatible Toyota and Lexus wheel locks with confidence. It includes four wheel lock nuts and one key, offering a practical replacement solution for many popular models while supporting secure wheel protection and reliable fitment. Built for durability and corrosion resistance, it is a useful choice when matching OE reference numbers and vehicle compatibility is important.

This wheel lock lug nut set adds an extra layer of theft protection for compatible Toyota and Lexus vehicles by securing wheels with a unique key pattern that resists common removal tools. Built to OEM-standard fitment with corrosion-resistant, triple-chrome finished construction, it is designed for direct replacement and long-lasting performance. The set includes locking nuts and a matching key for easy installation on compatible vehicles with the correct thread and cone seat specifications.
What Should You Buy If the 4Runner Tool Kit Is Missing Parts?
Start with the VIN and an inventory of what is missing. A used 4Runner may have the jack but not the tool bag, or the handle set may be present without the wheel-lock key. Do not buy a Tacoma or universal spare-hoist tool only because it looks similar. Shaft length, end shape, and engagement depth must match.
| Replacement route | Best for | Checks before buying |
|---|---|---|
| New Toyota parts | Owners who want vehicle-specific fit and known condition | Verify every part number by VIN and production date. |
| Used OEM kit | Replacing several missing pieces at once | Confirm all handle sections, wrench, jack, and bag are included; reject bent, heavily rusted, or incomplete parts. |
| DIY emergency kit | Adding leverage, lighting, chocks, and a torque wrench | A DIY kit does not replace the correctly shaped tool needed to operate the factory spare hoist. |
If wheel locks are installed and the key is missing, contact the wheel-lock maker or a Toyota dealer with the vehicle and proof of ownership. Do not rely on improvised removal methods beside the road.
[Products Worth Considering]
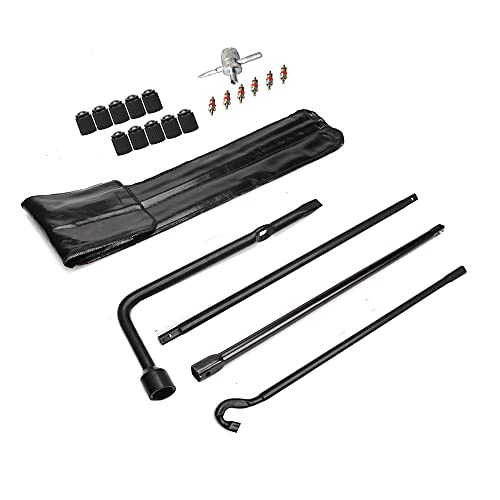
Premium OEM Upgraded Quality Spare tire tool: Stable strong rustproof automotive grade steel,tubing instead of soil designed made it more light,not only stong but also convenient.

【Car Jack Capacity】Maximum lifting weight 2 Ton (4409 lbs),This Jack for Car Lifting Range from 4.33" (11cm) to 15.75"(40cm). The scissor lift jack provides a wider range to reach under low chassis sedans or elevate high-body SUVs effortlessly.

Durable construction - made of tough, durable materials and coated with corrosion-resistant finish,and material testing to ensure a quality fit and long service life
How Do You Prevent a Seized Spare-Tire Hoist and Care for the Jack?
Lower and raise the spare before long trips and at least once a year as a practical inspection. Check it more often after road-salt, mud, water, or beach exposure. This is not a substitute for the Toyota maintenance schedule; it is a readiness check for equipment that may sit unused for years.
What Should You Check on the Spare Hoist?
- Confirm the spare lowers all the way to the ground without hard binding.
- Inspect the visible cable or chain, holding bracket, guide, and mounting area for rust, kinks, fraying, deformation, or looseness.
- Make sure the spare is correctly seated after raising. Push, pull, and rotate it to check for movement.
- Stop using the carrier if the cable is frayed, the mechanism skips, the bracket is damaged, or the spare cannot be secured tightly.
Should You Lubricate the Hoist and Jack?
Clean loose dirt and corrosion before applying any product. Use only a lubricant or corrosion protectant that is suitable for the exposed material and allowed by the service information. Do not soak the enclosed hoist, tire tread, brake parts, wheel studs, lug nuts, or wheel mounting surfaces.
For the mechanical factory jack, inspect the screw and pivots. If the service information permits lubrication, apply a small amount to the screw or metal-on-metal pivot points, then cycle the unloaded jack and wipe away excess. Replace the jack if it is bent, cracked, badly rusted, unstable, or difficult to operate.
How Do You Test the Jack Before a Trip?
- Place the unloaded jack on a level floor.
- Assemble the handle and run the jack through its normal travel.
- Check that the screw turns smoothly and the base and saddle remain straight.
- Inspect the handle joints for looseness or damage.
- Return the jack to its factory mount and secure the tool bag so neither can move in the cargo area.
Do not perform a test lift unless you know the correct jacking point, have firm level ground, chock the wheels, and can keep everyone clear of the vehicle.
What Extras Belong in a 4Runner Tire-Change Kit?
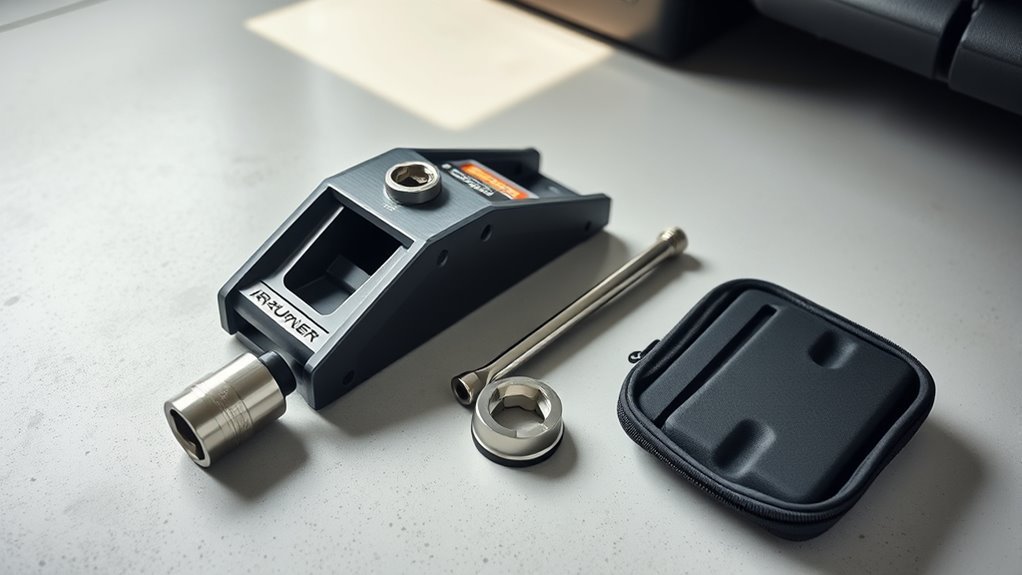
- Six-point 21mm socket: Test it on the installed lug nuts and wheel-lock key.
- 1/2-inch breaker bar: Provides controlled leverage for properly fitted lug nuts.
- Torque wrench: Needed for the final torque value. Do not use it as a breaker bar.
- Wheel chocks: Carry two that suit the 4Runner’s tire size and weight.
- Flashlight or headlamp: Keep fresh batteries with it.
- Gloves and reflective vest: Improve grip and visibility.
- Portable compressor and accurate gauge: Use the driver-door placard pressure, not the maximum pressure molded on the tire sidewall.
- Solid jack base: A wide, load-rated base can reduce sinking on firm but imperfect surfaces. It cannot make mud, sand, a slope, or a soft shoulder safe.
Store the tools in a secured pouch or factory compartment. Heavy tools can become projectiles during a sudden stop, so do not leave a breaker bar or jack loose in the cargo area.
How Do You Troubleshoot a Stuck Hoist or Lug Nut?
| Problem | Likely cause | Safe next step |
|---|---|---|
| Hoist tool spins but the spare does not move | Wrong tool end, poor engagement, damaged input, or internal failure | Re-seat the correct factory tool at the proper angle. Stop if it slips repeatedly. |
| Hoist turns but binds hard | Rust, cable or chain damage, crossed holding bracket, or internal seizure | Do not add extreme leverage. Support the spare and have the carrier inspected. |
| Spare lowers only partway | Corrosion, jammed guide, or tire contact with nearby parts | Keep clear of the tire, avoid crawling underneath, and use professional help if it will not lower normally. |
| Lug nut will not loosen | Over-torque, corrosion, damaged cap, wrong socket, or wheel-lock issue | Use a fully seated six-point socket and smooth breaker-bar force. Stop if the socket slips or the stud turns. |
| Lug nut turns but will not come off | Damaged stud or stripped threads | Do not keep driving on a loose or damaged wheel fastener. Arrange repair or towing. |
| Spare is loose after raising | Holding bracket installed incorrectly or cable not fully tensioned | Lower it, reinstall the bracket as shown in the manual, raise it, then push, pull, and rotate to confirm security. |
Do not cut a hoist cable beside the road unless the spare is fully supported and you are following a correct service procedure. A suspended tire can fall suddenly. If the carrier is seized or damaged, a repair shop is the safer choice.
Frequently Asked Questions
Can I Use the 4Runner Jack on Other Vehicles?
No. Toyota’s fifth-generation owner instructions say to use the supplied jack only for replacing tires or installing and removing tire chains on that vehicle. Do not assume its capacity, saddle, lift range, or jacking-point shape is safe for another vehicle.
How Long Should the Tool Kit Last Before Replacement?
There is no fixed replacement age for the complete kit. Replace any part that is missing, bent, cracked, badly corroded, stripped, unstable, or difficult to operate. Inspect the kit before long trips and after it has been used.
How Do I Check for 4Runner Jack or Tool Recalls?
Recall status depends on the VIN, model year, and market. Check Toyota’s recall lookup and the NHTSA recall database with the 17-character VIN. Follow the remedy instructions for any open campaign, and do not rely on a general model search as proof that a specific vehicle has no open recall.
Can I Carry a Hydraulic Jack Instead of the Factory Jack?
You can carry an additional rated jack, but do not assume it is a direct replacement. Verify its load rating, minimum and maximum height, stable base, saddle shape, and compatibility with the approved lift point. A hydraulic jack must not be the only support if any part of your body will be near or under the vehicle.
Do I Need Professional Training to Use the Factory Jack?
No formal training is required for a basic tire change, but read the owner’s-manual procedure and practice assembling the tools at home. Call roadside assistance if the ground is unsafe, the jack leans, the spare carrier is seized, the wheel is damaged, or the lug nuts cannot be removed with controlled force.
Sources
- Toyota 2023 4Runner owner’s manual and manual download page
- Toyota 4Runner standard-tool parts catalog listing
- U.S. Tire Manufacturers Association puncture-repair procedures
- Toyota safety recall and service-campaign lookup
- NHTSA recall lookup
Conclusion
For a 2010–2024 4Runner, the best preparation is simple: confirm the complete factory handle set is present, test the spare hoist, check the spare’s pressure, test-fit the lug socket and wheel-lock key, and carry a breaker bar, chocks, light, and torque wrench. During a flat, work only on firm level ground, use the illustrated factory jack point, keep your body out from under the vehicle, and torque the wheel nuts to the specification for your exact year and wheel type.
Also inspect related wheel noises before they become roadside problems. See the 4Runner clicking-when-turning diagnosis guide for lug-nut, hub, brake, tire-rub, and CV-joint checks.