Cleaning 4Runner interior plastics is mostly about restraint: use soft tools, mild cleaner, very little moisture, and a dry microfiber finish. The dash, door panels, center console, cupholders, vents, and textured trim can look factory-fresh again, but harsh chemicals, soaked cloths, and greasy dressings can leave streaks, glare, residue, or damage around electronics.
Quick Answer
To clean 4Runner interior plastics, dust first with a dry microfiber, wipe with a barely damp microfiber and mild plastic-safe cleaner, use a soft brush in seams and vents, then dry immediately. Finish high-sun areas with a thin, non-greasy UV protectant to reduce fading, streaks, and dust buildup.
Key Takeaways
- Start dry: dust and vacuum first so grit does not scratch textured plastics while you wipe.
- Spray cleaner onto the towel, not directly onto the dash, screen, vents, switches, or seams.
- Use mild, plastic-safe cleaners; avoid bleach, heavy degreasers, household glass cleaner, alcohol, solvents, and abrasive pads.
- Dry each section right away with a clean microfiber to prevent streaks and water spots.
- Choose a matte or non-greasy protectant for UV protection without the shiny, dust-catching finish.
At a Glance
| Time Required | 15–30 minutes for a routine clean; 45 minutes if you are treating stains and vents |
| Difficulty | Easy |
| Tools Needed | 3–5 microfiber cloths, soft-bristle detailing brush, vacuum with brush attachment, mild interior cleaner, matte UV protectant |
| Cost | About $15–$45 if you already own basic towels and a vacuum |
Gather Supplies for 4Runner Interior Plastics
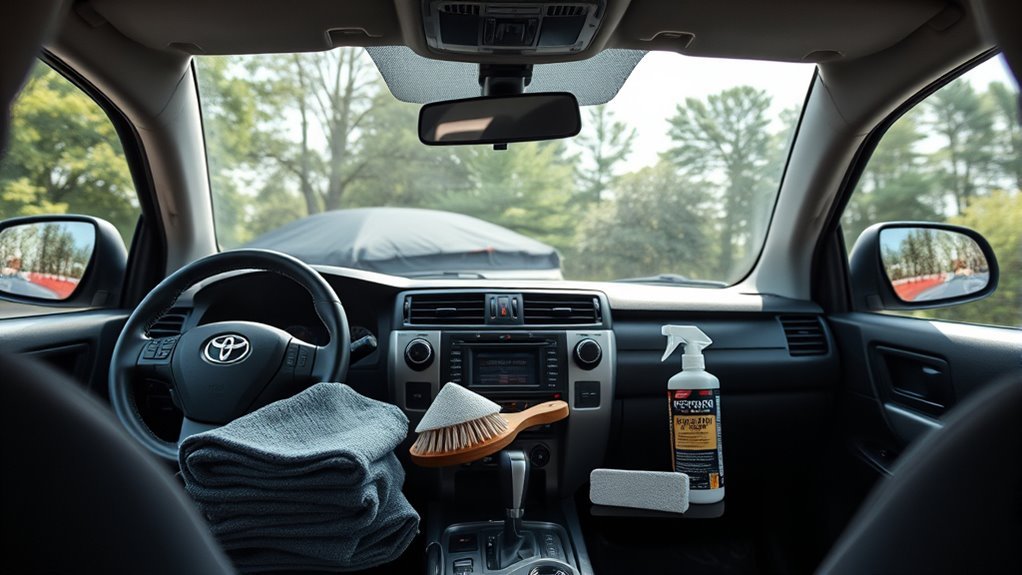
Start by laying out the tools before you spray anything. You need clean microfiber cloths, a soft-bristle detailing brush, a vacuum with a brush attachment, a mild all-purpose or plastic-specific interior cleaner, and a non-greasy protectant for the final step.
Microfiber works well because it traps dust instead of pushing it around, but only if it is clean. Keep one cloth dry for dusting, one lightly damp for cleaning, one for detail work, and one fresh towel for final drying. If a towel falls on the floor, replace it; trapped grit can scratch glossy trim and textured plastics.
For cleaners, choose products labeled safe for automotive plastics, vinyl, rubber, and interior trim. Toyota’s own care guidance for interior surfaces favors a soft cloth, lukewarm water, and mild or neutral detergent rather than harsh chemicals. For touch screens, Toyota recommends a soft cloth dampened with lukewarm water and warns against solvents, alcohol, gasoline, alkaline solutions, and acidic solutions.
Warning: Do not use bleach, abrasive pads, household glass cleaner, alcohol wipes, petroleum solvents, or heavy degreasers on 4Runner interior plastics or screens. They can discolor trim, dull matte finishes, damage coatings, or leave residue around switches and seams.
[Products Worth Considering]

The Pigenius windshield sunshade protects your Tundra's interior from heat and UV damage while keeping the cabin cool. Its accordion design folds easily for storage and quick setup, and the triple‑laminate construction provides durable, reflective protection. Ideal for long trips and daily commutes, it guards dashboards, seats, and steering wheels from sun‑related wear.

Stay warm and keep control with the KVAEY fluffy steering wheel cover. Its high‑density plush provides a soft, comfortable grip while the anti‑slip rubber liner ensures safety during winter drives. Easy to install and fits 15‑inch wheels on cars, trucks, and SUVs, adding a cozy, stylish touch to any interior.

Upgrade your vehicle's interior with this universal console cover that combines comfort and organization. The high‑quality microfiber leather resists spills and scratches while the thick memory foam core provides ergonomic support, reducing elbow fatigue on long drives. Dual side pockets keep essentials within reach, and elastic straps with non‑slip dots ensure a secure, tool‑free installation for any sedan.
Prep: Dust, Test Materials & Protect Electronics
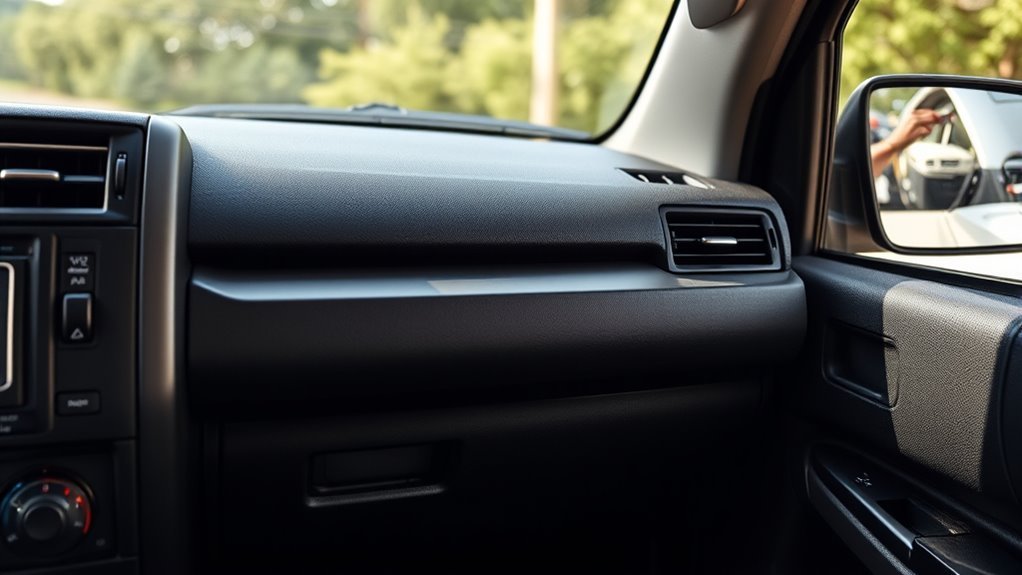
Prep makes the difference between a clean, matte finish and a streaky dash. First, remove floor mats and loose items from the console, cupholders, door pockets, and cargo area. Vacuum crumbs and grit from seams before you wipe plastics. Then run a dry microfiber over the dash, doors, console, steering-column plastics, and lower trim.
- Work top to bottom. Start at the upper dash and vents, then move to the infotainment surround, door panels, center console, lower kick panels, and cupholders.
- Power down screens. Turn off the infotainment display when possible. Use only a soft cloth lightly dampened with lukewarm water on the screen unless your owner’s manual or cleaner label specifically says otherwise.
- Spray the towel, not the vehicle. Apply cleaner to the microfiber so liquid does not run into buttons, speaker grilles, seams, air vents, USB ports, or window switches.
- Spot-test first. Test any cleaner or protectant on a hidden plastic area, such as a lower console edge, before using it across the dash or doors.
- Use low moisture. The cloth should be damp, not dripping. If you can squeeze liquid out of it, it is too wet for interior plastics.
Follow this methodical prep and you protect both the finish and the electronics. The goal is controlled cleaning, not soaking the cabin.
Note: 4Runner interiors vary by year and trim. Some surfaces may be hard plastic, soft-touch plastic, synthetic leather, painted trim, gloss black trim, rubber, or screen coating. When in doubt, use the gentlest method first: dry dusting, then a lightly damp microfiber.
Step-by-Step: Streak-Free 4Runner Dash & Door Cleaning
Use this process for the dashboard, door panels, center console sides, lower trim, and most hard interior plastics.
- Dry dust first. Wipe exposed surfaces with a clean, dry microfiber to remove loose dust, pollen, and grit.
- Apply cleaner to the cloth. Mist a mild interior cleaner onto a microfiber towel. Do not spray directly onto the dash, vents, screen, gauge cluster, or switches.
- Wipe in controlled strokes. Use light pressure and straight, overlapping passes. Heavy scrubbing is rarely needed and can create shiny patches on matte plastics.
- Brush crevices gently. Use a soft-bristle brush around vents, seams, cupholder edges, door handles, window switches, and textured grain. Agitate lightly, then wipe away lifted grime.
- Clean high-touch zones twice if needed. Door pulls, the console edge, shift area, steering-column plastics, and cupholders often hold body oils and sunscreen. Repeat with a fresh damp towel rather than using a stronger chemical.
- Dry immediately. Buff each section with a clean, dry microfiber. This removes leftover cleaner and prevents streaks, water spots, and shiny patches.
For the infotainment screen and gauge lens, stay even gentler. Toyota’s screen-cleaning guidance recommends a soft damp cloth with lukewarm water and says not to use solvents, kerosene, alcohol, gasoline, alkaline solutions, or acidic solutions. That means no glass cleaner, no direct spray, and no scrubbing.
Pro Tip: Fold each microfiber into quarters. When one side loads up with dust or cleaner, flip to a fresh side. This gives you eight clean wiping faces from one towel and helps prevent streaks.
Clean Vents, Textured Trim, Cupholders, and Door Pockets
Small areas make the cabin look dirty even after the dash is clean. Treat them separately instead of rushing through them with an oversaturated towel.
[Products Worth Considering]

Upgrade your 2026 Toyota RAV4 interior with this soft, breathable armrest cover that offers full protection against scratches, dirt, and wear. Made from eco‑friendly material, it fits the console perfectly and stays securely in place with elastic straps. Installation is tool‑free, providing added comfort and reducing fatigue during long drives.

Upgrade your driving experience with this breathable, non‑slip leather steering wheel cover that fits 14.5‑15 inch wheels. The durable, skin‑friendly leather and rubber interior provide comfort and grip in all weather, while the sleek 3D design adds a sporty look to your car interior.
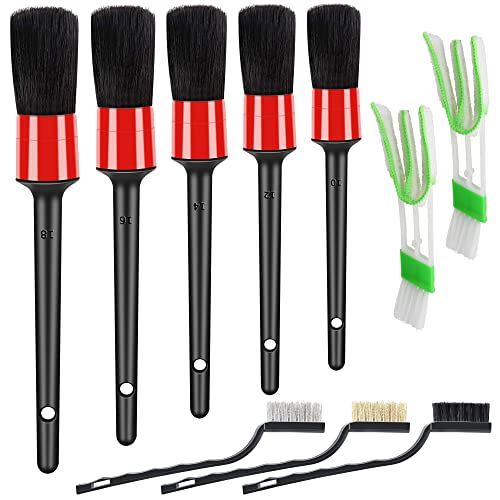
VARIOUS SIZE : 5 different size auto detailing brushes are satisfy with any cleaning needs. The smaller detailing brush can get into all the little cracks, the nooks, the lug nuts or tight space. The lager detailing brush suit for cleaning exterior and wider area more efficiently. Such as wheels, air vent, car seats, engine bay, dashboard,emblems and so on.
Vents and Seams
Use a dry detailing brush first to loosen dust, then vacuum as you brush so particles do not resettle. If grime remains, lightly dampen the brush with cleaner sprayed onto the bristles, work the seam gently, and wipe dry with a microfiber wrapped around one finger.
Textured Plastic
Textured 4Runner plastics can trap body oils, sunscreen, trail dust, and food residue. Use a damp microfiber for normal soil. For heavier grime, use a soft brush with mild cleaner, then wipe and dry. Avoid stiff brushes; they can polish high spots and make the surface look uneven.
Cupholders and Storage Bins
Lift out removable rubber inserts if your trim has them. Wash those inserts separately with mild soap and water, rinse, dry fully, and reinstall. For fixed cupholders, use a damp microfiber wrapped around your fingers or a soft brush for the corners. Never leave standing water in cupholders or storage trays.
Spot-Treat Grease & Makeup Stains Safely
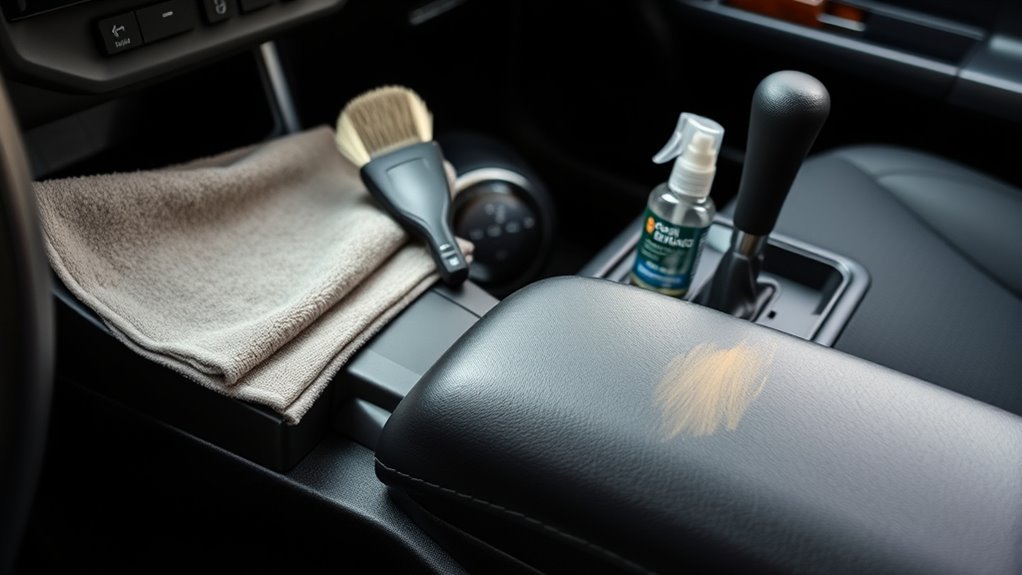
Tackle grease, sunscreen, lotion, and makeup spots promptly with a targeted, plastic-safe approach. The trick is to lift the stain without flooding the panel or stripping the surface finish.
- Blot first. Use a dry microfiber to lift any fresh residue. Do not smear oily makeup across the panel.
- Use mild cleaner next. Apply a small amount of interior cleaner to a towel, then blot and wipe in short strokes.
- Brush only if needed. For residue trapped in grain, use a soft-bristle brush with light pressure. Wipe clean and dry right away.
- Repeat gently. Several mild passes are safer than one aggressive pass with a harsh degreaser.
For interior plastics, the safest stain-removal rule is simple: blot, clean lightly, dry fully, and repeat only as needed.
For stubborn oily spots, a dedicated automotive interior cleaner such as Griot’s Garage Interior Cleaner is a safer choice than household degreaser because it is made for interior surfaces and is designed to wipe clean without dirt-attracting residue. Still, test first and keep moisture away from electrical controls.
Pick a Protectant That Won’t Attract Dust: 303, Sonax, Meguiar’s
A protectant is optional, but it helps on high-sun areas such as the upper dash, door tops, cargo trim, and exposed plastic. The right product should leave a natural or matte finish, add UV protection, and avoid the greasy shine that attracts dust and creates windshield glare.
303 Automotive Protectant is a strong choice for vinyl, rubber, and plastic because Gold Eagle describes it as a UV protectant that dries to a clean matte finish with no slick residue. That is the corrected claim to use here: it offers UV protection, but it should not be described as “SPF40” unless the current label specifically says so.
SONAX Dashboard Cleaner Matte Finish is useful when you want a low-glare, anti-static finish for soft matte and synthetic interior surfaces. Meguiar’s Quik Interior Detailer works well for quick maintenance because it is made for interior plastics, vinyl, rubber, metal, and even LCD/navigation screens, according to Meguiar’s product information.
| Product Type | Best For | Finish Goal |
|---|---|---|
| 303 Automotive Protectant | Dash, door tops, exposed plastic, rubber, and vinyl | Matte UV protection with no slick feel |
| SONAX Dashboard Cleaner Matte Finish | Routine dash cleaning and low-glare interior plastics | Matte, anti-static, low-glare finish |
| Meguiar’s Quik Interior Detailer | Fast wipe-downs between deeper cleans | Natural look with light cleaning |
| Griot’s Garage Interior Cleaner or Interior Detailer | Residue-free cleaning and light interior maintenance | Clean OEM-style finish without greasy residue |
Apply protectant sparingly. Spray it onto a microfiber applicator, spread a thin coat, let it level for the product’s recommended time, then buff with a clean towel. If the panel looks wet or shiny after buffing, you used too much.
[Products Worth Considering]
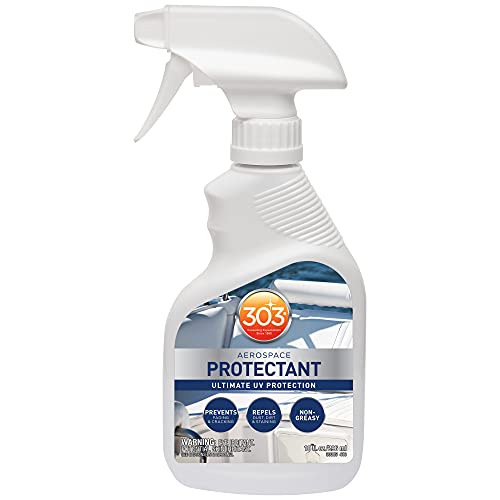
Ultimate Protection – Superior protection against UV rays, dust, dirt, salt water, and staining keeps your products looking like new by preventing fading and cracking
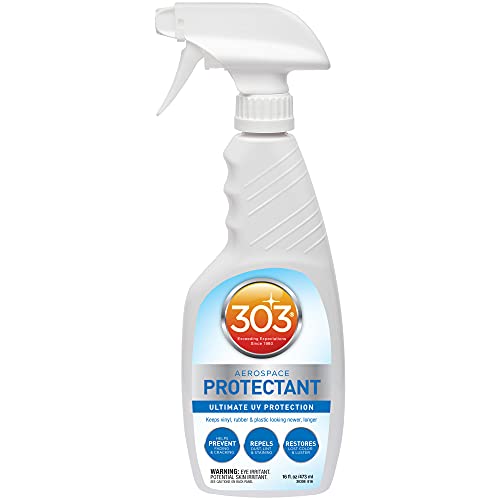
ULTIMATE PROTECTION: Shield your outdoor products from harmful UV rays, dust, dirt, salt water, & staining with this 303 protectant. Prevents fading & cracking for long-term care.

INTERIOR CLEANER: This car detailer spray cleans and protects all interior surfaces in one easy step, so you do not have to wait around for a fresh look. Keep your interior looking perfect with our showroom grade formula and ride off in style.
Troubleshoot Streaks, Residue & Long-Term Care
If streaks or residue keep showing up after you clean your 4Runner’s plastics, the problem is usually one of four things: too much cleaner, a dirty towel, too much moisture, or a greasy dressing.
- Streaks after wiping: Re-wipe with a microfiber dampened only with lukewarm water, then dry immediately.
- Sticky or greasy feel: Use a mild interior cleaner to remove old dressing. Dry the surface before applying any new protectant.
- Dust returns quickly: Switch to a matte, anti-static, or non-greasy product and use less of it.
- Shiny patches on matte plastic: Stop scrubbing. Clean gently, dry, and avoid heavy dressings that exaggerate uneven sheen.
- White residue in grain: Use a soft detailing brush and a barely damp towel to lift residue from textured plastic, then dry.
- Smudged screen: Turn the screen off, use a soft cloth dampened with lukewarm water, then dry with a clean microfiber. Do not spray cleaner onto the screen.
For long-term care, light dusting once a week and a full interior-plastic clean once a month is usually enough for daily drivers. Trail use, pets, kids, dusty roads, sunscreen, and food spills may call for more frequent wipe-downs.
Frequently Asked Questions
How do I clean a 4Runner interior?
Start by removing loose items and vacuuming crumbs. Dust plastics with a dry microfiber, wipe the dash and doors with a lightly damp microfiber and mild interior cleaner, brush vents and seams gently, clean the screen with a soft damp cloth, then dry everything with a fresh microfiber.
What should I clean the interior plastics of my vehicle with?
Use a clean microfiber cloth and a mild automotive interior cleaner that says it is safe for plastic or vinyl. For very light cleaning, a cloth dampened with lukewarm water is often enough. Avoid bleach, abrasive pads, alcohol, solvents, and household glass cleaners.
Can I use dish soap on 4Runner interior plastics?
A tiny amount of mild soap diluted in water can work for some hard plastics, but an automotive interior cleaner is safer and easier to rinse away. If you use soap, keep the towel barely damp, wipe off any residue with a clean damp cloth, and dry immediately.
How do I clean the 4Runner infotainment screen?
Turn the screen off and wipe it with a soft cloth lightly dampened with lukewarm water. Toyota advises against solvents, alcohol, gasoline, kerosene, alkaline solutions, and acidic solutions on touch screens because they can stain or discolor the screen.
How often should I apply protectant to interior plastics?
Follow the product label, but most daily drivers only need protectant every few weeks to a couple of months. Apply it more often if your 4Runner sits in strong sun, and less often if the surface still feels clean, dry, and evenly protected.
Conclusion
You’ve got the routine down: dust, test, clean, dry, then protect. Think of it like tuning a guitar: one careful tweak keeps every note clear, while rushing creates noise. The same is true inside a 4Runner. Use soft tools, light moisture, and matte products, and the dash, doors, console, and trim will stay clean without streaks, glare, or greasy buildup.
Sources
- Toyota Support: Cleaning the Touch Screen Panel — supports the screen-cleaning guidance and chemical cautions.
- Toyota 2025 4Runner Hybrid Digital Owner’s Manual — supports mild interior-care guidance for Toyota interior materials.
- Gold Eagle: 303 Automotive Protectant — supports matte, non-greasy UV-protectant claims for rubber, vinyl, and plastic.
- SONAX Dashboard Cleaner Matte Finish — supports low-glare, anti-static dashboard-cleaner information.
- Meguiar’s Quik Interior Detailer — supports quick-detailer use on interior plastics, vinyl, rubber, and screens.
- Griot’s Garage Interior Cleaner — supports residue-free interior-cleaner guidance for plastics, vinyl, dash, and door panels.