You can get water spots off your 4Runner by washing with pH‑balanced soap, rinsing with deionized water, and drying with a microfiber towel. Clay the panel to remove bonded deposits, then test spots with vinegar to tell mineral marks from etching. Use a heavy‑duty water‑spot gel or commercial remover for minerals; polish or Ceri‑glass with a dual‑action polisher for etches. Finish with wax or a hydrophobic coating to prevent return — keep going for step‑by‑step techniques.
Quick: Remove Water Spots From 4Runner Paint
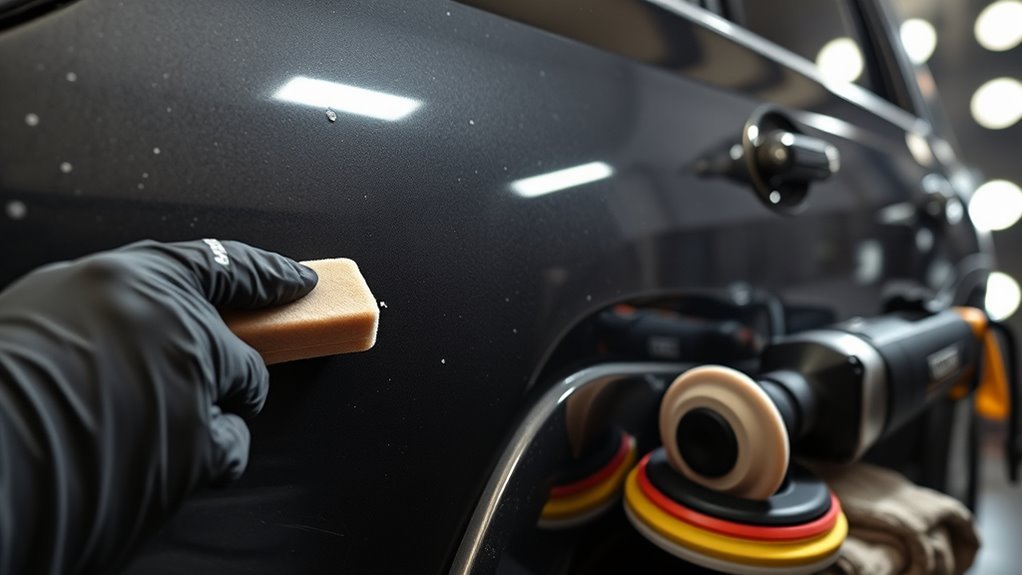
Start by washing the area and spraying a quick detailer so the surface is free of loose dirt—this helps the Heavy Duty Water Spot Remover Gel bond to the mineral deposits instead of grit. You’ll work efficiently: apply small drops of gel with a microfiber applicator and spread them like wax, targeting alkaline and calcium spots without aggressive abrasion. Stay methodical—treat one panel at a time, using short, overlapping passes to guarantee full contact. When the gel hazes, wipe it off with a clean microfiber and follow with detail spray to neutralize residue and restore clarity. This quick routine minimizes contact time and reduces risk of etching, so you keep control and freedom over your vehicle’s finish. Combine this process with regular inspections and timely spot treatment to make water spot prevention part of your maintenance. These detailing techniques save time and preserve the 4Runner’s aesthetic while empowering you to protect the paint.
Prep: Wash, Decontaminate, Mask Areas
Start by washing your 4Runner with a pH‑balanced car shampoo and a soft mitt to remove loose dirt without introducing scratches. Follow with a clay bar or clay mitt and a detail spray to strip embedded contaminants that make water spots harder to remove. Mask trim and glass, then rinse and immediately dry with a microfiber towel so the paint is perfectly clean and dry before any spot‑removal product.
Wash Thoroughly First
Wash the 4Runner thoroughly with a quality car wash soap like Meg’s Hyper-Wash, rinsing away road grime so you’re not working contaminants into the paint when you remove water spots. Start with proper car wash technique and deliberate soap selection; use two buckets, soft mitt, then rinse. Remove residue completely, then dry immediately with microfiber to prevent fresh spotting.
| Step | Purpose |
|---|---|
| Quality soap | Lift grime, safe for clearcoat |
| Rinse fully | Removes soap and minerals |
| Dry promptly | Prevents new spots |
| Mask trim | Protects seals and rubber |
You’ll decontaminate next, but only after this disciplined wash. You’re reclaiming control—clean surface, no abrasive surprises, ready for targeted spot correction.
Clay Bar Decontamination
Grab a clay mitt or traditional clay bar and work one small panel at a time, keeping the surface well-lubricated with a detailing spray so the clay glides and lifts bonded contaminants—like mineral deposits from water spots—without marring the clearcoat. After washing with a quality car soap, select the clay type that suits the contamination level: soft for light fallout, medium for moderate deposits. Use controlled application techniques—light pressure, steady strokes, and frequent clay folding or switching mitts—to avoid embedding grime. Check the clay for residue buildup and replace when gritty. Rinse each section and the entire vehicle after decontamination to remove clay residue. This methodical approach frees your finish, leaving a smooth canvas ready for polishing and protection.
Mask Vulnerable Areas
With the surface now clean and free of bonded contaminants from the clay step, protect vulnerable areas before applying any spot-removal products. You’ll mask vulnerable surfaces—trim, rubber seals, and adjacent painted edges—so aggressive cleaners or polishers don’t mar them. Use quality painter’s tape to create clean lines where paint meets plastic or rubber; press edges firmly to prevent seepage. Prioritize masking where spots are stubborn so you can work intensely without risking surrounding finishes. Adopt masking techniques that let you target treatment zones precisely: small tape strips for seams, wider pieces for long trim, and overlap where needed. Work methodically, remove tape after product neutralization, and you’ll liberate your finish without collateral damage.
Is It a Mineral Spot or an Etch?
Now check whether the mark is a surface mineral deposit or true etching by performing a simple water droplet test: wet the spot and see if it lightens or disappears. If it clears when wet, you’re likely dealing with a removable mineral spot that responds to mild abrasives or a water-spot remover; if it remains, it’s probably etched and will need polishing to restore the clear coat. Identifying the type early saves time and prevents more extensive correction later.
Mineral Spot Identification
Although mineral spots and etching can look similar at a glance, you can quickly tell them apart by feel and a simple vinegar test: mineral deposits are usually white or cloudy, sit on the paint surface, and will soften or dissolve when you apply a few drops of vinegar, while etching has a rough, indented texture and won’t react. Check spot characteristics by gently running your fingertip over the area and applying vinegar—bubbling or softening indicates mineral residue. Inspect surrounding panels; isolated, superficial spots point to deposits, widespread roughness suggests deeper damage. For mineral spots, start with a mild cleaner or clay bar, then protect the panel. Use light pressure when testing to avoid worsening potential etches. Follow product‑savvy treatment methods for safe, liberating results.
Etch Versus Surface Stain
If a spot feels rough or indented when you run your fingertip over it, you’re likely dealing with an etch rather than a surface stain. You’ll want to confirm: surface stains are mineral deposits removable with gentle cleaners; etches penetrate the clear coat and demand polishing or repainting. For efficient water spot prevention and paint maintenance, remove spots promptly—regular attention prevents mineral buildup from becoming etches. Use targeted products like Heavy Duty Water Spot Remover Gel for both types, but be prepared to follow with a polish for etched areas. Work methodically: test a small area, apply product per instructions, reassess texture, then escalate to polishing only when cleaning fails to restore smoothness and gloss.
Chemical Fixes: Gel, Vinegar & Commercial Removers
When water spots won’t budge with soap and water, reach for a chemical fix: gels and commercial removers break down mineral and alkaline deposits faster than vinegar alone, while a diluted vinegar spray can help lift lighter marks. You’ll appreciate gel effectiveness on a Toyota 4Runner; Heavy Duty Water Spot Remover Gel dissolves alkaline and calcium deposits quickly, giving instant results with minimal effort. Apply with a microfiber applicator for precise coverage and to protect the finish. Use commercial formulas from Malco, P&S, or Auto Magic for stubborn stains—these are engineered to remove spots without etching paint when used per instructions. For light marks on glass, consider a spray polish like Carpro Ceri‑glass to avoid etching. If you try vinegar, remember vinegar limitations: it can help surface deposits but often won’t match specialized products on tough spots. Work methodically, section by section, rinse thoroughly, and you’ll liberate the finish without resorting to abrasive mechanical methods.
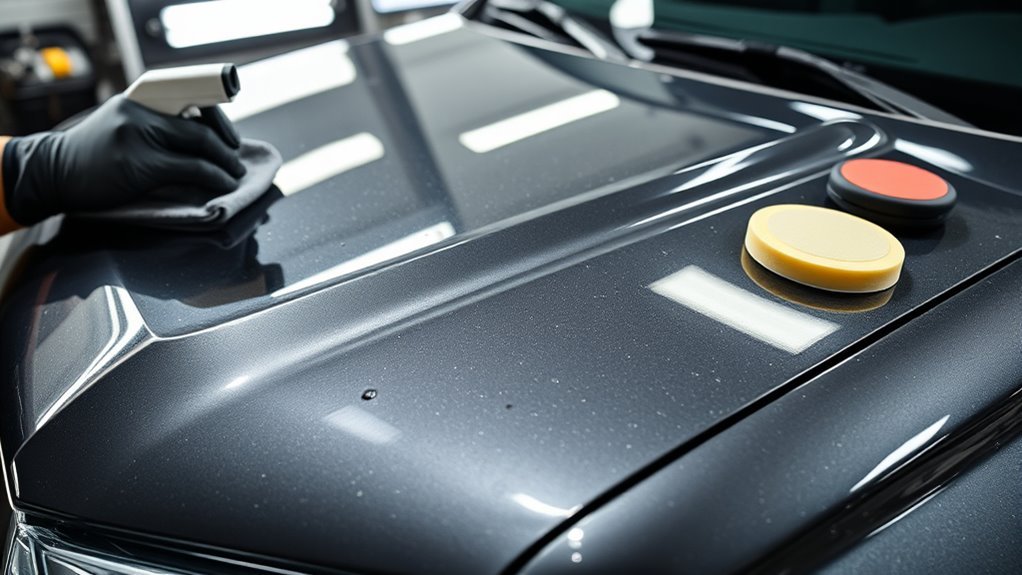
Mechanical Fixes: Clay, Fine Steel Wool & Polishing
Start with a clay bar to lift bonded contaminants and light water-spot residue from your 4Runner’s paint so your polishing step actually works. Use deliberate clay techniques: work small panels, keep the surface lubricated, fold the clay to expose clean sections, and inspect with good light. That removes embedded grit and reveals true paint condition so you don’t overwork the finish.
For glass, employ 0000-grade fine steel wool gently with a lubricant to break stubborn mineral deposits without scratching; move horizontally, then vertically, and rinse thoroughly. Choose a polishing compound suited to automotive paint—Carpro Ceri-glass or equivalent—for light etching. Mount a dual-action polisher, select appropriate polishing pads matched to the compound and defect level, and run at controlled speeds. Passes should be methodical: one area until clarity improves, then wipe and evaluate. These mechanical steps restore clarity, reduce etching, and, when repeated periodically, free you from chronic water-spot buildup.
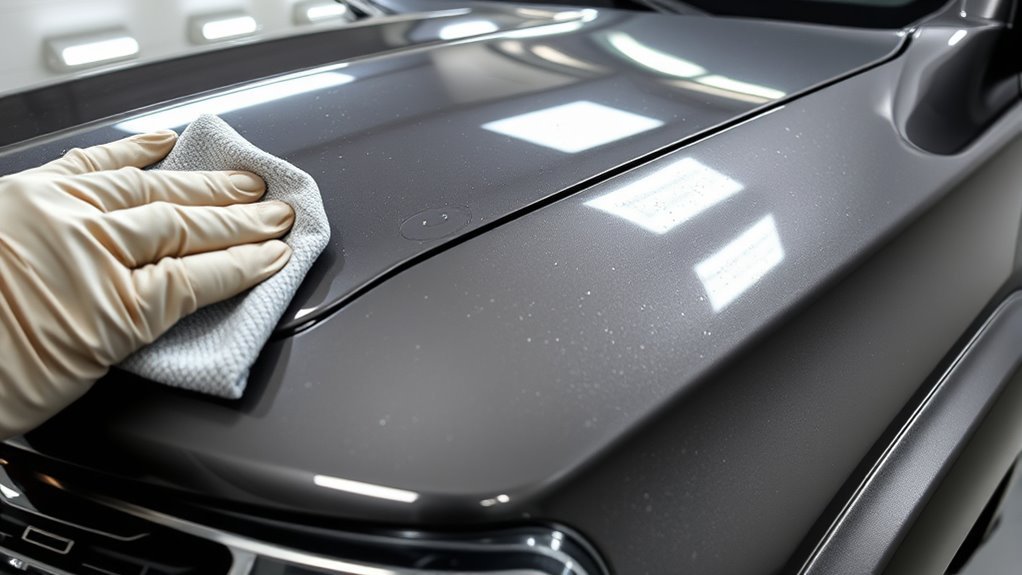
Protect & Prevent: Wax, Coatings, Rinse & Dry
Because protection is the best prevention, you’ll want to seal cleaned paint with a reliable barrier—regular wax or a modern hydrophobic coating—so minerals and contaminants can’t etch or cling. Use wax benefits strategically: schedule wax every few months to restore gloss and a sacrificial layer that eases later cleaning. For longer duty, apply hydrophobic coatings; they force water into beads that run off, cutting water spot formation and saving you time.
Adopt disciplined rinsing techniques: first rinse with plain water to remove loose grit, wash with pH‑balanced soap, then perform a final rinse with deionized or filtered water to strip minerals that cause spotting. Finish immediately with proven drying methods—patience plus a high‑quality microfiber drying towel and gentle blotting removes remaining beads before evaporation. These steps free you from constant correction chores: seal, repel, rinse clean, and dry right, and the 4Runner’s paint stays protected and easier to maintain.
Frequently Asked Questions
How Do You Remove Water Spots From a Car Without Damaging Paint?
You’ll use pH‑balanced soap, a citrus heavy‑duty water spot removal gel, gentle polishing compound if needed, and avoid abrasive tools on paint; you’ll rinse, clay, polish, then wax for lasting paint protection and easier future maintenance.
Does Magic Eraser Get Rid of Water Spots?
Yes — a Magic Eraser can remove light water spots, proving its magic eraser effectiveness, but you’ll test first and use light pressure; consider alternative cleaning methods for deeper etching to safely reclaim your paint’s freedom.
Conclusion
You’re set to restore that 4Runner’s finish. About 90% of water spots are just mineral deposits, so start with wash, decon, and targeted chemistry before you escalate. If deposits won’t budge, use clay or ultra‑fine wool and finish with a light polish. Seal with wax or a ceramic booster and rinse/dry after every wash. Follow methodical steps, use the right products, and you’ll prevent recurrence and keep paint looking factory‑fresh.