Treat sap as a chemical problem, not a scrubbing one: rinse the panel, spray a sap‑and‑tar remover safe for clearcoats, let it sit a few minutes, then blot and wipe gently with a plush microfiber towel using light pressure. Repeat briefly if residue remains, rinse and dry the area, and avoid abrasive pads or harsh solvents. Inspect for etching; persistent stains may need professional correction. Keep this up and you’ll also learn prevention and coating options to protect your 4Runner.
Remove Tree Sap Quickly and Safely From Your 4Runner
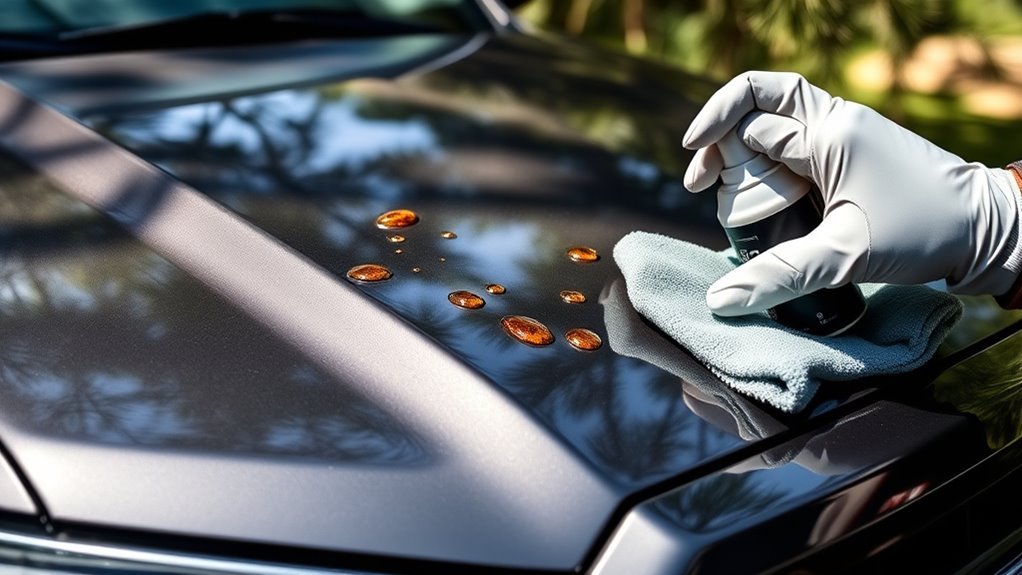
Start by treating fresh sap as a chemical problem, not a scrubbing problem: use a dedicated sap-and-tar remover made for automotive finishes, apply it with a microfiber towel using light pressure, and let the product lift the sap before wiping it away. You’ll work deliberately: spray only the affected area, wait the manufacturer’s dwell time, then blot gently—don’t rub. That method preserves your 4Runner’s clearcoat and advances paint protection while removing contaminants. Inspect areas under trees frequently so you catch deposits early; prompt action prevents etching and long-term damage. Choose products labeled for automotive finishes; they’ll dissolve sap without stripping wax or sealant layers, supporting both tree sap prevention and lasting protection. If residue persists, repeat the chemical application rather than escalating to abrasion. You’re minimizing risk and reclaiming control of your vehicle’s finish, using targeted chemistry and measured technique to keep the paint intact and ready for your next liberation drive.
Supplies to Use : What to Avoid
When you gather supplies, pick a sap-and-tar remover made for automotive finishes and a plush microfiber towel, and avoid abrasive household sponges or rough rags that can scratch the clear coat. Your supplies checklist should include a purpose‑made sap remover, several clean microfiber towels, gloves, and a spray bottle of deionized water for rinsing. Choose products labeled safe for clear coats and free of harsh solvents.
For cleaning techniques, work with minimal pressure and let the remover dissolve the sap—pressing or scrubbing with rough materials invites swirls and clear‑coat damage. Don’t substitute kitchen sponges, steel wool, or stiff brushes; they’ll trade temporary satisfaction for permanent blemishes. Also avoid general degreasers not specified for paint, which can strip protective wax or sealant.
Be prompt: the longer sap sits, the harder it is to remove safely. A focused, well‑chosen supplies checklist plus restrained cleaning techniques preserves your 4Runner’s finish and your freedom to drive it proudly.
Step‑by‑Step Sap & Tar Removal for 4Runners
Start by rinsing and drying the affected panel so you’re working on a clean surface and can see the sap clearly. Spray a dedicated sap and tar remover onto the spots, let it sit for a few minutes, then use a clean microfiber to gently wipe with minimal pressure. If residue remains, repeat the product application and use soft circular motions until the sap lifts, then rinse the area and consider a ceramic coating for long‑term protection.
Prep The Surface
Before you apply any solvent, wash the affected panel with a gentle car soap and water to remove grit and loose contaminants that could scratch the clearcoat when you work on the sap. Start with purposeful cleaning techniques: rinse, lather, and rinse again, using a soft wash mitt to lift road grime without abrading paint. Dry with a clean microfiber to inspect sap locations and edges. Mask adjacent trim if you want extra surface protection against chemicals. Keep a separate microfiber and a small spray bottle of deionized water handy. Work in shade and at moderate temperature so products behave predictably. This prep minimizes risk, speeds removal, and leaves you ready to apply a dedicated sap remover confidently and cleanly.
Apply Sap Remover
Park your 4Runner in shade and apply a dedicated automotive sap-and-tar remover directly to the affected spot, then let it sit briefly so it penetrates without drying. You’ll use a product formulated for automotive care—check label ingredients and compatibility with clear coat before application. With a clean microfiber towel, dab the remover onto the sap; don’t scrub. Let the solvent work for a few minutes to loosen the resin, then use controlled circular motions to lift softened sap. If residue remains, reapply and repeat targeted treatment until gone. This methodical approach saves finish and time, and it frees you from lingering blemishes. When finished, wash the treated area with soap and water and dry thoroughly to protect the paint.
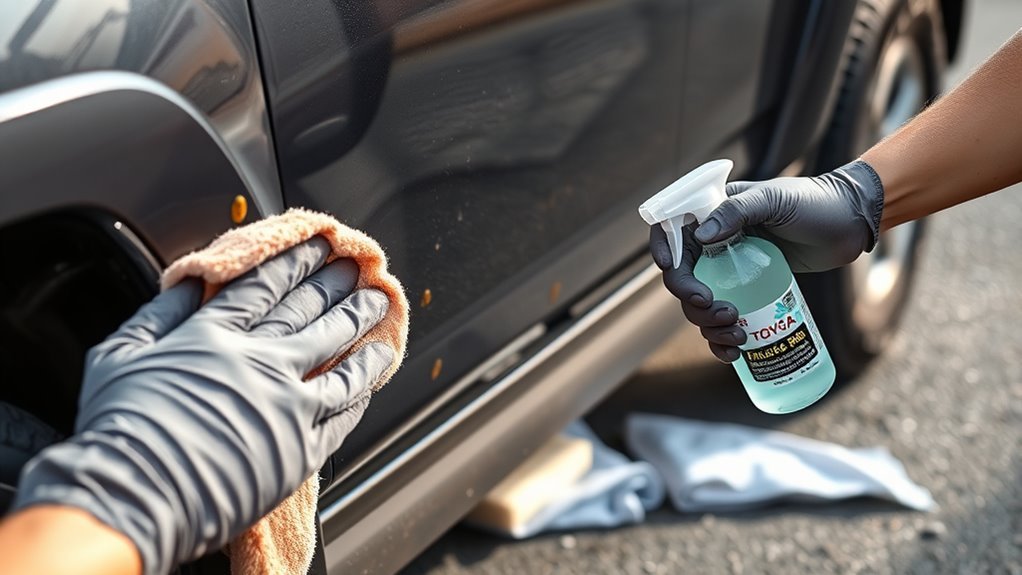
Gentle Wipe Away
Now that you’ve loosened the sap with a dedicated remover, gently wipe it away using a clean microfiber towel—apply only light pressure and let the solvent do the work. You’ll use gentle techniques: let the remover dwell a few minutes, then stroke outward with the towel, avoiding scrubbing. Microfiber benefits show here—its edges trap residue while minimizing abrasion. After wiping, rinse the area with clean water to remove solvent and sap trace. Inspect panels regularly, especially when parked under trees, so you can act before damage sets in. This method frees you from worry while protecting finish integrity.
| Step | Action | Purpose |
|---|---|---|
| 1 | Apply remover | Break down sap |
| 2 | Wait 2–5 min | Maximize efficacy |
| 3 | Wipe lightly | Remove residue |
| 4 | Rinse | Eliminate chemicals |
| 5 | Inspect | Prevent buildup |
Troubleshooting Sap Stains, Etching, and Sticky Residue

If you catch sap on your 4Runner early, you can usually remove it without grinding into the clearcoat; use a dedicated sap-and-tar remover and a soft microfiber towel, apply the product, let it dwell per instructions, then gently lift the residue with minimal pressure to avoid scratching. Use sap identification techniques: inspect under varied light, feel for tackiness, and note location patterns to decide urgency. For fresh spots, repeat the remover-and-wipe cycle rather than scrubbing. If a stain resists, test a small hidden area with a stronger product; don’t escalate pressure. For etching prevention methods, act fast—longer dwell equals higher risk of clearcoat damage. When you encounter etched areas or persistent sticky residue that solvents won’t fix, accept that professional detailing or paint correction may be necessary to restore gloss and remove micro-abrasions. Document recurring sap zones to inform parking choices and reclaim control over your vehicle’s finish.
Preventing Future Sap, Bird‑Dropping, and Pollen Damage
Because prevention beats correction, prioritize simple habits and smart upgrades that keep sap, bird droppings, and pollen off your 4Runner before they bond to the clearcoat. You’ll protect your investment with targeted preventive maintenance and practical routines: park away from trees, wash frequently during pollen season, and inspect roof and undercarriage for buildup. Use a microfiber towel for safe spot cleaning to avoid scratches that worsen damage.
| Action | Benefit |
|---|---|
| Park away from trees | Reduces sap exposure |
| Routine washes | Removes pollen before etching |
| Microfiber cleaning | Minimizes scratch risk |
| Inspect trouble spots | Catches issues early |
For surface protection, consider a ceramic coating to create a durable barrier that repels contaminants and simplifies future cleanups. These steps free you from constant worry and keep your 4Runner ready for adventure. Implement the habits, invest in coatings, and you’ll spend less time correcting and more time driving.
Need a Pro? Paint Correction and Ceramic Coating Explained
When you’re dealing with etched clearcoat, deep scratches, or stubborn sap stains that home methods can’t remove, it’s time to contemplate professional paint correction and ceramic coating; professionals use controlled polishing, defect removal, and surface prep to restore the finish and then apply a durable ceramic layer that repels contaminants and eases future maintenance. You want liberation from recurring spot treatments, so choose pro work: professional detailing removes oxidation, swirl marks, and sap etching with calibrated machines and abrasives so you won’t risk further damage. After correction, a ceramic coating provides paint protection that resists sap, bird droppings, and pollen, improves gloss, and simplifies cleaning. Think long term: the coating prolongs paint life and reduces maintenance costs. Ask your detailer about prep steps, coating brand and warranty, cure time, and expected hydrophobicity. With methodical selection and competent application, you free yourself from constant touch-ups and keep your 4Runner looking factory-fresh.
Frequently Asked Questions
Does Dawn Dish Soap Remove Sap From Cars?
No, Dawn won’t effectively remove sap; you’ll need solvents made for sticky residue. You can try natural remedies, but they’re less effective. Stay methodical, product-savvy, and choose proper sap remover to protect your paint.
Conclusion
You’ve learned the right supplies, the safe steps, and the quick fixes to remove sap from your 4Runner without harming the paint. Use gentle solvents, soft microfiber, and patience; avoid harsh abrasives, prolonged soaking, and heat. Treat fresh spots promptly, address etching calmly, and protect the finish with wax or ceramic coating. Clean regularly, park smart, and inspect often — prevent damage, preserve gloss, and prolong your 4Runner’s resale value.