Your 4Runner’s EVAP system traps fuel vapors in a charcoal canister and prevents liquid fuel entry with a fill‑check diaphragm in the gas cap and tank vent path. Electrically controlled purge and vent valves let the ECU route stored vapors into the intake for combustion while sensors monitor pressure and leaks. Small leaks often come from a worn cap, cracked hoses, or a sticking purge valve. Keep basic checks and proper tools handy — more detailed diagnostics and fixes follow below.
EVAP System on a Toyota 4Runner : Quick Owner Takeaway
The EVAP system on your Toyota 4Runner captures gasoline vapors in a charcoal canister and routes them back to the engine via a purge valve, preventing emissions while using a float mechanism to keep liquid fuel out of the canister; you should routinely inspect the gas cap, hoses, and purge valve since small-leak codes like P0456 often trace to worn seals or cracked lines. You’ll want a concise, repeatable checklist: verify a snug gas cap, scan visible hoses for cracks, and operate the purge valve command with a diagnostic tool to confirm response. The system’s goal is reliable emission control without impeding driveability; components work on timed and pressure-driven logic to admit vapors only when combustion efficiency won’t suffer. You’re empowered to perform basic checks and interpret small-leak codes, freeing you from unnecessary shop visits. When you document findings, note pressure readings, valve actuation, and any odor or wetness near the canister to guide targeted repairs.
EVAP Components on a 4Runner: Gas Cap, Canister, Valves, Sensors
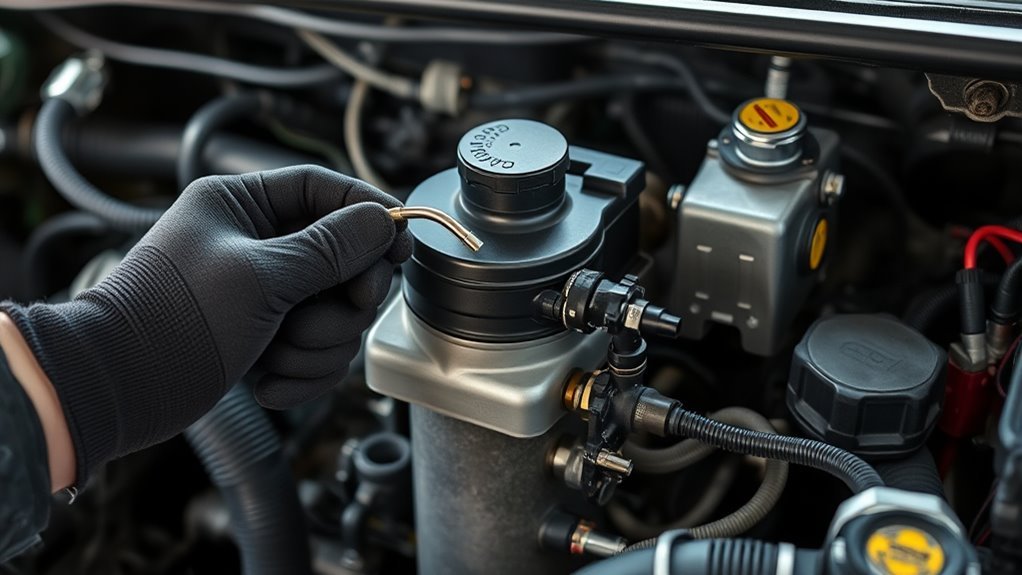
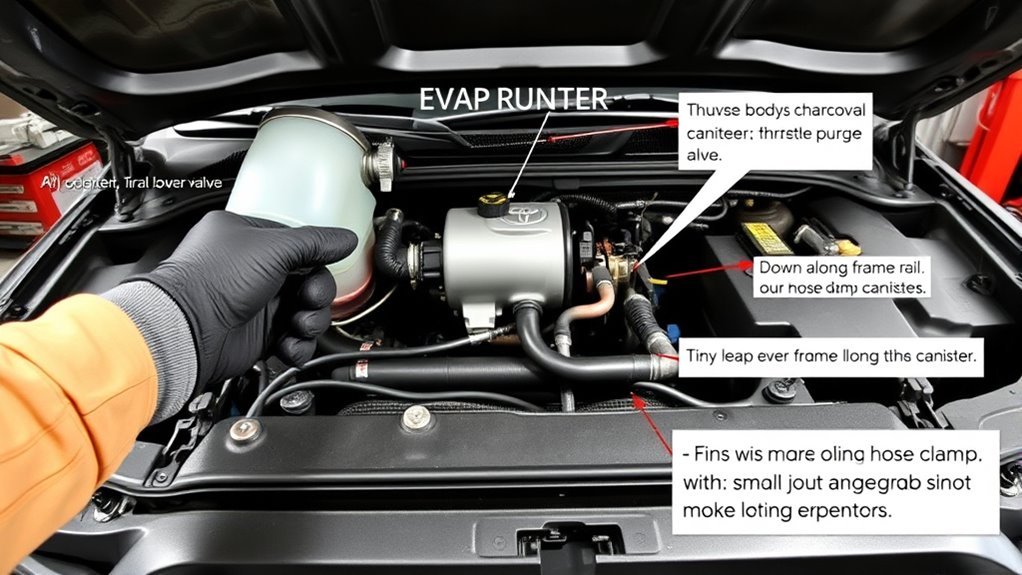
Think of the EVAP subsystem as a sealed vapor management loop that uses a sealed gas cap with a fill-check valve, a charcoal canister to trap vapors, electrically controlled purge and vent valves, and a vapor pressure sensor to let the ECU detect leaks and time purging events; you should inspect the cap seal, canister for external damage, valve operation, and sensor wiring as part of routine diagnostics. You’ll rely on the gas cap functions to prevent liquid ingress and maintain a pressure-tight closure; a worn cap or failed fill-check valve commonly triggers P0456 or related codes. The charcoal canister contains activated beads that adsorb fuel vapors until the ECU commands release. The purge valve must remain closed when unpowered and open reliably under command; verify duty cycle and idle behavior with a scan tool. The vent/purge plumbing and sensor wiring deserve continuity and leak checks; cracked hoses or poor sensor readings defeat emissions compliance. Service replaces only failed components to restore system integrity and regulatory freedom.
How EVAP Vapors Flow (Normal Operation and the Diaphragm)
When you refuel or as tank temperature rises, vapors flow from the tank into the charcoal canister where the diaphragm and fill-check valve control one-way movement and pressure equalization. You’ll see vapor dynamics governed by one-directional pathways: vapors move into the canister for storage until the engine commands purge. The diaphragm function maintains pressure balance, responding to slight vacuum or pressure changes to prevent backflow and venting to atmosphere.
During refueling the fill-check valve’s diaphragm opens to let displaced air escape while the tank’s float blocks liquid fuel from reaching the canister. The system’s design keeps vapors contained and ready for combustion when the ECU opens the purge path. The ECU also runs integrity checks, monitoring vacuum drops that signal leaks or diaphragm malfunction. You can rely on this controlled sequence to preserve emissions integrity and your freedom from unnecessary repairs, provided valves, diaphragm, and float remain functional.
Common EVAP Codes on 4Runner (P0441, P0455, P0456) and What They Mean
EVAP fault codes like P0441, P0455, and P0456 tell you where the 4Runner’s evaporative emission control system isn’t meeting expected behavior. You’ll see common symptoms such as a persistent check engine light, fuel odor, or failed emissions tests. P0441 indicates improper EVAP operation—often a malfunctioning purge valve or related hoses that prevent correct vapor ventilation. P0455 denotes a large leak—possible culprits include a bad gas cap, cracked lines, or a damaged charcoal canister. P0456 flags a very small leak that needs meticulous inspection for hairline cracks or loose fittings.
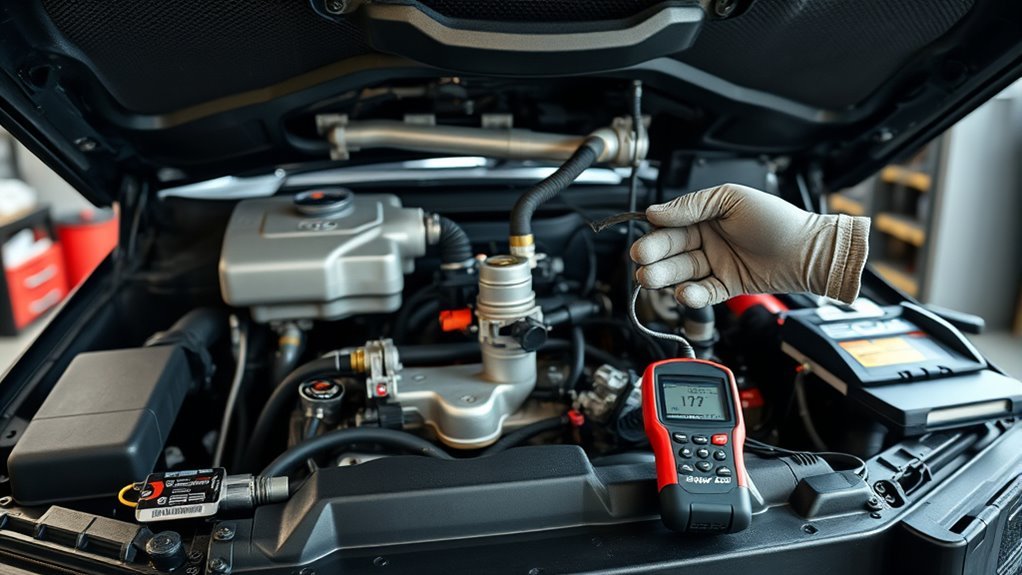
You should use appropriate diagnostic tools: an OBD-II scanner to read codes, a manual purge-valve test to verify operation, and pressure or smoke testing to locate elusive leaks. If basic checks don’t clear codes, advance to smoke testing and component-level replacement. Act decisively to reclaim control of emissions performance and fuel-system integrity.
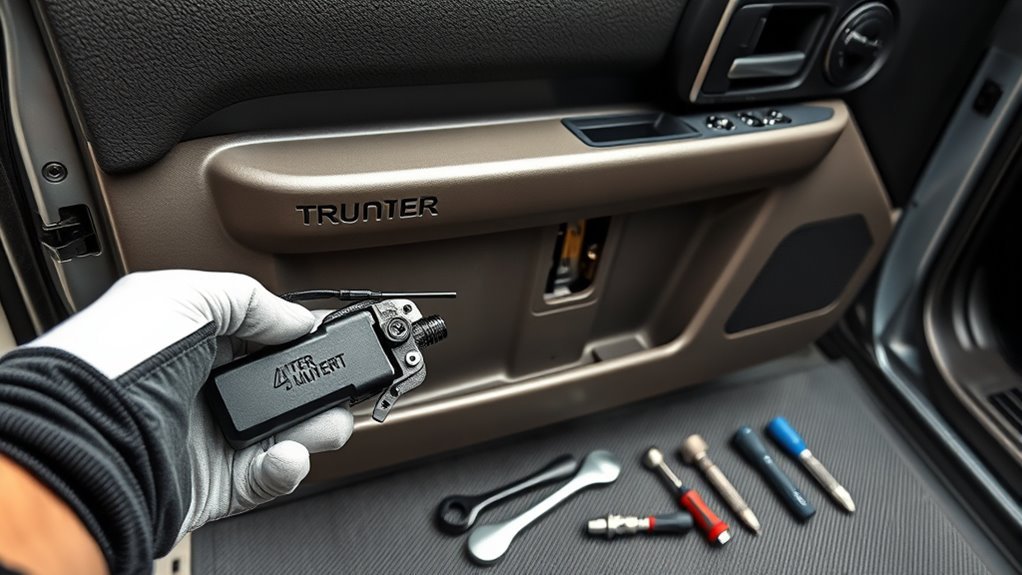
Simple EVAP DIY Checks for 4Runner: Gas Cap, Hoses, Purge Valve
After you’ve identified codes like P0441, P0455, or P0456, start with a few straightforward checks you can do at home: confirm the gas cap clicks and seals properly, visually inspect all EVAP hoses for cracks, wear, or disconnections, and bench-test the purge valve with a 9V to verify it actuates and allows airflow.
If you see P0441/P0455/P0456, start with easy checks: gas cap, EVAP hoses, and a 9V purge valve test.
- Confirm gas cap: tighten until it clicks; inspect the seal for tears or deformation. A faulty cap’s an easy fix that restores system integrity.
- Hose inspection: trace each EVAP line; look for cracks, hardening, chafing, or loose fittings. Replace damaged sections and O-rings.
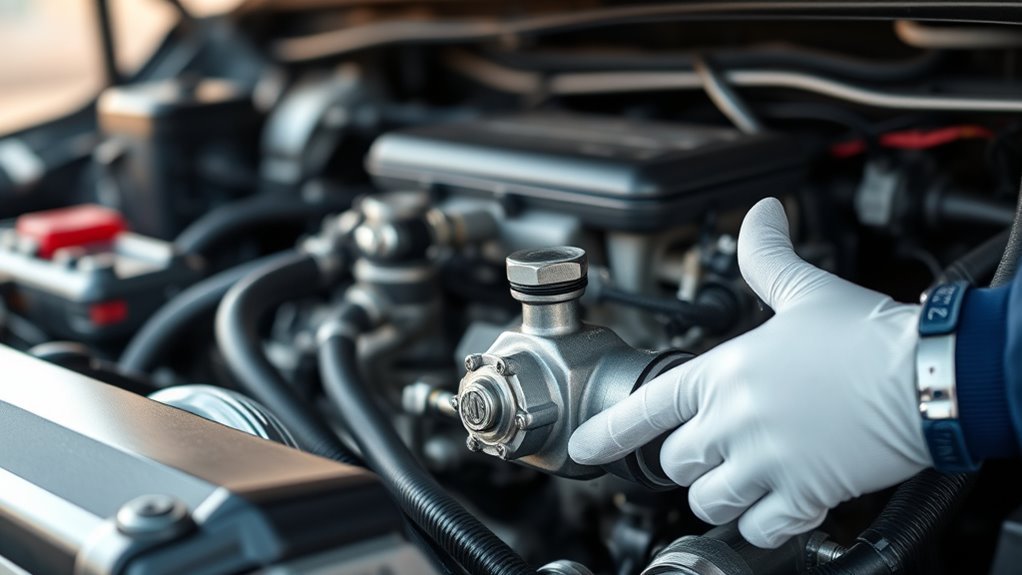
- Purge valve bench-test: apply 9V across terminals; it should click and permit airflow. If stuck closed or open, replace it.
- Pressure check basics: use a hand vacuum/gun at hose connections to verify seals hold; any leak means further repair.
These steps free you from guesswork and limit expensive shop visits.
Advanced EVAP Diagnostics: Smoke Test, Vacuum Test, Techstream
Because simple checks don’t always find elusive leaks, you’ll need to move on to smoke testing, vacuum testing, and using Techstream to pinpoint problems precisely. You introduce smoke into the sealed EVAP circuit and watch where it exits; that direct visualization identifies cracked hoses, loose fittings, or hidden leaks that trigger P0456. With vacuum testing you apply a steady vacuum to purge lines, tanks, and canister ports, then monitor for pressure decay—any drop reveals a leak or failed component.
Techstream lets you run self-diagnostics, view live sensor data, and command valves while performing smoke and vacuum tests, so you correlate physical leaks with electrical or control faults. Use Techstream to force EVAP routines and capture freeze-frame data; that reduces guesswork and speeds liberation from persistent codes.
| Test | Purpose |
|---|---|
| Smoke testing | Visual leak location |
| Vacuum testing | Pressure integrity check |
| Techstream | Live data & active tests |
| Combined | Precise diagnosis |
EVAP Repairs, Maintenance Tips, and When to See the Dealer
Start with routine visual inspections: check the gas cap for tightness and seal integrity, and inspect EVAP hoses and the charcoal canister for cracks or disconnections. You can handle common DIY fixes like replacing a faulty cap or damaged hose and using a vacuum tester to verify purge valve operation. If codes persist after those steps, have the dealer run Techstream diagnostics and a smoke test under warranty to locate and repair hidden leaks.
Routine Visual Inspections
A routine visual inspection of the EVAP system should include a methodical check of hoses, the charcoal canister, purge valve, fill check valve, and gas cap for cracks, loose fittings, or fuel saturation that can cause leaks or trigger codes like P0456. You’ll perform routine checks and visual assessments to catch faults early and keep emissions systems functioning. Tighten the gas cap until it clicks, inspect the fill check valve float/diaphragm for fuel intrusion, and confirm purge valve connections are secure. Watch for EVAP-related check engine lights; persistent codes may need a smoke test before dealer diagnostics.
- Hoses: look for cracks, abrasion, loose clamps.
- Charcoal canister: check for saturation or damage.
- Purge/fill valves: verify seals and operation.
- Gas cap: ascertain click-tight engagement.
Common DIY Fixes
DIY EVAP repairs let you fix many common faults without a shop visit, but you should work methodically and test as you go. Start with basic evap troubleshooting tips: inspect and replace the gas cap to eliminate loose-connection codes (P0456, P0441). Probe purge valve operation with a 9V battery and check hoses for cracks or leaks. Replace damaged hoses, prioritize lines to the charcoal canister, and use hose clamps rather than squeeze clips for reliable seals. Perform vacuum checks at multiple points and use a smoke test when isolation proves difficult. Address common misconceptions: don’t assume codes always mean the canister; small leaks or faulty caps are typical. If fixes don’t clear codes or you’re under 25K miles, see the dealer.
Dealer Diagnostic Steps
If your own checks—cap inspection, hose swaps, and battery tests—don’t clear an EVAP code, bring the 4Runner to the dealer for systematic diagnostics. They’ll use dealer tools and proven diagnostic methods to isolate leaks and component failures. Expect a smoke test to locate seams, a Techstream session for live self-tests and data logging, and targeted inspection of the charcoal canister, purge valve, and hoses. If codes like P0456 persist and mileage is low, ask about warranty coverage.
- Smoke test to reveal even pinhole leaks.
- Techstream and manufacturer self-tests for real-time faults.
- Physical inspection: hoses, cap seal, purge valve, canister.
- Warranty review and documented repair path.
You’ll regain control through precise, methodical dealer intervention.
Frequently Asked Questions
What Are the Symptoms of a Bad Evap System on a Toyota?
You’ll see a persistent check engine light (codes like P0456), reduced fuel economy, failed emissions tests, gasoline/ fuel vapor smells, and engine issues (rough idle, stalling); these signal a compromised EVAP system needing repair.
How Does the Evap System When Putting Gas in Keep Shutting Off?
Like a traffic light coincidence—vapors back up, the fuel nozzle trips; you’ll check for blocked venting, faulty fill check valve, stuck float or a tight gas cap. You’ll replace or repair to regain fueling freedom.
Conclusion
Keep the EVAP system tight and it’ll quietly protect emissions and performance like a sealed ship. Check the gas cap first, inspect hoses and canister visually, and cycle the purge valve to confirm operation. For stubborn P0441/P0455/P0456 faults, run a smoke test or vacuum test and read live data with Techstream. Replace faulty valves, cracked lines, or the canister as needed. When diagnostics or repairs exceed your tools, see the dealer.