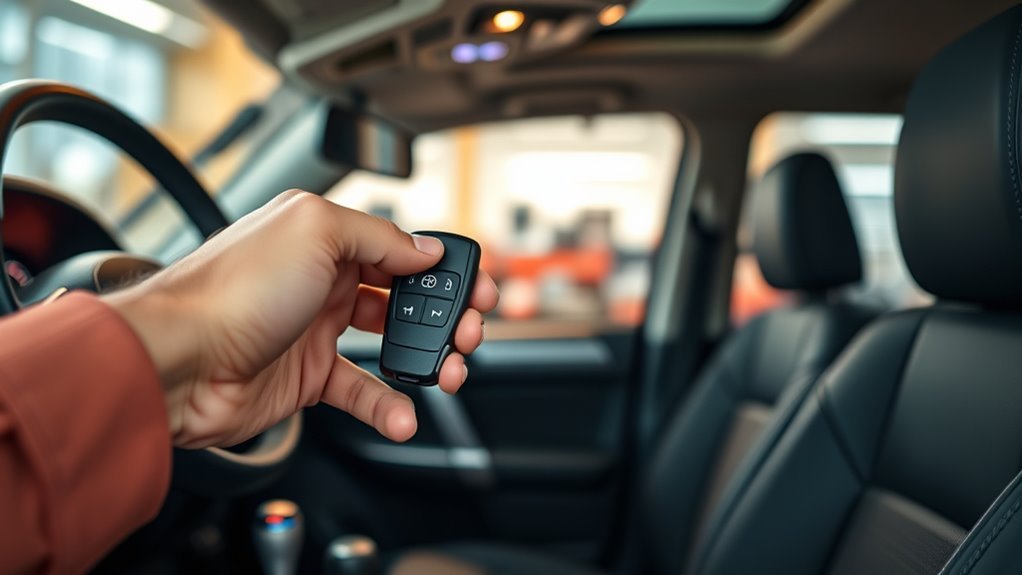
You’ll first verify the fob matches your 4Runner’s year, transponder type, and part number, and confirm you have a working key, fresh battery, and Toyota‑capable tools. With the vehicle battery charged and doors closed, use the working key to cycle ignition OFF/ON per model timing, then insert the new fob to register locks and transponder; watch for automatic lock feedback. Troubleshoot by checking battery, part number, and timing; continue for model variations, errors, and pro options.
Quick Checklist: What to Verify Before Programming
Before you start programming a new smart key for your 4Runner, verify compatibility with your model year and have all existing keys on hand, since aftermarket fobs can fail with newer models and programming often requires every current key to sync. Start by checking key features: shell type, transponder frequency, and FCC/IC part numbers to match OEM specs. Note the VIN, year, and trim; record current key status (working, damaged, or lost). Confirm your chosen locksmith has Toyota-compatible diagnostic tools—many models post-2020 need dealer-level interfaces. Consult reliable sources or owner forums to identify the exact programming method for your year and trim; procedures vary. Prepare to present VIN and proof of ownership to gain full programming access. Use these programming tips: gather all keys, verify tool compatibility, and pre-confirm the procedure so you control the process. This checklist frees you from delays and prevents incompatible purchases that trap you in repeat service calls.
Confirm Toyota 4Runner Fob Compatibility
Want to avoid buying a fob that won’t work with your 4Runner? Confirm Toyota 4Runner fob compatibility by checking year, model, and documented fob features before purchase. Newer units may need proprietary programming tools; don’t assume a local locksmith can program them. Cross-reference online listings with manufacturer specs to resolve compatibility concerns and avoid wasted expense.
| Item | Checkpoint | Action |
|---|---|---|
| Year/Model | Verify exact production year | Match to fob part number |
| Programming | Determine required tools | Confirm locksmith or dealer capability |
| Physical | Inspect buttons, build quality | Reject stiff/cheap aftermarket units |
If you value freedom from dependency, choose reputable sources and validated parts. For older 4Runners, verified aftermarket fobs can work, but test programming policy first. Document part numbers, seller return policy, and any proprietary programming requirements. This procedural check keeps you in control and minimizes disruption when you move to programming.
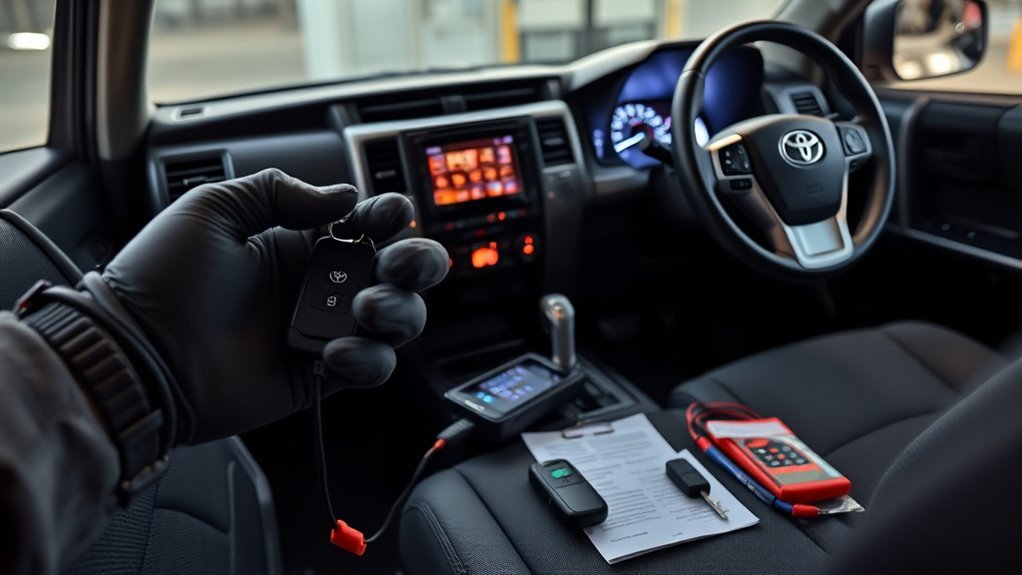
Gather Tools & Prepare the Vehicle for In‑Car Programming
Gather the required tools: the new smart key plus any working keys, a flat-head screwdriver for lock access, and a stable 12V power source to prevent voltage drops during programming. Before you start, make sure all doors are closed and the ignition is OFF, and review the model-year specific programming sequence for timing and expected lock responses. Keep the vehicle manual or a trusted online guide on hand to follow exact steps and confirm any unique button sequences.
Required Tools Checklist
When you’re ready to program a new smart key for your Toyota 4Runner, collect a compatible model‑year key fob, a fresh battery for the fob, and a flathead screwdriver for accessing the ignition housing; also clear the interior and close all doors so you won’t be interrupted during the procedure. You’ll also want a working second key if available and the programming sequence reference.
- Compatible smart key fob (verify model year)
- Fresh CR2032 or specified battery for key fob maintenance
- Flathead screwdriver for ignition housing access
- Second working key and printed programming steps
Keep items organized and within reach. Confirm battery polarity and that the fob’s security features (immobilizer transponder) match the vehicle. This checklist frees you to execute the programming sequence precisely and without downtime.
Vehicle Preparation Steps
Now that your tools and checklist are set, prepare the vehicle for in‑car programming by confirming the battery is fully charged and removing any items that could block access to the ignition, doors, or key slots. Position the 4Runner in a ventilated, secure area and keep the doors open to prevent accidental lockouts. Verify you have the new smart key, a working key if available, and the compatible programming device. Review the vehicle manual and identify the model‑specific sequence; this is critical, since procedures vary by year and trim. Note key features of the smart key and keep programming tips at hand—timing, switch positions, and required waits. Proceed only when power is stable and you’ve eliminated physical obstructions to guarantee uninterrupted programming.
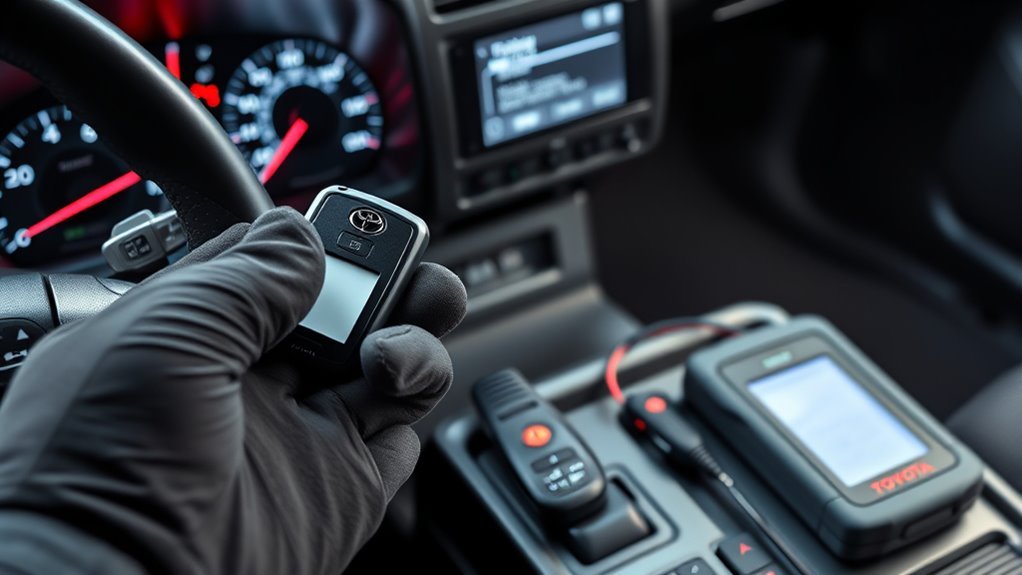
Step‑By‑Step: Program Toyota 4Runner Key (In‑Vehicle Method)
Close all doors and sit in the driver’s seat with the vehicle prepared for programming. Insert a working key, turn the ignition to ON (do not start), then remove it and within 5 seconds insert the new key and turn to ON to begin the lock/ignition sequence. Watch for automatic door lock/unlock as confirmation; if it doesn’t occur, repeat the procedure or consult a locksmith/dealer.
Prepare Vehicle And Doors
Before you start programming, make certain all doors — including the hatch — are closed and the ignition is in the OFF position; this prevents accidental lock/unlock cycles and guarantees the vehicle’s system accepts the new key. You’ll work efficiently and freely when the cabin is sealed and the system is idle. Note the vehicle’s key features and smart technology so you respect system timing and signals.
- Verify every door and hatch is fully latched.
- Confirm ignition is OFF and remove any keys.
- Keep existing programmed key accessible for the sequence.
- Ascertain the new smart key is at hand and uncompromised.
This preparation prevents false cycles, preserves system state, and positions you to execute the ignition and lock sequence without interference.
Ignition And Lock Sequence
If you keep the driver’s door open and all other doors closed, insert the existing key and cycle the ignition from OFF to ON five times within 15 seconds, finishing in ON to trigger the vehicle’s programming mode. Close and open the driver’s door once; you should hear the lock confirmation as the locks cycle, signaling programming mode entry. Insert the new smart key, turn it to ON, and observe ignition cycling and another lock confirmation indicating the key was learned. Turn the ignition OFF, remove the key, and test both lock and ignition operation. Work deliberately, timing your switches and door action precisely so you control the process and reclaim access to your vehicle without dealer dependency.
Model‑Year Variations and Alternative Sequences
Because Toyota changed immobilizer and key-management systems over the years, you’ll find distinct programming paths by model year—older 4Runners let you complete many steps manually (door-lock cycles, ignition on/off sequences within tight time windows), while 2020-and-later models increasingly require dealer-level or factory diagnostic tools and proprietary procedures. You’ll assess model year differences and choose programming techniques accordingly. Verify key compatibility before you start; mismatched transponders block progress.
- Confirm year and ECU variant before attempting manual sequences.
- Use door-lock cycles and ignition insert/turn patterns on pre-2020 units.
- For 2020+, obtain dealer tool access or confirmed alternative workflows.
- Consult vetted community guides for nuanced, year-specific steps.
Follow procedural checkpoints: battery state, spare-key availability, and exact timing windows. Adopt a liberated mindset—you’re replacing vendor dependency with disciplined verification and controlled methods. Keep records of sequences attempted and avoid improvisation across model years. This approach minimizes wasted effort and respects manufacturer security evolution.
Troubleshooting: Why Programming Fails and Fixes
Having confirmed year, ECU variant, and key compatibility, you’ll next troubleshoot why programming can fail and apply targeted fixes. First, verify the key fob issues: confirm part number, battery, and transponder presence; incompatibility is a primary cause, so replace nonmatching fobs before proceeding. Second, follow sequences precisely: repeat the door‑lock cycling and ignition turn steps without deviation—timing errors are common failure points. Third, address ECU locks: if the ECU is in a locked state, remove unprogrammed keys and use only previously programmed keys or perform an ECU reset per service manual to clear the security flag. Fourth, confirm your tools and operator skill: lack of Toyota‑specific equipment or experience will produce inconsistent results—use an experienced locksmith with proper gear or reliable diagnostic interface. Finally, if DIY attempts fail repeatedly, stop and escalate methodically: review logs, recheck compatibility, and then request professional intervention to avoid permanently triggering immobilizer safeguards.
Cost, Locksmith Vs. Dealer, and When to Call a Pro
When budget and capability matter, you’ll usually save by using an independent locksmith—typical costs run around $40 at a local shop versus $600–$700 at a dealer. You’ll weigh cost comparison against capability: locksmiths often offer the best price for key programming, but many lack proprietary Toyota tools introduced since 2020.
Check multiple vendors and confirm Toyota experience before committing. If you use a used or aftermarket fob, expect possible dealer-only programming and higher total cost. Don’t gamble with DIY attempts if you’re unsure — failed programming can disable systems or trigger immobilizer locks.
- Confirm locksmiths’ Toyota-specific equipment and recent success rates.
- Get written quotes covering parts, programming, and potential dealer referral.
- Use dealer service when fob compatibility or proprietary tooling is required.
- Call a pro immediately if immobilizer errors, repeated failures, or warning lights appear.
Act deliberately: prioritize liberation through informed choices, not risky shortcuts.
Frequently Asked Questions
Can You Program a Toyota Smart Key Yourself?
You can sometimes perform key programming yourself, but you’ll usually need professional tools for smart key features; follow precise procedures only if confident, or liberate yourself by hiring a locksmith/dealer to avoid immobilizer risks.
How to Program a Toyota 4runner Key?
About 60% of owners can self-program keys; you’ll perform key programming by using an existing key, cycling locks and ignition in sequence, inserting the smart key when prompted, then testing remote functions—call dealer if procedure fails.
Can You Program a Smart Key Yourself?
You generally can’t—key programming for modern smart keys often blocks DIY solutions. You’ll need specialized tools and skills, so consult a locksmith or dealer to avoid ECU lockouts, preserve security, and regain autonomous vehicle access.
Does a Replacement Key Fob Have to Be Programmed?
Yes — your replacement key fob must be programmed. You’ll evaluate replacement options, follow specific programming methods, and verify security features; you’ll choose a qualified pro or capable locksmith to reclaim control and maintain vehicle freedom.
Conclusion
You’ve checked compatibility, prepped tools, and followed the in‑car sequence; now the new 4Runner fob should wake like a calm engine at idle. If it doesn’t, contrast that quiet with the abrupt click of a failed pairing—wrong battery, mismatched model, or missed step. Retry the procedure methodically, swap parts, or call a pro. When precision yields success, the silent confirmation of door locks will replace uncertainty with reliable control.