
· Last updated: July 15, 2026
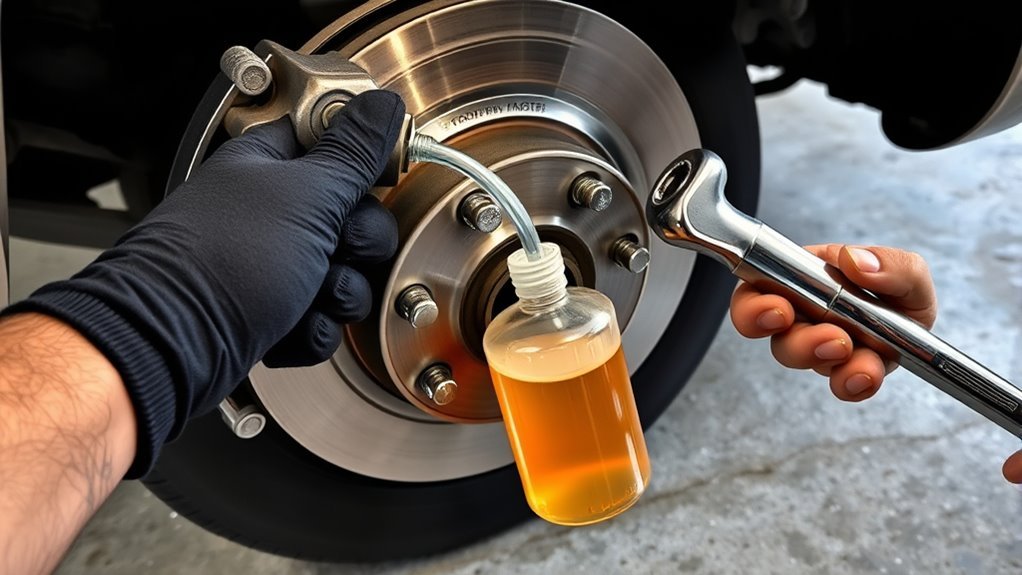
A 5th-gen Toyota 4Runner brake fluid flush uses fresh DOT 3 fluid and a controlled wheel-by-wheel exchange while the reservoir stays above the MIN mark. Before opening a bleeder, confirm the exact wheel order, rear pump-assisted steps, accumulator procedure, and tightening specifications in Toyota repair information for your model year and VIN. A routine fluid exchange is not the same as removing air after the master cylinder, hydraulic booster, ABS actuator, or a major brake line was opened.
Quick Answer
Use fresh DOT 3 brake fluid that matches the reservoir cap and model-specific owner information. Keep the reservoir above MIN throughout the exchange. Confirm the wheel sequence and rear pump procedure in Toyota’s repair manual before starting. Stop and use a qualified technician or scan-tool-assisted procedure if the reservoir ran dry, a major hydraulic component was opened, the pedal stays soft, fluid leaks appear, or ABS, VSC, or brake warnings remain.
Key Takeaways
- Use the DOT 3 fluid specified for the vehicle. Do not use DOT 5 silicone brake fluid.
- Do not rely on a generic farthest-wheel-first rule. Toyota’s model-specific repair procedure controls the wheel order and rear pump operation.
- A maintenance flush is suitable only when the hydraulic system remained full and sealed. Major air entry can require Toyota Techstream or an equivalent scan tool.
- Keep the reservoir above MIN, use only fresh fluid from a sealed container, and wipe spills from painted surfaces immediately.
At a Glance
| Time Required | Allow 60–120 minutes for a careful routine exchange |
| DIY Scope | Routine fluid exchange when the reservoir never ran dry and no major hydraulic component was opened |
| Tools Needed | Fresh DOT 3 fluid, correct-size six-point box wrench, clear tubing, catch bottle, gloves, rags, brake cleaner, safe lifting equipment, and an approved bleeding tool or helper |
| Professional Scope | Air in the ABS actuator, hydraulic booster, master cylinder, or major lines; persistent warning lights; leaks; or a pedal that will not become firm |
Warning: Brakes are a safety-critical system. Do not drive the vehicle if the pedal is soft or sinking, fluid is leaking, braking feels abnormal, or ABS, VSC, or brake warnings stay on. Stop the procedure and arrange qualified inspection or towing.
What Does a 5th-Gen 4Runner Brake Fluid Flush Accomplish?
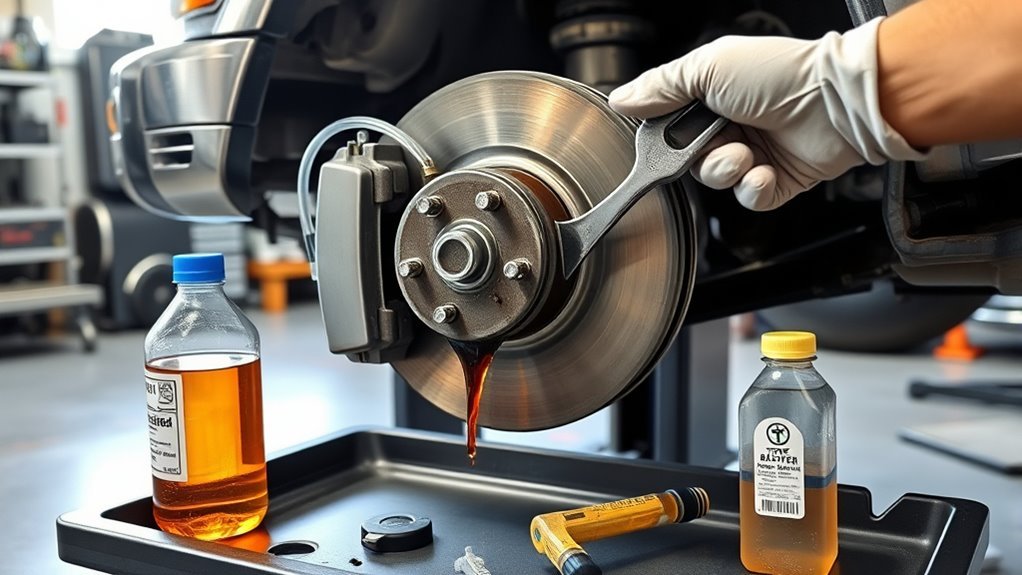
A routine brake-fluid flush replaces aged fluid while the hydraulic system remains full and sealed. A brake bleed removes trapped air. The jobs overlap because both move fluid through the bleeder screws, but air in the master cylinder, hydraulic booster, or ABS actuator may require a separate scan-tool procedure.
Toyota’s 2024 maintenance guide calls for regular inspection of brake-fluid level and condition rather than one universal scheduled replacement interval. Use the model-specific owner information and service history when deciding whether the fluid needs replacement. Toyota’s 2024 4Runner maintenance guide provides the inspection schedule.
Brake fluid absorbs moisture from the air. NHTSA explains that moisture can lower the fluid’s boiling point and increase the risks of vapor lock and component corrosion. Use fluid from a new sealed container, keep the reservoir clean, and close the bottle between pours. NHTSA’s brake-fluid moisture guidance explains these risks.
Toyota does not state that every 5th-gen 4Runner must receive a flush at one fixed age or mileage. A two-to-three-year interval is a general preventive benchmark, not a Toyota-specific requirement. Consider fluid condition, moisture testing, hydraulic repairs, off-road exposure, towing, water crossings, humidity, and mountain driving.
Before You Start: Is This a Routine Flush or a Repair Bleed?
Confirm the vehicle’s model year, the fluid specification printed on the reservoir cap or in its owner information, and whether the hydraulic system remained full. A routine DIY exchange is not an appropriate recovery method after major air entry.
| System Condition | Appropriate Next Step |
|---|---|
| Fluid is being replaced for maintenance, the reservoir stayed full, and no major component was opened | A careful wheel-by-wheel fluid exchange may be suitable after verifying Toyota’s procedure |
| The reservoir ran dry during service | Stop and use the applicable Toyota repair and scan-tool procedure |
| The master cylinder, hydraulic booster, ABS actuator, or a major line was opened or replaced | Use Toyota TIS or a qualified technician with the required diagnostic equipment |
| The pedal is soft, warning lights are active, or a leak is present before service | Diagnose and repair the fault before treating the job as a maintenance flush |
Toyota’s model-specific repair manuals and technical publications are available through Toyota Technical Information System support. Use the procedure that applies to the exact model year, configuration, and VIN.
Work on level ground, set the parking brake, chock the wheels, and use properly rated jack stands or a lift if the vehicle must be raised. Never work under a vehicle supported only by a jack. Wear gloves and eye protection, and cover painted surfaces near the reservoir.
Note: Use the DOT 3 fluid specified for the vehicle. DOT 3 and DOT 4 are glycol-based, but a higher DOT number is not permission to substitute fluids. Do not use DOT 5 silicone brake fluid.
Which Brake-Fluid Exchange Method Should You Use?
No bleeding tool overrides Toyota’s model-specific sequence or ABS procedure. For a routine exchange where the system remained full, vacuum or manual bleeding is usually the clearest DIY approach. Gravity bleeding is slower. Pressure bleeding requires a verified reservoir adapter and approved pressure. Air inside the actuator or booster requires the applicable scan-tool routine.
[Products Worth Considering]

This universal brake bleeder kit makes one-person brake and clutch line bleeding simple by using compressed air to create stable vacuum-assisted fluid flow. Its extra-large 3L tank helps complete full-system flushes with fewer interruptions, while the included refill bottle, flexible hose, and universal adapter support clean, efficient use on standard and ABS brake systems.
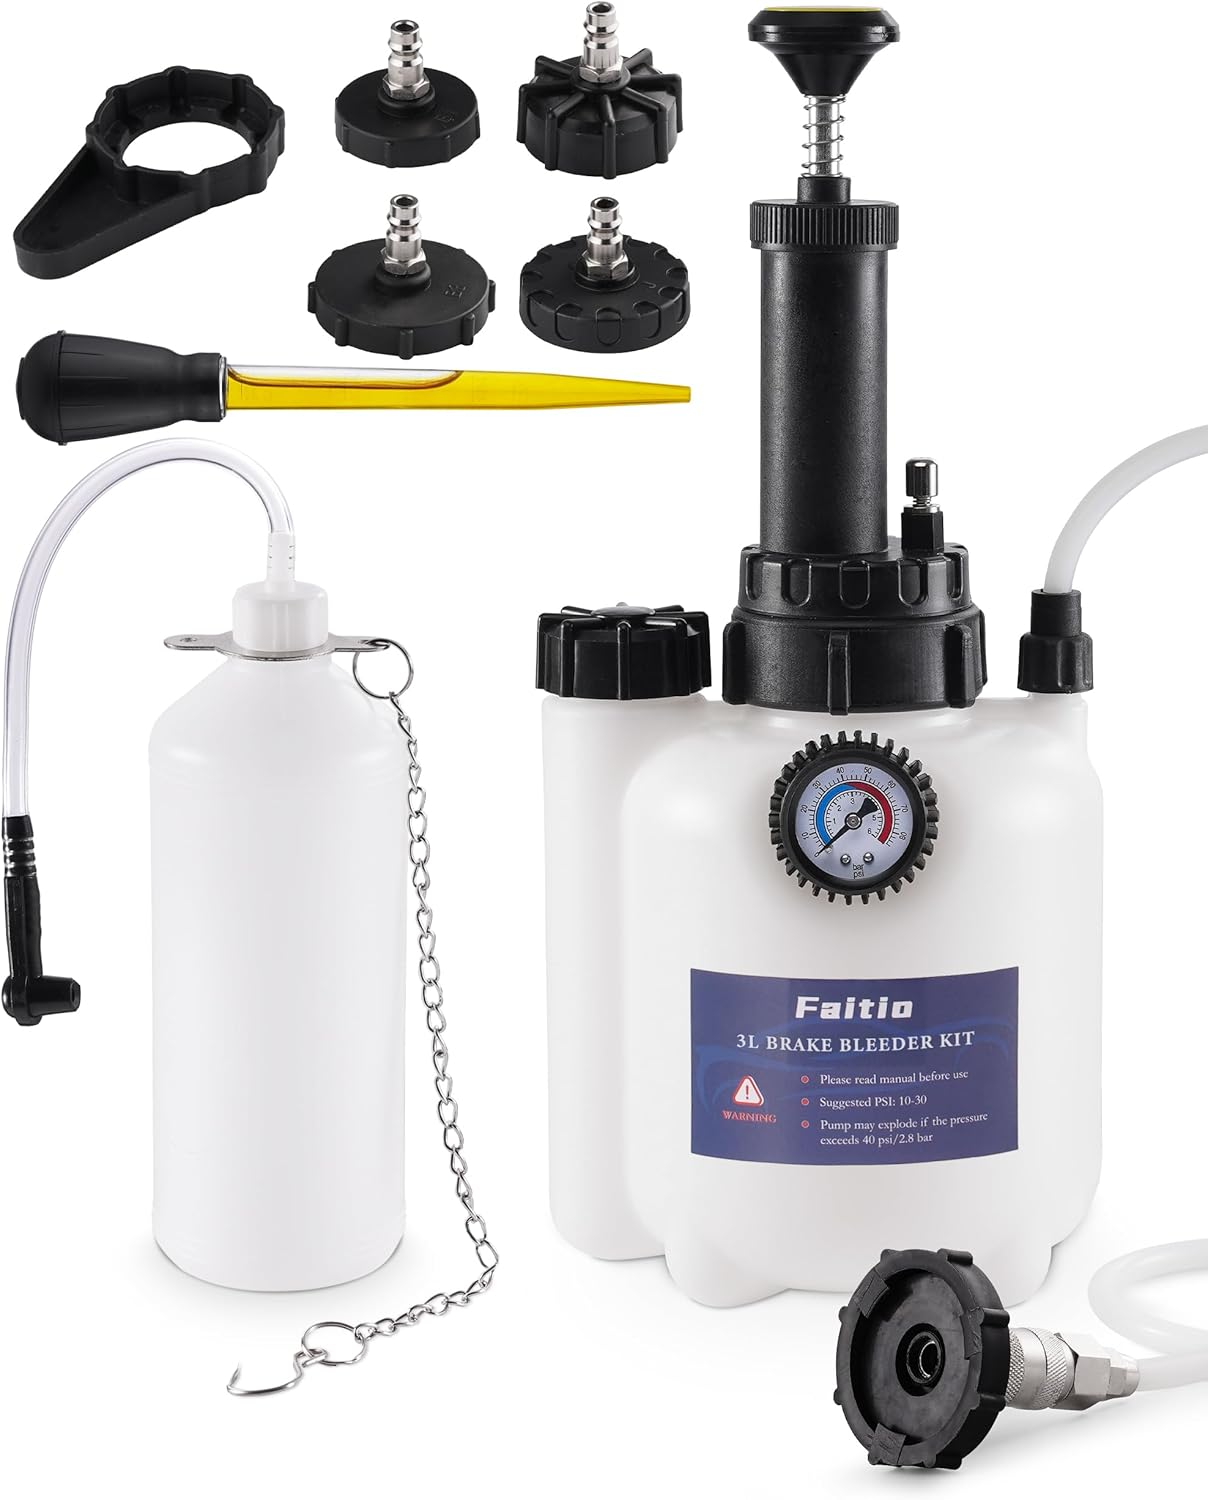
This one-man brake bleeding kit helps flush old brake fluid and remove trapped air for firmer, more responsive braking without the hassle of a second person. Its improved sealing and translucent catch bottle help prevent leaks while making fluid level checks easy during use. With multiple adapter sizes for many vehicle makes, it is a practical tool for clean, efficient brake system maintenance.

This universal brake bleeding kit lets you flush brake, clutch, and other hydraulic systems by yourself with fast, efficient vacuum-assisted operation. Built with a durable aluminum alloy pump, silicone tubing, and secure fittings, it helps maintain a tight seal for cleaner, easier service. The included blow-molded case keeps every part organized for convenient storage and transport between jobs.
Vacuum Bleeding Pros and Cons
A vacuum bleeder pulls fluid through a clear hose into a catch bottle. It supports one-person work and makes fluid color easy to monitor. It is most appropriate for a routine exchange when no major air entered the system.
Air can enter around the bleeder screw threads and appear as small bubbles in the hose. Do not keep drawing fluid indefinitely based only on thread bubbles. Watch the reservoir closely because a vacuum tool can lower its level quickly.
Gravity Bleeding Simplicity
Gravity bleeding uses clear tubing and a slightly opened bleeder to let fluid drain slowly. It needs little equipment and avoids pedal pumping, but it can take considerable time.
Do not use gravity bleeding as the sole recovery method for suspected air inside the ABS actuator, hydraulic booster, or master cylinder.
Manual Pedal Bleeding Pros and Cons
Manual bleeding uses a helper. One person applies smooth pedal pressure while the other opens and closes the bleeder. The bleeder must be closed before the pedal is released so fluid and air are not drawn backward.
Avoid rapid pumping or aggressively forcing the pedal to the floor. Use controlled movement and the model-specific Toyota procedure.
Pressure and Scan-Tool Bleeding Tradeoffs
A pressure bleeder can speed up a routine exchange when its cap seals correctly and the pressure remains within approved limits. A leaking adapter, excessive pressure, or an empty supply tank can introduce air or spill brake fluid.
A scan-tool bleed is a different process. It commands ABS or booster components during air removal. Use it when required by Toyota repair information rather than attempting to imitate the actuator sequence manually.
| Method | Best Use | Main Caution |
|---|---|---|
| Vacuum | Solo routine fluid exchange | Do not let the reservoir run low or mistake thread bubbles for trapped line air |
| Gravity | Slow, low-tool exchange | Not suitable for recovering air trapped in ABS or booster components |
| Manual | Two-person routine bleeding | Close the bleeder before releasing the pedal |
| Pressure | Controlled exchange with a verified adapter | Adapter leaks, excessive pressure, or an empty supply can introduce air |
| Scan tool | ABS actuator, booster, master-cylinder, or major-line air | Follow the model-specific Toyota routine exactly |
Tools and Supplies Checklist for a Safe 4Runner Brake Flush
Gather all supplies before opening the reservoir or a bleeder. Running out of fresh fluid during the job can allow the reservoir to drop below a safe level.
- Fresh DOT 3 brake fluid meeting the specification on the reservoir cap or in the applicable owner information
- Clear vinyl tubing that fits the installed bleeder screws snugly
- A stable catch bottle with enough capacity for the removed fluid
- A correct-size six-point box wrench for the installed bleeder screws
- A vacuum bleeder or a reliable helper for manual bleeding
- Disposable gloves, eye protection, shop towels, and brake cleaner
- A fender cover, plastic sheet, or absorbent towels to protect painted surfaces
- Wheel chocks, properly rated jack stands, ramps, or a safe lift
- A clean syringe or baster for removing fluid from the reservoir
- A battery maintainer if the verified Toyota procedure requires the ignition to remain on
- Access to the model-specific Toyota repair procedure before work begins
Keep enough unopened fluid available to complete the exchange with a margin for spills or discarded fluid. The amount used depends on the bleeding method, fluid condition, and how much is discarded at each wheel. Do not save an opened bottle for later brake service.
[Products Worth Considering]

The Mityvac MV8500 Silverline Elite is a versatile automotive service kit for brake and clutch bleeding, diesel fuel priming, and vacuum or pressure testing. Its dual-capability pump streamlines diagnostics and maintenance across motorcycles, cars, trucks, and SUVs, while the ergonomic design supports comfortable use during longer jobs. Built with a durable zinc-aluminum die-cast body and a 4.5oz fluid reservoir, it delivers reliable performance for professional and DIY repair work.

Ideal for hydraulic and disc brakes
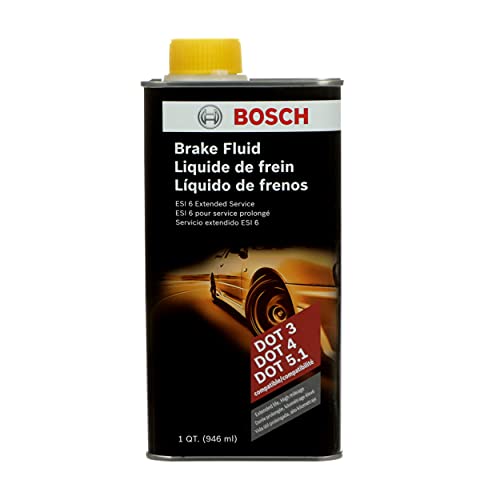
[NEXT GENERATION FLUID] - Bosch ESI6 is a next generation brake fluid designed for today's modern braking systems and is the first fluid to simultaneously combine both low viscosity and high wet boiling point (365 Degrees Fahrenheit)
How Do You Prepare the Master-Cylinder Reservoir?
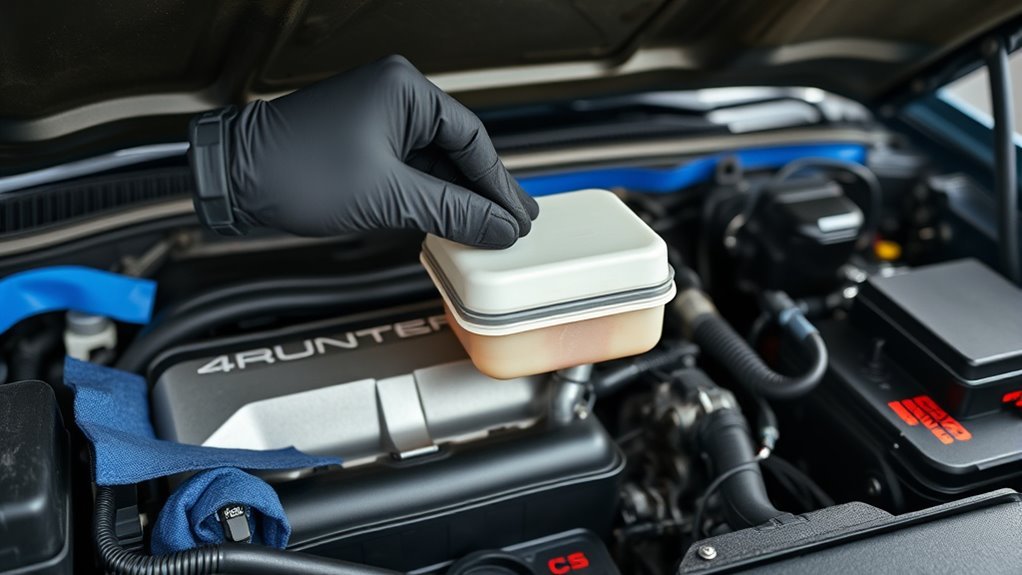
Park on level ground, shut off the engine, and clean the reservoir cap and surrounding area before opening it. Dirt entering the reservoir can contaminate the hydraulic system. Cover nearby painted panels with absorbent towels.
Use a clean syringe or baster if you remove old fluid from the reservoir first. Do not lower the fluid enough to uncover an internal port. Refill with fresh DOT 3 fluid before opening a wheel bleeder.
Set the final reservoir level only after completing the accumulator-depressurization and level-check procedure specified for the exact model year.
Do not pour catch-bottle fluid back into the reservoir. Keep the new-fluid bottle capped between pours and clean any spill immediately.
Pro Tip: During manual bleeding, keep the hose outlet submerged in a small amount of fluid inside the catch bottle. This is a backup against reverse airflow, not a substitute for closing the bleeder before the pedal is released.
Confirm the Toyota Bleed Sequence Before Opening a Bleeder
Toyota’s public maintenance guide does not publish the complete bleeding sequence. Until the model-specific order is confirmed, follow Toyota repair information rather than a generic farthest-wheel-first rule or an unverified sequence copied from another vehicle.
| Stage | Action | Stop Condition |
|---|---|---|
| 1 | Confirm fluid specification, wheel order, ignition state, and rear procedure | Do not proceed if any instruction remains uncertain |
| 2 | Prepare the reservoir and protect painted surfaces | Reservoir contains clean fluid above MIN |
| 3 | Bleed the front wheels in Toyota’s verified order | Fluid is clean and no line air remains |
| 4 | Bleed the rear wheels with the verified Toyota pump-assisted procedure when applicable | Fluid is clean, pump behavior is normal, and no warnings appear |
| 5 | Set the final level, inspect for leaks, and verify pedal feel | Pedal is firm, system is dry, and warning lights behave normally |
At each wheel, remove the rubber bleeder cap, fit the clear tube securely, and open the bleeder only as directed by the chosen method. Close it before removing the tube. Tighten each bleeder to the specification in the Toyota repair manual for the installed caliper. Do not estimate the torque.
How Do You Bleed the Front Brakes?
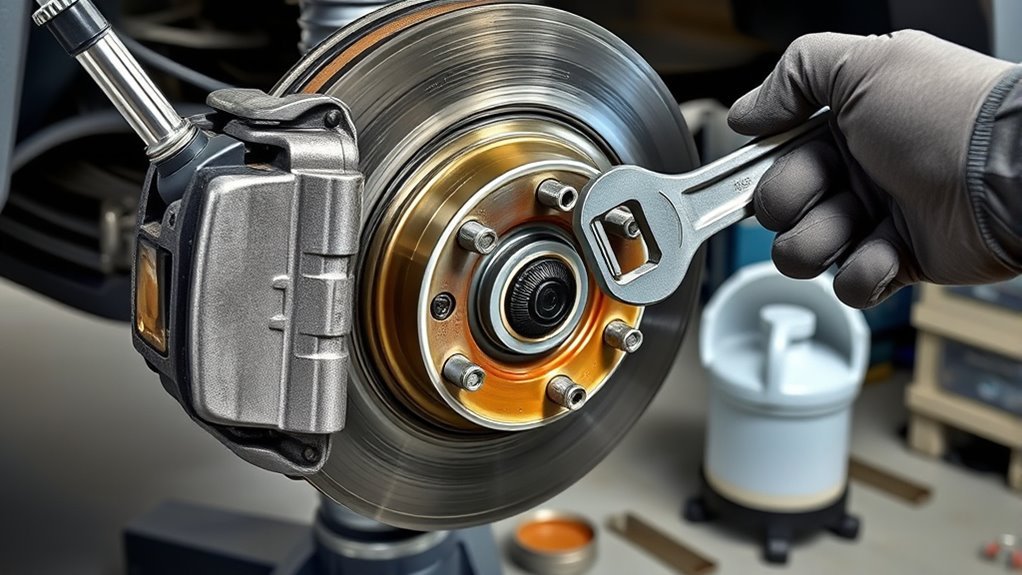
Bleed the front wheels in the exact order listed by the verified Toyota repair procedure. The following describes vacuum and manual technique only; it does not establish which front wheel comes first.
Vacuum Bleeder Setup
Fill the reservoir with fresh DOT 3 fluid without exceeding the applicable level mark. Fit clear tubing to the first verified front bleeder and connect the other end to the vacuum tool or catch bottle.
Build vacuum, open the bleeder slightly, and watch the tubing. Close the bleeder before releasing the vacuum connection. Recheck the reservoir after every short draw and refill before it approaches MIN.
If endless tiny bubbles appear while pedal feel remains firm, air may be entering around the bleeder threads. Do not assume every visible bubble came from inside the brake line.
Manual Pedal Technique
Have the helper apply slow, steady pressure and hold the pedal. Open the bleeder briefly, close it, and only then allow the helper to release the pedal.
- Confirm that the reservoir is safely above MIN.
- Press the pedal smoothly and hold it.
- Open the bleeder briefly while watching the fluid.
- Close the bleeder before the pedal is released.
- Check and refill the reservoir.
- Repeat until the fluid is clean and the verified procedure is complete.
- Move to the next wheel in Toyota’s specified order.
How Do You Bleed the Rear Brakes With Toyota’s Pump-Assisted Procedure?
The rear procedure must follow Toyota’s exact instructions for ignition state, pedal application, pump operation, wheel order, and maximum pump-running time. Do not treat it as a shortcut or improvise from a procedure written for another Toyota model.
Warning: Stop immediately if the reservoir approaches MIN, the pump sound changes, battery voltage falls, fluid flow behaves abnormally, or a warning light appears.
After verifying the Toyota procedure, attach clear tubing to the first specified rear bleeder and route it into the catch bottle. Operate the pedal, ignition, and pump only as Toyota directs. Use short controlled intervals and close the bleeder before ending each flow cycle.
The rear circuit may move fluid quickly. Check the reservoir after every short interval and keep it safely above MIN. If air entered the booster or actuator, discontinue the wheel-only procedure and use the required scan-tool bleed.
How Do You Keep Air Out of the Reservoir and Master Cylinder?
Keeping the reservoir above MIN is the central control throughout a routine exchange. If air enters the master cylinder, booster, or ABS actuator, a normal wheel bleed may no longer complete the repair.
| Task | Frequency | Reason |
|---|---|---|
| Check reservoir level | Before each wheel and after every short bleeding interval | Prevents air from entering the hydraulic system |
| Add fresh fluid | Before the level approaches MIN | Maintains a continuous fluid supply |
| Cap the fluid bottle | Between pours | Limits moisture absorption and contamination |
| Inspect outgoing fluid | At every wheel | Confirms old fluid is being exchanged and helps reveal air |
When the exchange is complete, depressurize the accumulator and set the final fluid level exactly as the applicable Toyota procedure directs. Do not use an unverified pedal count or set the final level while the system is in an unknown pressure state.
Why Is the Pedal Soft or a Warning Light On After the Flush?
A soft or sinking pedal after service is not a normal condition to “drive out.” It can indicate trapped air, a leak, internal hydraulic bypass, an incomplete actuator procedure, or an incorrect sequence.
A completed brake-fluid exchange should leave a firm, consistent pedal, dry hydraulic connections, normal pump behavior, and no persistent brake-system warnings.
- Soft or spongy pedal: Stop. Confirm that the reservoir never ran low and that the verified wheel sequence was completed. Use the scan-tool procedure if actuator or booster air is possible.
- Pedal slowly sinks: Do not drive. Inspect for external leakage and possible internal hydraulic bypass.
- Fluid at a bleeder screw: Stop and inspect the bleeder seat, screw, and threads. Tighten only to the model-specific specification.
- Fluid at a hose, caliper, line, master cylinder, or booster: Repair the leak before any road test.
- ABS, VSC, or brake warning lights: Read the diagnostic trouble codes. Do not clear the codes and assume the hydraulic fault is resolved.
- Abnormal pump sound or operation: Stop and verify fluid level, battery condition, ignition state, and the applicable Toyota procedure.
- Reservoir ran dry: Do not continue with a simple wheel bleed. Use the required Toyota scan-tool and hydraulic bleeding sequence.
[Products Worth Considering]

2024 Valuable ABS Bleeding Scan Tool OBD2 Scanner with ABS and SRS Diagnose ABS/Airbag light reset/ SAS(Steering Angle Sensor) adjustment/ Oil light reset & etc ABS SRS...
What Should You Check After a 4Runner Brake Fluid Flush?
After the final bleeder is closed, clean the area around every bleeder, reinstall the rubber caps, and inspect all four corners for seepage. Set the reservoir level with the verified Toyota accumulator procedure, install the cap, and clean any spilled fluid.
Press the pedal several times before starting the engine. It should feel firm and consistent. Start the engine and check the warning lights and pedal again. Do not drive if the pedal is soft, sinking, or materially different from its normal feel.
If all checks pass, perform only a slow controlled brake check in a safe area before entering normal traffic. Reinspect the bleeders, calipers, hoses, lines, and reservoir afterward.
Record the date, mileage, fluid specification, service method, and any parts replaced. Toyota’s maintenance guide calls for inspection of brake-fluid level and condition. A general two-to-three-year preventive interval may be reasonable for some owners, but fluid condition, use, repair history, and the applicable Toyota guidance should control the decision.
Seal the used fluid in a suitable container. Take it to an automotive-fluid or household-hazardous-waste collection location and follow local disposal rules. Do not pour brake fluid onto the ground, into a drain, or back into a new-fluid container.
Use a qualified professional if the reservoir ran dry, the pedal will not become firm, a warning remains, the pump behaves abnormally, a major hydraulic component was replaced, or the required Toyota scan-tool procedure is unavailable.
Frequently Asked Questions
How often should I flush brake fluid on my 5th-gen 4Runner?
Toyota’s maintenance guide emphasizes inspecting brake-fluid level and condition rather than giving every owner one universal flush interval. A two-to-three-year interval is a general preventive benchmark, not a Toyota requirement. Replace the fluid sooner when testing shows excessive moisture or after contamination, overheating, or hydraulic repairs.
What brake fluid does a 5th-gen Toyota 4Runner use?
Use the fresh DOT 3 brake fluid specified on the reservoir cap and in the applicable Toyota owner information. The fluid should meet the listed FMVSS No. 116 or SAE specification. Do not use DOT 5 silicone fluid.
What is the difference between flushing and bleeding the brakes?
A flush replaces old brake fluid throughout a system that remained full. Bleeding removes trapped air that can cause a soft pedal. A routine wheel-by-wheel exchange may accomplish both at the calipers, but air in the master cylinder, hydraulic booster, or ABS actuator can require a separate scan-tool procedure.
How much does a brake fluid flush cost on a Toyota 4Runner?
DIY cost consists mainly of fresh fluid, tubing, protective supplies, and any bleeding tool. Kelley Blue Book currently gives a general national brake-fluid flush benchmark of about $173–$205. That range is not specific to a 4Runner, so request a local quote based on the model year and required procedure.
Do I need Techstream to bleed 4Runner brakes?
A routine fluid exchange may not require Techstream when the system remained full and no major component was opened. A scan-tool-assisted bleed may be required if air entered the ABS actuator, hydraulic booster, master cylinder, or major brake lines. Follow the model-specific Toyota repair procedure.
Why is my brake pedal still soft after bleeding?
Possible causes include trapped air, a reservoir that ran low, an incomplete ABS or booster bleed, an incorrect sequence, a leaking fitting, internal hydraulic bypass, or a bleeder that was not closed before pedal release. Do not drive until the pedal is firm, the system is dry, and any warning codes have been diagnosed.
Conclusion
A safe 5th-gen 4Runner brake fluid flush depends on controlling the scope of the job. Use fresh DOT 3 fluid, keep the reservoir above MIN, protect painted surfaces, and follow the exact Toyota sequence and rear pump procedure for the model year and VIN.
Do not turn an ABS, hydraulic-booster, or master-cylinder air problem into a routine DIY exchange. Stop when the pedal remains soft, a leak appears, the pump behaves abnormally, the reservoir runs dry, or a warning stays on. Qualified diagnosis is safer than continuing with an uncertain procedure.
Sources
- Toyota Owner’s Manuals and Warranty Information — provides access to vehicle-specific Toyota owner information.
- 2024 Toyota 4Runner Warranty & Maintenance Guide — supports scheduled inspection of brake-fluid level and condition; it does not publish the complete bleeding procedure.
- Toyota Technical Information System Support — directs users to Toyota repair manuals and technical publications needed for model-specific procedures.
- 49 CFR § 571.116 Motor Vehicle Brake Fluids — defines federal performance, labeling, container, and testing requirements for DOT brake-fluid grades.
- NHTSA Brake Fluid Moisture Interpretation — explains how absorbed moisture can lower boiling point and contribute to vapor lock and corrosion.
- Kelley Blue Book Brake Fluid Flush Cost Guide — provides a general national cost benchmark, not a model-specific 4Runner quote.

[…] checks pad thickness, rotor condition, hardware fit, caliper movement, slide-pin lubrication, and brake-fluid leaks. That approach protects your safety and helps prevent repeat […]
[…] Check that your tools match the job. Your jack and stands should have a weight rating above the vehicle load they will support. If the label is missing or hard to read, use different equipment before you begin vehicle maintenance. […]