You should torque your Toyota 4Runner lug nuts to the wheel-specific values: about 76 ft‑lbs for aluminum, 83 ft‑lbs for steel, and up to 85 ft‑lbs for TRD or most aftermarket wheels. Hand‑thread first, tighten in a star pattern, and use a calibrated torque wrench, applying torque in stages then marking each lug. Recheck torque after roughly 100 miles or after service to catch settling or loosening, and continue if you want step‑by‑step procedures and troubleshooting.
Quick Answer : 4Runner Lug Nut Torque Specs
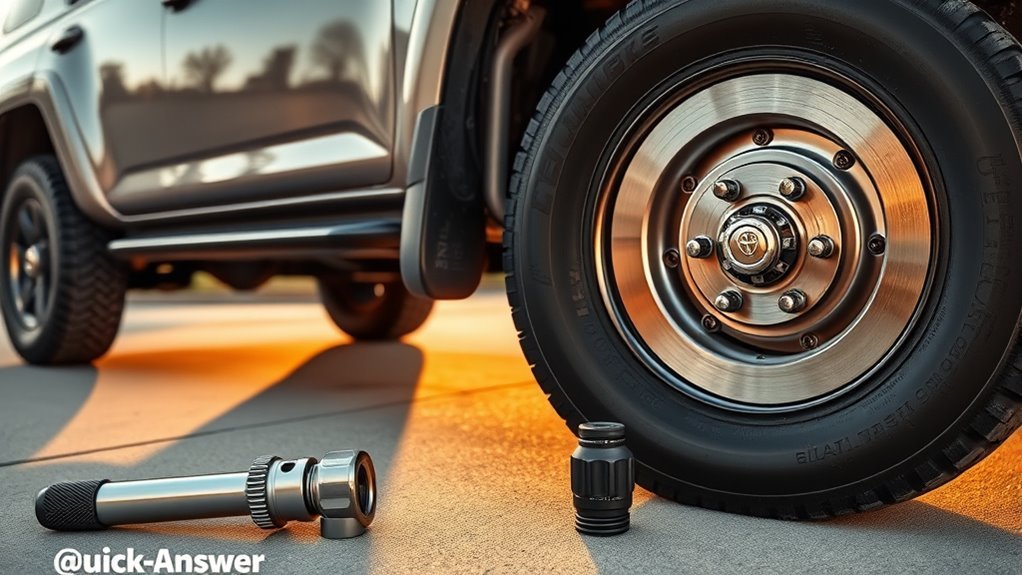
One clear guideline: torque your 4Runner’s lug nuts to between 76 and 85 ft‑lbs depending on wheel type—typically 76 ft‑lbs for aluminum, up to 83 ft‑lbs for steel, and dealerships often recommend 85 ft‑lbs for TRD Pro wheels—using a calibrated torque wrench and rechecking after about 100 miles. You’ll aim for consistency: many owners choose 80 ft‑lbs as a practical compromise within the accepted band. Use a torque wrench calibration-verified tool each time to avoid under- or over-torquing that can compromise safety or damage studs. When you tighten, follow a star pattern and bring lug nuts to final torque in incremental steps to guarantee even clamping. After the first 100 miles, recheck and adjust as needed; that verification step is part of disciplined wheel maintenance tips that keep you autonomous on the road. Be methodical, trust measured values, and free yourself from guesswork by relying on calibrated tools and a simple follow-up check.
Identify Your Wheel Type (Aluminum vs. Steel) and Lug Nuts
How do you tell whether your 4Runner has aluminum or steel wheels, and which lug nuts they’re using? Inspect visually and by weight: aluminum wheels are lighter, often cast or machined with visible finish; steel wheels are heavier, stamped, and usually painted. Check wheel center markings or your owner’s manual for year/trim-specific wheel compatibility.
Next, examine lug nut types. Tapered (conical) nuts seat into matching tapered holes; flat (mag) nuts seat against a flat washer surface or require separate washers. Match nut shape to wheel seat: mismatched lug nut types compromise clamping and can change required torque.
Refer to torque specs tied to wheel composition: aluminum typically 76 ft-lbs, steel generally 83 ft-lbs, while aftermarket TRD Pro wheels recommend 85 ft-lbs due to friction loss. Avoid over-torquing aluminum to prevent warping. Verify lug nut types and wheel compatibility before installation to guarantee reliable clamping force and safe operation.
How to Torque Your 4Runner Wheels : Step by Step
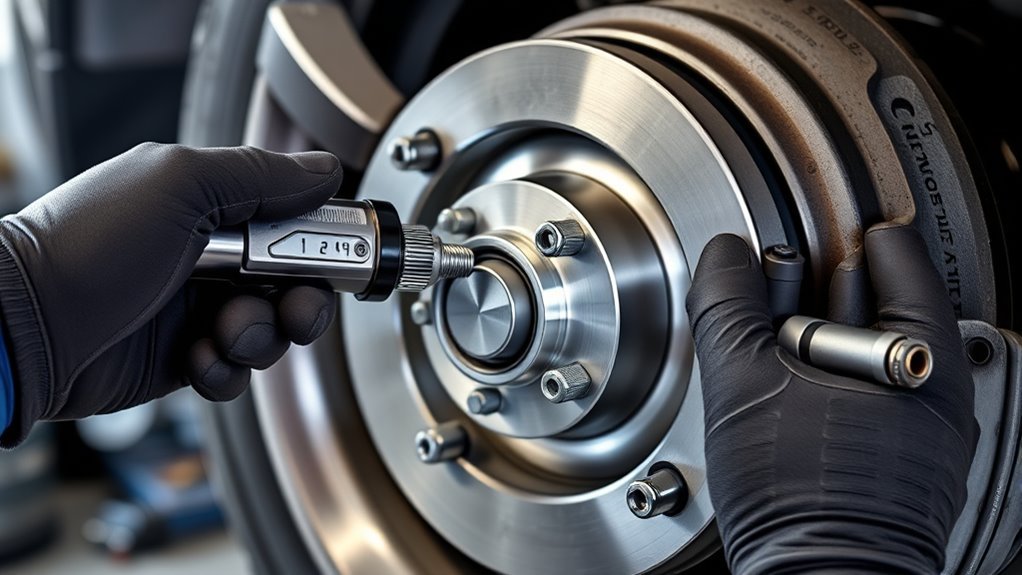
Start by setting a calibrated torque wrench to the correct spec for your wheel type—76 ft‑lbs for aluminum wheels or 83 ft‑lbs for steel—and hand‑thread all lug nuts to seat the wheel without cross‑threading. Use a manual wrench; avoid air tools. Select the appropriate torque wrench types (click‑style preferred) and confirm calibration. Tighten in a star pattern: apply torque incrementally—finger tight, 30–40% of final, then final spec—to distribute load evenly and prevent warping.
| Step | Action | Purpose |
|---|---|---|
| 1 | Hand‑thread lugs | Prevent cross‑threading |
| 2 | Incremental torque | Even seating |
| 3 | Final torque | Spec compliance |
After torquing, mark each lug with a paint pen so you can visually confirm stability during inspections. These wheel maintenance tips let you reclaim control of vehicle safety: choose the right tools, follow a methodical pattern, and verify visually. You’ll avoid damaged studs and maintain reliable wheel mounting without surrendering oversight to technicians.
Recheck After Dealer Service or a 100‑Mile Drive
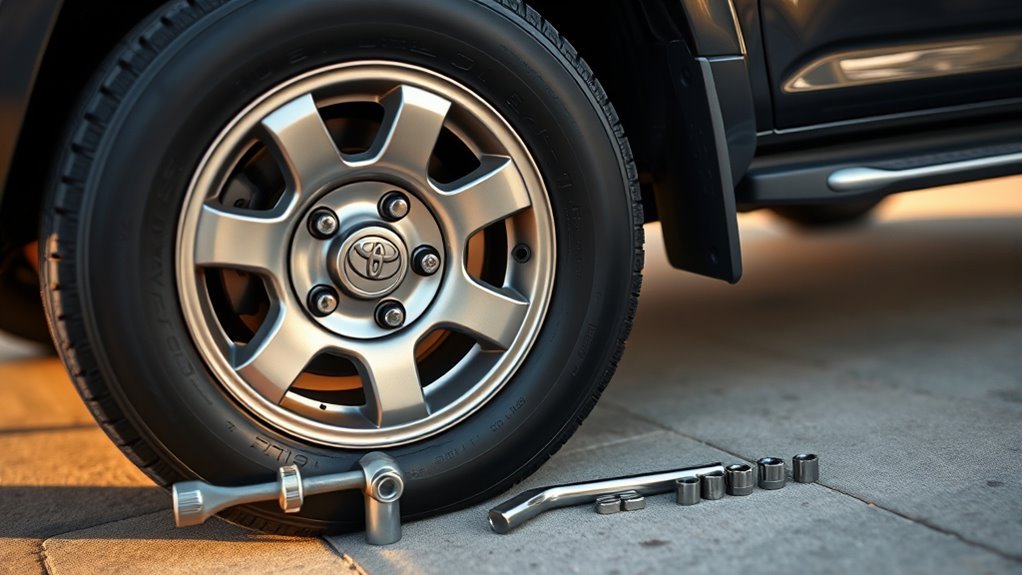
After you finish torquing your wheels, recheck the lug nut torque after roughly 100 miles or immediately following dealer service to confirm proper clamping and catch any loosening early. You’re protecting your freedom on the road by validating torque importance and following safety precautions. This brief, deliberate check prevents gradual backing off from thermal cycling or initial seating, and it catches over‑tight conditions dealers sometimes leave.
- Verify TRD Pro/aluminum wheels at the recommended 76–85 ft‑lbs range, commonly set to 80 ft‑lbs.
- Inspect for visual signs of stress (cracked paint, deformed studs) and torque each lug in the star pattern to the set value.
- If torque is above range, loosen and re‑torque; if below, tighten carefully to avoid stud or rim damage.
Make this a standard habit after rotations or new installs. Regular rechecks extend component life, maintain consistent clamping, and keep you safely independent from roadside failures.
Troubleshooting: Signs of Under‑ or Over‑Torqued Lugs
Watch for visible wheel warping or uneven lug nut wear as immediate indicators that torque wasn’t applied correctly. You’ll also hear a distinct wheel-loosening noise if lugs are under‑torqued; over‑torquing can show up as difficulty removing nuts or stretched studs and rim distortion. Use a calibrated torque wrench and recheck torque after initial driving (about 100 miles) to confirm proper clamping force.
Visible Wheel Warping
A warped wheel will usually give you clear, measurable symptoms: vibrations through the steering or chassis, uneven tire wear, or visible deformation of the rim where lug contact is concentrated. You’ll want to diagnose quickly because wheel deformation stems from torque consequences—either over-torquing that bends the rim or under-torquing that lets the wheel move and flex.
- Inspect the rim at each lug hole for cracks, bends, or raised edges; aluminum 4Runner wheels typically call for 76 ft-lbs, steel 83 ft-lbs.
- Re-torque after installation and again at ~100 miles; document values to assert control over maintenance.
- If you detect visible warping or persistent vibration, replace or professionally trued wheel; don’t accept compromised safety.
Uneven Lug Nut Wear
When lug nuts show uneven wear, you’re likely seeing the mechanical result of incorrect torque—either insufficient clamping that lets the wheel shift or excessive force that deforms studs and rims. You should inspect lug nut patterns for inconsistent contact: flat spots, irregular shapes, or variable corrosion reveal wear implications tied to torque errors. Under-torqued fasteners let micro-movement occur, producing asymmetric wear and vibration that speeds tire degradation. Over-torqued fasteners can stretch or fracture studs and warp aluminum wheels, concentrating load on certain lug nuts and creating distinct patterns. Re-torque after installation, especially at about 100 miles, to verify even seating and consistent torque readings. If you find uneven lug nut patterns, correct torque, replace damaged hardware, and reassess wheel fitment.
Wheel Loosening Noise
Uneven lug nut wear often leads into audible symptoms you can hear on the road, particularly a loosening noise that signals under‑ or over‑torqued fasteners. You need to treat that sound as a diagnostic cue: under‑torque lets the wheel shift and clack, over‑torque creates grinding or creaking as stressed components deform. For wheel safety and noise reduction, measure and act.
- Check torque immediately after installation and again at 100 miles; aim 76–85 ft‑lbs for aluminum wheels to prevent movement or material stress.
- Inspect rims and tire wear for warping or uneven patterns; these confirm improper torque and demand re‑torque or component replacement.
- Use a calibrated torque wrench and follow a star pattern; document values to retain control and preserve your freedom to drive safely.
Best Tools and Safe Techniques (Torque Wrenches, Air Tool Cautions)
Start by using a calibrated torque wrench and follow a gradual star-pattern tightening sequence to guarantee even clamping and prevent aluminum wheel distortion. You’ll want torque wrench calibration checked regularly; calibrated tools like a GEARWRENCH 3/8″ (10–100 ft‑lbs) or 1/2″ (up to 250 ft‑lbs) deliver reliable readings. Tighten hand-tight, then torque in incremental passes across the star pattern until you reach spec.
Recognize air tool risks: pneumatic guns easily exceed target torque and can strip studs or warp wheels. Use air tools only to seat lug nuts initially, then finish with your calibrated wrench. Inspect each stud and nut for damage, and mark torqued nuts with a paint pen for quick visual confirmation. Maintain the torque wrench per manufacturer instructions, store it at its lowest setting, and have periodic professional recalibration. Follow these steps methodically and you’ll preserve safety, control, and the freedom to maintain your 4Runner confidently.
TRD & Aftermarket Wheels: Torque Differences and Recommendations
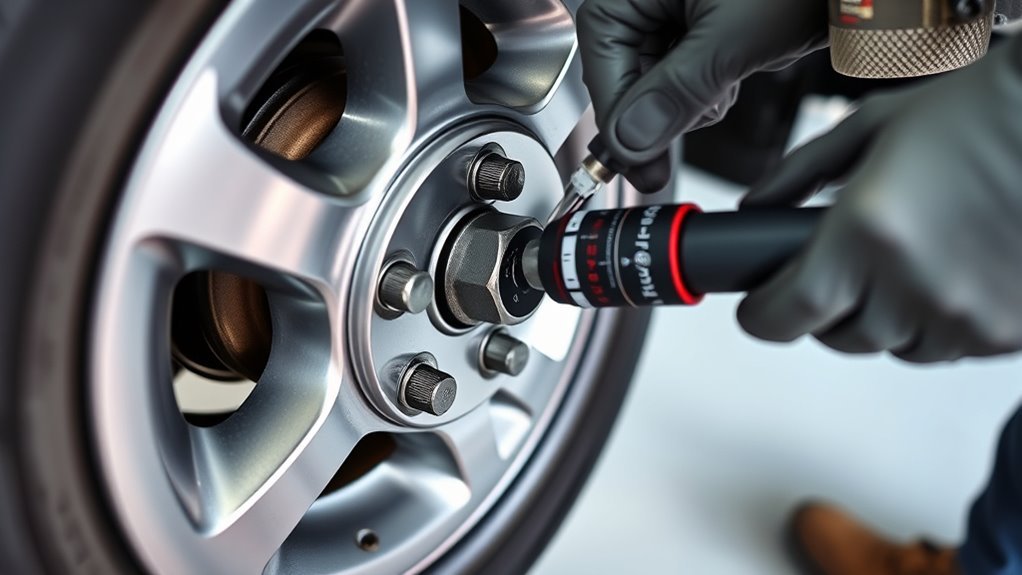
When fitting TRD Pro wheels you’ll set lug torque higher than stock aluminum—about 83 ft-lbs versus the manual’s 76 ft-lbs for OEM wheels. For aftermarket wheels, especially with tapered lug nuts or steel lugs, plan for around 85 ft-lbs while considering a user-consensus compromise of 80 ft-lbs to balance friction differences. Always follow a methodical installation and recheck torque after the first 100 miles to avoid warped rims or loose fasteners.
TRD Versus Stock Torque
Although TRD Pro wheels are often treated like aftermarket pieces and dealerships may tell you to torque to 85 ft‑lbs, the factory aluminum 4Runner wheels call for 76 ft‑lbs and a TRD pamphlet even lists 83 ft‑lbs, so you’ll see different numbers depending on source and material. You’ll decide between published TRD wheel specifications and Stock wheel differences; pick a clear, repeatable value and document it.
- Aim for a compromise of 80 ft‑lbs when sources conflict to balance risk of under‑ and over‑torque.
- Recheck torque after 100 miles to verify lug seating and prevent loosening or warping.
- Keep torque wrench calibration current, follow tightening sequence, and torque to the chosen spec in one final pass.
Take control: choose a spec and verify it methodically.
Aluminum Versus Steel Lugs
Because aluminum and steel wheel assemblies behave differently under clamp load, you should apply distinct torque values and hardware choices for each to guarantee proper clamping and avoid damage. For aluminum wheels on the 4Runner, Toyota lists 76 ft-lbs; many users accept an 80 ft-lbs compromise to protect thin alloy and reduce warp risk. Steel wheels typically use 83 ft-lbs. TRD Pro and some aftermarket wheels are rated at 85 ft-lbs to offset friction loss and heavier interfaces.
Choose lug nut types to match wheel materials and seat design: tapered lug nuts for aftermarket wheels avoid improper seating and variable clamp. You should never over-torque aluminum assemblies. Select torque by confirming wheel materials, lug nut types, and intended use, then apply a calibrated wrench.
Installation And Recheck Practices
If you install TRD Pro or aftermarket wheels, torque each lug to the wheel-maker’s spec—85 ft·lbs for TRD Pro, 76 ft·lbs for stock aluminum, or the higher value required by your aftermarket wheel—and use a calibrated, hand-operated torque wrench rather than an impact gun to avoid over-torquing. You’ll apply methodical installation tips: follow pattern, clean mating surfaces, and use the specified torque. Consider an 80 ft·lbs compromise only if specifications are ambiguous; know that tapered aftermarket nuts often demand higher torque. Recheck torque after 100 miles to catch settling or distortion. Dealers may over-torque with air tools; you should control torque manually. Make measured torque adjustments in small increments and document settings to maintain freedom from roadside failures.
- Use a star pattern and calibrated wrench for consistency.
- Recheck at 100 miles; adjust if needed.
- Record torque adjustments and wheel specs.
Frequently Asked Questions
What Is the Torque on the 2019 Toyota 4runner Wheels?
76 ft‑lbs for stock aluminum wheels; you can use 80 ft‑lbs as a practical compromise or 85 ft‑lbs for TRD Pro aftermarket wheels. You’ll follow wheel maintenance tips and torque wrench usage, then recheck after 100 miles.
Conclusion
Keep lug nuts tightened to the correct spec—typically 76–83 ft·lb for aluminum 4Runner wheels and 80–90 ft·lb for some steel or aftermarket applications—and recheck after 100 miles. Did you know loose lug nuts contribute to roughly 20% of wheel-separation incidents in roadside inspections? Use a calibrated torque wrench, torque in a star pattern, and avoid impact tools for final seating. Re-torque after dealer work and inspect studs for damage to stay safe and precise.