You can cut 4Runner cabin noise by diagnosing dominant paths—tires, seals, resonant panels, and mounts—and applying targeted fixes. Start with visual and tap inspections, log frequencies with a sound meter, then fix loose trim and compromised seals. Replace noisy tires, treat the spare well and floors with Thermo‑Acoustic or butyl/aluminum deadener, and consider stiffer engine mounts or hood blankets for low‑frequency control. Follow a prioritized, rear‑to‑front install plan and you’ll see measurable gains; more specifics follow.
What Causes 4Runner Cabin Noise?

Although several sources contribute, you’ll find most 4Runner cabin noise comes from road and wind intrusion, with engine and drivetrain vibrations adding a measurable layer of low‑frequency energy. You should treat tire selection first: tire type and wear can raise cabin levels by up to 6 dB, so choosing tires rated for low rolling noise directly improves noise reduction. Structural transmission matters next; body and chassis vibrations carry through floor and doors, so apply targeted sound deadening in those panels. Inspect seals around windows and doors regularly—compromised seals allow aerodynamic noise to invade the cabin and undermine any soundproofing techniques you add. For drivetrain and engine excitation, upgraded engine mounts and isolators lower transmitted vibrational energy and tighten perceived NVH. You’ll gain control by prioritizing interventions: low‑noise tires, improved seals, selective deadening of chassis panels, and vibration isolation at source. Each step reduces constraint on your vehicle’s acoustic comfort and advances liberation from intrusive cabin noise.
Quick Diagnosis: How to Locate Rattles, Road Noise, and Vibrations?
Start by following a systematic visual inspection route: check the dashboard, door panels, wheel wells, rear hatch, engine mounts, and exhaust for loose clips, gaps, or missing insulation. Then perform targeted tap testing with a soft mallet or plastic trim tool while someone drives or you gently rev the engine to pinpoint panels that ring or shift. Use a sound meter to log locations and frequencies, and prioritize tightening or adding damping where tap responses and noise readings align.
Visual Inspection Routes
When you begin a visual inspection for rattles, road noise, and vibrations, work methodically from the center outward—check the spare-tire well first (it often amplifies noises), then move to door panels and seals for gaps or loose fittings, scan the underbody and wheel wells for debris or hanging components, and finish by verifying floor mats, carpets, and interior panels are properly seated and secured. You’ll document each finding, noting location, severity, and whether fasteners are missing or loose. Probe seams and attachment points without force to identify movement. Look for wear patterns on mats and carpets that suggest recurring contact. Liberate your driving experience by prioritizing fixes that remove clear mechanical causes first; secure panels, reseat mats, and clear debris to reduce NVH quickly and decisively.
Targeted Tap Testing
If you want to pinpoint rattles and vibration sources quickly, use targeted tap testing: gently tap suspected panels, dash areas, door skins, and floor panels with a rubber mallet or similar soft tool while listening for differences in tone and sustain. You’ll apply systematic tap techniques across the cabin, noting pitch, decay, and whether the response shifts with engine speed or road inputs. Work stationary and while driving at varied speeds to isolate road-noise-coupled resonances. Record each tap location and its acoustic signature to build a practical sound mapping of problem zones. That map lets you prioritize treatments—deadener, foam, or fastener changes—so you reclaim control of your 4Runner’s interior and eliminate persistent, freedom-limiting noise.
High-Impact DIY Fixes to Reduce 4Runner Cabin Noise
You can cut cabin noise dramatically by focusing on a few high-impact DIY upgrades: prioritize soundproofing techniques and material selection, plan access, and commit to thorough installation. Remove seats and carpets to expose floors and wheel wells; this lets you apply Eastwood Thermo-Acoustic in the spare tire well, door cavities, and under seats for measurable vibration reduction. Use a wood roller to guarantee adhesion and eliminate air pockets. Swap to quieter tires like Falken to gain up to 6 dB reduction; combine tire choice with deadening for cumulative effect. Target high-vibration zones—under seats, around wheel wells, and the floor—rather than chasing marginal gains elsewhere.
| Action | Impact |
|---|---|
| Install Eastwood Thermo-Acoustic in cavities | Reduces structure-borne noise |
| Use wood roller during installation | Maximizes adhesion, efficiency |
| Replace tires with quieter models | Lowers airborne road noise up to 6 dB |
Where to Apply Sound Deadening on a 4Runner
Having removed seats and carpets and applied heavy-duty deadening to obvious hotspots, map out the remaining high-return areas to maximize benefit: focus first on the spare tire well and floor under the front and rear seats, then treat wheel-well flanges and door inner skins, and finally address the hatch and cargo area. You’ll start at the spare wheel well because its cavity amplifies resonance; apply dense material types there to arrest low-frequency vibration. Next, cover the floor pan beneath seats—this reduces transmission paths and yields immediate comfort gains. On wheel-well flanges, place medium-stiffness pads where panels flex; concentrate on welds and seams. Treat door inner skins to improve sound system fidelity and block intrusion, pairing barrier layers with constrained-layer damping. In the hatch and cargo area, isolate sheet-metal panels and seams to eliminate rear-sourced noise. Use targeted soundproofing techniques: bond, overlap, and avoid voids. Measure, mark, and work methodically—liberate cabin space from vibration by prioritizing high-vibration zones with correct material selection.
Tires, Wheels & Mounts: Cut Road Noise in the Cabin
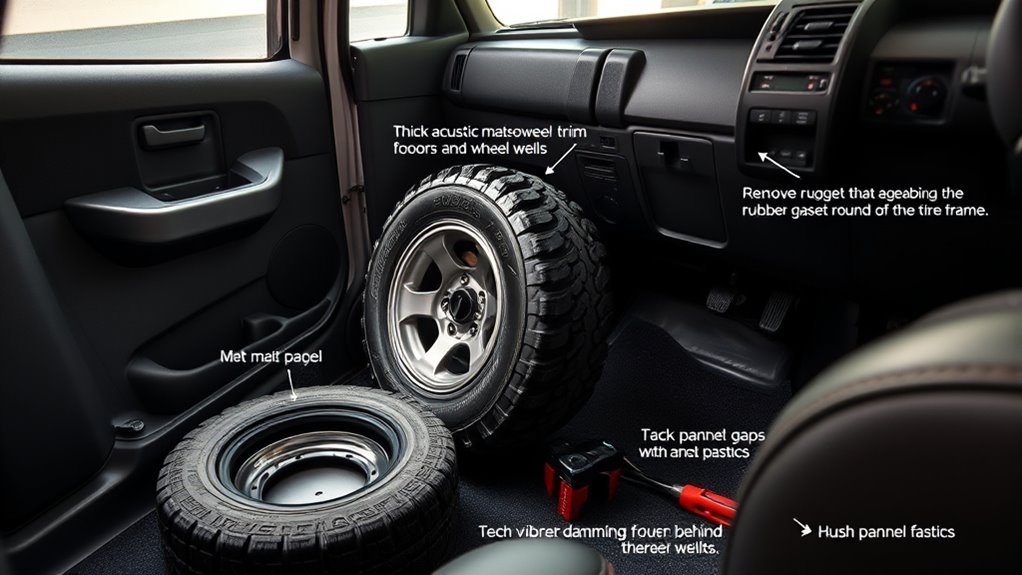
When you swap to TSW alloy wheels and low‑noise Falken tires, you’ll notice a measurable drop in cabin hiss and vibration—often several decibels—because stiffer, well-balanced wheels reduce flex while the tire tread and compound cut airborne and structure-borne noise. You’ll get immediate benefits from targeted wheel upgrades: alloys lessen unsprung mass and improve balance, reducing harmonic excitation transmitted through suspension points. Tire selection matters next; Falken’s engineered tread and softer compound lower broadband noise across speed bands, with documented reductions up to ~6 dB versus stock tires. Combine both and you attenuate input before it reaches the chassis. Complementary measures—like focused sound-deadening in the spare well and floor—support the gains but don’t replace proper wheel and tire choices. You should prioritize fitment, load rating and balance during installation to avoid introducing new vibration sources. The result is a quieter cabin that reveals clearer audio, reduced fatigue, and a more liberated driving experience.
When to Use Advanced Fixes (Mounts, Hood Blankets, Dampers)
After optimizing wheels and tires to cut the bulk of road noise, it’s time to target remaining vibration sources with advanced fixes like upgraded mounts, hood blankets, and targeted dampers. You’ll pursue mount upgrades when you’ve removed tire and suspension noise but still feel engine or drivetrain vibration through the chassis; stiffer OEM mounts transfer noise, while quality replacement mounts absorb engine oscillations and restore smoothness. Apply hood insulation—hood blankets—when powertrain noise penetrates the cabin; they reduce airborne engine sound and add thermal control, tightening your acoustic envelope. Use targeted dampers and high-density barriers on floors, doors, and body pillars where structure-borne paths persist. Expanding-foam fills and localized vibration damping block transmission at its sources, not just mask symptoms. Maintain and periodically reassess these components: proper upkeep sustains gains and frees you from constant cabin intrusion. Choose interventions that eliminate specific NVH vectors so your 4Runner delivers quiet, liberated driving without unnecessary measures.
Prioritize Upgrades: Cost, Time, and a Practical Installation Plan
Because budgets and garage time are finite, prioritize upgrades that deliver the largest noise reduction per dollar and hour: start with high-density sound deadening—especially in the spare tire well, floors, and doors—since properly applied materials can cut cabin noise by up to 6 dB and address the dominant vibration paths. You’ll get the best return by choosing cost-effective solutions like Eastwood Thermo-Acoustic and focusing on primary panels first.
| Area | Material | Expected Gain |
|---|---|---|
| Spare well | Thermo-Acoustic | High (major low-freq) |
| Floors | Butyl/aluminum | Medium-high |
| Doors | Layered damping | Medium |
Plan a single, uninterrupted session for adhesion: clean surfaces, remove trim, apply butyl, and use a wood roller to guarantee full contact. Follow installation techniques precisely to prevent rework and damage. Sequence tasks for flow—rear to front, disassemble, apply, reassemble—so you free yourself from repeated trips to the garage and achieve measurable cabin liberation efficiently.
Frequently Asked Questions
How to Reduce Car Cabin Noise?
You reduce car cabin noise by installing soundproofing materials and targeted acoustic treatments on floors, doors, spare well, and panels, upgrading tires, and adding vibration-damping insulators so you reclaim quiet, control, and liberating ride comfort.
What Is Noise Vibration and Harshness Basics?
Noise, vibration and harshness (NVH) describes unwanted engine noise, road and structural vibrations, and tactile harshness; you’ll analyze sources, quantify levels, and apply cabin insulation, damping and isolation to liberate occupants’ comfort and control.
How Do I Make My Car Feel Less of the Road Vibration and Noise?
You reduce road vibration and noise by installing targeted sound deadening and vibration isolation materials, upgrading mounts and tires, and ensuring meticulous adhesion with a roller—take control, liberate your cabin, and reclaim serene, focused driving.
How to Reduce Wind Noise in Car Cabin?
You can reduce wind noise by installing wind deflectors, sealing gaps, upgrading sound insulation, applying window film, choosing low-noise tires, and fitting aerodynamic accessories; you’ll liberate cabin quiet with targeted, measurable modifications and disciplined verification.
Conclusion
You’ve got a clear map to quieting your 4Runner; now put it to work. Start with the high-impact, low-cost fixes and methodically rule out rattles, then tackle tires, wheels, and mounts. Apply sound deadening where panels, floors, and doors transmit the most energy. Treat the cabin like a system: measure, isolate, and verify each change. With disciplined steps and the right parts, you’ll turn road noise from a roaring river into a manageable stream.