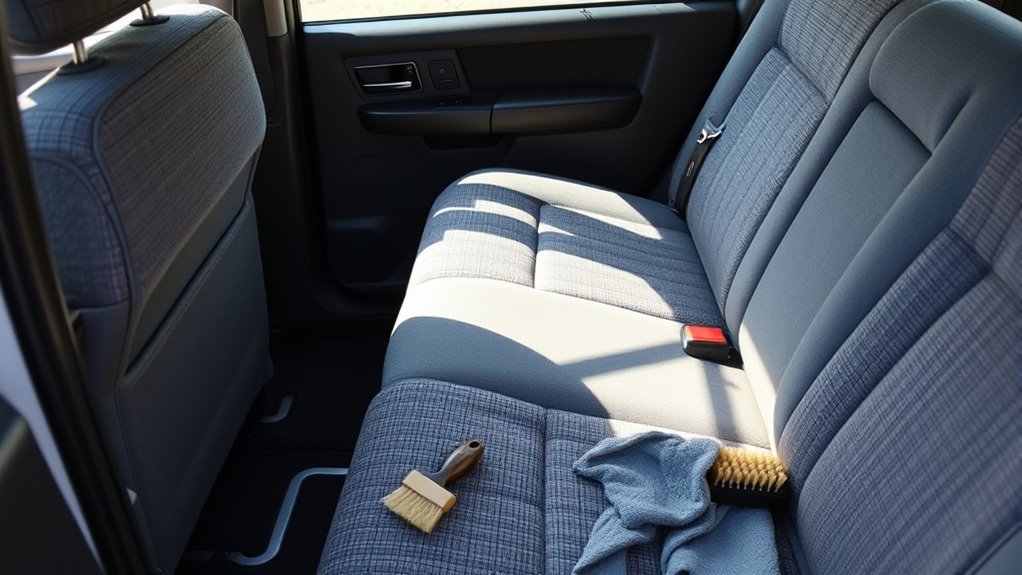
You can restore your Land Cruiser’s cloth seats by vacuuming thoroughly, clearing debris, and inspecting for stains. Spot-treat with a fabric-safe cleaner or diluted mild detergent, blotting from the edge inward, then rinse with a damp microfiber to remove residue. For heavy grime use a carpet extractor or gentle machine method, then air-dry with fans to prevent mildew. Tackle ink, rust, and scuffs with targeted solutions, protect with a spray, and continue for full step-by-step guidance.
Quick Answer: How to Clean Land Cruiser Cloth Seats
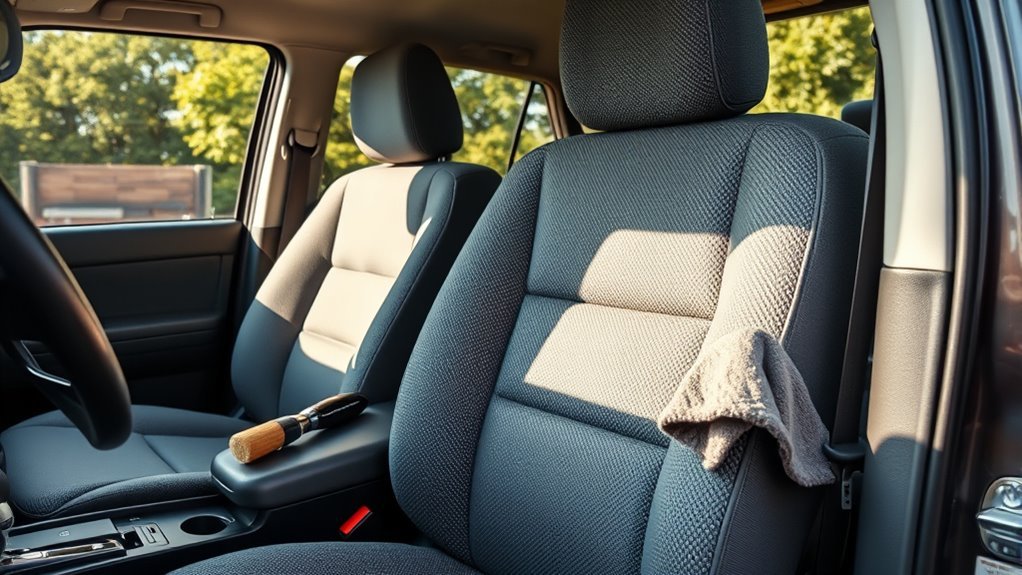
Start by vacuuming the cloth seats thoroughly to remove loose dirt and debris; this prevents grinding grit into the fabric when you apply cleaners. You’ll tackle stains with an upholstery cleaner, following the manufacturer’s directions and applying it with a soft cloth or brush so you don’t abrade fibers. For stubborn spots, pre-treat with Simple Green or Folex, let it dwell a few minutes, then scrub gently. After treatment, wipe the area with a wet cloth to remove residue, and allow the seats to air dry fully before use. To keep the cabin fresh and resist future spills, treat the fabric with a dedicated fabric protector spray formulated for automotive interiors. Incorporate this into a regular upholstery maintenance routine so your Land Cruiser stays resilient and free—this methodical care gives you freedom from recurring messes and the confidence to use your vehicle without fear of permanent stains.
Tools and Cleaners for Land Cruiser Cloth Seats (and Vinyl Trim)
Pick a good vacuum with crevice and brush attachments and use it first to remove loose dirt from cloth seats and vinyl trim so cleaners work on actual stains rather than embedded grit. Next, match tools and cleaners to upholstery types: for fabric seats, keep a dedicated upholstery cleaner like Folex or a mild detergent (Tide works when used per instructions); for heavy soil, a measured OxiClean soak in a tub lets fibers release set stains before rinsing with hot water. Use soft brushes and microfiber towels to agitate and blot, not scrub. For vinyl trim, choose a mild all-purpose cleaner or a plastic trim restorer to clean, protect, and restore shine. Always air-dry seats fully to prevent mold and mildew—cloth is especially vulnerable. Establish a sensible cleaning frequency based on use and exposure: light weekly vacuuming with monthly spot checks and seasonal deep treatments lets you reclaim control of your interior without overworking products or materials.
Step-by-Step Cleaning: Pre‑Clean, Spot‑Treat, Deep‑Clean
First, you’ll pre-clean by vacuuming every seam and crevice to remove loose dirt that would interfere with treatment. Next, spot-treat stains with an upholstery cleaner, let it sit briefly, then blot and rinse the area to lift residue. Finally, follow with a machine deep-clean and a thorough rinse, then air-dry the seats completely.
Pre‑Clean And Vacuum
1. You’ll begin seat maintenance and upholstery care by clearing loose items and trash so you can work freely. Next, vacuum thoroughly with attachments, targeting seams, crevices, and under cushions to remove dirt and debris.
| Task | Tool | Target |
|---|---|---|
| Remove trash | Hands/Bag | Clear workspace |
| Vacuum | Vacuum + crevice tool | Seams & crevices |
| Inspect | Visual check | Stains & spots |
| Record | Note areas | Prioritize treatment |
| Airflow prep | Fan/Window | Drying readiness |
Work methodically: vacuum each seat, move cushions, and repeat until no grit remains. This disciplined pre-cleaning empowers you to tackle stains without obstruction. Leave seats fully aired and ready for the next step; don’t begin spot‑treating until the fabric’s free of loose debris.
Spot‑Treat And Rinse
With the seats vacuumed and aired, move on to spot‑treating so individual stains don’t spread during deep cleaning. Identify the stain and consider fabric types—synthetic blends tolerate mild detergent, natural fibers need gentler care. Apply an upholstery cleaner or dilute mild detergent sparingly to a soft cloth, then dab; don’t scrub aggressively. Work from the stain’s edge inward until it lifts. After treatment, rinse the area with a clean, damp microfiber cloth to remove residue; repeat rinsing until no soap remains but avoid soaking the seat. Follow with the planned deep‑cleaning method once spots are neutralized. Maintain a sensible cleaning frequency to prevent buildup and reclaim control over your cabin’s hygiene.
Can You Machine‑Wash Land Cruiser Seat Covers? Safe Methods and Warnings
Wondering whether you can machine‑wash your Land Cruiser seat covers? You can, but first verify seat cover materials and recommended washing frequency from manufacturer tags. Start by inspecting for vinyl panels—machine agitation can scuff them. Test a hidden patch for shrinkage or discoloration before full washing.
If safe, pre-soak heavily soiled covers in an oxygen-based cleaner (Oxi) to break down grime. Use a mild laundry detergent, gentle cycle, and cold water to limit fiber stress. Avoid overloading the machine; wash covers alone or with towels to balance the load.
After washing, remove promptly to reduce odor and mildew risk. Use a wet-vac to extract excess water if needed and speed drying (see next section for full drying steps). Always follow care labels; when in doubt, opt for hand wash or professional upholstery cleaning to preserve fit, color, and your freedom from needless damage.
Dry, Deodorize, and Reassemble Land Cruiser Seats to Prevent Mold
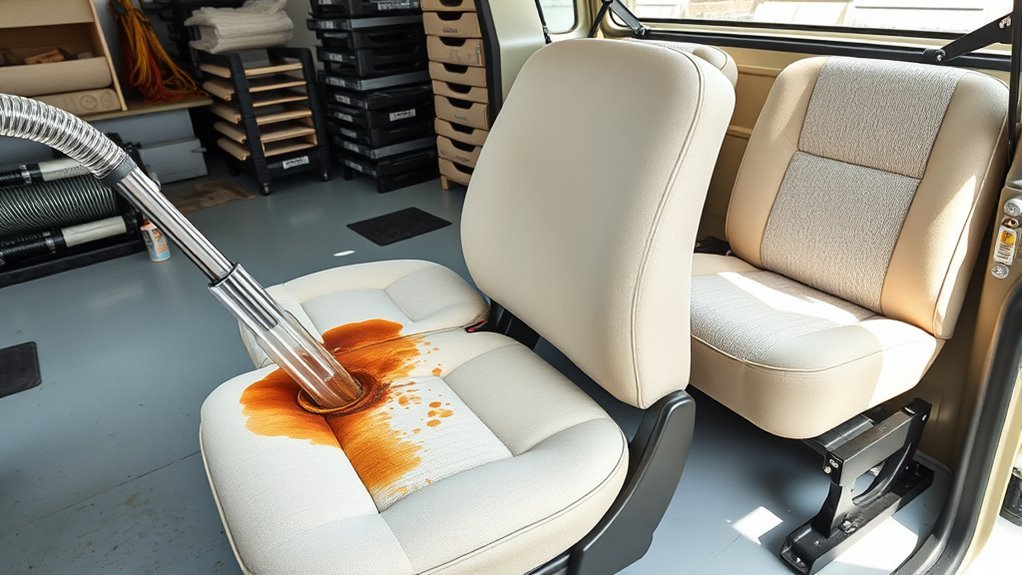
Once the seats are cleaned, you’ll thoroughly air-dry them with good circulation or fans to stop mold before it starts. Use a fabric-safe upholstery cleaner or a water-and-vinegar mix to neutralize lingering odors, then vacuum to lift residue and moisture. Finally, inspect the seat undersides and reassemble carefully so all fasteners are secure and ventilation isn’t blocked.
Thoroughly Air Dry
After cleaning, let the Land Cruiser’s cloth seats air dry completely in a well-ventilated area to prevent mold and odors; position fans to speed airflow and check under cushions and seams for trapped moisture. Use targeted drying techniques and strict moisture control: place portable fans, open doors or windows, and elevate cushions to expose fabric. Apply a fabric-safe odor eliminator during drying to support freshness, but don’t reassemble until every layer is bone dry. Inspect frequently for damp spots and act immediately to stop mildew. Reassembling prematurely traps humidity and undermines your work.
- Position high-flow fans aiming along seams and under cushions.
- Elevate seats to increase circulation beneath upholstery.
- Use moisture indicators or touch tests to confirm dryness.
- Reassemble only after repeated dry checks.
Neutralize Lingering Odors
Start by vacuuming every seam and crevice to remove debris that traps odors, then treat the fabric with a baking-soda paste or a commercial, fabric-safe deodorizer and let it sit at least 15 minutes before removing. After you’ve vacuumed the paste or product, repeat spot-cleaning on any remaining stains with an upholstery cleaner and rinse lightly if the cleaner requires it. Use targeted odor absorption techniques: sprinkle baking soda, let it sit, then vacuum, or apply fabric safe deodorizers according to instructions. Accelerate drying with fans, open doors, or park in a breezy, shaded area to prevent mold. Only reassemble seats when they’re bone-dry and residue-free. You’ll free the cabin from trapped smells and reduce mildew risk, reclaiming control of your vehicle.
Troubleshooting: Ink, Mildew, Rust Stains, and Vinyl Scuffs
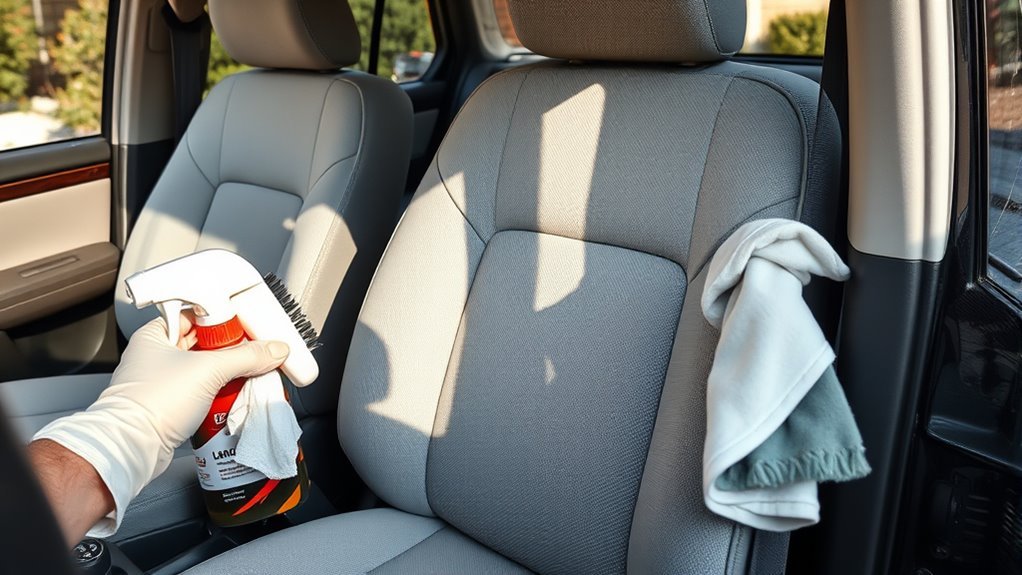
When you spot stubborn marks—ink, mildew, rust, or vinyl scuffs—tackle them promptly with the right method so they don’t set or spread. You want freedom from lingering blemishes: act decisively, keep a routine cleaning frequency, and prioritize stain prevention to reduce recurrence. Use targeted treatments and let areas air dry.
- Ink: Dab a small amount of rubbing alcohol on a clean cloth, gently blot the ink without spreading, then blot with a dry cloth until the mark lifts.
- Mildew: Mix water with vinegar or use a Borax solution, scrub gently, then allow the seat to air dry completely to stop regrowth.
- Rust: Make a baking soda paste, apply briefly, scrub gently, then rinse with clean water and dry.
- Vinyl scuffs: Dampen a soft cloth with all-purpose cleaner and rub the scuff until it clears.
Maintain vacuuming and occasional upholstery cleaning to uphold liberation from stains.
Frequently Asked Questions
How Often Should I Deep-Clean Cloth Seats for Best Results?
Deep-clean cloth seats every three to six months for ideal seat cleaning frequency; you’ll preserve fabric, prevent odor, and resist stains. Follow fabric care tips: vacuum, pretreat spots, use gentle cleaner, and air-dry thoroughly.
Can Professional Upholstery Cleaning Damage Land Cruiser Fabric?
No—a pro won’t obliterate your seats; they’ll respect fabric durability and use vetted cleaning methods. You’ll get careful assessment, controlled solutions, and targeted techniques that preserve integrity, freeing you from worry and reclaiming your ride.
Are Eco-Friendly or Homemade Cleaners Effective on Tough Stains?
Yes, you can use natural cleaners for stain removal, but they’re not always enough on tough stains; you’ll test, pre-treat, agitate gently, and repeat, ensuring liberation from chemicals while methodically restoring fabric integrity.
Will Seat Heaters or Airbags Be Affected by Cleaning?
No, seat heaters or airbags won’t be harmed if you follow seat maintenance and cleaning techniques: unplug battery, avoid soaking wiring, use gentle cleaners, dry thoroughly, and inspect connectors—you’re reclaiming control while preventing accidental damage.
How Do I Protect Seats After Cleaning to Prevent Future Stains?
After cleaning, you’ll protect seats by installing quality seat covers and applying spray-on stain repellents; you’ll follow curing times, test a hidden spot, reapply yearly, and wash covers regularly to keep freedom from stains intact.
Conclusion
You’ve treated every spill, scrubbed every seam, and rescued your Land Cruiser’s cloth seats from defeat — and now they actually look like you meant to keep them this clean. Don’t get cocky: regular quick wipes, targeted spot treatment, and proper drying keep stains from plotting a comeback. Follow the steps, be methodical about products and drying, and you’ll avoid mold, odors, and future panic-cleaning marathons. Simple, precise, done.