If the driver-side windshield wiper on your 2018 Toyota Tundra stops moving while the passenger-side wiper still works, start with the driver arm, splines, pivot, and linkage before buying a motor. That pattern is usually mechanical because the shared wiper system is still moving the other arm. If both wipers are silent, move to the WIPER fuse, wiper switch/control circuit, motor connector, wiring, power, ground, and motor. If the motor runs but neither arm moves, inspect the motor crank connection and linkage for separation or binding.
Last updated: August 31, 2026 — rechecked against 2018 Tundra service information, current Toyota parts listings, and federal windshield-wiper requirements.
Quick Answer
If your 2018 Toyota Tundra driver-side wiper does not work but the passenger-side wiper still moves, inspect the driver arm nut, splines, pivot post, and linkage first. If both wipers are silent, check the WIPER fuse, wiper switch/control circuit, motor connector, wiring, power, ground, and motor before replacing parts.
Key Takeaways
- A running motor with no arm movement usually means the arm splines, pivot post, or linkage has slipped or failed.
- A silent motor points you toward the WIPER fuse, wiper switch/control circuit, connector, wiring, power, ground, or motor.
- Clean the wiper arm serrations and pivot serrations before reinstalling the arm, then set the arm at the correct park position.
- Use the correct torque: the service-manual procedure lists the wiper arm nut at 25 N·m, or 18 ft·lbf.
- Do not secure a failed wiper arm or linkage with wire, solder, zip ties, or other improvised hardware; repair the failed part before relying on the truck in poor visibility.
At a Glance
| Time Required | 15–30 minutes for diagnosis; 1–2 hours for linkage replacement |
| Difficulty | Beginner for arm checks; intermediate for linkage or motor replacement |
| Tools Needed | Socket or wrench set, gloves, trim tool, multimeter, round file, wire brush, torque wrench, and MP grease if the motor crank pivot is disassembled |
| Cost | Free for tightening/cleaning; wiper arm, linkage, and motor costs vary by VIN, dealer, and aftermarket brand |
Warning: Keep the ignition off and the wiper switch off before touching the arms, cowl, linkage, or motor. Wiper linkages can pinch fingers quickly if the system moves unexpectedly. Do not drive in rain or snow with a wiper that may detach or stop again.
Why Is the 2018 Toyota Tundra Driver-Side Wiper Not Working?
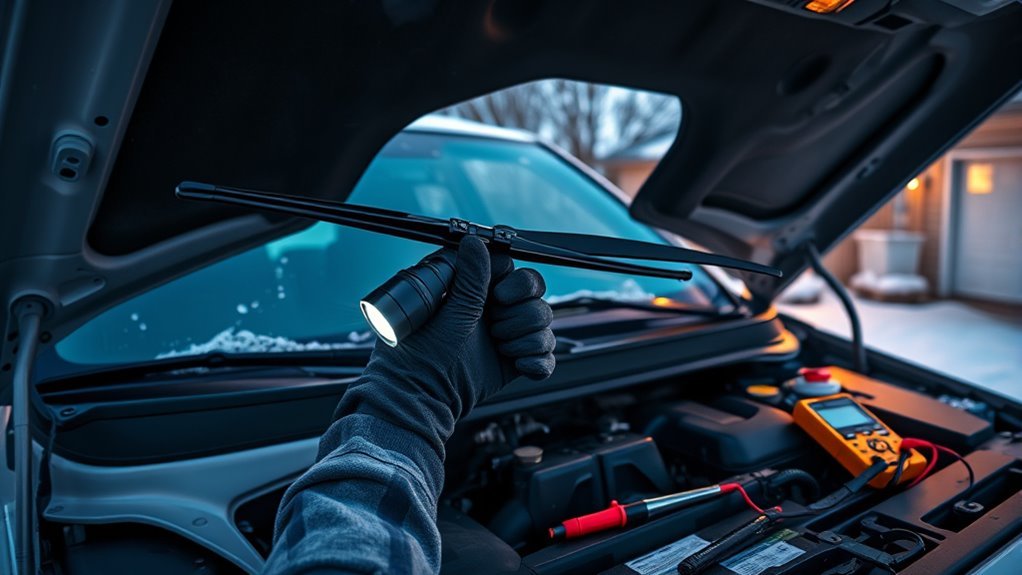
Turn the key on, switch the wipers on briefly, then listen. If the motor runs but the driver-side wiper does not move, do not replace the motor first. A loose wiper arm, stripped splines, disconnected linkage socket, or worn pivot is more likely.
| Symptom | Most Likely Area | First Check |
|---|---|---|
| Driver-side wiper does not move, passenger side does | Driver arm, splines, pivot, or linkage | Arm nut tightness and stripped splines |
| Both wipers do not move but motor hums | Linkage, motor crank arm, seized pivot | Cowl linkage movement and binding |
| Both wipers silent | WIPER fuse, wiper switch/control circuit, connector, wiring, power/ground, or motor | Fuse, switch functions, connector power, and ground |
| Wipers move but park too high or too low | Incorrect arm installation or motor park position | Reset arms after motor reaches auto-stop position |
For a focused wiper motor diagnosis, do not guess from sound alone. Watch whether the motor output transfers movement to the linkage arms. If the motor spins but the linkage does not move, inspect the motor crank connection. If the linkage moves but the driver arm does not, inspect the driver arm nut, splines, and pivot post.
Use the Toyota 2018 Tundra owners manual portal to confirm owner information for your exact truck, and use VIN-based parts lookup before ordering. Current OEM listings commonly show the wiper linkage as an assembly, so verify the part number rather than assuming a small bushing is sold separately.
Inspect Wiper Linkage Safely: Tools & Key Wear Signs
Before you start, turn the truck off, place the wiper switch in the off position, and let the arms settle. Lift the wiper arms only as needed, and do not let them snap back onto the windshield.
[Products Worth Considering]

This extendable snow brush and ice scraper helps clear windshields and vehicle surfaces quickly in harsh winter weather. Its rotating brush head, durable bristles, and strong scraper design make it easy to remove snow and ice without scratching your car, while the comfortable grip and detachable parts improve handling and storage.
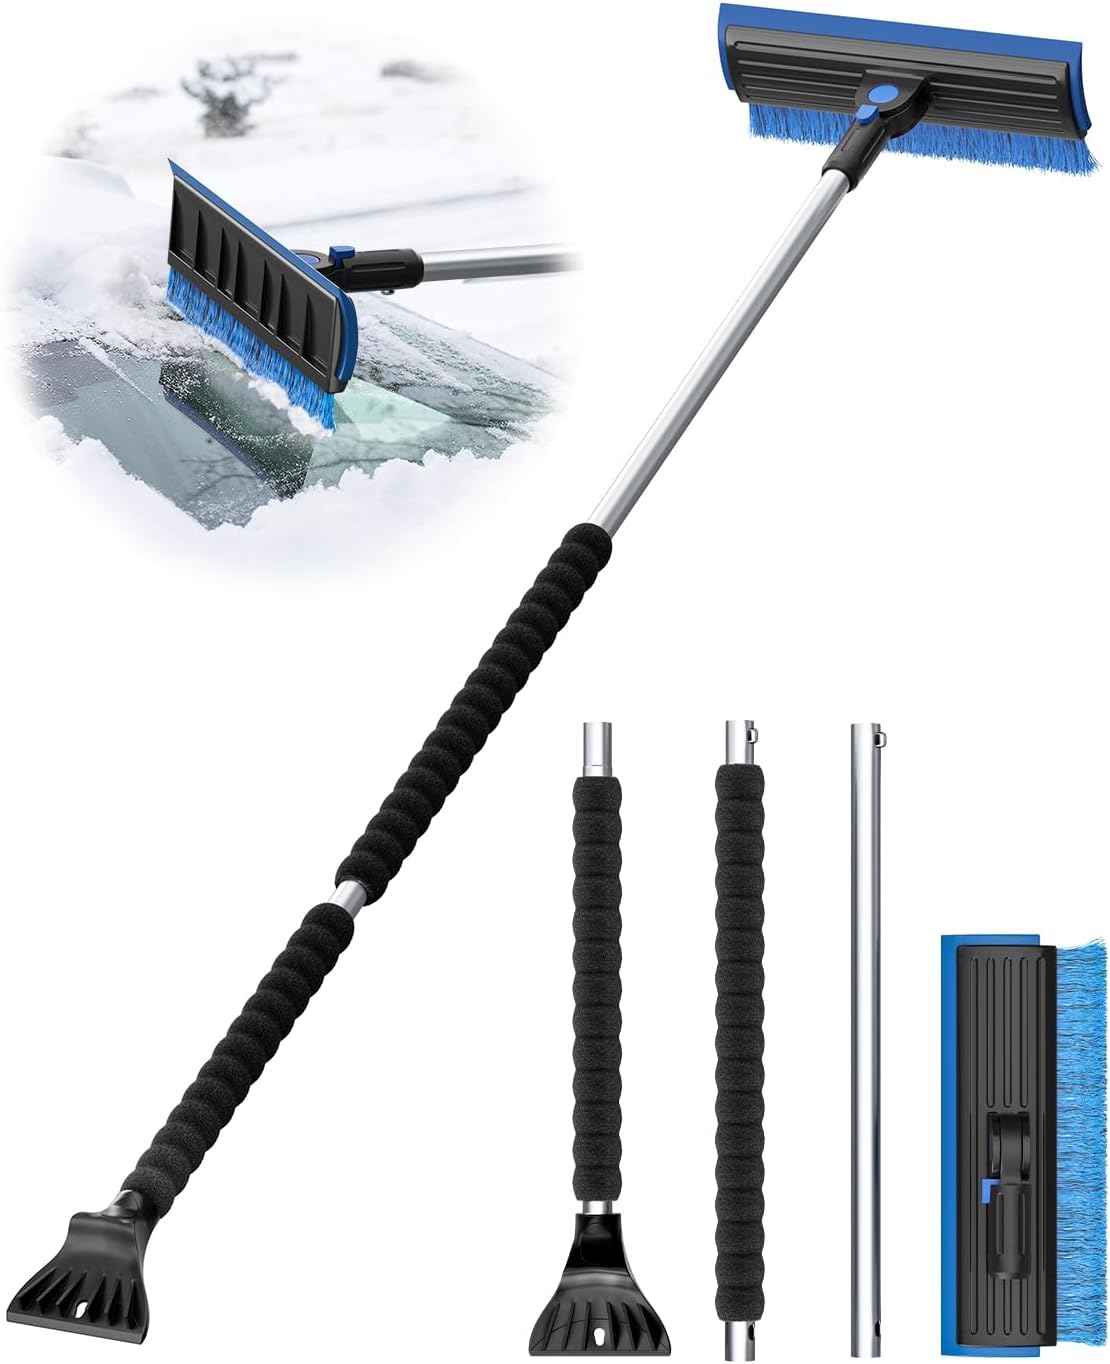
This three-in-one winter tool combines a snow brush, ice scraper, and snow shovel to help clear windshields, roofs, hoods, and hard-to-reach edges with less effort. Its 270-degree rotating head and adjustable telescoping length make it versatile for cars, SUVs, and home glass surfaces, while the soft PVC bristles and foam grip help protect paint and improve comfort in cold weather.

This rear windshield wiper arm and blade set is designed as an OEM-style replacement for Toyota RAV4 models from 2019 through 2025. It delivers quiet, streak-free wiping with dual steel springs for even pressure and dependable performance in all seasons. The easy-to-install assembly fits like original parts, helping restore clear rear visibility and confident driving.
Tools Needed
Gather basic hand tools before removing anything. Most DIY checks can be done with a socket or wrench set, gloves, a flashlight, a small brush, and a multimeter.
- Socket or wrench set: remove the wiper arm nut and cowl fasteners. Confirm the socket size on your truck before applying force.
- Gloves: protect your hands around the cowl, pivots, and linkage.
- Round file and wire brush: the service procedure uses a round file or equivalent on the wiper-arm serration and a wire brush on the pivot serration.
- Trim tool: remove cowl clips without cracking plastic.
- Multimeter: check power and ground at the motor connector if the motor is silent.
- Torque wrench: tighten the arm nut and linkage hardware correctly during reassembly.
Wear Indicators
Check for excessive play, rust, cracked plastic sockets, worn bushings, loose fasteners, rounded arm splines, and a pivot post that spins without moving the arm. Move the arm gently by hand with the system off. If the arm moves freely on the post, the splines may be stripped or the nut may be loose.
Also look for packed snow, ice, leaves, or grit under the cowl. Debris can overload the linkage and make a weak socket or worn pivot fail sooner.
Note: If the truck recently had frozen wipers, do not assume the motor failed. Ice can hold the blade in place while the linkage or arm splines take the load.
Check the Wiper Arm & Post for Loose or Stripped Fit
If the driver-side wiper skips, parks randomly, or spins without wiping, inspect how the wiper arm sits on the splined steel post. The arm must clamp tightly to the splines to transfer motor movement.
- Mark the current blade position on the windshield with painter’s tape.
- Remove the plastic cap, then remove the wiper arm nut.
- Lift the arm off the post. If it is stuck, use gentle rocking or a wiper-arm puller rather than prying against the windshield.
- Inspect the arm socket and pivot post for rounded splines, cracks, corrosion, or metal dust.
- Clean the wiper-arm serration with a round file or equivalent and clean the wiper-pivot serration with a wire brush, matching the service procedure.
- Cycle the motor once with the arms removed, then turn the switch off and let the motor stop at its automatic park position.
- Reinstall the arm at the correct park position and tighten the nut.
The Tundra front-wiper installation procedure lists the front wiper arm nut torque at 25 N·m {255 kgf·cm, 18 ft·lbf} and says to hold down the wiper arm hinge while tightening. It also lists the wiper motor bolts at 7.5 N·m and the motor/link assembly hardware at 7.0 N·m. Use current service information for your exact truck before final tightening.
Pro Tip: If the arm slips again after being cleaned and torqued, replace the damaged arm or linkage part. Threadlocker will not repair rounded splines.
How Do You Test the 2018 Tundra Wiper Motor and Electrical Circuit?
If both wipers are silent, move from mechanical checks to the electrical side. Start with the WIPER fuse, then test the switch functions and motor connector before condemning the motor.
- Check the fuse correctly. Use the fuse diagram in the owner’s manual or fuse-box cover. Replace a blown fuse only with the same amperage. If it blows again, stop and look for a short, seized motor, or binding linkage.
- Test every wiper-switch position. Try MIST, INT, LO, HI, and washer operation. On this Tundra generation, service information describes the intermittent relay/control function within the wiper-control switch circuit, so do not assume there is a separate plug-in “wiper relay” to replace.
- Inspect the motor connector and harness. Look for a loose plug, corrosion, water intrusion, rubbed wires, or broken insulation near the cowl and motor.
- Test power and ground with the correct wiring information. Compare your meter readings with the wiring diagram for the exact circuit and switch position. Do not jump unidentified terminals.
- Confirm motor operation. The Tundra service inspection checks low speed, high speed, and automatic-stop operation at identified motor terminals. If the motor has the specified electrical supply but fails those checks, replacement may be justified.
If you are not comfortable reading a wiring diagram or probing connectors, stop here and get professional help. Incorrect probing or jumping can damage the switch, wiring, fuse protection, or motor.
What Should You Do If the Wiper Fails on the Road?
If the driver-side wiper fails while you are driving, move to a safe place as soon as visibility allows and switch the wipers off. Do not secure the arm, pivot, or linkage with wire, solder, zip ties, or improvised metal pieces. A temporary fastener can release during a sweep, strike the windshield, jam the linkage, or block your view.
- If rain, snow, fog, or road spray limits your view, do not continue driving with an unreliable driver-side wiper.
- If a linkage socket has separated, inspect it only with the ignition and wiper switch off. A socket that will not stay seated is worn and needs proper repair.
- A water-repellent windshield treatment may help water bead, but it does not restore the required mechanical wiping system or make a failed wiper reliable.
- Use roadside assistance or a tow when you cannot restore dependable wiper operation before conditions worsen.
Federal Motor Vehicle Safety Standard No. 104 sets windshield wiping and washing requirements for covered vehicles. It is a vehicle-equipment standard, not a blanket statement of state driving law; the practical safety point is simpler: do not rely on a failed driver-side wiper when clear forward visibility depends on it.
Replace Wiper Linkage: Step-by-Step Removal & Install
If the linkage is cracked, loose, seized, or repeatedly disconnects, replacement is usually the cleanest repair. Compare the old and new linkage before installation, especially pivot locations, ball sockets, mounting points, and motor connection.
- Park the truck on level ground, turn the wiper switch off, and disconnect the negative battery cable.
- Mark the current wiper blade positions with painter’s tape.
- Remove the wiper arm nuts and lift off the wiper arms.
- Remove the cowl covers and seals carefully so clips do not break.
- Disconnect the wiper motor electrical connector.
- Unbolt the motor and linkage assembly from the body.
- Compare the replacement linkage with the original part before installing it.
- Install the new linkage and motor assembly without forcing the pivots or binding the rods.
- Reconnect the connector, reinstall the cowl parts, and reconnect the battery.
- Cycle the motor with the arms off, turn the switch off, and let the motor stop at the automatic park position.
- Clean the arm and pivot serrations, reinstall both arms at the correct park marks, and torque the nuts properly.
- Spray washer fluid and test low speed, high speed, intermittent operation, and park position.
If the arms hit the cowl, overlap, stop too high, or sweep unevenly, do not keep running the system. Remove the arms, let the motor return to park, and reinstall them in the correct position.
[Products Worth Considering]

This heavy-duty windshield wiper arm removal tool kit is built to help you quickly and safely detach stubborn wiper arms on many cars, trucks, SUVs, and RVs. Made from high-hardness carbon steel with a practical lever-style design, it offers strong gripping power, smooth force distribution, and reliable performance for routine automotive maintenance.

This extendable snow brush and ice scraper helps clear windshields, roofs, and windows quickly in harsh winter conditions. Its 360° pivoting brush head, wide ice scraper blade, and comfortable foam grip make snow removal easier, while the detachable design stores compactly in your vehicle.

Built for demanding automotive and repair tasks, this 247-piece mechanics tool set combines ratchets, sockets, combination wrenches, hex keys, and specialty bits to handle a wide range of jobs. The 72-tooth ratchets offer smooth control in tight spaces, while DirectTorque Technology helps reduce fastener rounding for more confident turning. A durable metal-latch case and full-polish chrome finish add convenient storage and long-lasting corrosion resistance.
Choose Parts for Your Tundra: OEM vs Aftermarket & Fit Tips
For a 2018 Tundra, verify parts by VIN whenever possible. Current 2018-specific parts listings show the windshield-wiper linkage assembly as 85150-0C070, while Toyota lists the genuine front wiper motor as 85110-0C030. Exact catalog status, supersessions, pricing, and availability can change, so confirm both numbers against your VIN before ordering.
- OEM parts: reduce fitment uncertainty when you want factory mounting points, pivot geometry, and known catalog compatibility.
- Aftermarket parts: can save money, but compare pivot length, mounting points, socket quality, and warranty.
- Used parts: may work for budget repairs, but avoid linkages with stiff pivots, cracked sockets, or corrosion.
- Wiper arms: replace the arm if its splines are rounded, cracked, or polished smooth.
- Motor: replace only after confirming power, ground, connector condition, and mechanical load.
Note: A cheap linkage that fits poorly can cause repeat failures, bad park position, or body interference. Measure and compare before bolting it in.
[Products Worth Considering]

This 201-piece mechanic's socket tool set gives you a versatile range of sockets, hex keys, and screwdriver bits for handling nuts, bolts, and fasteners in common home or garage projects. It includes both SAE and metric sizes in a durable chrome-vanadium steel build with a polished chrome finish for added corrosion resistance. The included case keeps everything organized and easy to carry wherever the job takes you.

The LEXIVON 3/8-Inch Drive Click Torque Wrench is built for accurate, reliable fastening across a wide range of automotive and mechanical tasks. It arrives pre-calibrated for dependable use, with a clear dual-range scale for easy reading and a reversible ratchet head for added convenience. The hardened steel construction and corrosion-resistant finish help deliver long-lasting performance and comfort in everyday use.

AUTOBOO windshield wiper blades are designed to deliver smooth, streak-free visibility in a wide range of weather conditions. The bracketless, aerodynamic design helps reduce noise and wind drag while the memory spring steel construction maintains even pressure for consistent windshield contact. Built for quick installation on compatible U/J hook wiper arms, these blades offer reliable performance and quiet operation.
Preventive Maintenance: Cleaning, Lubrication & Winter Care
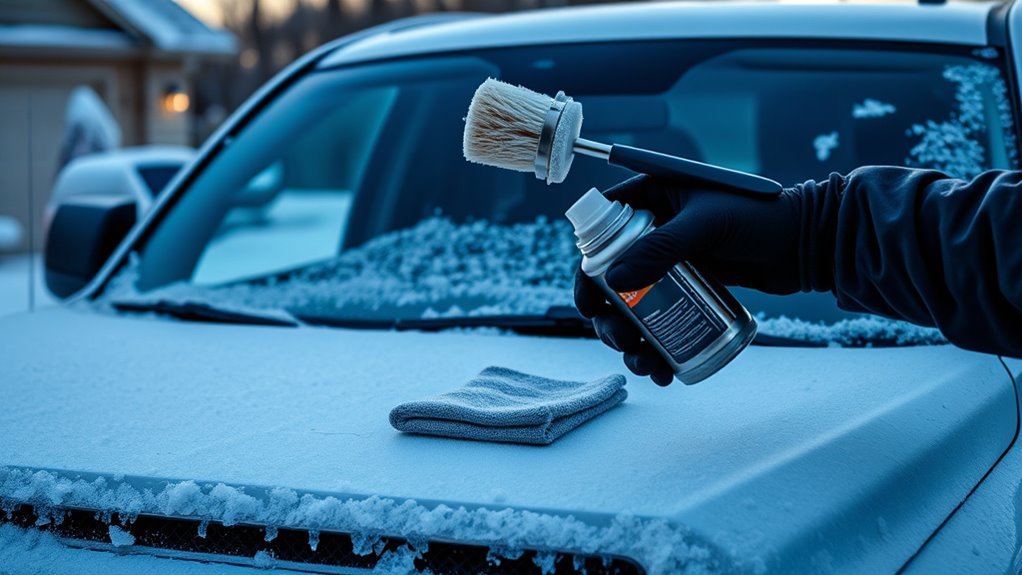
Routine care helps prevent repeat wiper failures. Wipe the blade rubber with a damp cloth, clean the lower windshield where grit collects, and use washer fluid before running the blades on dry glass. AAA’s wiper-maintenance guidance recommends wetting a dry windshield before using the wipers and using a scraper, deicer, or defroster instead of the wipers to remove ice or snow.
- Replace torn, streaking, chattering, or hardened blades.
- Keep the cowl area clear of leaves, ice, and packed snow.
- Use the defroster, washer fluid, deicer, or an ice scraper before switching the wipers on in winter.
- Lubricate pivot points only with a product appropriate for the linkage and surrounding materials.
- Do not force frozen blades loose with the wiper switch.
If freezing rain or snow is expected, a windshield cover is safer than forcing frozen blades the next morning. If you lift the arms, lower them carefully before driving and never let them snap against the glass.
Troubleshoot Post-Repair Problems and When to Get Help
If the wipers still act up after repair, slow down and recheck the basics. Many post-repair issues come from incorrect park position, loose nuts, dirty serrations, wrong parts, or linkage binding.
- Motor runs, arms do not: recheck the motor crank arm, linkage sockets, pivot posts, and arm splines.
- Wipers park too high: remove the arms, cycle the motor to park, and reinstall the arms at the correct position.
- Wipers chatter after repair: inspect blade condition, arm angle, windshield contamination, and arm tension.
- Fuse blows again: do not install a larger fuse; inspect for a short, seized motor, binding linkage, or damaged wiring.
- Only INT mode fails: check the WIPER fuse, windshield-wiper switch/control circuit, motor, and harness using the service-manual symptom table; do not assume a separate plug-in relay is the fix.
- One arm hits the cowl or another arm: stop testing and realign the arms before damage occurs.
Get professional help if the linkage binds, wiring is damaged, the fuse keeps blowing, the motor does not park correctly, or the wipers cannot be made reliable before bad weather.
Frequently Asked Questions
Why does only the driver-side windshield wiper stop working on a 2018 Toyota Tundra?
If the passenger-side wiper still moves, start with the driver arm nut, arm splines, pivot post, and linkage connection. Because the shared wiper system is still moving the other arm, a mechanical connection problem is more likely than a total loss of motor power.
How do I know if the wiper motor is bad or the linkage is bad?
If the motor runs but the arms do not move, inspect the motor crank connection, linkage sockets, pivots, and arm splines first. If both wipers are silent, check the fuse, wiper switch/control circuit, connector, wiring, power, and ground. A motor that has the specified electrical supply but fails low-speed, high-speed, or park testing may need replacement.
What does it mean if I hear the wiper motor but the wipers do not move?
Motor noise with little or no arm movement points to the mechanical path between the motor and blades. Check the motor crank arm, linkage rods and sockets, pivot posts, retaining nuts, and splines for separation, slipping, or binding.
What torque should I use on the 2018 Tundra wiper arm nut?
The Tundra service installation procedure lists the front wiper arm nut torque at 25 N·m, or 18 ft·lbf. It also says to hold the wiper arm hinge while tightening. Do not use extra torque to compensate for rounded or stripped splines.
Can stripped wiper-arm splines be fixed by tightening the nut?
A loose nut can sometimes be corrected after the serrations are cleaned and the arm is set correctly. If the arm’s splines are rounded or polished smooth, tightening harder is not a durable repair. Replace the damaged arm or other failed connection.
Do I need to replace the whole wiper linkage?
Replace the linkage assembly if a socket is cracked, a pivot is loose or seized, a rod repeatedly disconnects, or the assembly binds after inspection. If only the wiper arm splines are damaged, replacing the arm may be enough. Verify the needed part by VIN before ordering.
Can I drive if only one windshield wiper works?
Do not rely on a failed driver-side wiper in rain, snow, fog, or road spray. If the failure happens on the road, move to a safe location while visibility allows and arrange a proper repair or roadside assistance before continuing in conditions that require the wipers.
Conclusion
When a 2018 Toyota Tundra driver-side wiper stops working, use the failure pattern to choose the next check. If the passenger-side arm still moves, inspect the driver arm nut, splines, pivot, and linkage first. If both arms are silent, check the fuse, wiper switch/control circuit, connector, wiring, power, ground, and motor. If the motor runs but the arms do not, inspect the crank connection and linkage. Repair the failed part, let the motor return to park before reinstalling the arms, torque the hardware correctly, and test every wiper mode with washer fluid before relying on the truck in poor weather.
Sources
- Toyota Owners: 2018 Tundra Manuals and Warranties — official owner/manual portal for 2018 Toyota Tundra information.
- OEM Parts Online: 2018 Toyota Tundra Wiper & Washer Components — current OEM-style part listings, part numbers, and pricing examples for wiper arms, linkage, motor, blades, nuts, and hardware.
- Toyota Tundra Service Manual: Front Wiper Motor Installation — installation sequence, park-position setup, serration cleaning, and torque values.
- Toyota Tundra Service Manual: Front Wiper Motor Inspection — low-speed, high-speed, and automatic stop motor inspection procedure.
- 49 CFR 571.104: Windshield Wiping and Washing Systems — federal visibility-system safety standard.
- AAA: Windshield Wiper Safety and Maintenance — maintenance guidance for blade cleaning, washer fluid, wet-glass use, and winter care.