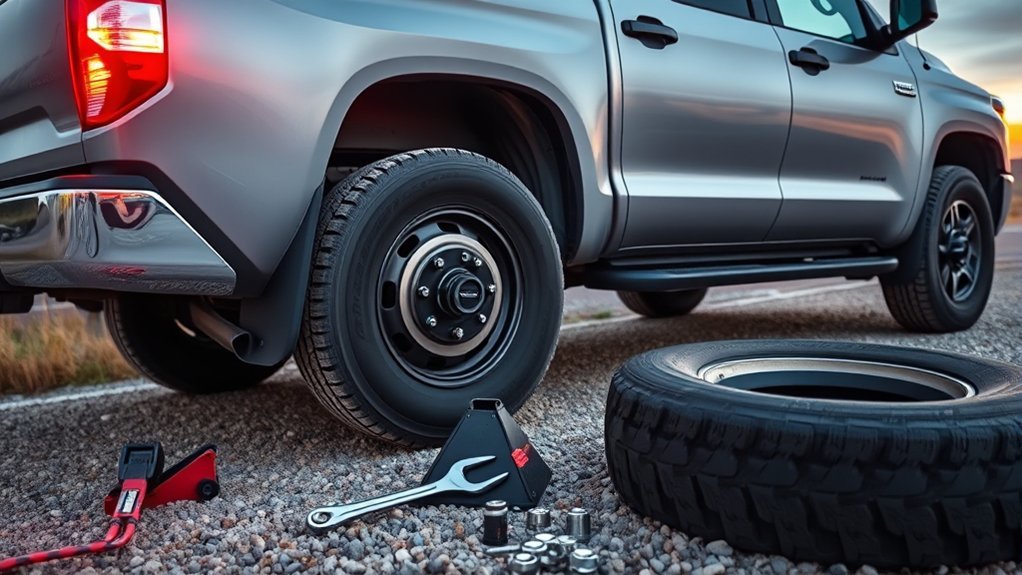
A Toyota Tundra flat tire can usually be changed safely if the truck is parked on firm, level ground, the correct jack point is used, and the lug nuts are tightened to the specification for the installed wheel. Toyota’s 2022 Tundra manual lists 154 ft-lbf (209 N·m) for a steel wheel and 97 ft-lbf (131 N·m) for an aluminum wheel, but your exact owner’s manual remains the final source for the model year, cab, trim, wheel, lug-nut design, jack point, and spare-tire setup.
Written by: [VERIFY: add automotive writer name] • Technically Reviewed by: [VERIFY: add ASE-certified technician or automotive specialist name]
Last updated: July 23, 2026 — torque specifications, jack placement points, hybrid tool storage, and structured data reviewed.
Quick Answer
To change a Toyota Tundra flat tire, park on firm, level ground away from traffic, shift into Park, engage the parking brake, and switch on hazard flashers. Chock the wheel diagonally opposite the flat. Assemble the extension rods to lower the spare from beneath the rear bed. Break the lug nuts loose by one turn while the tire is on the ground. Position the bottle jack squarely beneath the designated front lower suspension arm or rear axle tube contact point. Raise the truck until the flat clears the ground, swap the wheel, hand-thread the lug nuts, snug them in a crisscross pattern, lower the truck, and torque to factory specification on clean, dry threads (97 ft-lbf for aluminum; 154 ft-lbf for 2022+ steel wheels).
Key Takeaways
- Lift only at approved structural points: beneath the front lower control arm bracket or directly under the rear axle housing tube inboard of the leaf spring. Never lift from body panels, floorboards, or suspension links.
- Break lug nuts loose by one turn before raising the truck; never remove them completely until the wheel is elevated.
- Torque wheel nuts on clean, dry threads: Toyota specifies 154 ft-lbf (209 N·m) for 2022+ steel wheels and 97 ft-lbf (131 N·m) for aluminum alloy wheels. Never apply oil or anti-seize to wheel studs.
- Identify your spare tire type. If marked “TEMPORARY USE ONLY,” maintain a maximum speed of 50 mph (80 km/h) and avoid towing or aggressive maneuvers.
- Retighten all wheel lug nuts within 100 miles (160 km) of installation to ensure proper clamping load.
At a Glance
| Time Required | 20–40 minutes in a safe, level location |
| Difficulty | Moderate (Tundra full-size wheels and tires weigh 60–80+ lbs) |
| Tools Needed | Factory bottle jack, 3-piece extension handle, lug wrench, wheel chocks, tire-pressure gauge, gloves, flashlight, calibrated torque wrench, and wheel-lock key (if equipped) |
| Torque Specs | Aluminum wheels: 97 ft-lbf (131 N·m) | 2022+ Steel wheels: 154 ft-lbf (209 N·m) |
| Cost | $0 for roadside DIY with factory equipment; professional flat repair averages $20–$45 |
Quick Checklist: Change a Toyota Tundra Flat Tire

- Navigate safely away from live traffic lanes and park on solid, level ground.
- Shift transmission into Park (P), set the mechanical or electronic parking brake, shut off the engine, and activate hazard flashers.
- Evacuate all passengers to a safe location away from the roadway before beginning work.
- Place wheel chocks firmly against the front and back of the tire diagonally opposite the flat.
- Retrieve the factory bottle jack, extension segments, lug wrench, torque wrench, and wheel-lock key.
- Assemble the extension tool, insert it into the spare tire hoist port above the rear bumper, and rotate counterclockwise to lower the spare to the ground.
- Fit the lug wrench onto the wheel nuts and break each nut loose by roughly 1/2 to 1 full turn (counterclockwise) while the tire remains firmly grounded.
- Position the bottle jack saddle squarely under the approved frame or axle lift point.
- Pump the jack handle to raise the truck until the flat tire clears the ground by roughly 1 to 2 inches.
- Remove the lug nuts, unseat the flat tire, clean any surface scale from the hub face, mount the spare, hand-thread all nuts, snug them in a crisscross sequence, lower the vehicle, and torque to factory specification.
Warning: Never attempt to change a tire on highway shoulders, steep grades, loose dirt, mud, sand, or blind curves. If you cannot establish a level, stable work zone protected from traffic, remain inside your vehicle with your seatbelt fastened and call roadside assistance.
[Products Worth Considering]

This GM TPMS relearn tool helps reset tire sensors, clear warning lights, and match tire positions after rotation quickly at home. Designed for Chevrolet, GMC, Cadillac, and Buick vehicles, it offers one-button operation, fast activation, and broad compatibility with many GM models. It is best suited for OE/OEM sensors and includes paper instructions plus video guidance for easier DIY use.

This wheel lock lug nut set adds an extra layer of theft protection for compatible Toyota and Lexus vehicles by securing wheels with a unique key pattern that resists common removal tools. Built to OEM-standard fitment with corrosion-resistant, triple-chrome finished construction, it is designed for direct replacement and long-lasting performance. The set includes locking nuts and a matching key for easy installation on compatible vehicles with the correct thread and cone seat specifications.
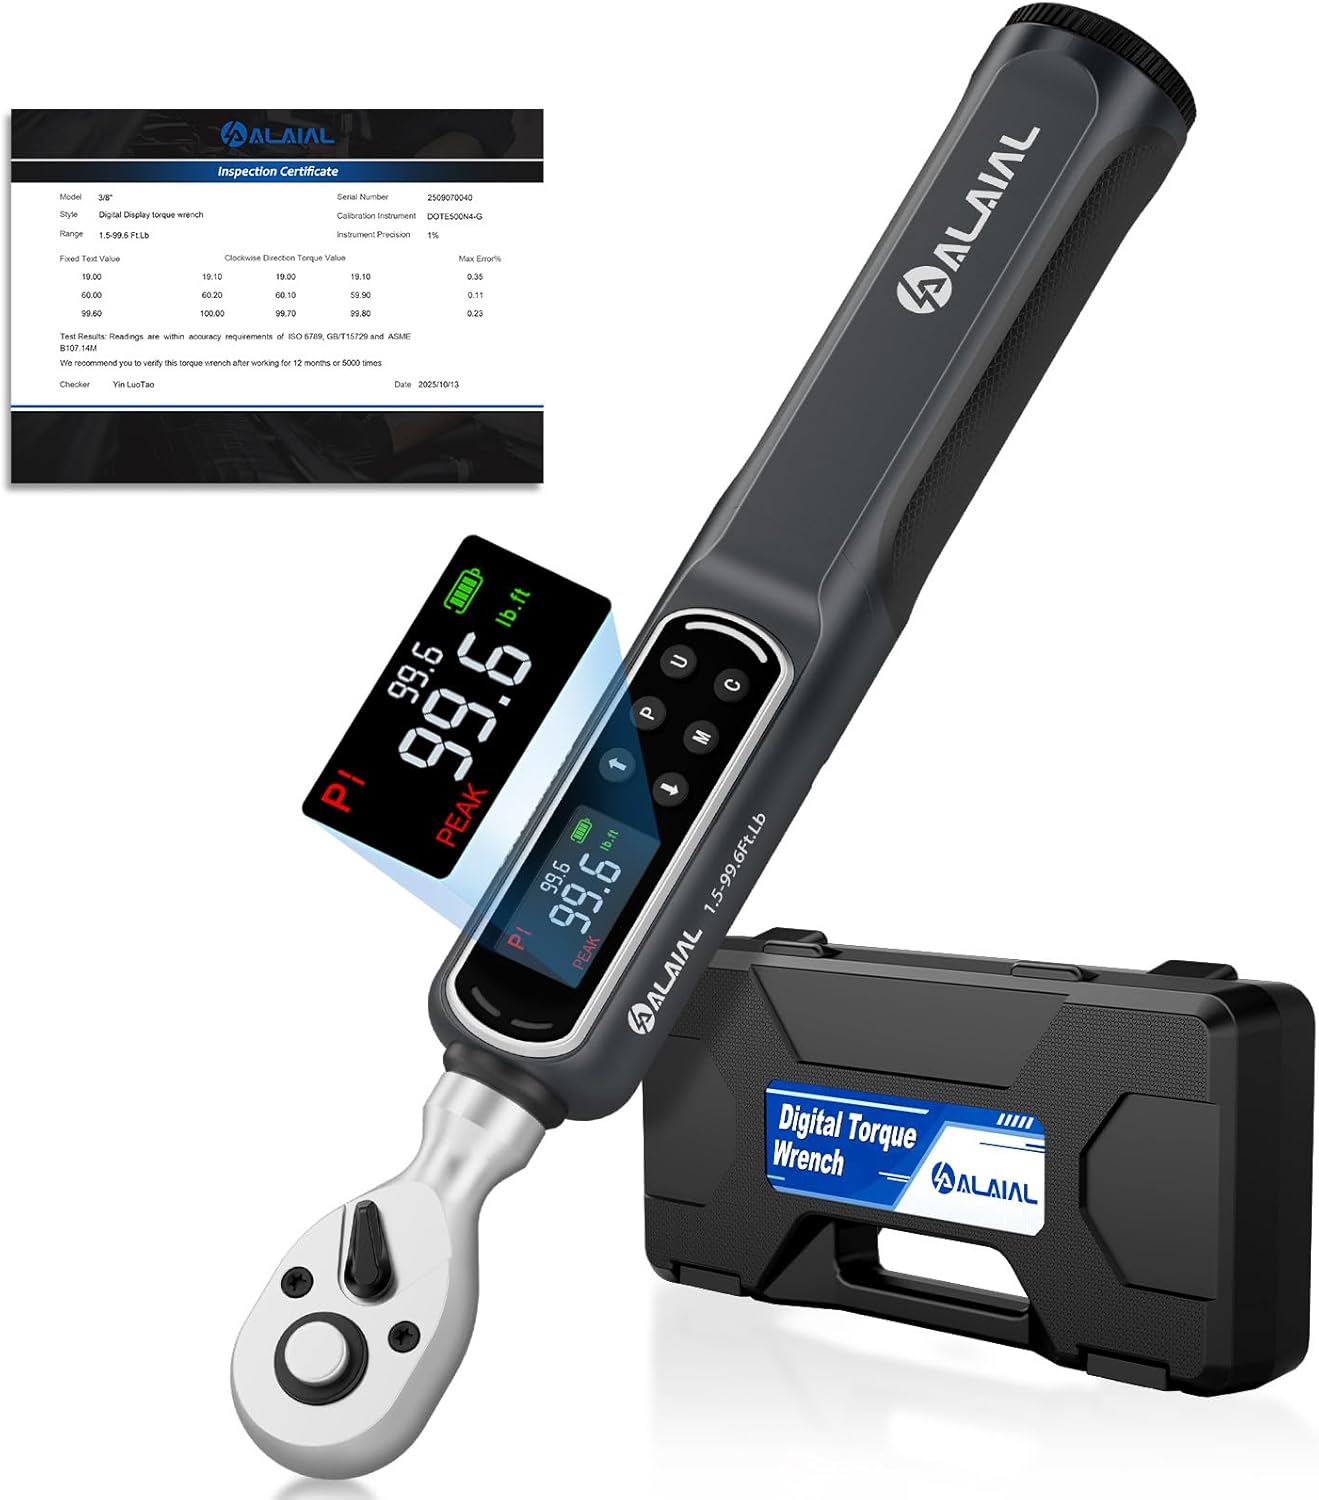
This digital torque wrench delivers precise fastening across a wide torque range with strong accuracy, making it a reliable choice for automotive, motorcycle, and general repair work. Its LED display, buzzer, and vibration alerts help prevent overtightening, while PEAK and TRACE modes plus preset memory and data logging add control and consistency for repeat jobs. Built for comfort and durability, it includes a storage case and batteries for ready-to-use convenience.
Safety First: Stage the Tundra and Gather Tools
Before touching the wheel, make the truck completely stable. Park on a firm, flat concrete or asphalt surface, shift firmly into Park, engage the parking brake, stop the engine, and activate the emergency flashers. If you carry reflective emergency triangles or a high-visibility safety vest, deploy them before retrieving your tools.
If the truck was driven immediately prior to stopping, avoid touching the brake rotor, caliper, or wheel center hub. Heavy truck braking generates extreme friction, and these components can cause severe thermal burns until cooled.
Retrieve the factory jack and tool bag from their dedicated cab compartment. Tool storage locations vary by generation, cab configuration, and powertrain:
- 2007–2021 (Gen 2) Double Cab: Jack and tools are stored under the right rear passenger seat cushion.
- 2007–2021 (Gen 2) CrewMax: Stored behind the right rear seatback. Pull the release strap to fold the seat forward.
- 2022+ (Gen 3) Non-Hybrid: Located in the molded storage tray under the rear passenger bench seat.
- 2022+ (Gen 3) i-FORCE MAX Hybrid: Because the 288V hybrid battery occupies the under-seat storage cavity, the jack and tool kit are secured behind the rear seatback.
For a detailed breakdown of each factory tool piece, see the Toyota Tundra jack and spare-tire tool guide.
Lay the extension rods, jack handle, and lug wrench on a clean mat or flat surface. Place loosened lug nuts in a clean tray or container so threads do not collect dirt or road grit. If your Tundra is equipped with factory or dealer wheel locks, locate the keyed lock socket before proceeding; attempting to remove a locking lug with standard sockets will strip the pattern.
Safety Note: Never place your head, hands, or body under a truck supported solely by a hydraulic or mechanical bottle jack. Factory jacks are engineered exclusively for wheel replacement, not undercarriage maintenance. Always use heavy-duty jack stands if working beneath the frame.
When to Call Roadside Assistance Instead
Changing a full-size truck wheel requires physical exertion and absolute ground stability. Contact professional roadside assistance or a flatbed towing service if:
- The vehicle is stranded on a narrow shoulder with active highway traffic passing within several feet.
- The ground is sloped, wet mud, loose gravel, or soft asphalt where the jack base could sink or tilt.
- The spare tire is underinflated, dry-rotted, visibly damaged, or missing.
- The wheel-lock key is missing, or lug nuts are seized from overtightening with pneumatic impact guns.
- The spare tire hoist mechanism is corroded or seized and will not lower smoothly.
- The truck shifts, leans, or groans while pumping the jack.
[Products Worth Considering]
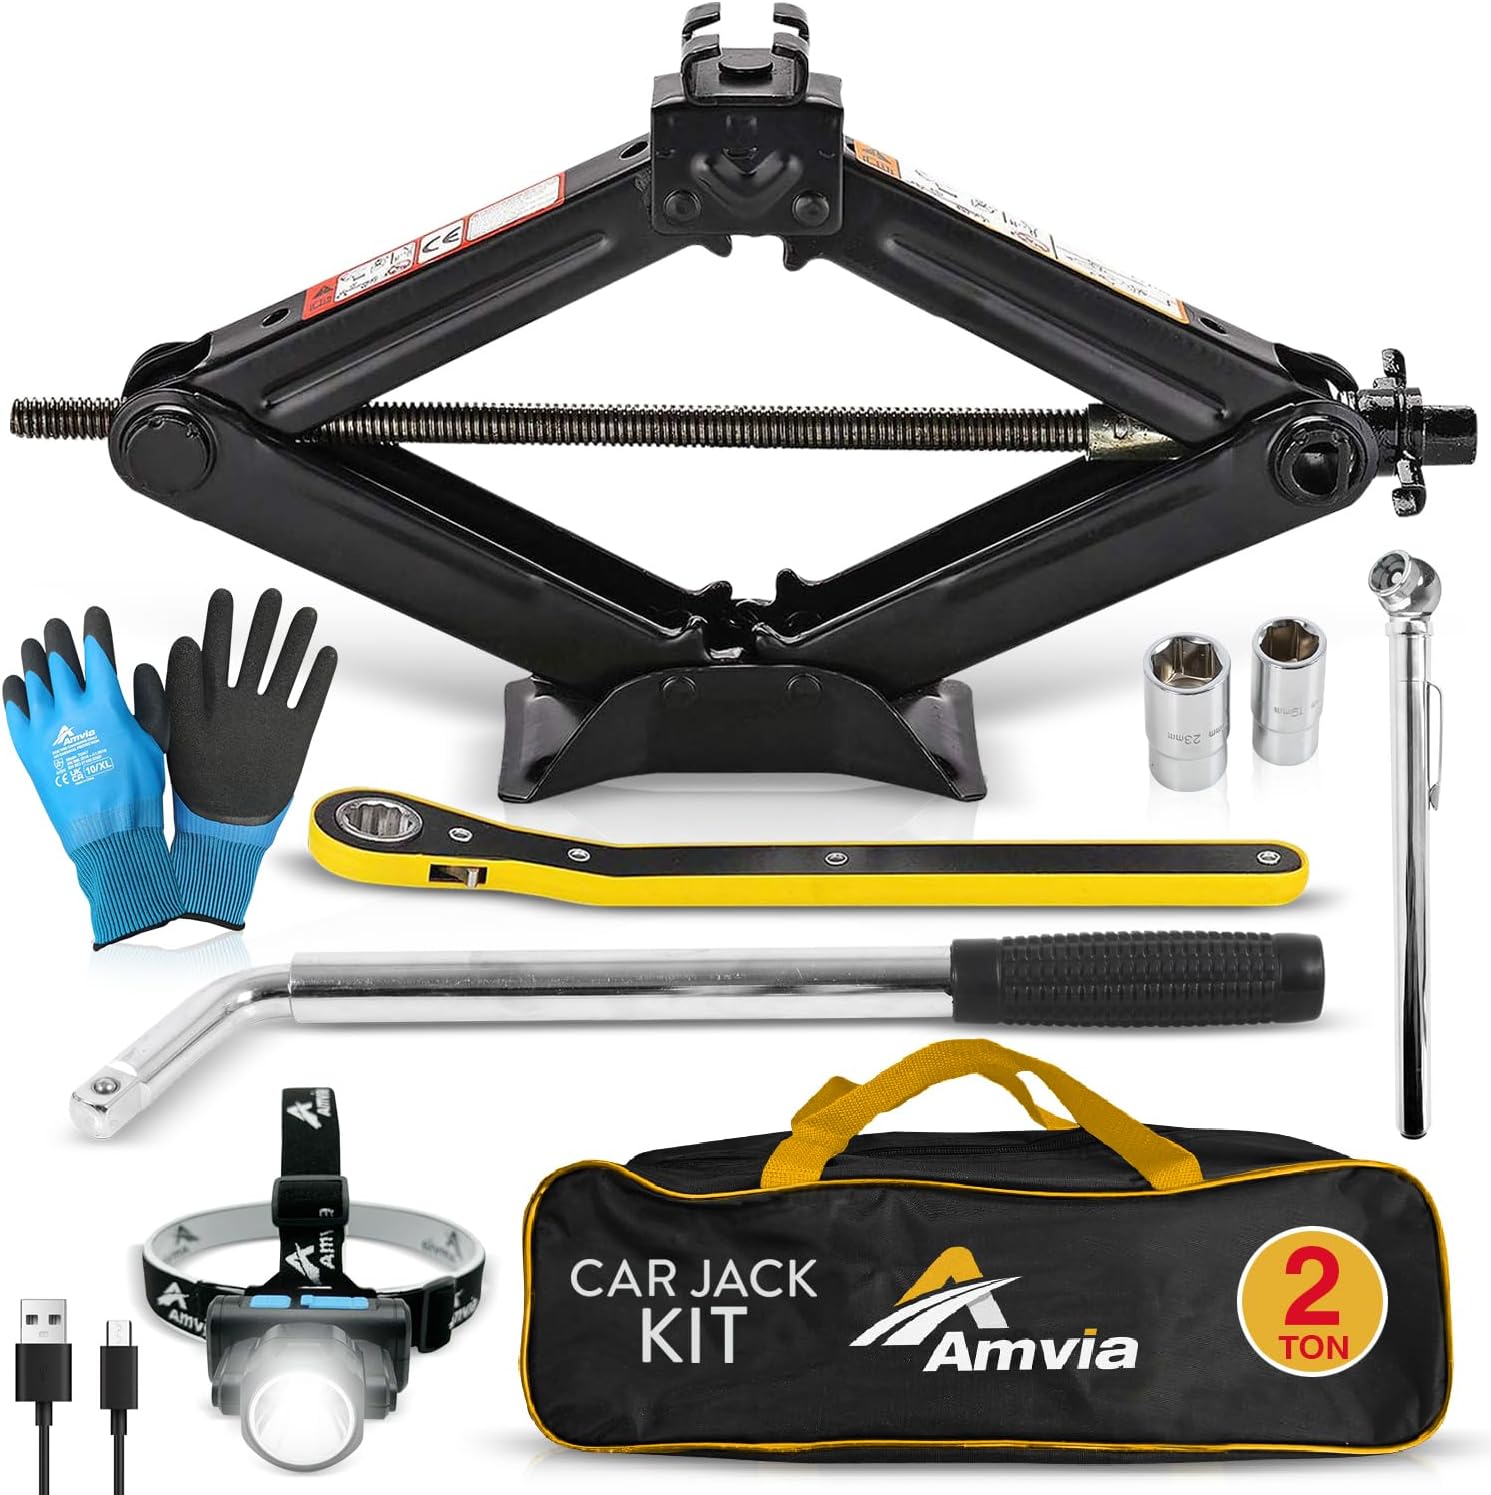
This all-in-one car jack kit is built to help drivers handle flat tire emergencies quickly and safely. It includes a 2 ton scissor jack, telescopic lug wrench, USB rechargeable LED headlamp, tire pressure gauge, gloves, and a storage bag for organized trunk storage. Designed for a wide range of vehicles, it offers a compact, portable solution for roadside tire changes day or night.

This cordless impact wrench delivers high torque for fast lug nut removal, stubborn bolt loosening, and heavy-duty repair work on cars, trucks, and machinery. A brushless motor, dual 21V batteries, variable speed control, and built-in safety protections help you work efficiently with less effort. The included sockets, charger, and storage case make it a ready-to-use kit for home garages and professional jobsites.

This click torque wrench delivers accurate, repeatable tightening for automotive and home repair tasks, helping prevent over-tightening and fastener damage. Its dual-range scale, knurled non-slip grip, and durable ratchet head make it easy to use, while the included extension bar and storage case add extra convenience.
How Do You Lower the Spare Tire From a Toyota Tundra?
The Toyota Tundra spare tire is suspended horizontally beneath the cargo bed forward of the rear bumper. To lower it, assemble the multi-piece extension handle from your factory tool kit and attach the lug wrench to form a crank handle.
Locate the small access opening directly above the center of the rear bumper (or through the designated port near the license plate on newer models). Insert the hook/chisel end of the assembled extension rod straight through the funnel guide until it fully seats into the lowering hoist mechanism screw.
Lowering the Tire
- Assemble the extension rods: Connect the segmented rods firmly, tightening any retaining thumb screws so sections cannot detach inside the guide tube.
- Engage the hoist crank: Slide the tool straight through the access opening until you feel the tip seat squarely into the winch socket.
- Rotate counterclockwise: Turn the handle counterclockwise smoothly. Continue winding down until the spare rests completely flat on the ground and the steel hoist cable develops enough slack to maneuver the retaining bracket.
- Inspect the spare tire: Slide the tire out from beneath the truck. Inspect the tread depth, sidewalls, valve stem, and cold inflation pressure using a reliable tire-pressure gauge before mounting.
Removing the Extension and Retainer
Tilt the steel holding bracket vertically and pass it through the center hub bore of the spare wheel. Pull the extension tool out of the bumper port and lay it aside. Never crawl fully underneath the truck bed while the spare tire is suspended on the winch cable.
Pro Tip: Check the spare tire pressure every 30 days during your regular maintenance routine. Spare tires slowly lose 1 to 2 PSI per month and are often flat when needed in an emergency. Inflate to the cold pressure listed on your driver-side door jamb placard.
Where Should You Place the Chocks and Bottle Jack?
Because full-size pickup trucks carry significant rear-axle weight bias, proper chocking prevents dangerous vehicle roll while one corner is elevated. Chock the wheel diagonally opposite the flat tire (e.g., if changing the front passenger tire, chock both the front and rear of the rear driver-side tire).
Choose the Chock Location
- Verify that the parking brake is fully locked.
- Position the chock wedge firmly against the center tread of the diagonally opposite tire.
- If using a two-piece chock set, wedge one in front of and one behind the selected grounding tire to prevent movement in either direction.
- Confirm the vehicle does not roll or settle before setting the jack.
Use the Correct Factory Jack Points
Never place the jack saddle under steering linkages, oil pans, body floorboards, or drive shafts. Use exclusively the structural lift points specified in the Toyota Tundra service manual:
- Front Jack Points (Left or Right): Position the notched bottle jack saddle directly under the designated jacking bracket on the front lower suspension arm (or the reinforced front crossmember jacking pad on specific 4WD models).
- Rear Jack Points (Left or Right): Position the jack saddle directly beneath the rear axle housing tube, positioned just inboard of the lower shock absorber mount and leaf spring perch.
| Component | Inspection Criteria | Safety Requirement |
|---|---|---|
| Wheel Chocks | Wedged tightly against opposite tire tread | Prevents fore/aft rolling motion |
| Front Jack Point | Lower control arm reinforced bracket | Engages saddle notch squarely |
| Rear Jack Point | Rear axle tube inboard of spring perch | Avoids differential cover and brake lines |
| Ground Surface | Hard concrete, solid asphalt, or leveling plate | Zero jack base sinking or tilting |
Operating the Bottle Jack
Close the hydraulic release valve on the base of the bottle jack by turning it clockwise with the slotted end of the jack handle. Insert the extension handle into the pump sleeve. Pump slowly, confirming that the jack saddle seats squarely into the vehicle lift bracket without slipping as pressure builds.
How Do You Loosen Tundra Lug Nuts Safely?
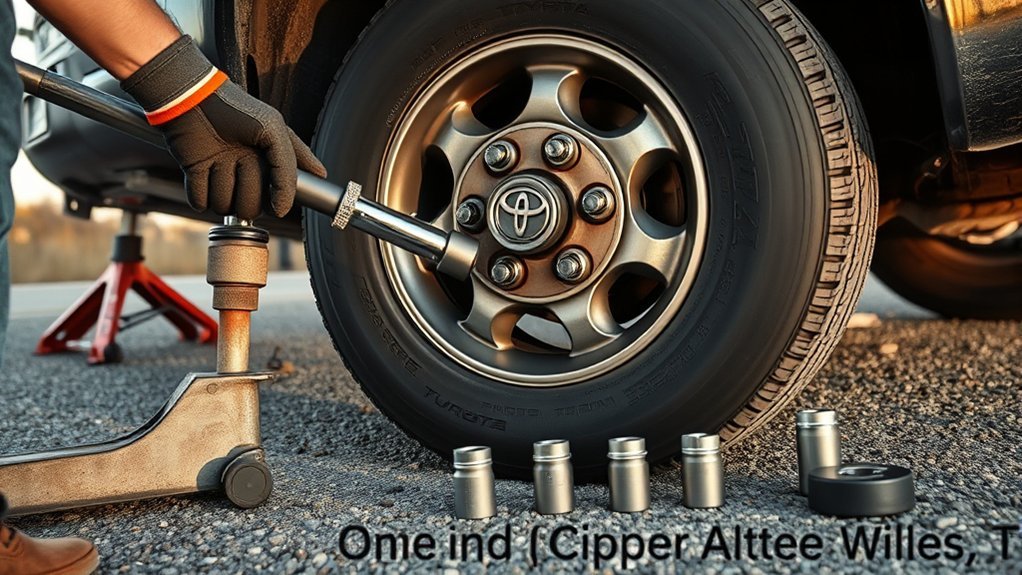
With the flat tire resting firmly on the ground to prevent rotation, seat the 21 mm or 22 mm factory lug wrench completely over the first lug nut. Apply steady, downward counterclockwise pressure using your body weight. Loosen each nut by approximately 1/2 to 1 full turn. Do not remove the lug nuts completely at this stage.
If a lug nut is seized, maintain a balanced stance with your feet shoulder-width apart and push downward on the wrench handle. Never kick the wrench, jump on the handle, or use unrated pipe cheater bars that can slip, snap the wheel stud, or round off the lug nut head.
Raise the Truck Safely and Remove the Flat Tire
After breaking the lug nuts loose, pump the bottle jack handle smoothly until the flat tire clears the pavement by approximately 1.5 to 2 inches (38–50 mm). Keep in mind that the inflated spare tire will have a larger radius than the deflated flat, requiring slight extra clearance.
- Spin the loosened lug nuts off the studs by hand and store them in a clean container.
- Grip the flat tire at the 9 o’clock and 3 o’clock positions. Pull the assembly straight off the wheel studs using your leg muscles rather than straining your lower back.
- Lay the removed flat tire flat on the ground away from traffic to prevent it from rolling.
- Inspect the wheel hub mounting flange. Use a clean rag or wire brush to remove road grime, dirt, or flaking rust scale from the hub face and wheel pilot.
Mechanical Warning: Flaking rust scale or debris trapped between the hub face and the wheel mounting pad will crush and disintegrate under vehicle vibration, causing the lug nuts to lose clamping tension and potentially leading to wheel separation on the road.
Fit the Spare: Align the Wheel and Thread the Lug Nuts
Lift the spare tire onto the hub, aligning the bolt holes with the wheel studs. Slide the wheel straight back until the inner mounting surface rests completely flush against the brake rotor/hub face. Do not force the wheel on at an angle, which can damage the stud threads.
Align the Wheel With the Studs
- Confirm the hub mating surface is clean and free of corrosion build-up.
- Lift the wheel with both hands, using your knee to support the tire weight if needed.
- Guide the rim evenly over the wheel studs until it sits flush against the hub face.
- Verify that the valve stem faces outward and is unobstructed for pressure adjustment.
Hand-Thread the Lug Nuts
Always thread every lug nut onto the wheel studs by hand for at least 3 to 4 full clockwise turns before introducing a wrench. This guarantees proper thread engagement and eliminates the risk of cross-threading.
Bolt Pattern Tightening Sequence:
- 2007–2021 Tundra (5-Lug Pattern): Tighten in a 5-point star sequence (1 → 3 → 5 → 2 → 4).
- 2022+ Tundra (6-Lug Pattern): Tighten in an alternating crisscross pattern (1 → 4 → 2 → 5 → 3 → 6).
Snug all lug nuts evenly with the hand wrench in this pattern until the wheel is held firmly against the hub. Do not attempt final high-torque tightening while the truck is elevated on the bottle jack.
Initial Lug Tightening and Lowering the Truck
Carefully fit the jack handle extension onto the release valve at the base of the bottle jack. Slowly turn the valve counterclockwise by a quarter turn to lower the vehicle smoothly until the spare tire makes firm contact with the ground and can no longer rotate.
Once the full weight of the truck is supported on the ground, open the release valve fully, slide the bottle jack out from under the vehicle, and set it aside.
What Is the Correct Toyota Tundra Lug-Nut Torque?
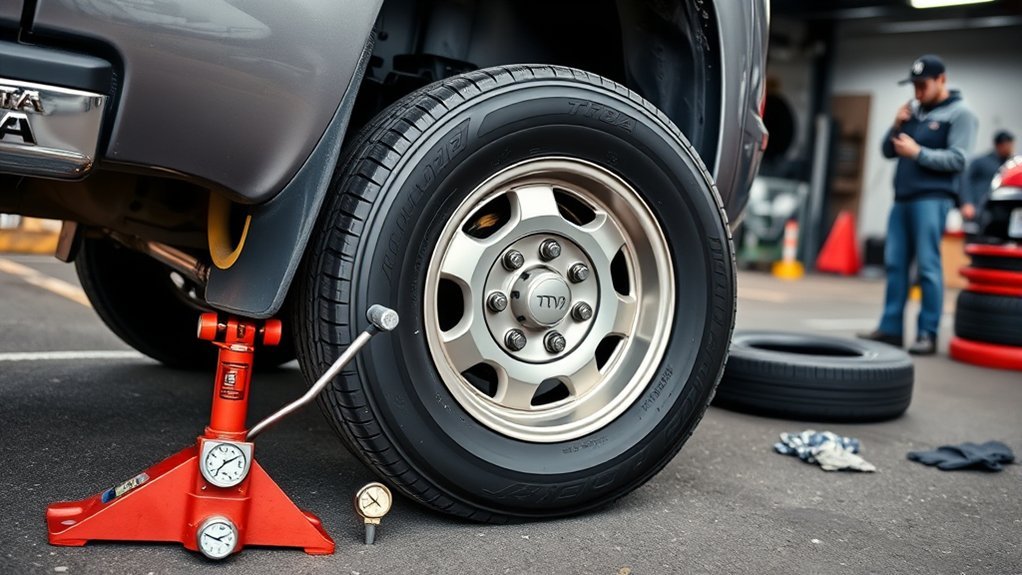
The correct lug-nut torque for a 2022+ Toyota Tundra is 154 ft-lbf (209 N·m) for factory steel wheels and 97 ft-lbf (131 N·m) for aluminum alloy wheels. Apply final torque using a calibrated clicker-type or digital torque wrench, tightening in an alternating star/crisscross sequence in two progressive stages.
| Installed Wheel Type | Factory Torque Specification | Required Clamping Condition |
|---|---|---|
| Steel Wheel (including factory steel spare) — 2022+ Models | 154 ft-lbf / 209 N·m | Clean, dry threads (do NOT lubricate studs) |
| Aluminum Alloy Wheel — All Model Years | 97 ft-lbf / 131 N·m | Verify washer-seat vs. conical-seat nut type |
| Steel Wheel — 2007–2021 (Gen 2 Models) | 97 ft-lbf / 131 N·m (consult manual) | Check specific model-year manual for variations |
Torque Warning: Never apply grease, engine oil, or anti-seize compound to wheel studs or lug nut mating surfaces. Factory torque specifications are calibrated specifically for clean, dry threads. Adding lubricants reduces thread friction and significantly over-stretches the wheel studs at rated torque, risking stud failure.
Tight is not the same as correctly torqued. An uncalibrated impact gun can warp brake rotors or stretch studs, while an undertightened wheel can back off under load. A calibrated torque wrench guarantees factory clamping safety.
Check the spare tire inflation pressure immediately using a tire-pressure gauge. If you tightened the wheel with the roadside lug wrench, drive at moderate speeds directly to a tire center or service station to verify exact torque settings. Toyota mandates retightening all wheel nuts within 100 miles (160 km) after any wheel installation.
[Products Worth Considering]

The DEWALT 20V MAX XR 1/2-inch high torque impact wrench delivers powerful fastening and breakaway performance for demanding jobs like wheel lugs, pipe flanges, and anchor setting. Its 4-mode control, variable speed trigger, and precision wrench mode help improve accuracy and reduce overtightening, while the on-tool LED light boosts visibility in dark work areas. Built with a brushless motor, battery guard, and durable housing, it is designed for tough jobsite use.

This EL-50448 TPMS relearn tool helps quickly activate and reset tire pressure sensors so your vehicle’s monitoring system stays accurate after tire rotations, sensor replacement, or seasonal tire changes. Designed for many GM-related vehicles and compatible with common 315 and 433 MHz TPMS systems, it offers simple one-button operation and reliable performance for clearing warning lights and relearning sensor positions.

This TPMS sensor training tool is designed for Ford, Lincoln, and Mercury vehicles with compatible tire pressure sensors, helping activate sensors after tire rotations or sensor replacement. It supports relearning and warning light reset workflows with a simple one-button operation, making tire pressure maintenance easier and faster. Built for reliable use and broad vehicle compatibility, it is a practical accessory for TPMS service and sensor activation.
How Fast Can You Drive on a Toyota Tundra Spare?
Operating restrictions depend on whether your Tundra is fitted with a temporary compact spare or a full-size spare tire:
- Temporary Spare Tire: If the tire sidewall displays “TEMPORARY USE ONLY,” do not exceed 50 mph (80 km/h). Avoid aggressive throttle application, heavy cornering, off-road driving, or trailer towing. Travel only the distance necessary to reach a repair facility.
- Full-Size Spare Tire: While a full-size spare supports highway speeds, drive cautiously until you confirm that its tread depth, brand construction, load index, and inflation match the other axle tire.
TPMS Warning Light Note: If your spare wheel is not equipped with a programmed Tire Pressure Monitoring System sensor (standard on many factory steel spares), the TPMS indicator light on your gauge cluster will flash for approximately one minute and remain illuminated. This is normal behavior and does not indicate an immediate leak in the spare, provided you have manually verified cold tire pressure with a gauge.
4WD Drivetrain Warning: On four-wheel-drive Tundra models, driving with a spare tire that has a noticeable outer diameter or tread depth difference compared to the opposing tire can place severe stress on differentials and transfer case clutches. Disengage 4WD and operate in 2WD mode until the flat tire is repaired and remounted.
Stow the Tools, Secure the Tire, and Visit a Tire Shop
Once the truck is lowered and torqued, return all gear to its proper storage place to prevent loose items from shifting during travel:
- Slide the damaged flat tire into the under-bed carrier location, pass the hoist bracket through the center bore, and wind the winch clockwise until the tire is pulled tight against the subframe. Confirm it is fully secured by trying to push and rotate the tire by hand.
- Retract the bottle jack ram fully, close the release valve, and lock the jack and extension rods back into their factory retaining brackets under or behind the rear seat.
- Collect wheel chocks, gloves, and the wheel-lock key.
- Proceed promptly to a tire professional to patch, plug, or replace the damaged tire and perform a final 100-mile torque check.
Troubleshooting Common Tundra Flat-Tire Problems
Lug Nuts Will Not Loosen
Ensure the wrench socket is fully seated over the nut. Position the wrench handle horizontally to the ground and press downward with your body weight. If the nuts were severely overtightened with an impact wrench, do not bounce or kick the tool; contact roadside service with a high-torque breaker bar.
Wheel Is Stuck to the Hub
Ensure all lug nuts are completely removed. If galvanic corrosion has bonded the aluminum wheel center bore to the steel hub pilot, firmly strike the tire sidewall (never the rim) with the palm of your hand or a rubber mallet from the outside. Never crawl beneath a jack-supported vehicle to kick the wheel from behind.
Jack Feels Unstable
Halt work immediately. Carefully lower the truck, reset the bottle jack saddle onto the designated structural lift point, and ensure the base rests flat on a solid, unyielding surface. Use a heavy hardwood or steel base plate if soft asphalt is unavoidable.
Spare Is Flat or Damaged
Do not install a spare showing deep sidewall cracking, bulges, bead separation, or severe underinflation. If a portable 12V tire inflator cannot bring the tire to specified pressure, call roadside towing.
Frequently Asked Questions
How do you take off the spare tire on a Toyota Tundra?
Assemble the factory extension rods and attach the lug wrench to form a crank handle. Insert the tool straight into the hoist access opening located above the rear bumper (or beside the license plate). Turn counterclockwise until the spare rests flat on the ground and the cable slack allows you to tilt and slide the steel retaining bracket out through the center hub bore.
Can I change a Toyota Tundra flat tire myself?
Yes, provided the truck is parked on firm, level ground away from traffic, you follow factory jacking points, and you have the required bottle jack, extension tools, chocks, and torque wrench. If conditions are unsafe or lug nuts are seized, call professional roadside assistance.
Where is the jack stored on a Toyota Tundra?
On 2007–2021 CrewMax models, the jack and tool kit are stored behind the right rear seatback. On 2007–2021 Double Cab and 2022+ non-hybrid models, they are under the right rear seat bench. On 2022+ i-FORCE MAX Hybrid models, the tools are stored behind the rear seatback because the hybrid battery occupies the under-seat storage space.
Can you replace just one tire on a 4WD truck?
You can safely install the spare to reach a repair shop, but permanent replacements on 4WD vehicles must match existing tires in outer diameter, construction, and tread depth. Significant rolling diameter differences between tires on the same axle can bind differentials and strain four-wheel-drive transfer cases.
What is the Toyota Tundra lug-nut torque specification?
For 2022+ (Gen 3) models, Toyota specifies 154 ft-lbf (209 N·m) for factory steel wheels and 97 ft-lbf (131 N·m) for aluminum alloy wheels. For 2007–2021 (Gen 2) models, factory wheels are typically torqued to 97 ft-lbf (131 N·m). Always torque on clean, dry threads without lubricant.
How fast can you drive on a Toyota Tundra spare tire?
If the spare is marked “TEMPORARY USE ONLY,” observe a maximum speed limit of 50 mph (80 km/h) and avoid towing or off-road driving. Full-size matching spares can be driven at normal highway speeds once verified for correct cold inflation pressure and structural condition.
Conclusion
Safely changing a flat tire on a Toyota Tundra requires firm ground setup, proper wheel chocking, precise bottle jack placement on structural axle or suspension points, and strict adherence to dry-thread torque values. Always verify whether your spare is a temporary or full-size unit, confirm inflation pressure with a physical gauge, and retighten all lug nuts within 100 miles of driving to keep your truck running safely.
Sources
- Toyota Owners — 2022 Tundra Hybrid: If You Have a Flat Tire — Official manufacturer documentation for roadside procedures, steel vs. aluminum wheel torque ratings, and 100-mile retightening specifications.
- Toyota Owners — 2020 Tundra Manuals and Warranties — Model-year guidance for Gen 2 cab configurations, tool storage compartments, and factory wheel specifications.
- NHTSA TireWise Program — National Highway Traffic Safety Administration standards on tire aging, monthly cold inflation monitoring, and road safety protocols.
- eCFR — 49 CFR 571.138 Tire Pressure Monitoring Systems — Federal safety regulations governing TPMS dashboard warning operations and spare-wheel exemptions.