
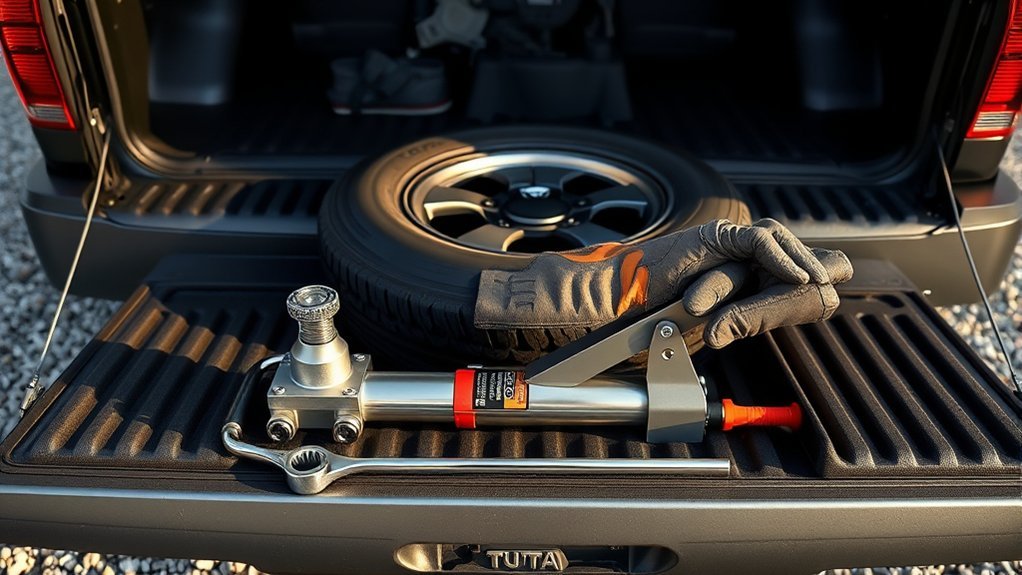
A flat tire on a Toyota Tundra is manageable if you slow down, work on solid level ground, and use the truck’s factory jack and spare-tire lowering tools in the right order. The safest sequence is simple: secure the truck first, lower the spare, loosen the lug nuts while the flat tire is still on the ground, jack only at the approved point, install the spare, then torque the lug nuts with the correct spec for your wheel and model year.
Quick Answer
To use the Toyota Tundra jack and spare tire tools, park on a hard, level surface, set the parking brake, chock the opposite wheel, assemble the jack handle extension, and turn the lowering tool counterclockwise through the tailgate access hole to lower the spare. Then jack at the approved point, swap wheels, and torque the lug nuts in a star pattern.
Key Takeaways
- Use the owner’s manual for your exact Tundra year because jack points, tool storage, and torque specs can vary.
- Loosen lug nuts before lifting the truck, but do not remove them until the tire is off the ground.
- Never crawl under a Tundra supported only by the factory tire jack.
- Many Tundras use 97 ft-lbf for aluminum wheels and 154 ft-lbf for steel spare/wheels, but the manual and wheel type control the final spec.
- If the truck is on a slope, soft shoulder, or busy roadside, call roadside assistance instead of trying to change the tire yourself.
At a Glance
| Time Required | 20–40 minutes in a safe location |
| Difficulty | Moderate; the spare and wheels are heavy |
| Tools Needed | Factory jack, tool bag, jack handle extensions, tire iron/lug wrench, wheel chocks, gloves, flashlight, wheel-lock key if equipped, and a torque wrench |
| Cost | $0 if your spare and factory tools are present; tire repair or replacement cost may apply afterward |
Prep & Safety for Changing a Toyota Tundra Tire
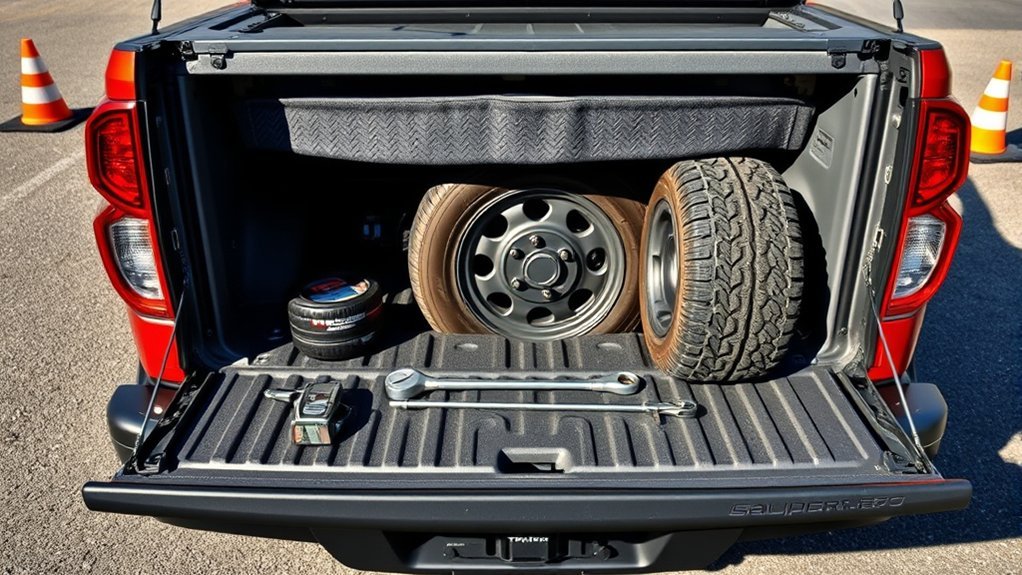
Before touching the jack, move the Tundra as far from traffic as you safely can. Choose a parking lot, driveway, wide shoulder, or another hard, flat surface. Shift to Park, turn on the hazard lights, set the parking brake, and shut off the engine.
Use the Toyota owner’s manual for your exact model year as the final authority. Toyota changes tool layouts, jack-point details, and service specs across years, trims, cab styles, and wheel packages.
Warning: Do not change a tire on a steep slope, soft dirt, gravel shoulder, narrow highway shoulder, or any spot where traffic can reach you. Do not place any part of your body under the truck while it is supported only by the factory jack.
When to Call Roadside Assistance Instead
Call roadside assistance or a tow service if the truck is not in a safe work area, the spare tire is missing or flat, the jack is damaged, the wheel-lock key is missing, the lug nuts will not loosen, or the truck shifts while you begin lifting. Also stop and call for help if the flat tire, wheel, studs, or hub looks damaged.
Check the Spare Before You Rely on It
Before you install the spare, inspect the sidewalls, tread, valve stem, and air pressure. The correct spare pressure is listed on your tire placard or in the owner’s manual, not on a guess. The NHTSA TireWise program recommends regular tire-pressure and tread checks, and that includes the spare.
Retrieve and Assemble the Tundra Jack and Lowering Tool
On many late-model Tundras, the jack and tool bag are stored under or behind the rear seat area. Fold or lift the rear seat as directed in your manual, release the tightening strap or bungee, and remove the jack and tool bag. Lay the parts on the ground so you can see the jack handle extensions, hook end, tire iron/lug wrench, and any wheel-lock key.
[Products Worth Considering]

This wheel lock key set is designed to help remove and replace compatible Toyota and Lexus wheel locks with confidence. It includes four wheel lock nuts and one key, offering a practical replacement solution for many popular models while supporting secure wheel protection and reliable fitment. Built for durability and corrosion resistance, it is a useful choice when matching OE reference numbers and vehicle compatibility is important.

This wheel lock lug nut set adds an extra layer of theft protection for compatible Toyota and Lexus vehicles by securing wheels with a unique key pattern that resists common removal tools. Built to OEM-standard fitment with corrosion-resistant, triple-chrome finished construction, it is designed for direct replacement and long-lasting performance. The set includes locking nuts and a matching key for easy installation on compatible vehicles with the correct thread and cone seat specifications.
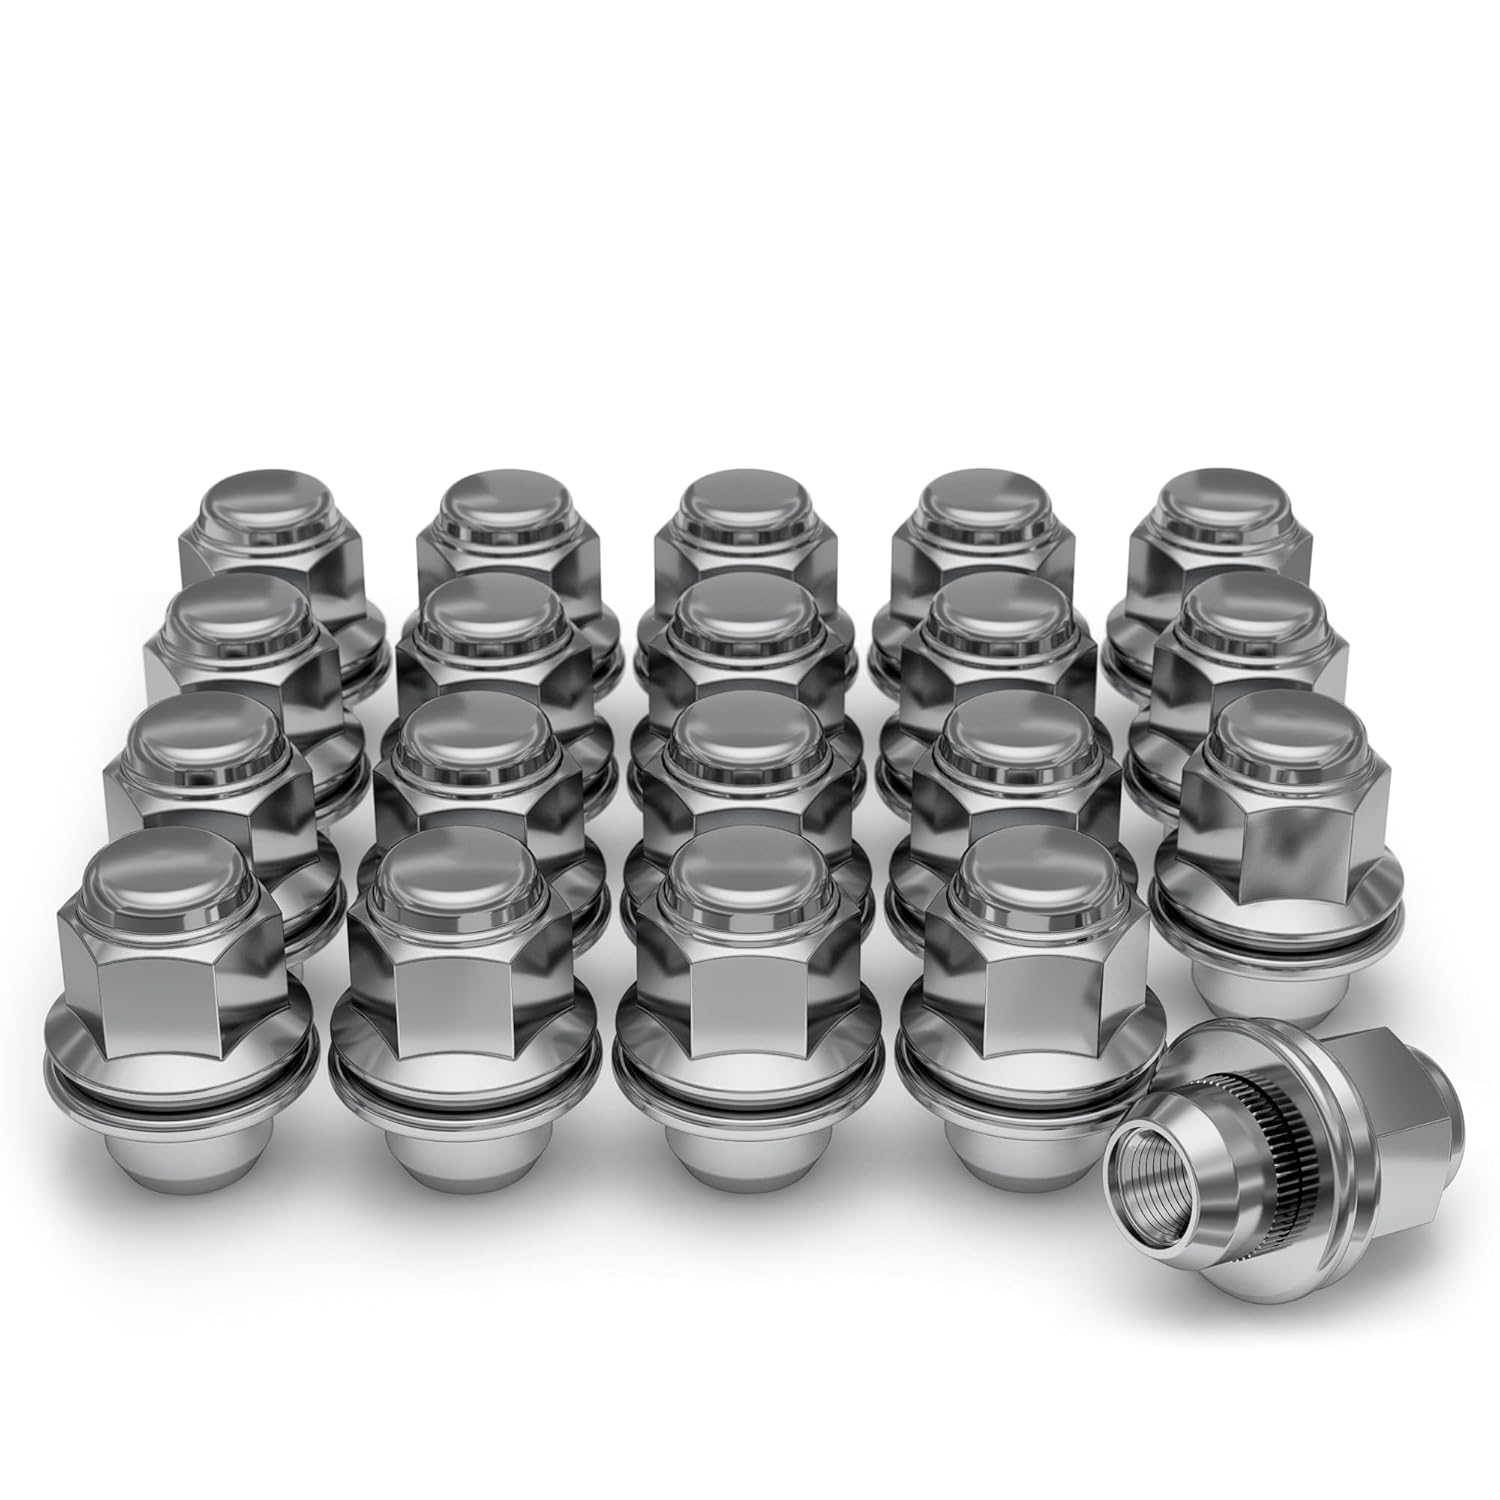
These White Knight mag-style lug nuts are designed for select Toyota, Lexus, Kia, and Genesis vehicles, delivering a secure fit and a clean factory-inspired look. Made from heat-treated cold forged carbon steel with a chrome finish, they offer durable strength, reliable corrosion resistance, and easy installation with a traditional hex-body, flat-seat design. Use them to replace worn or damaged lug nuts while maintaining proper wheel fitment and dependable performance.
Locate Jack and Tools
Find the tool bag and inspect every piece before you begin. Dirt, rust, bent extensions, or loose connections can make the job harder and less safe. Confirm that the lug wrench fits the lug nuts and that the jack screw moves smoothly.
| Item | Action |
|---|---|
| Jack storage | Release strap or bungee and inspect the jack mount |
| Tool bag | Confirm the handle extensions, hook end, and tire iron are present |
| Wheel-lock key | Find it before loosening lugs if your truck has locking lug nuts |
| Owner’s manual | Verify jack points, tool layout, and torque spec for your model year |
Assemble the Lowering Pole
Connect the middle pole to the hook end, making sure the ball detents or locking points snap securely into place. Attach the tire iron through the end of the pole to create the lowering tool. Tug lightly on the joints before inserting the tool so it does not separate while you are lowering the spare.
- Lay the extension pieces on the ground in order.
- Connect the middle pole to the hooked end.
- Attach the tire iron or lug wrench for leverage.
- Check that every connection is locked before using the tool.
Secure Connections Carefully
A loose lowering tool can slip out of the spare-tire carrier screw or bind inside the access hole. Inspect each joint for dirt, damage, or play. If a connection feels loose, separate the pieces, clean the ends, and reattach them until they lock firmly.
Pro Tip: Keep the tool bag, lug nuts, wheel-lock key, and jack handle pieces in one small area beside the truck. Roadside tire changes become harder when parts roll under the vehicle or into the grass.
Lower the Spare Tire Safely Through the Access Hole
Stand at the tailgate and locate the spare-tire access hole above the underbody spare. Insert the assembled lowering tool through the cutout until the hook end engages the lowering screw. Turn the tool counterclockwise to lower the spare tire.
- Confirm the access hole is clear and the lowering tool is fully assembled.
- Insert the tool straight through the tailgate access point until it seats in the lowering screw.
- Turn counterclockwise until the spare tire rests fully on the ground.
- Push slack into the cable if needed, then remove the holding bracket from the center of the spare.
- Pull the spare out from under the truck and move the extension pole away from the work area.
Note: If the spare will not lower, do not force the tool hard enough to bend it. Re-seat the hook, make sure you are turning the lowering screw counterclockwise, and check for corrosion or cable binding. If it still will not move, call roadside assistance or a tire shop.
[Products Worth Considering]
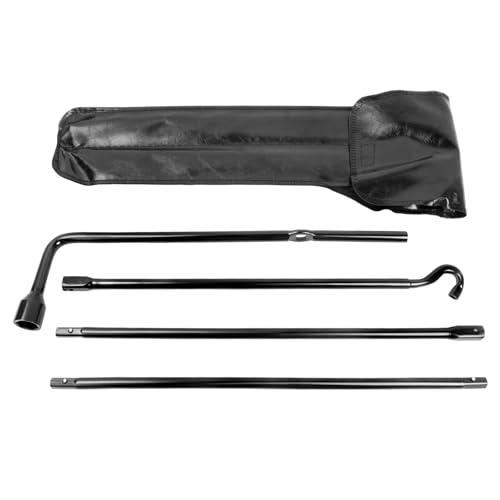
Durable strong rustproof automotive grade steel, tubing instead of soil designed

【Applicable Models】:Compatible with 2007-2021 Tundra, 2008-2021 Sequoia
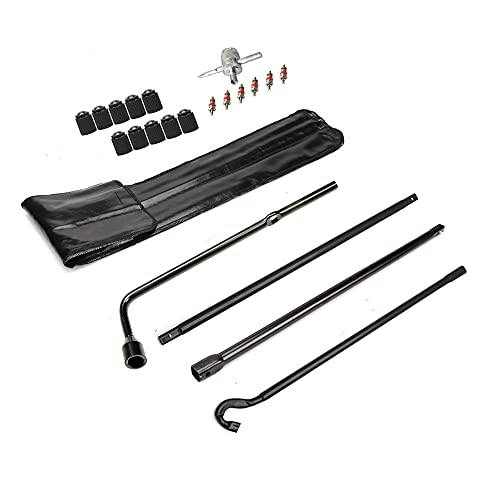
Premium OEM Upgraded Quality Spare Tire Tool: Stable strong rustproof automotive grade steel,tubing instead of soil designed made it more light,not only stong but also convenient.
How to Chock, Jack Up, and Remove the Flat Tire
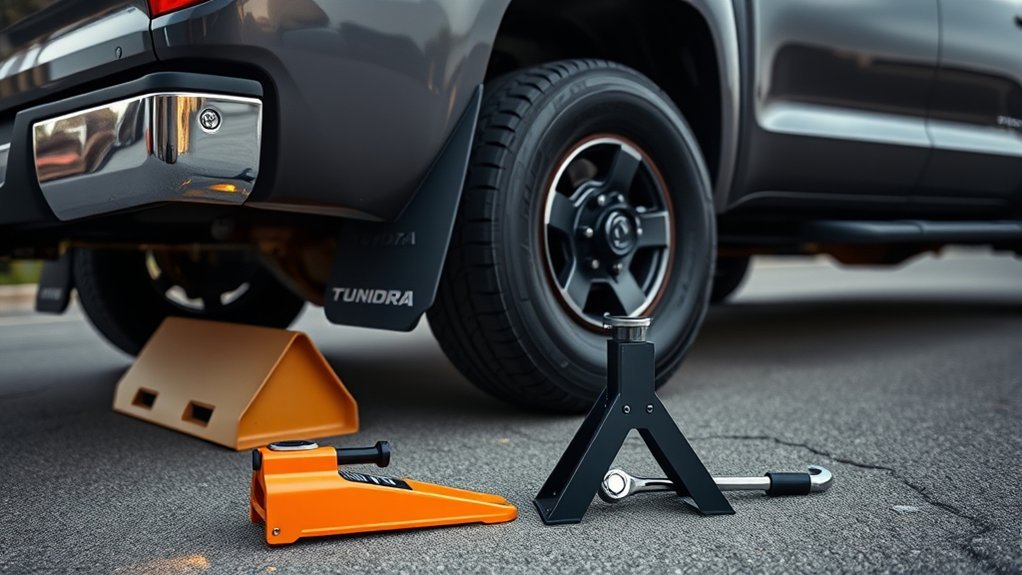
Place wheel chocks before you loosen the lug nuts or lift the truck. Chocks help stop the Tundra from rolling while one corner is raised. Use real wheel chocks if you have them; a rock or wood block is not as reliable.
Wheel Chocking Placement
Chock the wheel diagonally opposite the flat whenever possible. Push the chock firmly against the tire tread so there is no gap.
| Flat Tire Location | Best Chock Location |
|---|---|
| Front driver-side tire | Rear passenger-side tire |
| Front passenger-side tire | Rear driver-side tire |
| Rear driver-side tire | Front passenger-side tire |
| Rear passenger-side tire | Front driver-side tire |
If you are on even a slight incline and cannot move to flat ground, do not continue. The Tundra is heavy, and a factory jack is intended for emergency tire replacement on stable ground only.
Loosen the Lug Nuts Before Lifting
With the flat tire still touching the ground, use the tire iron or lug wrench to loosen each lug nut about one turn. Do not remove the lug nuts yet. Loosening them on the ground keeps the wheel from spinning and reduces stress while the truck is raised.
Pro Tip: If a lug nut is stuck, apply steady pressure rather than bouncing on the wrench. If it still will not move, stop before rounding the nut or shifting the truck off the jack point.
Proper Jack Positioning
Place the bottle jack only at the approved jacking point shown in your Tundra owner’s manual. The jack must sit straight, with its base flat on solid ground. Raise the truck slowly and watch the jack, tire, and chocks as you lift.
- Position the jack squarely at the correct jacking point.
- Use the jack handle to raise the truck until the flat tire just clears the ground.
- Remove the loosened lug nuts and place them in a safe spot.
- Pull the flat tire straight off the studs. If it sticks, tap the tire sidewall with your palm or foot while staying clear of the underside of the truck.
- Lift the spare onto the studs and hand-thread every lug nut before using the wrench.
Warning: Never start lug nuts with a power tool. Cross-threaded studs can fail or require expensive hub repair. Each lug nut should spin on by hand for several turns before you snug it.
Tundra Lug-Nut Order and Torque Specs: Steel vs. Aluminum
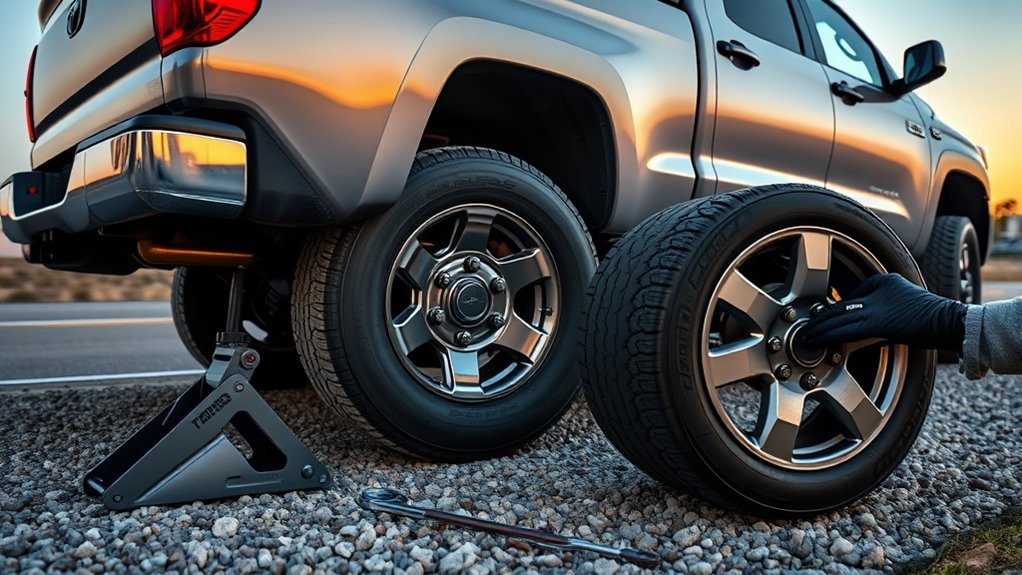
Tighten the lug nuts in a star pattern so the wheel seats evenly against the hub. Snug the nuts while the truck is still raised, then lower the tire until it just touches the ground and cannot spin. Finish with a calibrated torque wrench.
Use the torque spec for your exact model year, lug nuts, and wheel type. Many Toyota Tundra service references list 97 ft-lbf (131 N·m) for aluminum wheels and 154 ft-lbf (209 N·m) for steel wheels or steel spare-wheel applications. Toyota’s flat-tire instructions for late-model Tundras commonly show 154 ft-lbf for the spare-wheel procedure. If your owner’s manual, wheel maker, or Toyota service information gives a different value, follow that source.
| Wheel Type | Common Tundra Torque Reference | What to Verify |
|---|---|---|
| Factory aluminum wheel | 97 ft-lbf / 131 N·m | Owner’s manual, Toyota service info, and wheel package |
| Steel spare or steel wheel | 154 ft-lbf / 209 N·m | Spare-wheel instructions and manual flat-tire section |
| Aftermarket wheel | Wheel-maker spec controls | Wheel manufacturer, lug-seat style, and stud compatibility |
- Hand-tighten all lug nuts first.
- Snug the first lug nut, then move to the lug nut across from it.
- Continue in a star or crisscross pattern until all nuts are snug.
- Lower the truck until the tire just contacts the ground.
- Use a torque wrench to tighten each lug nut to the correct spec in the same star pattern.
- Fully lower the truck, remove the jack, and recheck every lug nut once more.
Note: Do not oil or grease the wheel studs unless Toyota service information specifically tells you to. Lubricated threads can change clamping force and lead to incorrect torque.
Final Checks, Storing Tools, and When to Visit a Tire Shop
After the spare is installed and torqued, walk around the truck before driving away. Confirm that the jack is fully lowered, the lug wrench and handle extensions are off the ground, the wheel chocks are removed, and the spare or flat tire is secure.
Stow the flat tire according to your manual. On some Tundras, the holding bracket must sit through the wheel opening in a specific orientation before you raise the tire back under the bed. Turn the lowering tool clockwise to raise the tire carrier until the tire is tight and cannot move. Toyota warns that improper stowing can damage the spare tire carrier or allow the tire to come loose.
Return the jack, lug wrench, lowering tool, wheel-lock key, and tool bag to their storage positions. Secure the jack with its strap or bungee so it cannot shift while you drive.
A spare tire is a temporary solution to get you safely moving again, not a reason to delay tire inspection or repair.
After Driving on the Spare
Drive cautiously after installing the spare, especially if the spare wheel or tire does not match the other wheels. Avoid hard cornering, heavy towing, high speeds, and long-distance driving until the damaged tire is repaired or replaced. Many tire shops recommend rechecking lug-nut torque after 50–100 miles, especially after a wheel has been removed and reinstalled.
When to Visit a Tire Shop
Visit a tire shop or Toyota service center if you feel vibration, hear clicking, notice pulling, cannot reach the proper torque, see damaged studs, or find sidewall damage on the flat tire. A puncture in the tread may be repairable, but sidewall damage, severe tread damage, old tires, or a bent wheel usually require replacement.
Troubleshooting Common Tundra Spare Tire Tool Problems
[Products Worth Considering]

14mmx1.5 OE Factory Mag Seat Lug Nuts Replacement for 1998-2007 LX470, 2008-2021 LX570, 1998-2021 LAND CRUISER,2008-2021 SEQUOIA,2007-2021 TUNDRA Stock Wheels .To ensure the accuracy of our service, please carefully check the specific model of your vehicle. If you have any questions, feel free to contact us at any time.

Replaces Part: We can provide the perfect replacement for your 14mmx1.5 OE Factory Mag Seat Lug Nuts Replacement for 1998-2007 LX470, 2008-2021 LX570, 1998-2021 LAND CRUISER,2008-2021 SEQUOIA,2007-2021 TUNDRA Stock Wheels

One Piece Design: Our wheel lug nuts are a great choice to replace the original two-piece design nuts. They feature a sturdy one-piece construction and are heat-treated, which effectively prevents the expansion and cracking issues commonly found in original nuts.
The Spare Tire Will Not Lower
Re-seat the lowering tool and make sure the hook is engaged in the lowering screw. Turn counterclockwise with steady pressure. If the cable is rusted, jammed, or the mechanism will not move, do not crawl under the truck to force it loose. Call roadside assistance or a shop.
A Lug Nut Is Stuck
Make sure the wrench is fully seated. Use slow, steady force while the tire is on the ground. Do not use the factory jack as a brace, and do not continue if the lug nut starts to round off. A damaged lug nut or stud can make the truck unsafe to drive.
The Wheel Is Stuck to the Hub
After the lug nuts are removed and the truck is safely raised, a wheel can still stick because of corrosion. Stand beside the tire, stay out from under the truck, and strike the tire sidewall with your palm or foot. Do not hit the wheel face with a metal hammer.
You Have Wheel Locks
If your Tundra has wheel locks, find the wheel-lock key before lifting the truck. If the key is missing, roadside assistance or a tire shop is the safest option.
Frequently Asked Questions
How do you get the spare tire down on a Toyota Tundra?
Assemble the jack handle extensions and tire iron, insert the tool through the tailgate access hole, engage the lowering screw, and turn counterclockwise until the spare rests on the ground. Then remove the holding bracket and slide the spare out from under the truck.
Where are the Toyota Tundra jack and spare tire tools?
On many late-model Tundras, the jack and tool bag are stored under or behind the rear seat area and secured with a strap or bungee. Check your owner’s manual because the exact location can vary by model year, cab, and trim.
Which way do you turn the Tundra spare tire lowering tool?
Turn the lowering tool counterclockwise to lower the spare tire. After the flat tire or spare is back in the carrier, turn the tool clockwise to raise and secure it.
What is the lug nut torque for a Toyota Tundra?
Use the spec for your exact model year and wheel type. Many Tundra references list 97 ft-lbf for aluminum wheels and 154 ft-lbf for steel wheels or steel spare-wheel applications. If your owner’s manual, wheel maker, or Toyota service information gives a different value, follow that source.
Can you drive normally on a Toyota Tundra spare tire?
Drive cautiously until the original tire is repaired or replaced. If the spare is a full-size matching tire in good condition, it may be more capable than a compact spare, but you should still confirm pressure, tread, age, and wheel compatibility before treating it like a regular tire.
What if the spare tire or lug nuts will not come loose?
Stop before damaging the tool, lug nuts, studs, or spare-tire carrier. Re-seat the lowering tool or lug wrench and try steady pressure. If the parts still will not move, call roadside assistance or a tire shop.
Conclusion
You can use the Toyota Tundra jack and spare tire tools safely if you follow the right order: park on solid level ground, set the parking brake, chock the opposite wheel, lower the spare through the tailgate access hole, loosen the lug nuts before lifting, jack only at the approved point, install the spare, and torque the lug nuts in a star pattern. If the work area is unsafe, the spare will not lower, the lug nuts are stuck, or anything feels unstable, stop and get professional help.
Sources
- Toyota Owners Manuals and Warranties — official model-year manual lookup and owner guidance.
- Toyota Owners: 2022 Tundra “If You Have a Flat Tire” — spare tire, jack/tool, wheel-nut tightening, and stowing guidance.
- NHTSA TireWise — tire pressure, tread, recall, and tire-care safety information.
- NHTSA Tire Safety Checklist — checking tire pressure regularly, including the spare, and inspecting for wear or damage.
- AAA: How to Change a Tire — roadside safety, hazard-light use, safe parking, and tire-change precautions.



[…] For a detailed breakdown of each factory tool piece, see the Toyota Tundra jack and spare-tire tool guide. […]