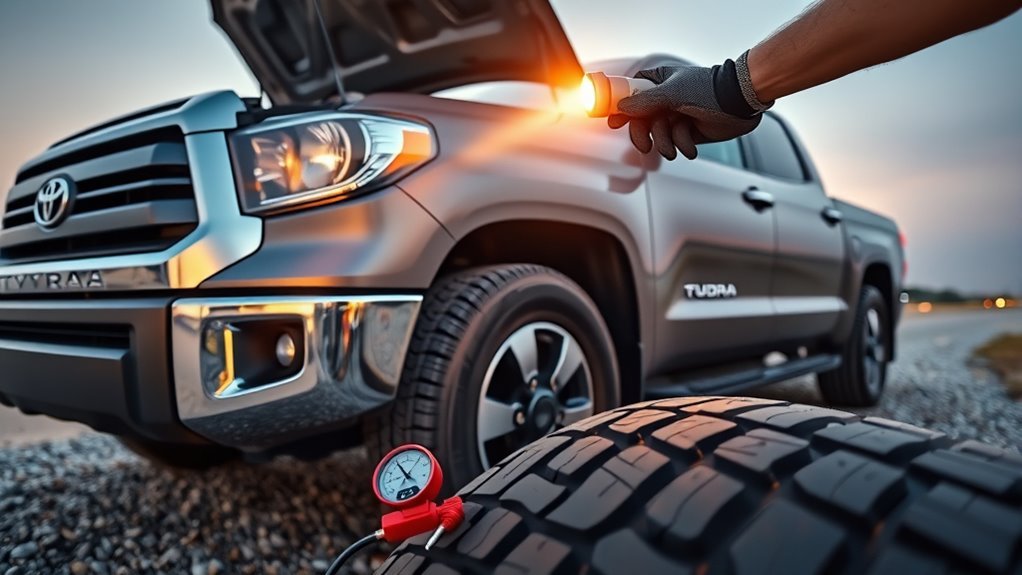
A Toyota Tundra pre-trip inspection does not need to be complicated, but it does need to be consistent. Before a road trip, tow, workday, or trail run, use a short walk-around to check fluids, tires, brakes, lights, steering, suspension, hitch hardware, underbody protection, cargo, and safety gear. The goal is simple: catch leaks, loose parts, worn tires, weak brakes, and electrical problems before they become roadside failures.
Quick Answer
For a Toyota Tundra pre-trip inspection, check fluid levels and leaks, tire pressure and tread, wheel hardware, brakes, lights, steering, suspension, battery, hitch, trailer connections, spare tire, jack, recovery points, skid plates, and cargo security. Do not drive or tow until serious leaks, brake faults, tire damage, loose hitch hardware, or warning lights are corrected.
Key Takeaways
- Use the tire placard on the driver’s door jamb or your Toyota owner’s manual for cold tire pressure, not a universal PSI number.
- Ground the trip if you find active fluid leaks, exposed tire cords, sidewall bulges, weak brakes, loose steering parts, or unsecured towing hardware.
- For towing, inspect the hitch, coupler, safety chains, trailer plug, trailer lights, brake controller, breakaway cable, and load balance before moving.
- Modified Tundras need extra checks for lift hardware, aftermarket wheels, skid plates, recovery points, tire clearance, and accessory wiring.
At a Glance
| Time Required | 5 minutes for a quick safety triage; 15–25 minutes for a towing, trail, or long-trip inspection |
| Difficulty | Easy for visual checks; moderate if wheels, brakes, or hitch hardware need torque verification |
| Tools Needed | Tire-pressure gauge, tread-depth gauge, flashlight, clean rag, gloves, torque wrench, owner’s manual, and trailer-light helper or tester |
| Cost | Usually free if you already have basic tools; expect small costs for fluids, bulbs, wipers, or tire service |
5-Minute Safety Triage: What To Check Before You Drive
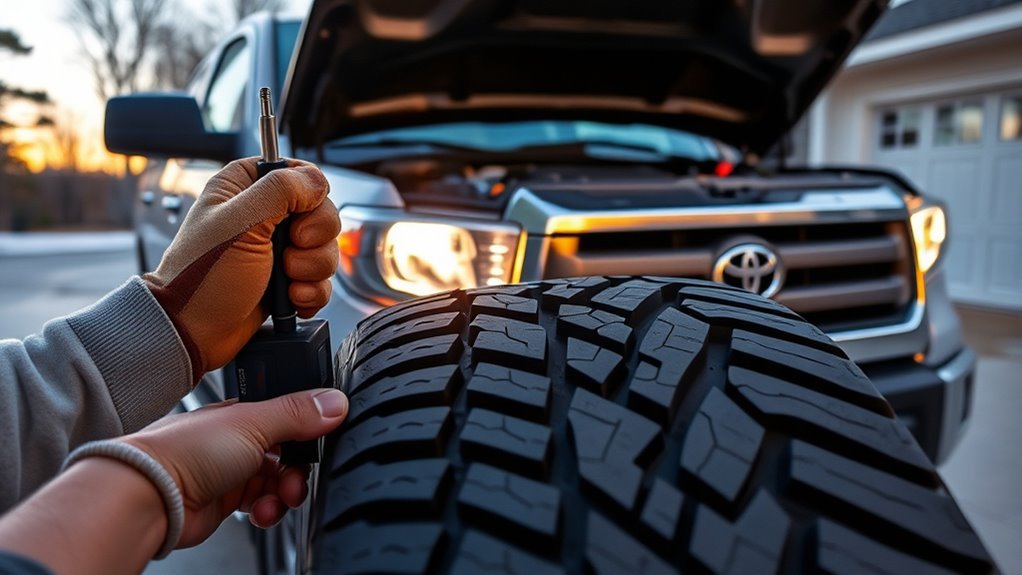
Start with the items most likely to stop the trip or create a safety hazard. Walk around the Tundra once, then look underneath and inside the cabin. This quick pass is not a substitute for scheduled service, but it helps you catch obvious problems before you leave.
| Check | Pass | Fix Before Driving |
|---|---|---|
| Fluids and leaks | Levels in range; no fresh drips | Oil, coolant, brake-fluid, fuel, or transmission leak |
| Tires | Cold pressure set to placard; no cuts, bulges, cords, or flat tire | Sidewall bulge, exposed cord, severe cut, audible leak, or very low tread |
| Lights | Headlights, brake lights, reverse lights, hazards, and turn signals work | Brake lights, turn signals, or trailer lights fail |
| Brakes and steering | Firm pedal, normal steering feel, no warning lights | Soft pedal, grinding, pulling, steering play, or brake warning light |
| Cargo and towing gear | Load is secure; hitch and recovery gear are rated and attached correctly | Loose cargo, cracked hitch, missing pin, loose coupler, or damaged safety chains |
Warning: Do not “just make it there” with a brake-fluid leak, fuel leak, exposed tire cords, sidewall bulge, loose wheel hardware, broken trailer lights, or loose hitch connection. Fix the problem first or have the truck inspected by a qualified technician.
Engine & Fluids: Leak, Oil, Coolant And Battery Checks
Open the hood only after the truck is parked safely, the parking brake is set, and hot components are avoided. Check the obvious items first: engine oil, coolant reservoir, windshield washer fluid, brake-fluid reservoir, visible hoses, belts, and the battery.
[Products Worth Considering]
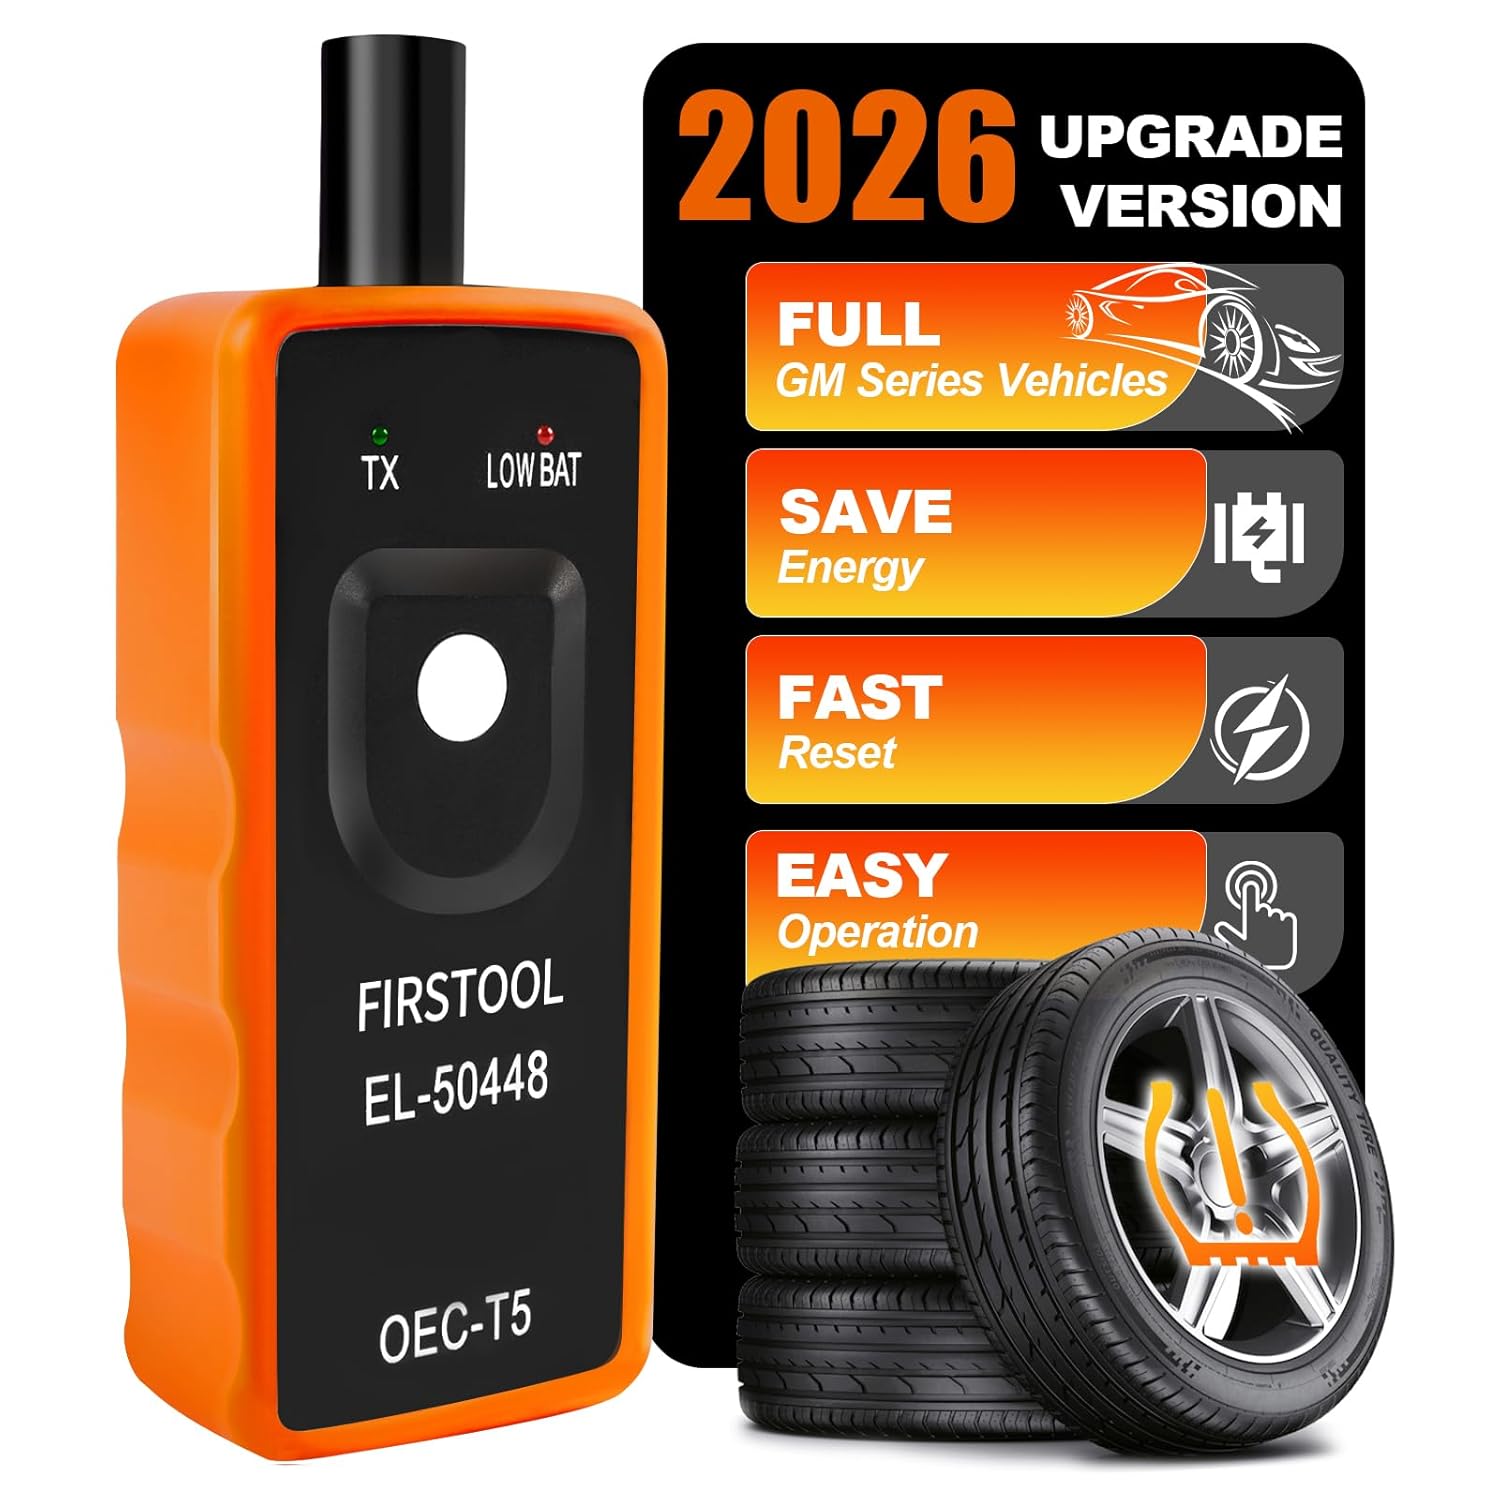
This EL-50448 TPMS relearn tool helps quickly activate and reset tire pressure sensors so your vehicle’s monitoring system stays accurate after tire rotations, sensor replacement, or seasonal tire changes. Designed for many GM-related vehicles and compatible with common 315 and 433 MHz TPMS systems, it offers simple one-button operation and reliable performance for clearing warning lights and relearning sensor positions.

This tire repair rubber nail kit offers a simple self-service solution for punctures in cars, motorcycles, trucks, and more. The spiral rubber design helps create a firm seal that supports quick repairs without removing the tire, while the two included sizes make it easier to match different puncture types. Built for broad vehicle compatibility, it is a practical emergency repair option for roadside and garage use.

This trailer hitch lock helps secure your trailer and hitch-mounted accessories with a high-strength steel pin designed for 2-inch receivers. It includes a weather-resistant cap to help keep out dust and moisture, plus rubber O-rings to reduce rattling during towing. With two copper keys and a sturdy lock core, it offers added peace of mind and dependable everyday protection.
Check For Fluid Leaks
Look under the engine bay, transmission area, transfer case, differentials, and brake-line routing. A few drops of clear water from air-conditioning condensation can be normal. Fresh oil, coolant, fuel, brake fluid, or transmission fluid is not something to ignore.
- Check the ground where the Tundra was parked overnight.
- Scan the undercarriage with a flashlight for wet areas, drips, stains, or splatter.
- Inspect coolant hoses, clamps, the radiator area, and the coolant reservoir for cracks or seepage.
- Look near brake lines and calipers for wetness that could indicate a brake-fluid leak.
Verify Oil Level
Use the dipstick procedure in your Toyota owner’s manual. In general, park on level ground, let the engine sit long enough for oil to drain back, remove the dipstick, wipe it clean, reinsert it fully, and read the level. The oil should sit within the marked range.
| Item inspected | Acceptable condition | Action if noncompliant |
|---|---|---|
| Engine oil level | Within dipstick marks | Top up with the correct oil or schedule service if low repeatedly |
| Oil condition | No fuel smell, heavy sludge, or metal particles | Stop and get service if contamination is suspected |
| Oil leaks | No fresh oil at pan, filter, drain plug, or gaskets | Repair leak before a long trip or tow |
| Coolant | Reservoir level within the marked range when checked as directed | Top up only with the correct coolant and inspect for leaks |
| Brake fluid | Level in range; no warning light | Do not drive if fluid is leaking or pedal feels soft |
Note: Toyota Tundra specifications vary by model year, engine, trim, tire package, towing equipment, and accessories. Use your exact owner’s manual, maintenance guide, and driver-door labels for fluid type, tire pressure, payload, and service intervals.
Inspect Battery Condition
A weak battery can turn a simple fuel stop or trail break into a no-start situation. Check that the battery is secure, the terminals are tight, and the cables are not damaged. If you use a voltmeter, a fully charged 12-volt lead-acid battery is commonly around 12.6 volts at rest, but voltage alone does not prove the battery is healthy. A low reading should trigger charging and testing, not an automatic replacement.
- Look for white, blue, or green corrosion on the terminals and cable ends.
- Confirm the hold-down is tight so vibration does not damage the battery.
- Inspect the case for cracks, swelling, bulging, or electrolyte leaks.
- Test the battery and charging system if the truck cranks slowly, warning lights appear, or the battery is older.
Tundra: Tires, Wheels & Suspension Pre-Trip Check
Tires, wheels, steering, and suspension carry the truck, the passengers, the cargo, and the trailer tongue weight. They deserve more than a glance, especially before towing, driving at highway speed, or heading off pavement.
[Products Worth Considering]

These all-weather car floor mats combine durable rubber with metallic aluminum film for a sporty look and reliable interior protection. Deep ridge channels help trap mud, water, snow, and debris, while the trimmable universal design offers a flexible fit for many cars, SUVs, and vans. They are waterproof and easy to clean, making them a practical upgrade for everyday driving in any season.

This soft TPU key fob cover is designed to fit select Hyundai smart keys and helps protect against scratches, dust, and everyday wear while preserving signal performance. Its full-coverage design, stylish gold-rimmed look, and included leather keychain make it a practical and attractive upgrade for compatible Hyundai models.

1.Accurate and Efficient: Different colors on the bar represents different scopes, the red range on bar: 0 - 3/ 32; Yellow range on bar: 3/ 32 - 6/ 32; Green range on bar: 6/ 32 - 32/ 32, allowing you easy and fast to read and calibrated
Tires & Tread Depth
Check tire pressure when the tires are cold and inflate to the pressure listed on the tire information placard or certification label, usually found on the driver’s door jamb. Do not use the maximum PSI molded on the tire sidewall as your normal driving pressure unless Toyota or a tire professional has specifically directed it for your setup.
- Use a reliable tire-pressure gauge before the truck has been driven far.
- Check all four tires and the spare if it is accessible.
- Measure tread depth across the inner, center, and outer tread blocks.
- Inspect sidewalls for cuts, bulges, weather cracking, exposed cords, or impact damage.
- Look for uneven wear that can point to alignment, suspension, inflation, or overloading problems.
- Verify wheel hardware with the correct torque specification from Toyota service information or your owner’s manual after tire service or wheel removal.
A tire that is legal at the minimum tread depth may still be a poor choice for a loaded road trip, rain, snow, or towing. Treat 2/32 inch as a red line, not a comfort zone.
Pro Tip: Keep a tread-depth gauge and tire-pressure gauge in the glove box. Checking pressure at home while the tires are cold is more accurate than checking after highway driving.
Suspension & Steering Components
Steering and suspension faults can show up as clunks, wandering, vibration, uneven tire wear, or a steering wheel that no longer tracks straight. During the walk-around, look and listen for anything that changed since the last drive.
- Inspect shocks and struts for oil leakage, dented bodies, or broken mounts.
- Look at control arms, ball joints, tie-rod ends, sway-bar links, and bushings for damage, looseness, torn boots, or missing hardware.
- Check for rubbing marks if the truck has larger tires, a lift, wheel spacers, or aftermarket wheels.
- Confirm suspension upgrades, skid plates, and accessory brackets are tight after rough roads or trail use.
- Do not tow or drive at highway speed if steering feels loose, the truck pulls hard, or a wheel area makes grinding or clunking sounds.
Check Brakes, Hitch And Recovery Points For Towing
Towing raises the stakes because the truck must control both its own weight and the trailer load. Before hitching up, inspect the Tundra’s brakes, hitch receiver, ball mount, coupler, safety chains, trailer wiring, trailer brakes, and recovery points.
- Confirm the brake pedal feels firm and the truck stops straight during a low-speed test in a safe area.
- Look through the wheels where possible for severely worn brake pads, scored rotors, fluid leaks, or damaged brake hoses.
- Verify the hitch receiver, ball mount, hitch pin, clip, coupler latch, and safety-chain attachment points are present, rated, and undamaged.
- Use the correct ball size for the trailer coupler and confirm the coupler is locked on the ball.
- Cross safety chains under the coupler and leave enough slack for turns, but not so much that they drag.
- Plug in the trailer connector and test running lights, brake lights, turn signals, hazards, and reverse lights if equipped.
- Test the trailer brake controller at low speed and adjust gain according to trailer weight and road conditions.
- Attach the breakaway cable to the tow vehicle separately from the safety chains if the trailer has breakaway brakes.
| Towing item | What to verify | Do not tow if… |
|---|---|---|
| Hitch receiver | No cracks, deformation, missing hardware, or heavy rust | Receiver or mounting area is damaged |
| Ball mount and pin | Correct rating, correct ball size, pin and clip installed | Pin, clip, or rating is missing or uncertain |
| Trailer brakes | Controller powers up and brakes respond smoothly | Trailer pushes the truck, locks up, or does not respond |
| Trailer lights | All required lights function | Brake lights or turn signals fail |
| Load balance | Cargo is tied down and tongue weight is within the trailer/Tundra limits | Load shifts, trailer sways, or ratings are exceeded |
Warning: Never exceed the payload, gross vehicle weight rating, gross axle weight rating, trailer rating, hitch rating, or tire load rating shown in your Tundra’s labels, owner’s manual, and towing equipment documentation. The lowest-rated component sets the limit.
Underbody & Skid Plates: Damage, Rust And Clearance
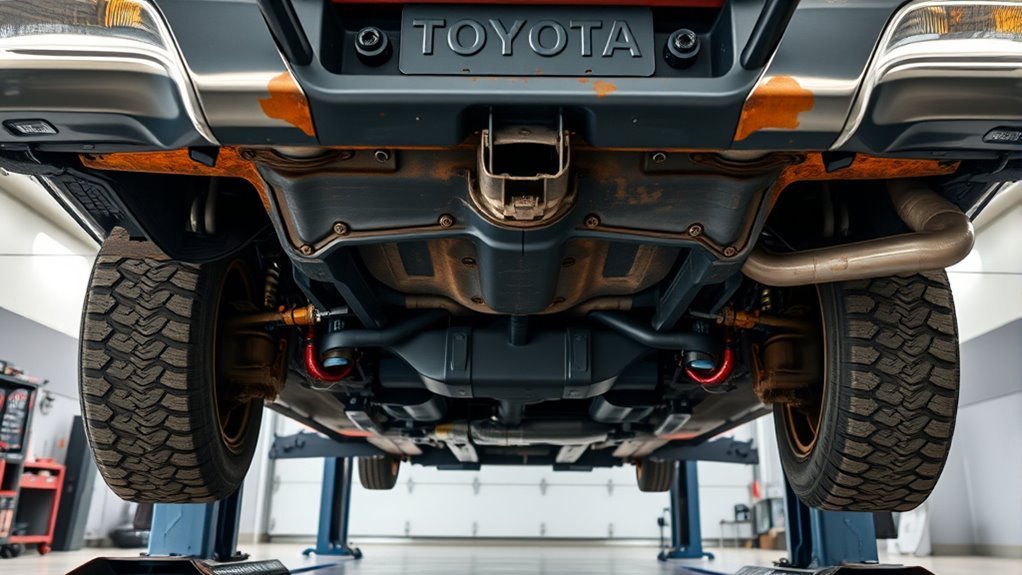
Inspect the Tundra’s underbody and skid plates for dents, cracks, loose hardware, fresh scrapes, rust, and low-hanging parts. This matters most after off-road driving, winter salt exposure, deep water, construction sites, or any hard impact underneath the truck.
| Visual cue | What it may mean | Action |
|---|---|---|
| Dents or cracks in skid plates | Protection may be weakened or contacting components | Repair, replace, or re-clearance before rough-road use |
| Rust on mounting points | Fasteners or brackets may fail under load | Clean, treat, replace hardware, or schedule inspection |
| Low-hanging wiring or lines | Impact or snag risk | Secure correctly before driving off pavement |
| Fresh fluid on underbody | Possible engine, drivetrain, brake, or coolant leak | Identify and repair before the trip |
| Contact marks near tires | Rubbing during turns or suspension travel | Correct clearance before trail use or towing |
Lights, Electrical Accessories & Cabin Systems Test
Lights and electrical systems are easy to skip because the truck may start and drive normally even when something is wrong. Test them anyway. A failed brake light, trailer connector, or charging issue can turn into a safety problem fast.
- Turn on headlights, high beams, fog lights if equipped, taillights, brake lights, reverse lights, license-plate lights, hazards, and turn signals.
- With a trailer connected, test every trailer light from the rear of the trailer, not just from the dashboard.
- Check the horn, wipers, washer spray, defroster, mirrors, camera view, and dashboard warning lights.
- Look for loose accessory wiring, rubbed insulation, blown fuses, or unprotected add-on circuits.
- Confirm the HVAC system can clear fogged glass and keep occupants comfortable in the expected weather.
Spare Tire, Jack, Tools And Roadside Gear
A good tire inspection is incomplete if the spare tire, jack, and tools are missing or unusable. Check them before the trip, not on the shoulder of the road.
- Confirm the spare tire is present, accessible, inflated correctly, and not badly aged or damaged.
- Verify the jack, lug wrench, wheel-lock key, and any spare-lowering tools are in the truck.
- Carry gloves, a flashlight, reflective triangles or road flares, a basic first-aid kit, jumper cables or jump pack, and a tire inflator if appropriate.
- For trail use, confirm recovery straps, shackles, soft shackles, traction boards, and recovery points are rated, undamaged, and compatible.
- For winter or remote trips, add water, warm clothing, a blanket, phone charging, and route/weather planning.
[Products Worth Considering]

Durable strong rustproof automotive grade steel, tubing instead of soil designed
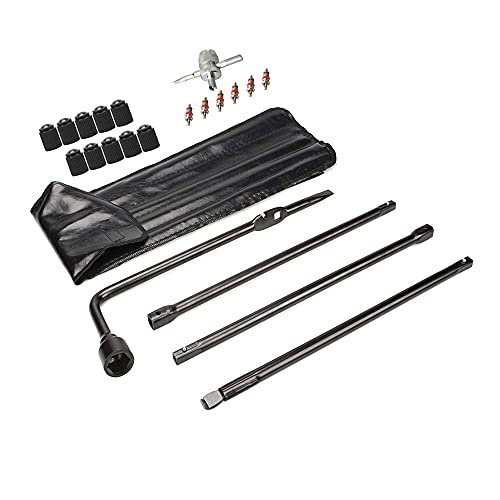
Premium OEM Upgraded Quality Spare Tire Tool: Stable strong rustproof automotive grade steel,tubing instead of soil designed made it more light,not only stong but also convenient.
Cargo, Payload And Final Walkaround
Before you leave, check the certification label and owner’s manual for payload and weight limits. Payload includes people, cargo, accessories, tools, tongue weight, and anything added to the truck after it left the factory.
- Tie down cargo so it cannot slide, tip, or fly out of the bed.
- Keep heavy items low and forward when practical, without exceeding axle ratings.
- Close and latch the tailgate, tonneau cover, bed drawers, toolboxes, and storage bins.
- Check mirrors, seat position, trailer mirror extension if needed, and camera visibility.
- Walk around one final time and look for anything hanging, leaking, dragging, loose, or left on the roof/bed rails.
Private Use Vs. Commercial Inspection Rules
Most private Tundra owners are doing a safety checklist for common sense, not because a federal commercial vehicle rule requires a written inspection report. If the truck is used as a covered commercial motor vehicle, fleet vehicle, or regulated tow setup, follow applicable FMCSA, state, employer, insurance, and company inspection rules.
For covered commercial vehicles, FMCSA guidance says drivers must inspect the vehicle before operating and be satisfied it is safe. Driver Vehicle Inspection Report rules and retention requirements can also apply to motor carriers. Private owners should still document serious defects and repairs for their own records, especially before towing or long-distance travel.
Frequently Asked Questions
What should be included in a Toyota Tundra pre-trip inspection?
A good Tundra pre-trip inspection includes fluids, leaks, tires, tread, wheel hardware, brakes, steering, suspension, lights, battery, wipers, mirrors, hitch, trailer wiring, spare tire, jack, recovery points, skid plates, cargo, and dashboard warning lights.
What tire pressure should I use on a Toyota Tundra?
Use the cold tire pressure listed on the tire information placard or certification label for your exact truck, usually on the driver’s door jamb, or use your Toyota owner’s manual. Do not use a random online PSI number or the sidewall maximum as your normal driving pressure.
What are the legal requirements for pre-trip inspections?
For private owners, a pre-trip checklist is mainly a safety habit. If your Tundra is operated as a covered commercial motor vehicle, FMCSA, state, and employer rules may require specific inspections, defect reporting, and record retention. Follow the rules that apply to your use case.
What are the Toyota inspection standards?
Toyota inspection standards depend on model year, engine, trim, equipment, tire size, and service interval. Use the Toyota owner’s manual, maintenance guide, door labels, and service information for your exact Tundra. When a check involves brakes, steering, suspension, wheel torque, or towing equipment, get professional service if you are unsure.
How long should a Tundra pre-trip inspection take?
A quick visual triage can take about 5 minutes. A better inspection before towing, off-road travel, winter driving, or a long road trip usually takes 15–25 minutes because you should test trailer lights, inspect underbody protection, check the spare tire, and verify cargo security.
What problems should stop the trip immediately?
Stop and fix the issue if you find an active brake-fluid, fuel, oil, or coolant leak; exposed tire cords; sidewall bulges; loose wheel or hitch hardware; failed brake lights; severe steering play; grinding brakes; overheating; or a warning light tied to brakes, oil pressure, charging, or engine temperature.
Sources
- Toyota Owners — Tundra Manuals and Warranties — backs the recommendation to use the current Toyota owner’s manual and vehicle-specific documentation.
- Toyota Owners — 2025 Tundra Tire Inflation Pressure — backs the need to use Toyota model-specific tire-pressure guidance.
- NHTSA TireWise — backs tire-pressure, tire-maintenance, and tire-safety guidance.
- eCFR 49 CFR 393.75 — Tires — backs commercial-vehicle tire defect and tread-depth safety references.
- FMCSA Safety Planner — Vehicle Inspections — backs commercial pre-trip inspection and DVIR context.
Conclusion
A Toyota Tundra pre-trip inspection works best when it becomes routine. Check the fluids, tires, brakes, steering, suspension, lights, towing gear, underbody, spare tire, tools, and cargo before you leave. Then make a firm decision: pass, fix soon, or fix before driving. The few minutes you spend in the driveway can prevent a dangerous stop on the highway, a failed tow, or a long walk back from the trail.