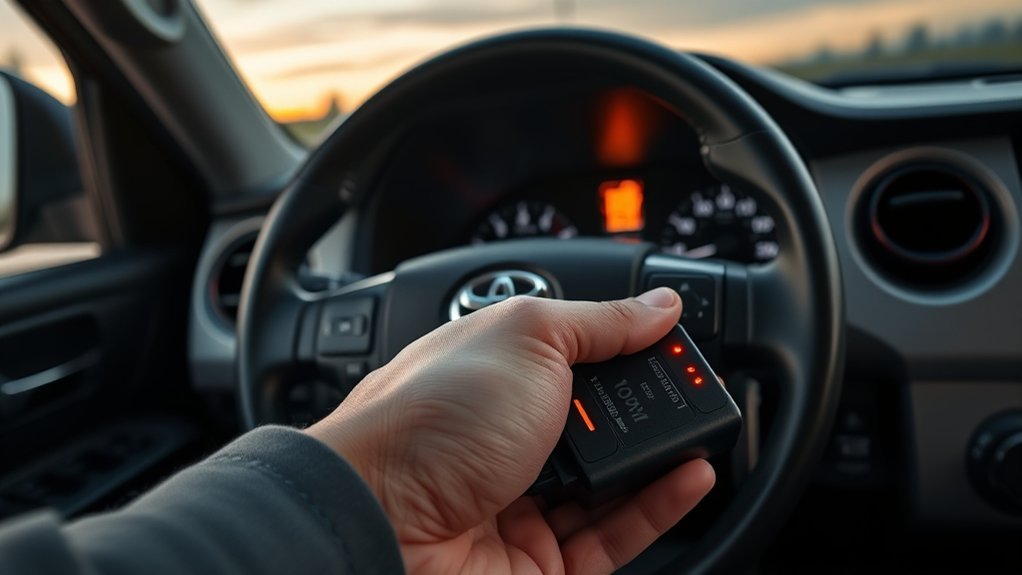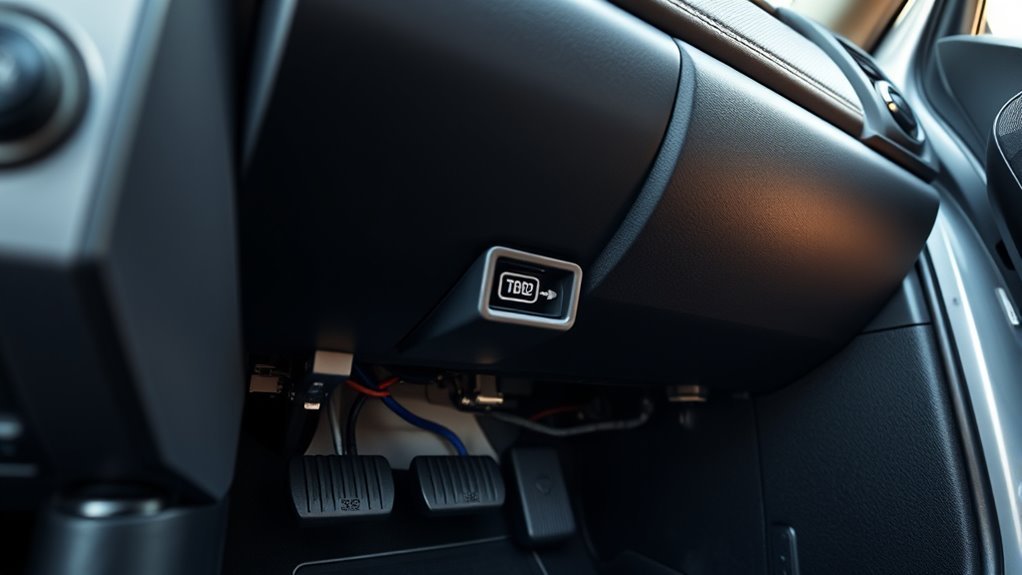
The Toyota Tundra’s OBD2 port is the diagnostic connector you use to read check-engine codes, view live sensor data, check emissions readiness, and confirm repairs. On most Tundra model years, look under the driver-side lower dashboard near the steering column and knee panel. Older trucks may place it close to the parking-brake area, while newer Tundras use a parking brake switch rather than a traditional foot pedal, so always identify the keyed 16-pin connector visually before plugging in a scanner.
Last updated: August 17, 2026
Quick Answer
The Toyota Tundra OBD2 port is usually under the driver-side dashboard near the steering column. Use a flashlight, look for a trapezoid-shaped 16-pin connector, plug the scanner in with the truck off, then switch the ignition to ON without starting the engine unless your scan tool tells you otherwise.
Key Takeaways
- The Tundra’s OBD2 connector is a standardized 16-pin diagnostic port, also called the DLC3 in Toyota service information.
- For most Tundras, start your search under the driver-side dash near the steering column, not on the passenger side or inside the engine bay.
- Save DTCs and freeze-frame data before clearing codes, or you may erase useful diagnostic evidence.
- If a scanner will not power on or communicate, check ignition mode, connector pins, tool compatibility, battery voltage, and the related fuses listed in your owner’s manual.
At a Glance
| Time Required | 2–5 minutes to locate the port; 5–15 minutes for a basic scan |
| Difficulty | Easy for basic code reading |
| Tools Needed | Flashlight, compatible OBD2 scanner or Bluetooth/Wi-Fi adapter, diagnostic app if using a phone |
| Cost | Free to locate; scanner cost varies by features and Toyota coverage |
Locate the Tundra OBD2 Port
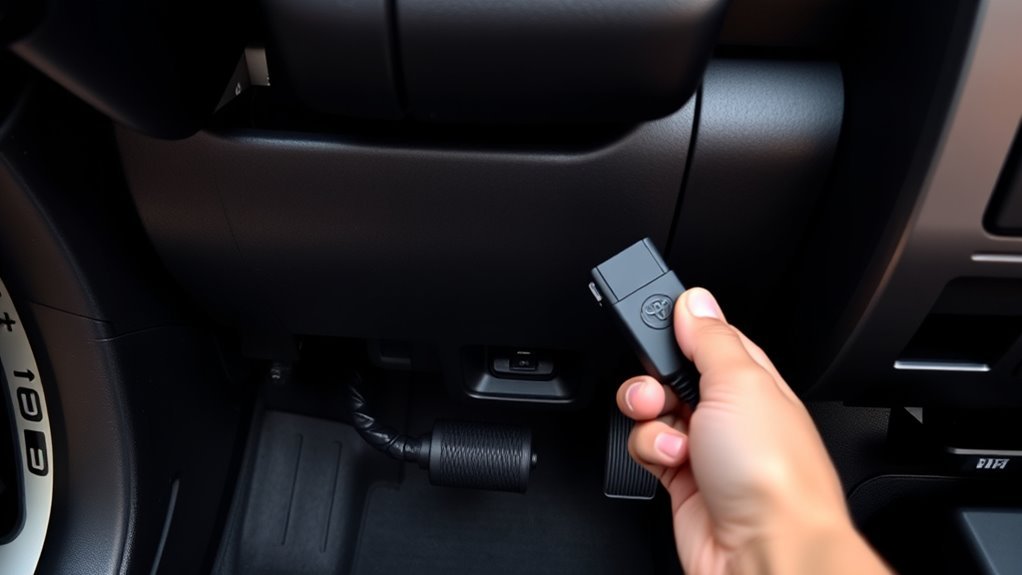
Start in the driver’s seat and look beneath the lower dashboard on the driver’s side, near the steering column and knee panel. The connector is usually easy to reach without removing trim panels. It is a keyed, trapezoid-shaped 16-pin port, so a standard OBD2 scanner plug should line up in only one direction.
Some older Tundra guides describe the port as being near the parking-brake pedal area. That can help on earlier trucks, but it is not the best cue for every model year. Current-generation Tundras use an electronic parking brake switch, so the safer instruction is to look under the driver-side lower dash near the steering column and confirm the connector shape before plugging anything in.
OBD2 Port Location by Tundra Generation
| Generation | Model Years | Port Location Notes |
|---|---|---|
| First generation | 2000–2006 | Under the driver-side dash near the steering column; often described relative to the parking-brake pedal area. |
| Second generation | 2007–2021 | Same driver-side dash location near the steering column and knee panel; still uses a foot-operated parking-brake pedal nearby. |
| Third generation | 2022–present | Same driver-side dash location; the truck uses an electronic parking-brake switch instead of a pedal, so don’t use the pedal as a landmark. |
See the site’s Toyota Tundra generations guide for full generation details.
Note: Toyota service information commonly refers to the OBD2 connector as the DLC3, short for Data Link Connector 3. If you see “DLC3” in Toyota repair information, it is referring to the diagnostic connector used by scan tools.
What You Can Read From the OBD2 Port
When you connect a compatible scan tool to the Tundra’s OBD2 port, you can read information from the vehicle’s control modules. A basic code reader can usually read generic powertrain codes and emissions readiness data. A better Toyota-capable scanner may also read enhanced manufacturer-specific codes from systems such as ABS, SRS, transmission, body electronics, or hybrid-related modules, depending on the model year and scanner coverage. Toyota’s own dealer-level software, Techstream, can access the deepest system coverage, though it is not typically needed for a basic check-engine diagnosis.
Third-generation (2022–present) Tundras, including i-FORCE MAX hybrid models, communicate through additional control modules beyond the standard powertrain system. Owners occasionally report that a basic scanner connects but can’t fully clear alerts tied to these extra modules. If your scanner shows incomplete results on a 2022-or-newer truck, confirm it lists Toyota hybrid/enhanced coverage before assuming a wiring fault.
Diagnostic Trouble Codes
Diagnostic Trouble Codes, or DTCs, are stored when the vehicle detects a fault. Many OBD2 codes use a five-character format, such as P0301. The first letter points to the system area: P for powertrain, B for body, C for chassis, and U for network communication. Generic codes are standardized, while some enhanced codes are manufacturer-specific.
Do not clear codes immediately. First, write down the stored, pending, and permanent codes and save the freeze-frame data. Freeze-frame data shows operating conditions when the code was stored, such as coolant temperature, engine load, vehicle speed, and fuel-trim values. That information can make the difference between a targeted repair and guesswork.
Warning: Clearing codes can erase freeze-frame data and reset readiness monitors. If you need an emissions inspection soon, clearing codes may delay readiness completion until the truck is driven through the required drive cycles.
Live Sensor Data
Live data lets you watch sensor readings while the truck is running or in key-on diagnostics. Common channels include engine RPM, coolant temperature, intake air temperature, vehicle speed, throttle position, oxygen sensor activity, mass-airflow readings, short-term fuel trim, and long-term fuel trim.
- Monitor basic engine data: RPM, coolant temperature, vehicle speed, load, and fuel trims.
- Compare related sensors: MAF/MAP, O2 sensor activity, throttle position, and fuel-trim response.
- Confirm repairs: After fixing a problem, watch live data and check whether the code returns.
Live data is most useful when you compare it against service information for your exact engine and model year. A reading that is normal on one truck may be suspicious on another configuration.
How to Connect an OBD2 Scanner Safely
Before plugging in a scanner, park on a level surface, set the parking brake, shift to Park, and turn the vehicle off. Clear any loose objects near the pedals so the scanner cable or adapter cannot interfere with driving controls.
[Products Worth Considering]
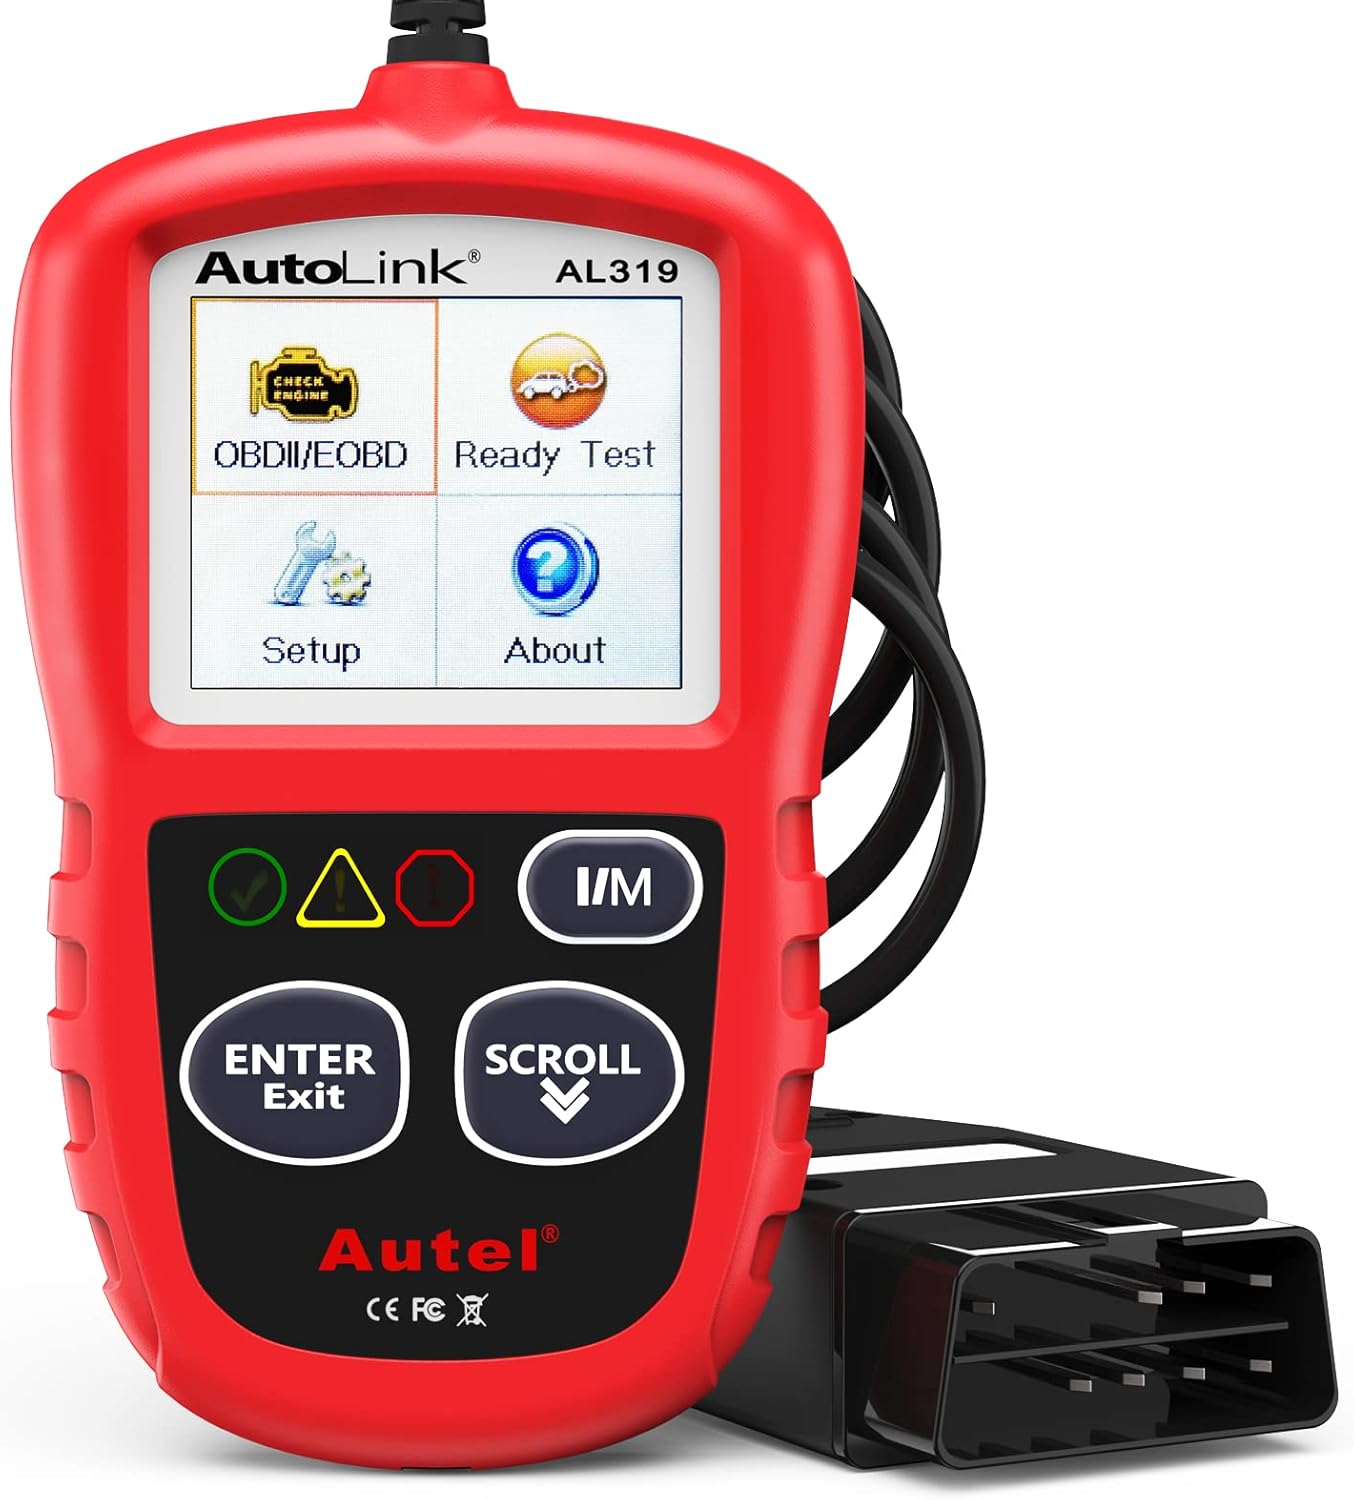
The Autel AL319 is a user-friendly OBD2 scan tool designed to help drivers quickly diagnose check engine light issues and understand vehicle fault codes. It supports reading and clearing DTCs, live data, freeze frame, I/M readiness, and vehicle information, making it a practical choice for DIYers and everyday car owners. With plug-and-play operation, a color display, built-in speaker, and broad vehicle compatibility, it delivers fast, reliable diagnostics without complicated setup.

The ANCEL AD410 helps drivers quickly read and clear engine-related fault codes, view live data, and understand why the check engine light is on before heading to a repair shop. With built-in code definitions, readiness checks, and support for common OBD2 functions, it makes basic diagnostics straightforward for beginners and DIY users. Powered directly from the vehicle and easy to use with no app required, it offers practical value for everyday vehicle troubleshooting.

Turn your iPhone, Android device, or Windows PC into a professional-grade diagnostic scan tool with this Bluetooth OBD2 adapter. It is designed for broad vehicle compatibility and supports popular apps for deeper diagnostics, live data, and code clearing. Built-in protections and firmware updates help keep your vehicle and scanner safe while delivering reliable performance.
Safe Connection Steps
- Turn the vehicle off. This reduces the chance of a poor connection or electrical spike while you plug in the tool.
- Locate the OBD2/DLC3 connector. Use a flashlight and confirm the keyed 16-pin shape under the driver-side dash.
- Align the plug correctly. Do not force it. If it does not slide in, rotate or realign the connector.
- Turn the ignition to ON. For push-button models, follow your scanner’s instructions for ignition-on/engine-off mode. Many basic scans do not require the engine to run.
- Read and save the results. Record DTCs, freeze-frame data, readiness status, and live data before clearing anything.
- Disconnect carefully. When finished, turn the vehicle off and remove the scanner without pulling on the cable.
Safe Power Connection
The OBD2 port receives vehicle power and communicates with control modules, so treat it like an electrical connector, not just a plastic plug. Inspect for bent pins, corrosion, dirt, or a loose fit. A damaged connector can cause intermittent communication or misleading scan results.
| Step | Action |
|---|---|
| 1 | Vehicle off — inspect the port and scanner plug |
| 2 | Plug in gently — never force the connector |
| 3 | Ignition ON — read codes, data, and readiness status |
Pro Tip: Take a phone photo of the code list and freeze-frame screen before clearing anything. It gives you a record if the problem returns or if you later need a technician’s help.
Use a Smartphone OBD2 Adapter (Step-by-Step)
A Bluetooth or Wi-Fi OBD2 adapter can turn your phone into a basic diagnostic display. Before buying one, confirm that the adapter supports your phone’s operating system, your diagnostic app, and the Toyota systems you want to read. Some inexpensive adapters read only generic engine codes, while more capable tools may support enhanced Toyota data.
A snug connection, the correct ignition mode, and a compatible app matter more than the brand name on the adapter.
- Plug in the adapter: Insert it into the Tundra’s OBD2 port under the driver-side dash.
- Turn ignition to ON: Use ignition-on/engine-off mode unless the app asks for the engine running.
- Pair your phone: Enable Bluetooth or Wi-Fi, depending on the adapter type.
- Open the app: Select the adapter, vehicle profile, and Toyota if the app asks for a make.
- Confirm communication: Look for live RPM, battery voltage, or VIN/module communication to verify the link.
- Save your scan: Export or screenshot DTCs, freeze-frame data, and readiness status.
If the adapter stays plugged in full time, choose a low-power unit with a sleep mode and remove it if the truck will sit unused for an extended period. Any device connected to the diagnostic port can draw some power.
[Products Worth Considering]

SUBSCRIPTION REQUIRED for Advanced Features: The Carista EVO Scanner activates basic OBD2 features upon purchase. To access advanced diagnostics, service tools, live data parameters, and vehicle customization, a paid subscription to the Carista App is required. Choose between 1-month, or 12-month plan to access Carista Advanced features.

NOTE: you need to buy a "Y" cable if the CD changer port of radio is occupied by NAV, AUX. (pls view promotion details)

Panlong Bluetooth OBD2 scanner turns your Android phone or tablet into a professional-grade diagnostic tool, and allows you to access manufacturer-specific vehicle data
Read Codes and Live Data: Quick Checklist
Use this checklist when diagnosing a check-engine light, rough idle, failed emissions readiness, or a suspected sensor problem.
Read Trouble Codes
- Run a full scan: Check stored, pending, and permanent codes if your tool supports them.
- Save freeze-frame data: Record the conditions present when the fault was stored.
- Check readiness monitors: Note whether catalyst, EVAP, oxygen sensor, and other monitors are complete.
- Research the code: Use Toyota-specific service information for your year, engine, and drivetrain.
- Test before replacing parts: A code points to a system, not always a failed part.
- Clear only after documentation: Clear codes after repairs or when you intentionally want to see what returns.
Monitor Live Data
Live data helps confirm whether a code matches real sensor behavior. For example, a fuel-trim code may be caused by a vacuum leak, exhaust leak, dirty MAF sensor, weak fuel delivery, or a sensor issue. Watching fuel trims, oxygen sensor response, and airflow readings together is more useful than replacing one part based only on the code name.
- Fuel trims: Helpful for lean/rich diagnosis and vacuum-leak checks.
- Coolant temperature: Helps confirm warm-up behavior and thermostat operation.
- Oxygen sensor activity: Helps evaluate mixture feedback and sensor response.
- Misfire counters: Useful when tracking intermittent rough running, if your scanner supports them.
- Battery voltage: Low system voltage can cause communication errors and false symptoms.
Fixes When the Scanner Won’t Communicate
A no-communication problem usually falls into one of two groups: the scanner does not power on, or the scanner powers on but cannot talk to the truck. Split the diagnosis before you start replacing parts.
If the Scanner Does Not Power On
- Check the scanner on another vehicle: This confirms whether the tool itself works.
- Inspect the OBD2 port: Look for bent pins, corrosion, debris, or a loose connector shell.
- Check related fuses: Use the owner’s manual or fuse-box cover for your exact year. A blown power or accessory fuse can prevent the port from powering the scanner.
- Confirm battery voltage: A weak battery can create strange scan-tool behavior.
If the Scanner Powers On but Won’t Communicate
- Confirm ignition mode: Many tools need ignition ON, engine OFF for the first connection.
- Update scanner firmware: Newer vehicles may require current software.
- Check Toyota compatibility: Generic readers may read only emissions-related powertrain data.
- Try a different tool: If one scanner fails and another works, the issue is likely tool coverage or firmware.
- Stop if fuses keep blowing: Repeated fuse failure points to an electrical fault that needs proper diagnosis.
Warning: Do not probe random OBD2 pins or jump terminals unless you are following Toyota service information for your exact model year. Shorting the wrong circuit can damage modules or wiring.
Which Fuses Can Stop Your OBD2 From Working
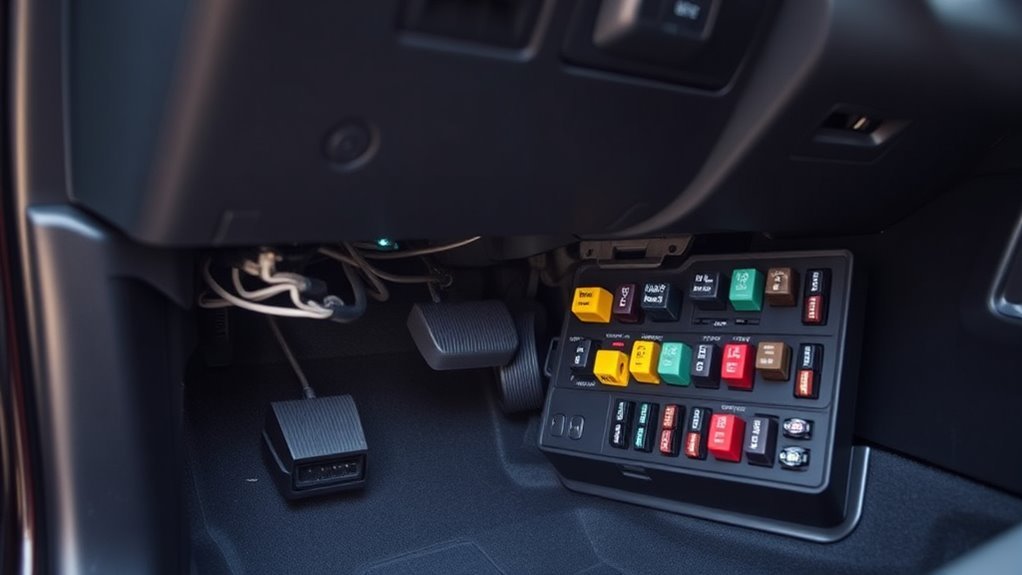
A blown fuse can stop a scanner from powering on or prevent the truck from communicating through the diagnostic port. The exact fuse name and location can vary by model year, trim, and market, so use the owner’s manual, fuse-box cover, or Toyota service information for your specific Tundra.
Start with fuses related to the engine control system, ECU/ECM power, ignition/accessory power, diagnostic connector power, and interior power circuits. Remove and test suspect fuses with a fuse puller and continuity tester or multimeter. Replace a blown fuse only with the same amperage rating.
If the replacement fuse blows again, do not keep installing new fuses. That points to a short or overloaded circuit, and the truck needs electrical diagnosis before more parts are damaged.
When to Check the Owner’s Manual or See a Mechanic
Check the owner’s manual any time you need fuse locations, warning-light meanings, parking-brake operation, or model-specific precautions. Toyota owner manuals and warranty information are available through Toyota’s official owner site, and Toyota’s Technical Information System provides service and wiring information for North American Toyota vehicles. If the truck won’t start at all, rather than just failing to scan, start with the site’s Tundra won’t-start troubleshooting checklist before diagnosing scanner issues separately.
- Use the manual first: Confirm the correct fuse box, fuse rating, and operating mode for your year.
- Escalate electrical problems: Repeated blown fuses, damaged pins, water intrusion, or suspected CAN-bus wiring faults should be handled carefully.
- Be cautious with safety systems: Airbag/SRS, ABS, hybrid, and high-voltage systems require proper tools and procedures.
- Get help when data conflicts: If the scanner data, symptoms, and codes do not line up, a technician with Toyota-capable equipment can save time.
Best OBD2 Scanners and Apps for Tundra Owners
The best scanner for a Tundra depends on what you want to do. For a check-engine light, a basic OBD2 code reader may be enough. For deeper troubleshooting, look for Toyota enhanced-code support, live-data graphing, freeze-frame access, readiness monitor display, firmware updates, and coverage for ABS, SRS, transmission, body, and hybrid systems if your truck has them. See the site’s OBD2 scanner vs. code reader comparison for help deciding which category fits your needs.
| User Need | Good Scanner Features |
|---|---|
| Basic check-engine diagnosis | Generic and pending codes, freeze-frame data, clear-code function, readiness monitors |
| DIY live-data checks | Fast live-data refresh, graphing, exportable logs, fuel-trim and O2 sensor data |
| Advanced Toyota troubleshooting | Enhanced Toyota coverage, ABS/SRS/transmission access, active tests where supported |
| Phone-based monitoring | Reliable Bluetooth/Wi-Fi connection, app compatibility, low-power sleep mode |
Popular app-style setups can work well for basic monitoring, but verify compatibility before buying. Avoid making a purchase based only on “works with Toyota” language; confirm your model year, engine, and systems are supported.
[Products Worth Considering]

【Diagnose Check Engine Light in Seconds – No Mechanic Needed】The FOXWELL NT301 OBD2 scanner instantly reads & clears engine fault codes (DTCs) with one click. Simply plug into the 16-pin DLC port, turn ignition on, and get accurate results within seconds—No prior car knowledge required. Save hundreds on dealership fees by knowing exactly what’s wrong before you visit a shop. The #1 choice car scanner for DIYers and car owners who want to take control of their vehicle’s health

OBD2 SCANNER & BATTERY TESTER IN ONE – The INNOVA 5210 OBD2 scanner not only reads and clears check engine light and ABS codes (coverage may vary) but also functions as a car battery tester to check alternator health and prevent unexpected breakdowns.
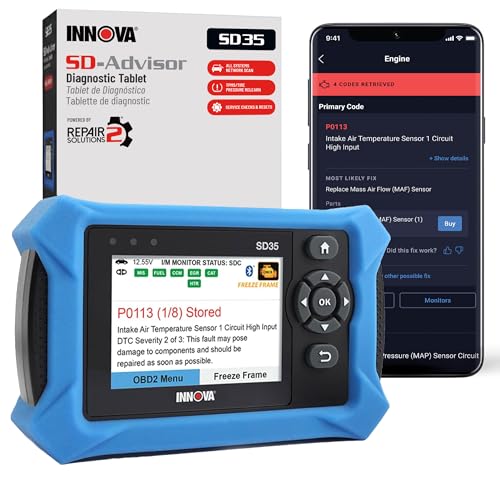
OBD2 SCANNER FOR ALL SYSTEMS – The INNOVA SD35 is a tablet-based OBD2 scanner designed for advanced diagnostics. Read and clear check engine light, ABS, SRS, and TPMS codes, plus test your car battery and alternator to prevent unexpected failures. Vehicle coverage may vary. Please use Innova’s Coverage Checker to verify compatibility.
Routine Checks to Protect the OBD2 Port and Electronics
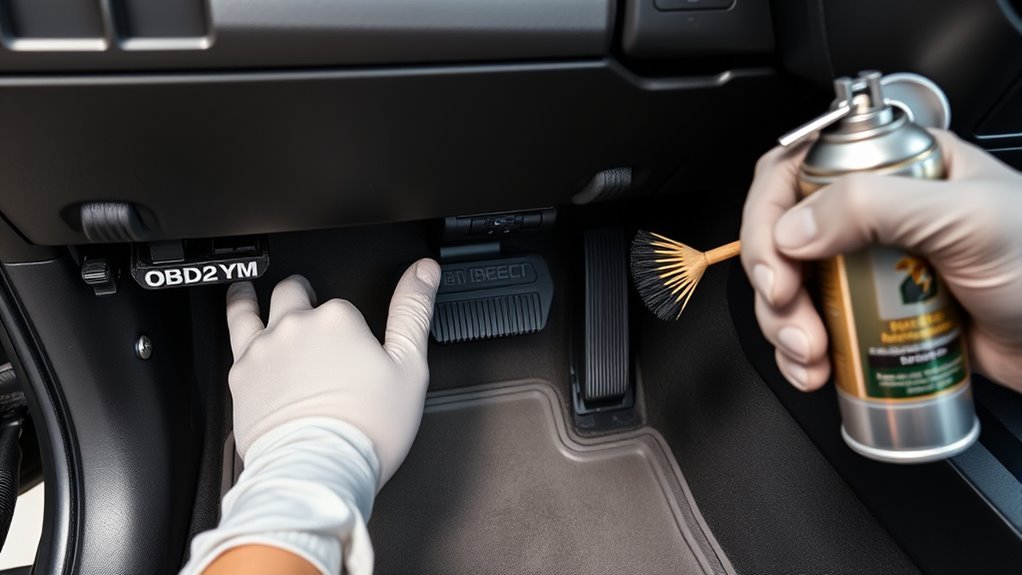
The OBD2 port usually needs little maintenance, but a quick inspection can prevent bad connections and confusing scan results. Keep the area under the dash clean, avoid kicking the connector with your foot, and do not leave bulky adapters hanging where they can interfere with pedals.
- Inspect the connector: Look for bent pins, looseness, dust, corrosion, or signs of moisture.
- Protect the wiring: Avoid pulling on scanner cables or letting adapters dangle while driving.
- Watch battery health: Low voltage can cause communication errors, module warnings, and incomplete scans.
- Remove unused adapters: If the truck will sit for days or weeks, unplug accessories that do not need to remain connected.
OBD2 Security and Theft Prevention
The OBD2 port is designed for diagnostics, but it is also a physical access point to vehicle electronics. An OBD lock can add friction, but no single anti-theft device is foolproof. Use layered protection instead: lock the truck, keep keys secure, park in visible areas, consider a steering-wheel lock or alarm, and talk with a qualified installer if you want additional security devices.
Note: Avoid sharing photos of your diagnostic port, keys, VIN, or security hardware online. Small details can reveal more about your truck than you intend.
Frequently Asked Questions
Where is the OBD2 port on a Toyota Tundra?
The OBD2 port is usually under the driver-side lower dashboard near the steering column and knee panel. Look for a trapezoid-shaped 16-pin connector. Older descriptions may mention the parking-brake area, but newer Tundras use a parking brake switch, so confirm the connector visually.
Does the OBD2 port location change across Toyota Tundra generations?
No — the port stays under the driver-side dash near the steering column across all three Tundra generations (2000–2006, 2007–2021, and 2022–present). The main difference is the landmark nearby: earlier trucks have a foot-operated parking-brake pedal in that area, while 2022-and-newer trucks use an electronic parking-brake switch instead.
Do I need to remove panels to reach the Tundra OBD2 port?
Usually no. The port is normally exposed under the driver-side dash. Use a flashlight and look upward from the footwell. If trim has been modified or accessories have been installed, access may be less obvious.
Can you leave an OBD2 scanner plugged in while driving?
You can drive with a compact adapter connected for live-data monitoring if it does not interfere with pedals or legroom. Do not leave a bulky cabled scanner where it can move around. If the truck will sit unused, unplug the device unless it is designed for low-power sleep mode.
Is there a difference between OBD and OBD2?
Yes. OBD2 is the standardized system used on modern vehicles. It uses a standardized diagnostic connector and standardized emissions-related data, while older OBD systems were less consistent between manufacturers.
Why won’t my scanner connect to my Tundra?
Common causes include the wrong ignition mode, a blown fuse, low battery voltage, damaged connector pins, outdated scanner firmware, or a scanner that does not support the Toyota modules you are trying to read. Start by confirming scanner power, ignition ON mode, and the related fuses.
Can thieves bypass an OBD lock?
No physical lock is perfect, but an OBD lock can add one layer of delay. Use it with other anti-theft habits, such as secure key storage, visible deterrents, alarms, and careful parking. Avoid relying on one device as your only protection.
Conclusion
The Tundra’s OBD2 port is the main access point for diagnostic codes, freeze-frame data, readiness monitors, and live sensor information. Look under the driver-side lower dashboard near the steering column, confirm the 16-pin connector shape, connect your scanner gently, and save the data before clearing codes. If the scanner will not power on or communicate, check ignition mode, battery voltage, connector condition, tool compatibility, and the correct fuses for your model year. When wiring, module, airbag, hybrid, or repeated fuse issues appear, stop and use Toyota service information or a qualified technician.
Sources
- Toyota Owners: Tundra Manuals and Warranties — official owner manual access and model-specific owner information.
- Toyota Technical Information System — Toyota service support source for North American Toyota vehicles.
- U.S. EPA: On-Board Diagnostic Regulations and Requirements — OBD implementation and emissions-diagnostics background.
- SAE J1962 Diagnostic Connector — standardized diagnostic connector reference.
- SAE J2012 Diagnostic Trouble Code Definitions — current diagnostic trouble code standard reference.
- California Air Resources Board: OBD II Regulations and Rulemaking — OBD II regulatory background and current regulation resources.