Toyota RAV4 Radio No Sound: Causes and Fixes
What’s in This Article
- Quick 5-Step Checks to Confirm a RAV4 No-Sound Issue
- Common Causes of No Sound in a RAV4
- Before You Test: Safety Checks That Prevent Damage
- DIY RAV4 No-Sound Tests You Can Do Safely
- Is It the Amplifier or Head Unit? How to Tell
- When Dealer Diagnostics Make Sense for a RAV4 No-Sound Issue
- RAV4 Radio Repair Options: DIY, Aftermarket, or Dealer
- Preventive Maintenance to Avoid Future RAV4 Audio Failures
A silent RAV4 radio can feel confusing because the screen may still work while every speaker stays quiet. Start with the simple checks before you replace expensive parts. This guide shows you how to test settings, fuses, wiring, speakers, the amplifier, and the head unit in a safe order.
Quick Answer
If your RAV4 radio has no sound, check volume, mute, source selection, fuses, and balance settings first. Then inspect speaker wiring, amplifier power, ground, and harness plugs. If the radio powers on but every speaker stays silent, the amplifier, head unit, or a Toyota multimedia software fault may need deeper testing.
Key Takeaways
- Check volume, mute, source, balance, and fade before you open panels.
- Test fuses, power, ground, and speaker continuity before you replace the radio.
- Use a Toyota-capable scanner because basic OBD-II tools may miss audio system codes.
- Match amplifier and head unit parts by VIN, trim, and sound system type.
- Choose dealer diagnostics when the fault involves software, hidden service menus, or warranty coverage.
Quick 5-Step Checks to Confirm a RAV4 No-Sound Issue
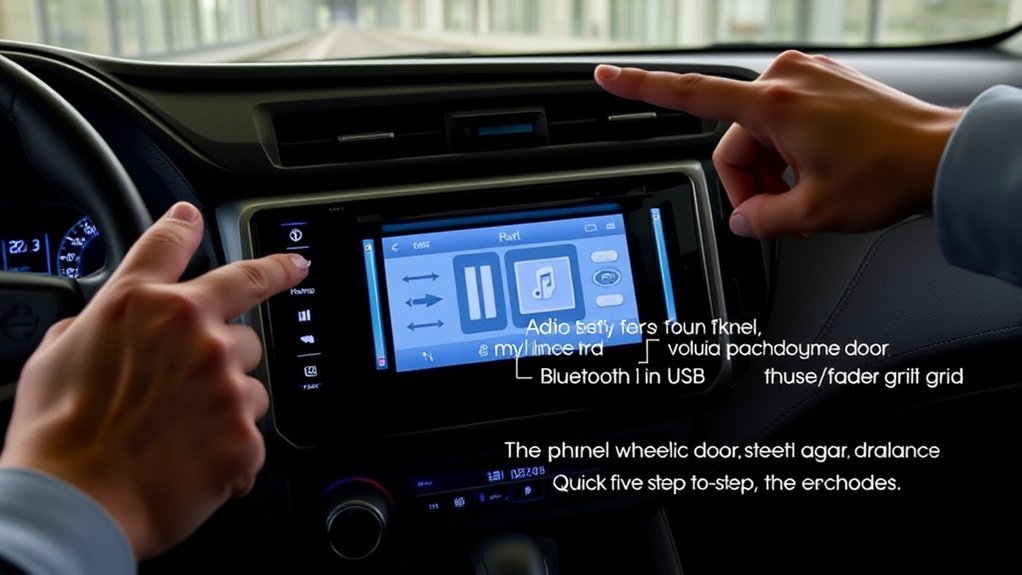
Start with five quick checks you can do without special tools. Confirm volume, mute, audio source, balance, and fade settings first. Toyota multimedia manuals include sound and media settings for levels, balance, fade, and source control, so these checks can rule out a settings issue before you test parts.
- Confirm the head unit settings. Turn up the volume, turn mute off, recenter balance and fade, and select a known working source.
- Switch audio sources. Test AM/FM radio, Bluetooth, USB, and phone audio so you can tell if one source failed.
- Inspect visible wiring. Look for loose plugs, frayed speaker leads, corrosion, water marks, or damaged trim areas.
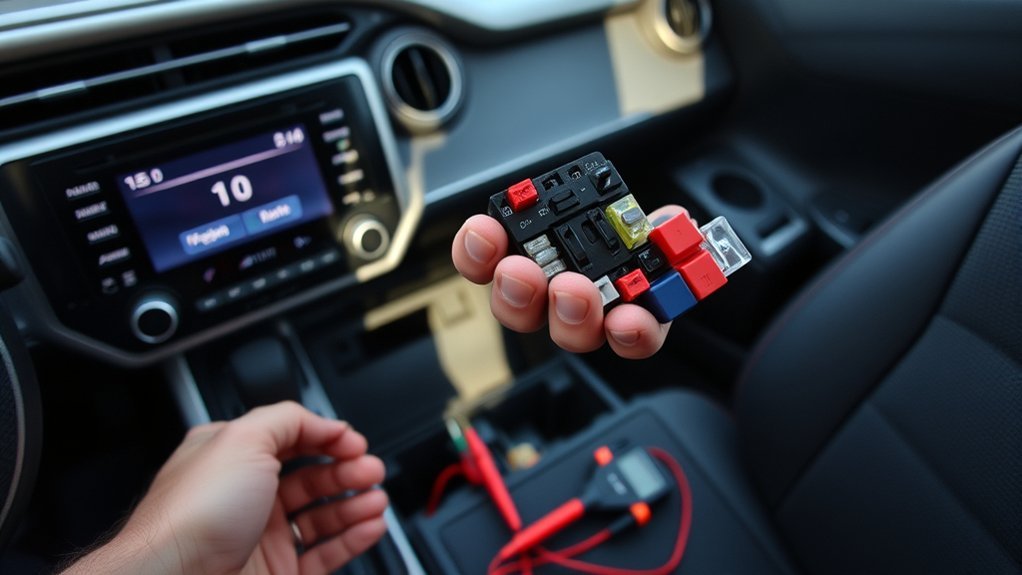
- Check audio-related fuses. Inspect the owner manual fuse list for your model year, then test suspect fuses with a meter.
- Scan with the right tool. Use a Toyota-capable scanner or Techstream if the fault involves multimedia, body, or amplifier codes.
These checks keep your troubleshooting focused. They also help you explain the problem clearly if you later visit a shop or dealer.
Common Causes of No Sound in a RAV4 (Wiring, Amp, Head Unit, Speakers)
A RAV4 no-sound problem usually starts in one of four places: wiring, amplifier power, speaker failure, or the head unit. Some trims use a separate amplifier, especially models with a premium sound system. Other trims send audio from the head unit to the speakers with simpler wiring.
Work from the cheapest and easiest checks toward the costly parts. This order helps you avoid replacing a working radio when a loose connector or blown fuse caused the silence.
[Products Worth Considering]

Vehicle Compatibility - [Not Compatible With Factory Amplified Systems] GEO: Prizm 1989-92, LEXUS: LX450 1996-97, PONTIAC: Vibe 2009, SCION: FR-S 2013-16, IM 2016, IQ 2012-13, TC 2005-16, XA 2004-07, XB 2004-15, XD 2008-12
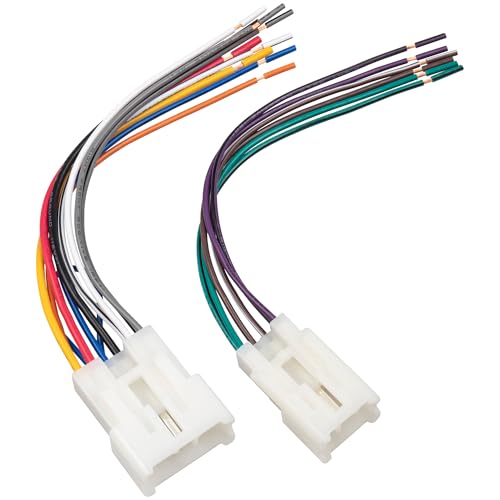
Note: Radio harness connector is not compatible with factory amplified systems and JBL stereo sound systems
Wiring And Connections
Wiring and connection problems can stop one speaker or the whole system. Vibration, moisture, previous stereo work, and trim removal can loosen terminals or damage insulation.
Use a careful wiring inspection and connection maintenance routine. Check ground integrity, test harness continuity, and look for corrosion at plugs.
- Inspect harnesses and speaker leads for frays, kinks, and crushed insulation.
- Test continuity with a multimeter at suspect connections.
- Clean corroded terminals with electrical contact cleaner.
- Reseat plugs and check that locking tabs click in place.
- Use dielectric grease only where the product instructions and connector type allow it.
Amplifier Failure Signs
After you check wiring and clean connectors, inspect the amplifier if your RAV4 has one. A failed amplifier can cause total silence even when the head unit screen, buttons, and Bluetooth still work.
Look for intermittent cutouts, heat-related sound loss, stuck volume behavior, or no output from any speaker. Test amplifier fuses, power, ground, input signal, and output signal before you replace it.
| Check | Method | Action |
|---|---|---|
| Power fuse | Visual/test | Replace if blown |
| Ground | Multimeter | Repair if resistance reads high |
| Output | Speaker test | Confirm signal before replacement |
| Mounting | Visual | Tighten and reinstall correctly |
Speaker And Headunit Faults
The head unit and speakers can also cause total or intermittent silence. Test them early so you do not blame the amplifier without proof.
Confirm head unit power, accessory power, ground, and signal output. Then test each speaker lead with a safe test tone or meter.
- Verify head unit power, ground, and accessory feeds.
- Run a test tone to each speaker lead if your test setup supports it.
- Check Toyota audio software update options for your model and system.
- Inspect speaker cones, terminals, and voice coils for damage.
- Replace a speaker or head unit only after you confirm the fault.
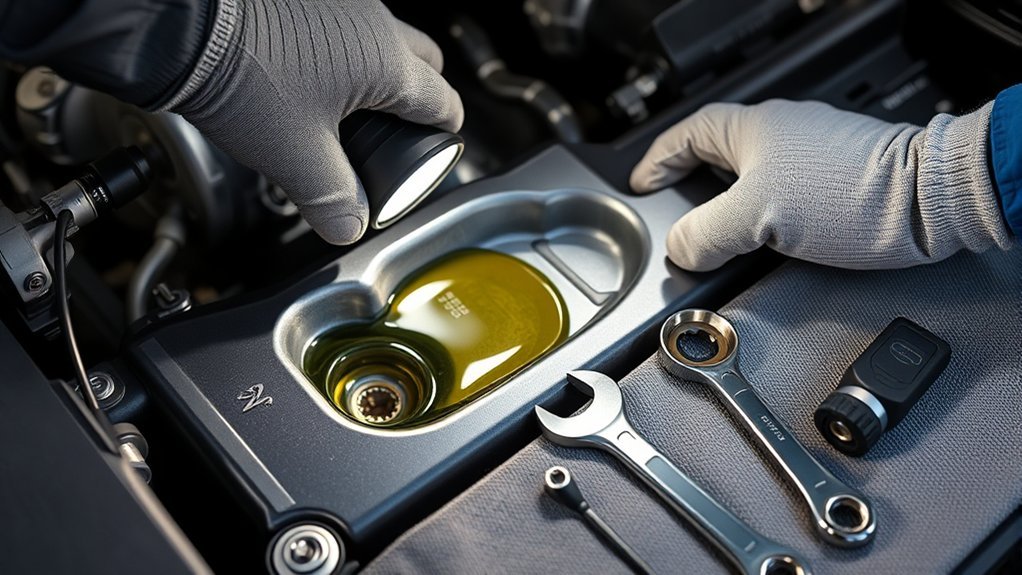
Before You Test: Safety Checks That Prevent Damage
Audio testing looks simple, but the wrong probe or short can damage a radio, amplifier, or control module. Use the wiring diagram for your exact model year and trim before you back-probe connectors.
Warning: Disconnect the negative battery terminal before unplugging major audio connectors unless the test procedure requires live voltage checks.
Keep metal tools away from exposed terminals. If you need live voltage readings, secure the vehicle, use insulated probes, and avoid forcing pins into connectors.
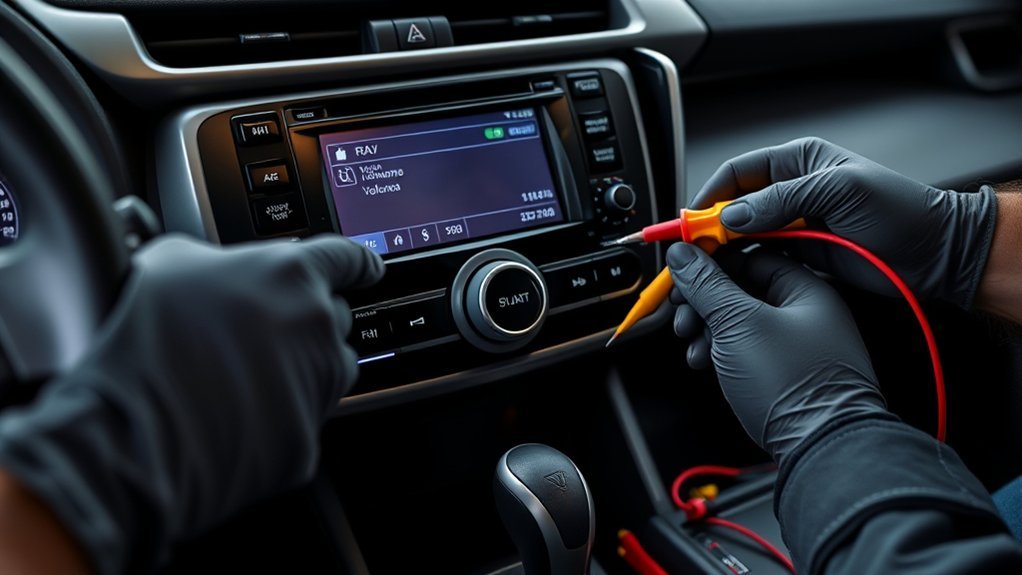
DIY RAV4 No-Sound Tests You Can Do Safely
Start by separating power problems from signal problems. Confirm that the radio turns on, the screen responds, and the volume changes before you test the speaker circuit.
Use a multimeter to check voltage at the radio power pins and amplifier input. With the ignition in the correct position, you should see voltage where the wiring diagram says power should appear.
- Check fuses: Test both sides of each related fuse with a meter, not just your eyes.
- Check ground: Measure resistance between the ground point and chassis ground.
- Check speaker continuity: Look for open circuits or shorts in each speaker pair.
- Check source behavior: Compare radio, Bluetooth, USB, and phone audio.
- Check software behavior: Restart the head unit and check for available Toyota multimedia updates.
Note: A basic OBD-II scanner may read engine codes but miss audio, body, amplifier, or multimedia diagnostic trouble codes.
Document each reading as you test. Clear notes help you avoid repeated work and give a technician useful information.
Is It the Amplifier or Head Unit? How to Tell

You can narrow the fault by asking one key question: does the head unit create a signal, and does the amplifier send that signal to the speakers? If the screen works but no speaker plays, the amplifier or its wiring deserves close attention.
- Turn on the radio and confirm the display, source selection, and volume control work.
- Measure amplifier power and ground before you test output.
- Inspect connectors between the head unit and amplifier for loose pins or corrosion.
- Test speaker outputs at the head unit if your trim routes audio directly from it.
- Replace the amplifier only when it has power, ground, and input signal but no output.
Intermittent cutouts often point to heat, loose wiring, weak ground, or failing electronics. Steady silence can point to a fuse, amplifier, head unit, or software fault.
[Products Worth Considering]

4 Gauge 99.99% Oxygen Free Copper Complete Amplifier Wiring Installation Kit

COMPLETE AMPLIFIER WIRING KIT - AK4 is a perfect set to install 1 amplifier. 4 Gauge Installation cables 1200W that come with an ANL fuse holder with 80 amp fuse.

Complete Car Amp Wire Setup: Complete 8-gauge wiring kit for car audio amplifier installation; 20, 4-inch wire ties; 3 rubber grommets; Ideal set for customizing your car's audio upgrade
When Dealer Diagnostics Make Sense for a RAV4 No-Sound Issue
A Toyota dealer or qualified shop makes sense when basic tests do not show the cause. Toyota Techstream provides factory-level diagnostic support for Toyota vehicles and can run a health check that includes diagnostic trouble codes, freeze-frame data, calibration data, service bulletin data, and campaign data.
Toyota technical information also confirms that some Toyota Audio Multimedia systems support a radio Service Menu diagnostic mode through Techstream, GTS+, or a manual service-menu method. In that menu, technicians can review function checks, product information, system sensor details, and related service data for supported models.
Ask the service adviser to explain what they will test before you approve work. You want clear results for power, ground, communication, software status, amplifier output, and head unit signal.
RAV4 Radio Repair Options: DIY, Aftermarket, or Dealer
You can fix a RAV4 radio no-sound issue through DIY repair, an aftermarket audio shop, or dealer service. The right route depends on your tools, skill level, warranty status, and the part that failed.
Toyota states that basic new-vehicle warranty coverage runs 36 months or 36,000 miles from first use, whichever comes first. Warranty terms can vary by market, model, and coverage type, so check your warranty booklet or Toyota account before you approve paid repairs.
Pro tip: Match any amplifier or head unit by VIN, trim, sound system type, and part number before you buy it.
[Products Worth Considering]

【WIDE COMPATIBLITY】 -- The 86190-02010 auxiliary input jack Replacement for 2007-2011 Toyota Avalon, 2009-2013 Toyota Corolla, 2010-2011 Toyota Highlander, 2009-2012 Toyota RAV4, 2008-2014 Toyota Sequoia, 2011-2015 Toyota Sienna, 2009-2012 Toyota Tacoma, 2007-2014 Toyota Tundra.

The shell of the converter is made of transparent waterproof material,it is used to connect the car high-power amplifier or subwoofer signal input.

NOTE: Before installation, use a multimeter to check the polarity and prevent the speaker harness from malfunctioning
DIY Amplifier Replacement
If your RAV4 uses a separate JBL amplifier and testing confirms it failed, DIY replacement can save labor. Buy the correct part only after you match the part number and sound system type.
- Amplifier type: Compare OEM, used, refurbished, and remanufactured options.
- Tools: Use trim tools, a socket set, a meter, and safe panel-removal methods.
- Removal: Label clips and connectors so you can reinstall panels correctly.
- Installation: Secure grounds and confirm every connector seats fully.
- Testing: Check channel output before you reinstall all trim panels.
DIY repair works best when you have a wiring diagram and clear test results. Guessing can turn a simple audio fault into a costly electrical problem.
Aftermarket Head Unit Options
An aftermarket head unit can restore sound and add features like Bluetooth, Apple CarPlay, Android Auto, and better audio controls. You still need the right dash kit, wiring harness, antenna adapter, and steering-wheel control adapter.
Check compatibility with your RAV4 year, trim, factory amplifier, speaker impedance, camera system, and retained vehicle settings. A professional installer can help when the vehicle uses a premium amplifier or data-bus integration.
Dealer Repair And Warranty
Choose dealer repair when the vehicle may still have warranty coverage, the issue involves Toyota software, or you need factory-level diagnostics. Dealer service can cost more, but it may reduce guesswork when modules, service bulletins, or calibration data matter.
- Dealer: Best for warranty checks, software concerns, and factory diagnostics.
- Warranty: May cover diagnosis and repair if the fault qualifies under the coverage terms.
- Amplifier replacement: Works only after testing confirms amplifier failure.
- Aftermarket: Can add features but needs careful integration.
- DIY: Costs less but requires wiring skill and safe testing.
Preventive Maintenance to Avoid Future RAV4 Audio Failures
Regular upkeep prevents many audio failures. Inspect connectors, secure wiring, protect the system from moisture, and keep the battery healthy.
Software also matters. Toyota provides official audio multimedia update resources, and supported newer systems may update through the vehicle display.
| Task | Frequency |
|---|---|
| Connector inspection and cleaning | Every 3 months |
| Wiring and ground checks | Every 6 months |
| Battery voltage and health test | Monthly |
| Audio software update check | When Toyota releases one |
This routine reduces surprise failures and shortens future diagnostic time. It also helps your audio system stay reliable through heat, vibration, and daily use.
Frequently Asked Questions
Why does my radio turn on but have no sound on my Toyota?
Your radio can power on while the speakers stay silent if the amplifier, speaker wiring, fuse, software, or head unit output fails. Start with volume, mute, source, balance, and fade settings, then test fuses and wiring before replacing parts.
Can a blown fuse cause a RAV4 radio to have no sound?
Yes, a blown audio, amplifier, or accessory-power fuse can stop sound. Test the fuse with a multimeter because a fuse can look normal but fail under load.
Do I need Techstream to diagnose RAV4 audio problems?
You do not need Techstream for basic checks like fuses, volume, wiring, and speaker continuity. You may need Toyota Techstream or another Toyota-capable scanner when the problem involves multimedia codes, module communication, software status, or dealer-level service-menu checks.
Should I replace the amplifier or head unit first?
Do not replace either part first without testing. Replace the amplifier only if it has power, ground, and input signal but no output. Replace the head unit only if it fails power, signal, source, or software checks.
Conclusion
A Toyota RAV4 radio with no sound needs a clear test order, not guesswork. Start with settings, fuses, wiring, speakers, and amplifier power before you replace major parts. Use dealer diagnostics when software, hidden service menus, warranty coverage, or module communication may affect the repair. With careful testing, you can find the fault faster and avoid paying for parts you do not need.
References
- Toyota Manuals and Warranties – Toyota Owners, accessed 2026
- Toyota Audio Multimedia System Updates – Toyota, accessed 2026
- Over the Air: Audio Multimedia System Updates – Toyota, accessed 2026
- Techstream Lite – Toyota Technical Information System, accessed 2026
- Toyota Audio Multimedia (21MM) User Profile Diagnostics and TAS Precall Worksheet Process – Toyota Motor Sales, USA / NHTSA, 2023