Oil under your Toyota RAV4 can look minor, but it can point to a leak that needs quick attention. Small drips may come from a worn gasket, loose drain plug, oil filter seal, or engine seal. This guide shows you how to spot common leak points, tell seepage from an active leak, and know when to call a mechanic.
What’s in This Article
- Common Causes of Oil Leaks in Toyota RAV4
- Oil Leaks vs. Seepage: Key Differences?
- Step-by-Step Troubleshooting for Oil Leaks
- Why Engine Cleaning Matters Before Repairs
- What to Expect: Repair Costs for Oil Leak Fixes
- Recognizing Warning Signs: When to Consult a Mechanic?
- How to Prevent Future Oil Leaks in Your RAV4
- Gaskets and Seals: Their Impact on RAV4 Oil Leaks
- Essential Post-Repair Practices to Prevent Future Oil Leaks
- Frequently Asked Questions
Quick Answer
To diagnose an oil leak in your Toyota RAV4, inspect the valve cover gasket, oil pan, drain plug, oil filter, and engine seals. Clean the oily area first, run the engine, then check where fresh oil appears. Use ultraviolet (UV) dye if you can’t see the leak source clearly.
Key Takeaways
- Check the valve cover gasket, oil pan, drain plug, oil filter, and front seals first.
- Clean the engine area before diagnosis so fresh oil stands out.
- Treat pooling oil as more urgent than light seepage or staining.
- Watch for low oil pressure warnings, burning oil smells, smoke, or fast oil loss.
- Use proper torque, clean mating surfaces, and quality gaskets after repairs.
Common Causes of Oil Leaks in Toyota RAV4
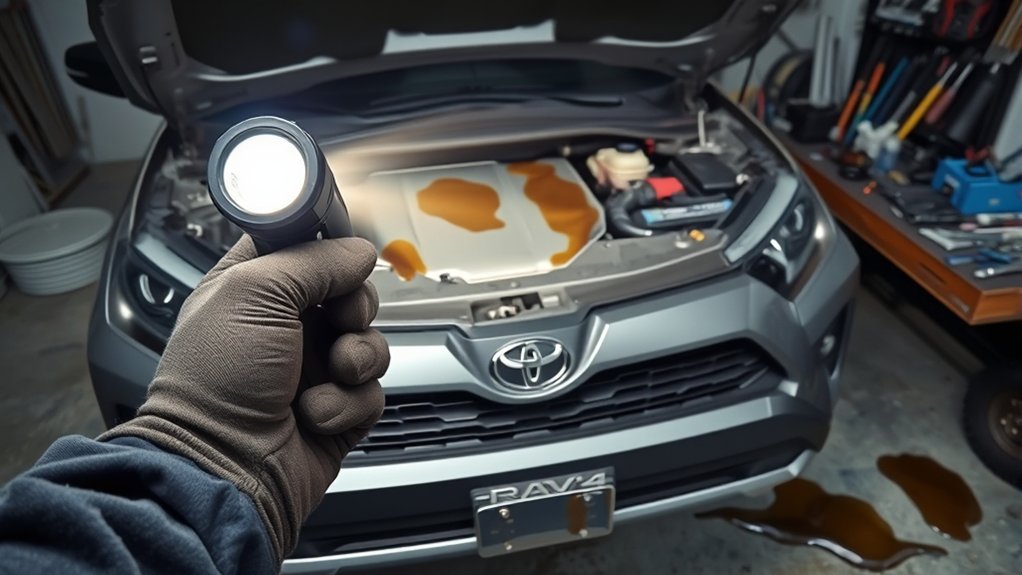
When you diagnose oil leaks in your Toyota RAV4, start with the most common leak points. Worn or damaged gaskets, especially valve cover gaskets, often leak as they age. Regular gasket checks can help you catch small problems before they spread.
The front crankshaft seal, oil pan gasket, oil drain plug, and oil filter seal can also leak. Some older RAV4 models may develop leaks around the front seal area, which can require more labor to inspect and repair.
Excess oil from an overfilled oil change can raise crankcase pressure and worsen leaks. A damaged Variable Valve Timing with intelligence (VVT-i) oil line can also cause major oil loss on affected engines. Check these areas during routine service to reduce the risk of engine damage.
Oil Leaks vs. Seepage: Key Differences?
You need to know the difference between an oil leak and seepage before you decide how urgent the repair is. An active oil leak leaves visible drops, wet oil trails, or pooling fluid under the vehicle. That level of oil loss can harm the engine if you ignore it.
Seepage usually looks like a thin oil film, light staining, or grime stuck to oily areas. It may not cause fast oil loss, but it can turn into a larger leak over time.
Leaks often come from failed gaskets, seals, loose fittings, or damaged oil lines. Seepage often appears where two engine parts meet. Regular checks help you track whether the oil mark stays stable or gets worse.
Warning: Do not keep driving if the oil pressure light comes on, because low oil pressure can damage the engine fast.
Step-by-Step Troubleshooting for Oil Leaks
When you troubleshoot oil leaks in your Toyota RAV4, work from simple checks to deeper inspection. Start with easy-to-reach areas like the oil filter, drain plug, valve cover gasket, and oil pan. Clean oily surfaces before you inspect so fresh oil becomes easier to see.
Estimated time depends on the leak location. A basic visual check may take 15 to 30 minutes, while cleaning and dye testing can take longer.
[Products Worth Considering]

ECOGARD X5608 is a premium cartridge oil filter designed for a wide range of Toyota, Lexus, and Scion vehicles. It helps protect your engine by screening out harmful contaminants and is built for use with both synthetic and conventional oils. Included O-rings support a proper housing seal for dependable maintenance between oil changes.

FOCUSFILTER 04152-YZZA1 OEM grade oil filter is designed to help protect your engine with reliable filtration and 10K mile protection. It cross references multiple OE part numbers and fits a wide range of Toyota and Lexus applications, making it a practical replacement for routine maintenance. Built for compatible vehicles including Camry, Avalon, Highlander, Tacoma, RAV4, Sienna, ES 350, and RX 350.

This upgraded aluminum oil filter housing cap is designed as a direct replacement for compatible Toyota and Lexus models, helping restore a secure, reliable seal for the oil filter housing. Built from durable aluminum, it offers improved strength and heat resistance over factory plastic covers, while the included gasket and plug support straightforward installation and dependable leak-free performance.
Common Leak Locations
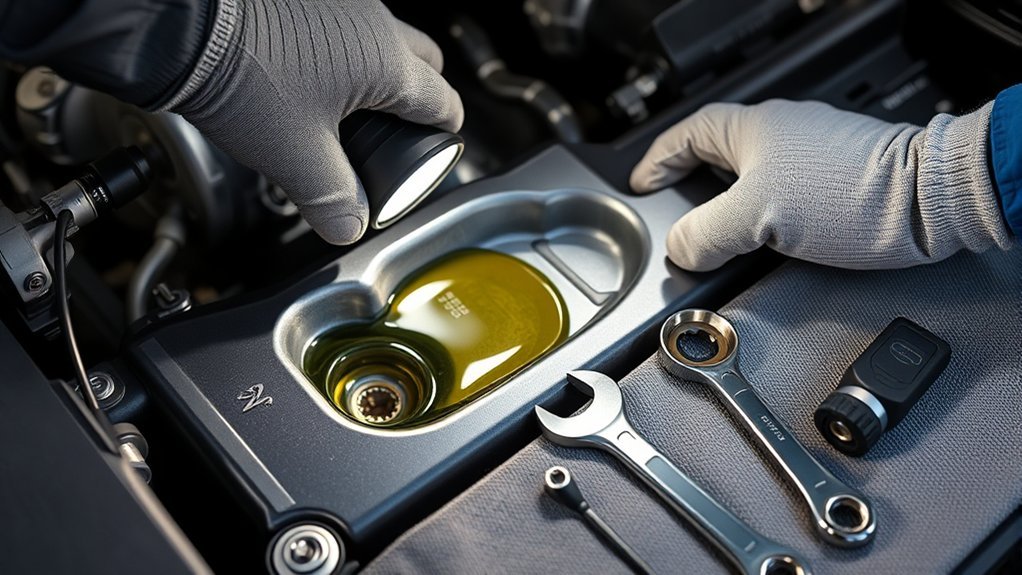
Inspect the engine compartment for fresh oil spots, especially around the oil filter, drain plug, oil pan, and valve cover. These areas often leak after a loose fitting, worn seal, or poor gasket contact.
Also check the front crankshaft oil seal and timing cover area if oil appears near the front of the engine. That area can need more work because covers or nearby parts may block your view.
After you clean the suspected area, run the engine and watch for new oil. Check your dipstick often during the process. A falling oil level can confirm that the leak is more than surface staining.
Diagnostic Inspection Techniques
Use a steady process during your diagnostic inspection. First, park on a level surface and let the engine cool. Then inspect common leak points with a light.
- Check the oil level. Confirm that the engine has enough oil before you run it.
- Clean the oily area. Remove old oil and grime so fresh oil stands out.
- Run the engine briefly. Watch the cleaned area for new oil trails or drops.
- Inspect from top to bottom. Oil moves downward, so the source may sit above the wettest spot.
- Add UV dye if needed. Use ultraviolet (UV) oil dye and a blacklight to trace hard-to-find leaks.
If you still can’t find the leak, ask a certified mechanic to inspect the vehicle. A proper diagnosis can prevent needless part replacement and reduce the risk of engine damage.
Pro tip: Check the highest wet oil mark first, because gravity can make a top leak look like a lower leak.
Why Engine Cleaning Matters Before Repairs
Cleaning your engine before repairs helps you find the real leak source. Old oil and grime can hide fresh leaks, which makes diagnosis slower and less accurate. A clean surface also helps new gaskets and seals seat better during repair.
[Products Worth Considering]

This 12-pack oil filter and drain plug washer set is designed for a wide range of Toyota and Scion vehicles, helping support clean oil flow and dependable engine performance. It replaces several common OE part numbers and offers an easy-fit solution for routine maintenance. Built with corrosion-resistant materials and efficient filtration, it helps keep engine contaminants out and supports longer service life.
Designed specifically for Toyota Camry 2025-2026 models, this windshield sunshade provides full front coverage to help block sunlight and reduce heat buildup inside the cabin. Its reflective multi-layer construction helps protect the dashboard, seats, and steering wheel from UV exposure while keeping the car cooler and more comfortable. With quick foldable installation and durable stitched edges, it is made for everyday use and easy storage.

FORMULA: CRC Heavy Duty Pro-Strength Degreaser foaming water-based formula is aggressive yet gentle enough for various applications. It's no- odor avoids a harsh chemical smell.
Enhanced Leak Detection
A clean engine surface helps you spot new oil fast. It can also reduce diagnostic time because old residue no longer blends with fresh oil.
Professional engine cleaning can take several hours, depending on access and buildup. After cleaning, UV oil dye can help you track the leak under a blacklight.
| Benefit | Description |
|---|---|
| Improved Visibility | Removes old oil, dirt, and debris |
| Accurate Leak Detection | Helps identify the source of leaks quickly |
| Cost-Effective | Reduces diagnostic time and repair costs |
| Enhanced Tracking | UV dye reveals fresh oil under blacklight |
Improved Repair Accuracy
Proper engine cleaning improves repair accuracy by removing oil residue and debris from inspection areas. A clean engine helps you identify oil leak sources faster and avoid replacing the wrong part.
Clean mating surfaces also help new gaskets seal well. Follow the correct torque pattern and torque values when reinstalling parts. Over-tightening can crush a gasket, while under-tightening can let oil escape.
What to Expect: Repair Costs for Oil Leak Fixes
Oil leak repair costs vary by leak source, parts cost, labor time, and local shop rates. A simple drain plug or oil filter seal issue may cost far less than a front crankshaft seal or oil pan repair.
These common repair ranges can help you plan:
- Oil level sensor replacement: often about $171
- Oil pan gasket replacement: often about $366 to $537
- Engine oil pan replacement: often up to about $539
Treat these figures as estimates, not guaranteed prices. Your actual cost depends on your RAV4 model year, engine, labor rate, and the parts your shop uses.
Ignoring oil leaks can raise repair costs if low oil damages the engine. Ask for a clear diagnosis before you approve repairs. A good shop should explain the leak source and show you the affected area when possible.
Recognizing Warning Signs: When to Consult a Mechanic?
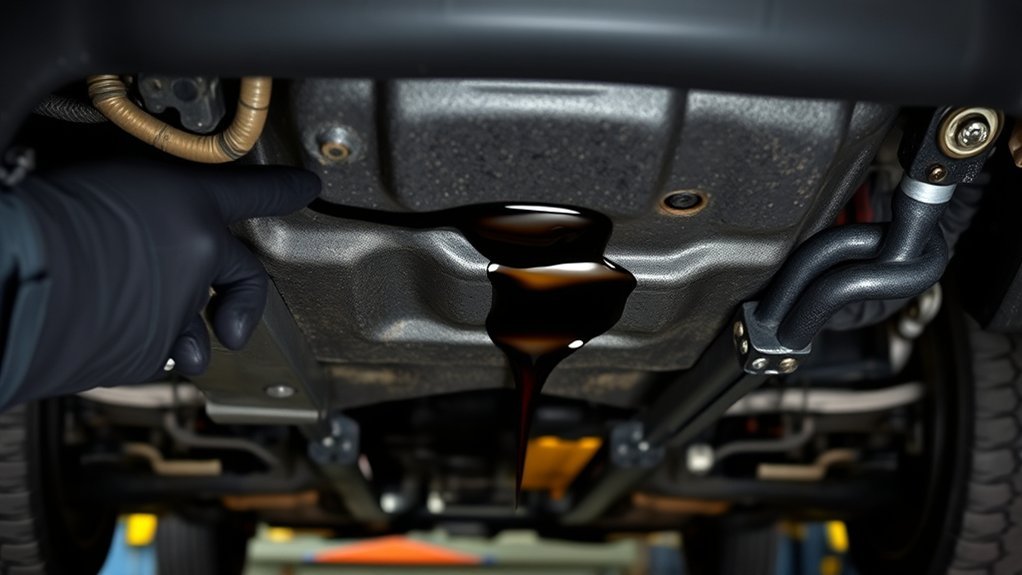
Call a mechanic if you see fresh oil pooling under your RAV4, especially near the oil pan or front engine area. You should also get help if the oil level drops quickly between checks.
Pay attention to dashboard warning lights, especially the low oil pressure warning. This warning can point to serious oil pressure loss, not just a small leak.
White or gray smoke after an oil change may point to overfilled oil or oil burning on hot parts. A burning oil smell, low engine power, or knocking noise also needs quick attention. Do not wait if the engine sounds rough or the oil light stays on.
How to Prevent Future Oil Leaks in Your RAV4
Preventing future oil leaks starts with regular maintenance and careful service work. You can reduce leak risk by checking key parts before they fail.
- Inspect gaskets and seals. Replace worn parts before they harden, crack, or shrink.
- Tighten drain plugs correctly. Use the proper torque during oil changes to avoid leaks and thread damage.
- Monitor oil levels. Avoid overfilling because excess oil can increase pressure and worsen leaks.
- Use quality parts. Choose original equipment manufacturer (OEM) parts or trusted equivalents for better fit.
Routine maintenance checks can also reveal early seepage. Catching a small leak early can help you avoid more costly work later.
[Products Worth Considering]

Leak-Proof Oil Seal: Features a Bakelite-Aluminum layer that expands with oil to form a tight, reliable seal; stops oil leaks around the drain plug, protecting the engine from oil loss and potential damage for consistent daily performance

REPLACEMENT-Includes 24 Pcs Aluminum Oil Drain Plug Gaskets,regular replacement of the oil drain plug gasket can better protect your engine
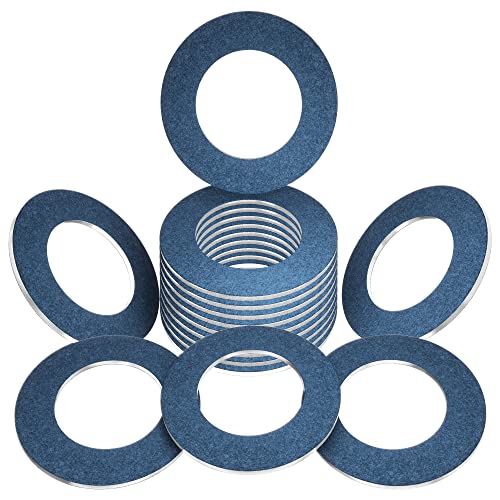
Direct replacement for Toyota OEM 90430-12031 (9043012031). Cross-references with 90430-12018, 90430-12027, 90430-12036, 90430-C0005, 90430-T0024, 12101-54042, 12101-54062, 12101-54130, 12101-63011, and aftermarket number 095156. Dimensions: 12mm / 0.47in ID, 21mm / 0.83in OD, 1.8mm / 0.07in thickness. 15-pack value — enough for 15 oil changes, over 5 years of maintenance.
Gaskets and Seals: Their Impact on RAV4 Oil Leaks
Your Toyota RAV4 depends on gaskets and seals to keep oil inside the engine. Common failure points include valve cover gaskets, oil pan gaskets, crankshaft seals, and timing cover sealing surfaces.
Old gaskets can harden, shrink, or crack from heat and age. Poor installation can also cause leaks if the surface isn’t clean or the bolts aren’t tightened correctly.
When you replace gaskets, clean the mating surfaces and follow Toyota’s torque specifications for your model. Use OEM gasket types or high-quality replacements to improve fit and durability.
Essential Post-Repair Practices to Prevent Future Oil Leaks
After a repair, check your RAV4 again to confirm the leak stopped. Early follow-up can catch a loose fitting, poor gasket seal, or leftover oil residue before it causes confusion.
- Monitor oil levels. Check the dipstick after the first few drives and look for fresh spots under the vehicle.
- Use quality parts. Choose OEM parts or trusted equivalents for gaskets, seals, and oil-related components.
- Clean mating surfaces. Remove old gasket material and residue before reassembly.
- Follow torque specs. Tighten bolts to the correct value and pattern for your engine.
Avoid overfilling the engine after repairs. Too much oil can raise pressure and push past seals. Keep records of the repair so you can track any repeat leak at the same location.
Frequently Asked Questions
Why Is My RAV4 Leaking Oil?
Your RAV4 may leak oil because of a worn gasket, damaged seal, loose drain plug, oil filter issue, or damaged oil line. Find the exact source before you replace parts because oil can travel from the leak point to lower engine areas.
Can I drive my Toyota RAV4 with an oil leak?
You may drive a short distance with a small seep if the oil level stays full and no warning lights appear. Do not drive if oil pools under the vehicle, the oil pressure light comes on, or the engine makes knocking sounds.
How do I know if the oil leak comes from the valve cover gasket?
A valve cover gasket leak often leaves oil on the top or side of the engine. You may also smell burning oil if it drips onto hot exhaust parts.
Will UV dye hurt my RAV4 engine?
Automotive UV oil dye made for engine oil should not harm the engine when you use it as directed. Follow the product instructions and avoid adding more than the recommended amount.
How often should I check for oil leaks?
Check for oil leaks at every oil change and any time you notice oil spots, burning smells, or a falling oil level. A quick monthly dipstick check can also help you catch leaks early.
Conclusion
The most important step in fixing a Toyota RAV4 oil leak is finding the true source before you replace parts. Start with a clean engine, inspect the common leak points, and watch for fresh oil after the engine runs. Call a mechanic when you see fast oil loss, warning lights, smoke, or poor engine performance. With prompt checks and careful repairs, you can keep your RAV4 cleaner, safer, and ready for daily driving.
References
- Toyota Warranty and Owner Manuals — Toyota Motor North America
- Vehicle Recalls Search — National Highway Traffic Safety Administration
- Managing, Reusing, and Recycling Used Oil — U.S. Environmental Protection Agency