RAV4 Touchscreen Not Responding: How to Diagnose and Fix It
What’s in This Article
- Quick Test for a Frozen RAV4 Touchscreen
- Do a Soft Reset and Power-Cycle the Unit
- Check Vehicle Power and Infotainment Fuse
- Inspect and Secure Infotainment Connections
- How to Clean and Test the RAV4 Touchscreen
- How to Tell: Software vs. Hardware Touchscreen Faults
- When to Perform a Hard Reset (Battery Disconnect)
- Common Electrical Causes and Wiring Checks
- Repair Options: Dealer, Module, or Aftermarket
- Back Up Your Data and Brief the Shop
- When to Seek Professional Help
- Frequently Asked Questions
A frozen RAV4 touchscreen can lock you out of navigation, audio, and climate controls in an instant. Most failures trace back to a software glitch, a blown fuse, or a loose connector. This guide walks you through every fix, from a quick soft reset to full module replacement, so you can diagnose the problem and decide your next move.
Quick Answer
Hold the power/volume knob for 10–20 seconds to perform a soft reset, then power-cycle the car. If that doesn’t work, check the infotainment fuse and replace it if blown. For deeper faults, inspect wiring connectors or disconnect the negative battery terminal for 5–10 minutes to perform a hard reset.
Key Takeaways
- A soft reset (hold the power/volume knob 10–20 seconds) fixes most touchscreen freezes without erasing any saved settings.
- A blown infotainment fuse causes a completely dark screen; replace it with the exact amperage listed in your owner’s manual.
- Loose ribbon cables or corroded connectors create zone-specific dead spots; reseating them often restores full function.
- A battery disconnect hard reset clears persistent software faults that survive normal reboots.
- If dead zones remain after all resets and connector checks, the digitizer or controller board likely needs professional repair or replacement.
Quick Test for a Frozen RAV4 Touchscreen
Before running deeper diagnostics, confirm the basics. Make sure the vehicle is on, since the system needs engine or accessory power. Wipe the screen with a lint-free cloth to rule out contamination affecting touch sensitivity. Then perform a soft reset by holding the power/volume knob for 10–20 seconds.
If the screen stays unresponsive, inspect the infotainment fuse for a blown filament or burn marks. Replace it with the correct amperage if you find damage. As a last resort, disconnect the battery’s negative terminal for several minutes to perform a hard reset. These steps help you confirm whether the fault is mechanical, electrical, or requires dealer service.
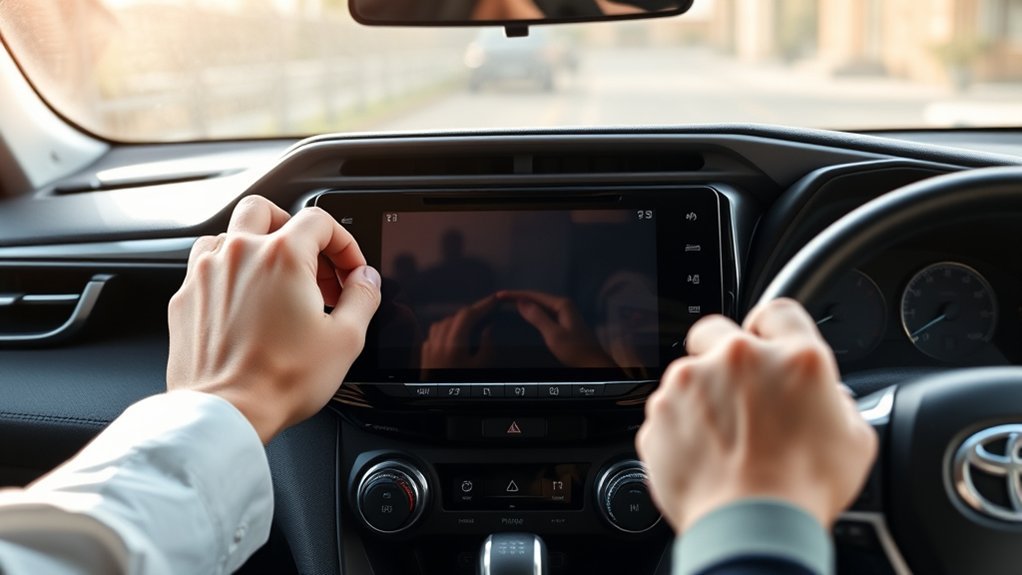
Do a Soft Reset and Power-Cycle the Unit
Press and hold the power/volume button for 10–20 seconds while the vehicle is fully powered on. The system reboots and the Toyota logo appears. After the reboot, test responsiveness across the screen. If it still lags, check for software updates and inspect the infotainment fuse before going further.
How to Perform a Soft Reset
Hold the power/volume knob for 10–20 seconds while the vehicle is on. The screen darkens, refreshes, and shows the Toyota logo. This clears temporary software errors without changing your saved settings.
After the reboot, tap and swipe across the full screen to confirm responsiveness. If the interface still freezes, check for available firmware updates before moving to hardware checks.
Pro tip: Check your RAV4’s infotainment firmware version under Settings. An outdated version causes recurring freezes even after a successful soft reset.
Why Power-Cycling Clears Residual Faults
After a soft reset, power-cycling is your next diagnostic step. Turn the ignition off, wait 30–60 seconds, then restart the car. This clears residual electrical faults that a software reboot alone can’t flush out.
Once the car restarts, tap through any previously unresponsive zones. If problems persist after a full power-cycle, move on to fuse checks or professional diagnostics.
Check Vehicle Power and Infotainment Fuse
Before checking fuses, verify the RAV4’s ignition is on. The touchscreen won’t power up without accessory or engine power. Locate the fuse box, which sits under the dash or in the engine bay depending on your RAV4’s generation, then find and inspect the infotainment fuse.
| Step | Purpose |
|---|---|
| Confirm ignition on | Verify touchscreen can receive power |
| Locate fuse box | Access infotainment fuse for inspection |
| Inspect fuse | Identify broken filament or burn marks |
| Replace fuse | Restore power with matching amperage |
Note: Always replace a blown fuse with one that matches the original amperage exactly. A higher-rated fuse can damage the infotainment system or create a fire hazard.
Replace any blown fuse with the correct amperage from your owner’s manual. If the new fuse blows again right away, stop and take the vehicle to a professional. A repeated failure points to a short circuit that needs targeted diagnosis, not another fuse.
[Products Worth Considering]

This 9H tempered glass screen protector offers anti-glare matte finish, fingerprint resistance, and full sensor functionality for the 2026 Toyota RAV4 12.9" touchscreen. It preserves touch sensitivity while protecting against scratches and smudges, and includes easy bubble‑free installation with a 360‑day replacement warranty.

Upgrade your RAV4 interior with a sleek, retractable 4‑port USB hub that adds vibrant RGB lighting and fast charging for phones, tablets, and accessories. The intelligent retractable cables keep the console tidy while the snap‑in design ensures easy installation. Compatible with 2020‑2025 RAV4 models, it blends modern tech with a clean aesthetic.

The TOPINSTALL dash console tray adds convenient storage to your Toyota Rav4 without obstructing the view. Made from solid, heat‑resisting plastic with a matte black finish, it holds tissues, sunglasses, keys and cards securely using rubber liners and strong adhesive tape. Its OEM‑matching shape enhances interior appearance while providing quick access to essential items while driving.
Inspect and Secure Infotainment Connections
Inspect all harnesses and plugs visually and physically. Each connector should seat fully, show no corrosion, and have no damaged or exposed wiring. Trace harnesses from the head unit to their attachment points and look for frays, pinch marks, or bent pins.
To reseat a connector, depress the locking tab, pull the plug free, and check the pins for oxidation. Apply a small amount of dielectric grease, then press the plug back in until the lock clicks. Confirm power delivery by checking voltage at the unit’s power pins with a multimeter. An intermittent power supply mimics a touchscreen failure.
When you need to remove panels, document screw locations and use plastic trim tools to avoid breaking clips. Regular connector checks prevent recurring faults and keep the infotainment reliable long term.
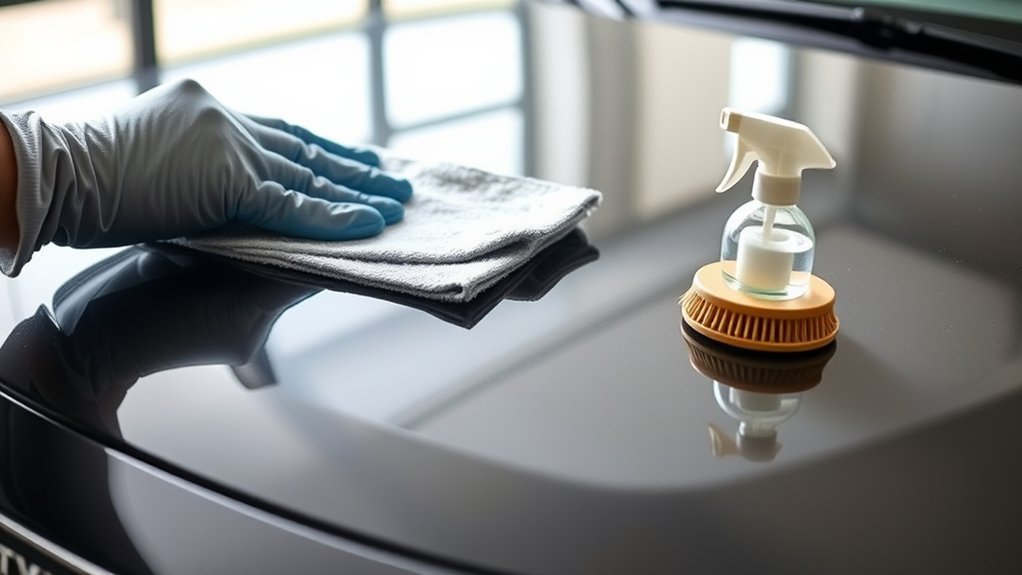
How to Clean and Test the RAV4 Touchscreen
Power the screen off before cleaning to prevent accidental inputs and reduce the risk of damaging sensitive circuitry. Use a soft, lint-free cloth and work in straight strokes rather than circles or scrubbing motions. After cleaning, power the unit back on and test multiple screen areas for persistent dead zones.
[Products Worth Considering]
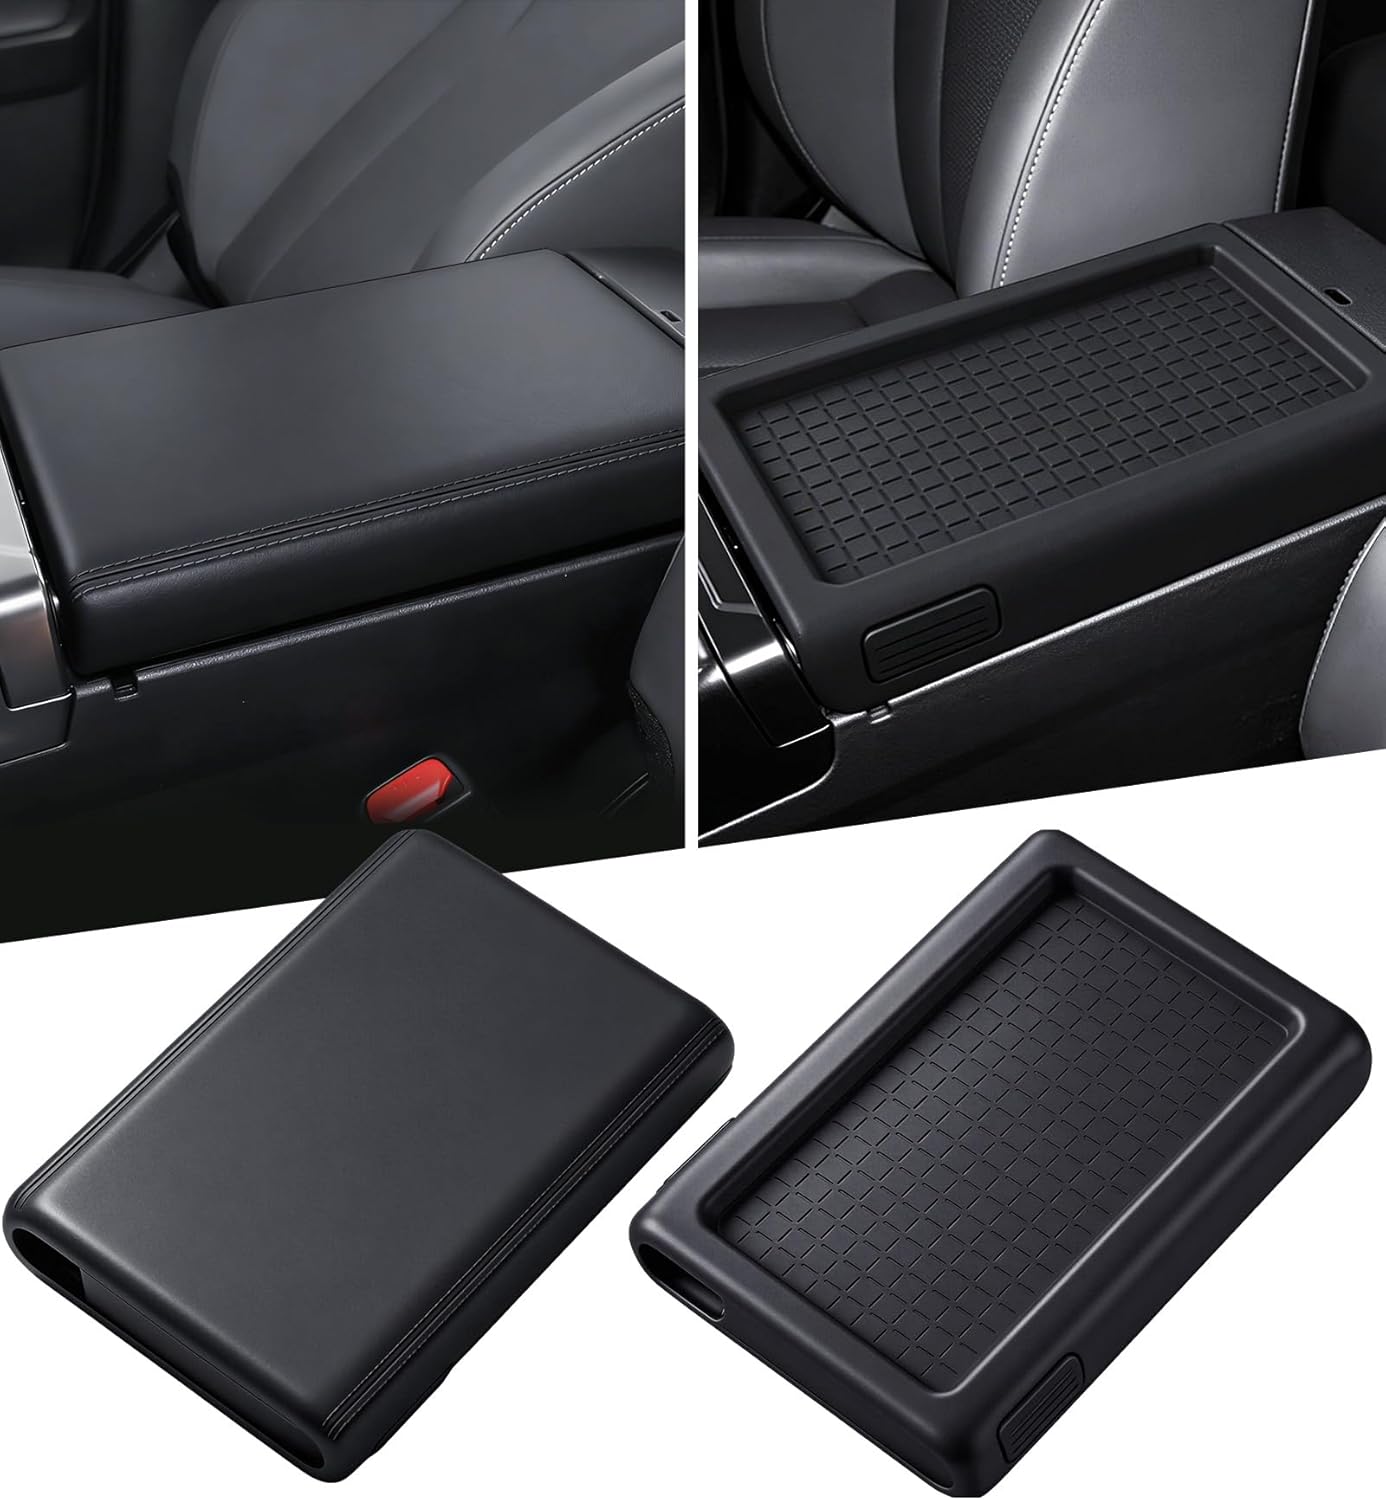
This custom-fit silicone center console cover for the 2026 Toyota RAV4 provides anti‑slip protection and a sleek, fashionable look. It shields the console from pet claws, dirt, and sticky fingerprints while keeping your arms comfortable on long drives. Easy tool‑free installation and a lifetime free replacement guarantee ensure lasting satisfaction.

The Autovir windscreen shade offers full windshield coverage for Toyota RAV4 models from 2019 to 2026, blocking up to 99.95% of UV rays and reducing interior heat. Its multi‑layer reflective material provides SPF 100 and UPF 80+ protection while keeping the dashboard, seats, and steering wheel cooler. The foldable design installs quickly and stores conveniently in the glove box, and reinforced stitching ensures long‑lasting durability for daily use.
Power Off Before You Touch the Screen
Shut the ignition and confirm accessory power is off before touching the display. Use a soft, lint-free cloth to remove dust and loose debris that can skew touch calibration.
- Inspect edges and seams for trapped debris, then clear it with short bursts of compressed air.
- Wipe center to edge with light, consistent strokes. Don’t use solvents unless your owner’s manual approves them.
- Power on and run basic inputs across the full panel to confirm consistent response.
- If dead zones remain, document their locations and seek professional service rather than pushing further.
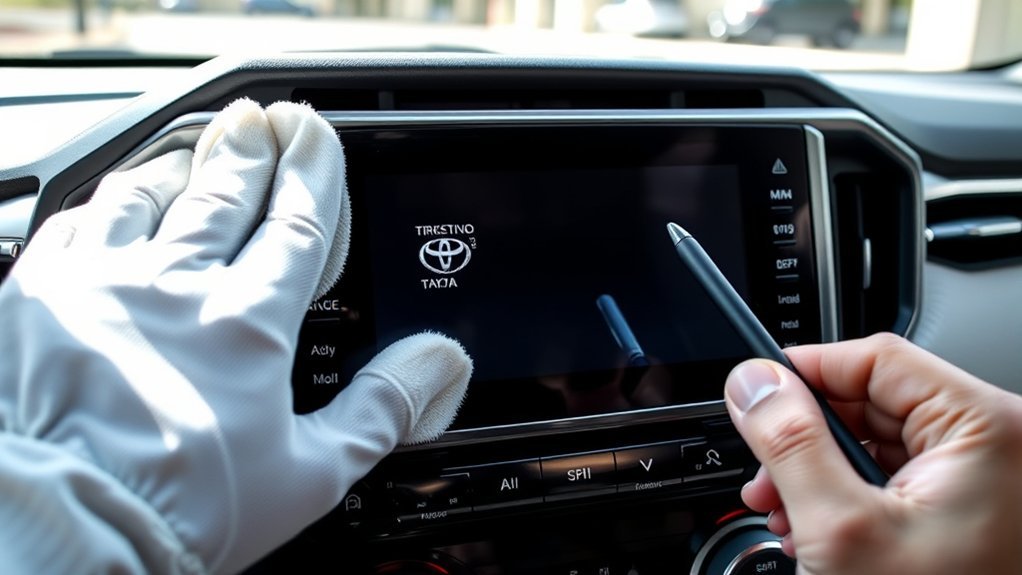
Use a Soft Stylus to Map Dead Zones
A soft-tip stylus lets you pinpoint exactly where the screen fails to respond. Use a rounded tip only; sharp points scratch the display. Tap edge to edge in a grid pattern and note any zones that don’t register or respond with an offset from where you tapped.
If the stylus triggers controls reliably where your finger doesn’t, you’re dealing with a calibration or digitizer issue. Inconsistent response across the entire panel points to a hardware fault that needs professional service.
Remove Dust Without Scratching the Display
Wipe the screen with a clean, dry microfiber cloth. Use only electronics-safe cleaners. Alcohol and ammonia-based products damage the display coating and void most manufacturer recommendations.
- Clear bezel gaps and vents with short bursts of compressed air before wiping.
- Clean in overlapping center-to-edge passes without pressing hard enough to affect sensitivity.
- Use a soft stylus to map touch response and note areas that need calibration attention.
- Repeat cleaning before escalating to professional service if sensitivity issues persist.
How to Tell: Software vs. Hardware Touchscreen Faults
Software glitches cause sporadic, inconsistent unresponsiveness across the whole screen. Hardware faults produce consistent dead zones in specific areas, like the lower third of the panel, while buttons elsewhere still work fine.
Start with a soft reset to rule out transient software issues. If the problem persists, map the screen with a stylus. Needing to tap below a visible button suggests calibration or grid overlay errors, which are common in resistive or misaligned digitizers.
Then move to hardware inspection. Remove the necessary panels and check ribbon cables and connectors. A loose flex cable often causes zone-specific failure. If connectors are secure and software troubleshooting changes nothing, you’re likely dealing with a faulty digitizer or controller board. Persistent, reproducible dead zones typically need unit replacement. Some owners have obtained warranty coverage for this exact symptom.
When to Perform a Hard Reset (Battery Disconnect)
Use a hard reset when basic resets and power-cycles don’t restore touchscreen function. Also perform one after significant electrical work to clear residual faults and let all modules reinitialize properly.
Warning: Disconnecting the battery resets radio presets, the clock, and some driver preferences. Some vehicles also require an audio security code to reactivate the system after reconnection.
When Other Resets Fail
When simpler resets don’t revive the touchscreen, disconnect the battery’s negative terminal. This clears persistent electrical and software faults that standard reboots can’t reach. Make sure the vehicle is fully off before you start.
- Prepare: Gather insulated tools and wear eye protection before opening the hood.
- Isolate power: Shut the ignition, remove the key, and unbolt the negative terminal.
- Wait: Leave the terminal disconnected for 5–10 minutes so system capacitors discharge fully and control units reset.
- Reconnect and test: Reattach the terminal securely, start the vehicle, and test touchscreen responsiveness. Seek professional help if it still fails.
After Electrical Work
After any repairs or wiring changes on your RAV4, disconnect the negative battery terminal for several minutes. This clears residual voltage and software flags that can impair the infotainment touchscreen after the work.
Keep the vehicle fully off before disconnecting to maintain electrical safety. After several minutes, reconnect the negative terminal per your owner’s manual and let the system reboot fully. Use this step when post-repair issues persist. It clears module faults that aren’t visible from the outside.
Persistent Software Glitches
Some software faults survive normal reboots. If shorter resets don’t restore touchscreen responsiveness, disconnect the negative battery terminal. This forces all vehicle systems to reinitialize and often resolves issues that standard troubleshooting can’t clear.
- Turn off the vehicle, open the hood, and locate the negative terminal. Consult your owner’s manual for model-specific safety steps.
- Disconnect the negative terminal and wait 5–10 minutes to drain residual power from all modules.
- Reconnect the terminal securely, start the vehicle, and verify touchscreen function.
- If the problem persists, escalate to dealer diagnostics or a firmware update service.
Common Electrical Causes and Wiring Checks
A dead RAV4 touchscreen often starts with a power problem. Confirm the vehicle is on, then inspect the infotainment fuse in the fuse box. Look for a blown filament or burn marks, and replace the fuse with the exact specified rating.
Next, check wiring integrity. Look for wear, corrosion, or pinched insulation that could cause electrical shorts. Disconnect the battery before probing connectors, then reseat harness plugs behind the dash and at the display module. While you’re there, inspect ground connections and chassis splice points. Loose grounds cause intermittent faults that are easy to miss.
Clean the touchscreen surface too. Debris reduces sensitivity and mimics electrical failure. After fuse replacement and connector checks, watch for recurrence. Repeated fuse failures or intermittent power point to a deeper circuit fault that needs targeted diagnosis, not another replacement fuse.
Repair Options for a RAV4 Touchscreen (Dealer, Module, Aftermarket)
When troubleshooting doesn’t fix a nonresponsive touchscreen, you have three repair paths. Choose by balancing cost, reliability, and how much control you want over the system.
- Dealer warranty replacement: If your vehicle qualifies, dealers often replace faulty screens at no charge. This preserves factory integration and reduces risk, but depends on your coverage and the dealer’s diagnosis.
- Module replacement: Swapping the entire infotainment module addresses root causes beyond the display. It costs more but restores original functionality without piecemeal fixes.
- Aftermarket head unit: Aftermarket units offer modern features and greater user control. Prices typically range from $200 to $800. Verify compatibility with your RAV4’s model year and wiring harness before buying.
- Decision guide: Check warranty coverage first. Choose a module swap for durability. Pick an aftermarket unit only if you want expanded features and accept some integration trade-offs.
Back Up Your Data and Brief the Shop
Back up contacts, navigation favorites, and media from the infotainment system before any service. Repairs and module replacements commonly erase stored data. Use the system’s General > Delete Personal Data function and unpair all phones and devices before handing the car over.
When you brief the shop, be precise. State exactly which part of the screen doesn’t respond and which controls still work. List every troubleshooting step you’ve already tried, including soft resets, fuse checks, and software restarts. Include the firmware or infotainment version if you can find it in Settings. Ask whether warranty covers the repair and whether the shop will back up your data before starting work.
When to Seek Professional Help
Stop DIY troubleshooting and contact a dealer or certified technician when any of these apply:
- A replacement fuse blows again immediately after installation.
- Dead zones persist after a hard reset, soft reset, and full connector inspection.
- You find damaged, melted, or corroded wiring behind the dash.
- The touchscreen flickers, shows distorted images, or produces unusual sounds during startup.
- Your vehicle is still under Toyota’s factory warranty or an extended warranty plan.
Professional diagnostics catch faults that reset procedures can’t resolve, like a failing controller board or a grounding issue buried deep in the harness. A technician can also run software-level diagnostics with dealer-grade tools that aren’t available to the public.
Frequently Asked Questions
Why is my Toyota RAV4 screen not working?
The most common causes are a software glitch, a blown infotainment fuse, loose wiring connectors, or a dirty screen that reduces touch sensitivity. Start with a soft reset (hold the power/volume knob 10–20 seconds), then check the fuse box if the screen stays dark.
Will a soft reset erase my saved settings?
No. A soft reset reboots the head unit’s software without touching your saved presets, paired phones, or navigation favorites. A factory reset or battery disconnect may clear some settings, so back up your data before those steps.
How long should I disconnect the battery for a hard reset?
Disconnect the negative terminal for at least 5–10 minutes. That gives system capacitors enough time to fully discharge and lets all control modules reset. Reconnecting too quickly may not clear the fault.
Can a bad ground cause RAV4 touchscreen problems?
Yes. A loose or corroded ground connection causes intermittent power loss to the infotainment unit, which makes the screen freeze, go dark, or respond erratically. Check all ground points at the head unit and chassis splice locations.
Is it worth installing an aftermarket head unit in a RAV4?
It depends on your goals. Aftermarket units offer newer features and often stronger performance than older factory systems. The trade-off is that factory safety alert integration and steering wheel controls may need extra adapters. Verify compatibility with your RAV4’s model year and wiring harness before purchasing.
Conclusion
Most RAV4 touchscreen failures respond to a soft reset or a fuse swap. Start simple, document every step you take, and work methodically toward harder resets and connector checks. If dead zones remain after a battery disconnect and a full wiring inspection, the digitizer or controller board needs professional attention. Back up your data first, then bring clear notes to the shop so the technician can diagnose fast and get your system running again.