
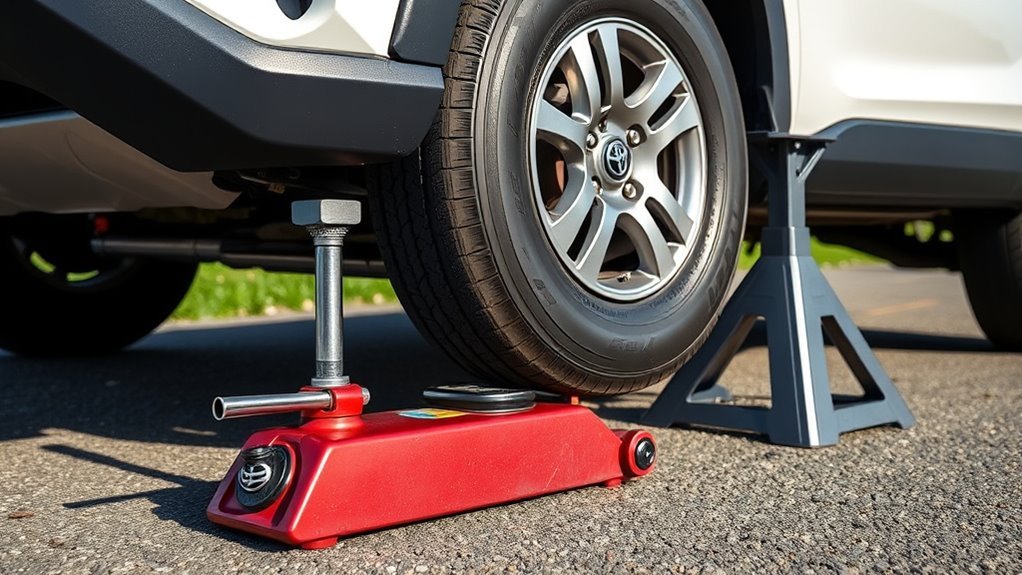
How to Jack a RAV4 Safely: Jack Points, Stands, and Pinch-Weld Protection
Merrick Vaughn · Last Updated: July 31, 2026
Affiliate Disclosure: AutoReviewNest may earn a commission from qualifying purchases made through links on this page, at no extra cost to you.
To jack a Toyota RAV4 safely, first identify whether you are changing a tire with the supplied emergency jack or lifting the vehicle for maintenance. Use the exact lift and support diagram for your model year, drivetrain, and procedure. Do not apply one universal Park or parking-brake rule: Toyota’s emergency tire-change instructions and service-jack instructions can require different vehicle settings. Keep the RAV4 unloaded, use wheel chocks as directed, and never go underneath until the vehicle is supported by rated stands at the specified support points.
Quick Answer
Choose the Toyota procedure that matches the job before touching the jack. For a roadside tire change, use the supplied jack only at the owner-manual point and keep every part of your body out from under the vehicle. For maintenance, use a rated floor jack at the service-manual lift point, then lower the RAV4 onto rated safety stands at the specified support positions. Follow the exact transmission, parking-brake, and wheel-chock instructions for that procedure and model year.
Key Takeaways
- Roadside tire changing and service lifting are different procedures. Do not combine their setup instructions.
- Use only the lift and support points shown for your exact RAV4 model year and drivetrain.
- Later-model rocker-panel guides do not apply automatically to older RAV4 generations.
- Use rubber attachments or a purpose-made adapter that matches the approved support shape and the jack or stand manufacturer’s instructions.
- Unload the vehicle, inspect the lifting equipment, and use wheel chocks exactly as Toyota directs.
- Never work under a RAV4 supported only by a floor jack or emergency scissor jack.
[Products Worth Considering]

This three-piece windshield wiper set is designed for compatible Toyota RAV4 and Highlander models to help deliver clear visibility in everyday driving. The natural rubber blades feature a graphite-treated surface for quiet, smooth wiping performance and reliable weather resistance. Installation is quick and tool-free, making it easy to replace worn blades on the front and rear of your vehicle.

This brand new replacement hubcap is designed for Toyota Rav4 models from 2013 through 2018 with 17-inch factory wheels. It features sturdy mounting clips and a heavy-duty steel retention ring for a secure, OEM-style fit, plus a durable ABS construction with a shiny painted finish for a clean factory look. Sold as a single piece, it is a reliable aftermarket alternative to the original wheel cover.

This custom-fit windshield sun shade is designed for Toyota Rav4 models from 2013 to 2018, helping block harsh sunlight and reduce heat buildup inside your vehicle. It protects the dashboard, seats, and interior surfaces from UV damage while adding privacy when parked. The foldable design makes it easy to install, remove, and store in seconds.
What Must You Verify Before Jacking a RAV4?
RAV4 jack points are not one-size-fits-all. Confirm the applicable Toyota diagram and equipment instructions before you roll a floor jack under the vehicle.
| What to verify | Why it matters |
|---|---|
| Exact model year and generation | Toyota has used different emergency-jack and floor-jack locations across RAV4 generations. |
| Gas, hybrid, plug-in hybrid, FWD, or AWD layout | Underbody covers, drivetrain hardware, and approved support shapes can differ. |
| Emergency tire change, floor-jack lift, or ramps | Each method has different lift points, support rules, and vehicle-control settings. |
| Transmission, parking-brake, and wheel-chock instructions | Toyota’s roadside and service procedures are not identical. Follow the procedure-specific directions. |
| Jack saddle, stand saddle, and adapter fit | The attachment must contact the specified lift or support area squarely without loading trim or thin sheet metal. |
| Jack and stand capacity markings | Never exceed the marked capacity, and confirm whether a stand rating applies to one stand or a pair. |
| Vehicle load | Toyota service information says the vehicle should be unloaded before it is raised. |
What You’ll Need
Set up the full work area before lifting. Do not search for stands, adapters, or chocks while the vehicle is already raised.
- RAV4 owner’s manual or Toyota service lifting diagram for the exact model year and drivetrain
- Hydraulic floor jack with a legible capacity rating, for maintenance lifting
- Rated automotive safety stands with intact locking mechanisms
- Rubber stand attachments or a purpose-made adapter compatible with the approved support shape
- Enough wheel chocks to secure the wheels exactly as the Toyota procedure directs
- Hard, solid, level ground; level concrete is preferred
- The jack, stand, ramp, and adapter manufacturer instructions
Pro tip: Identify both the lift point and the final stand positions before moving the jack. If either point is hidden by a cover or cannot be identified confidently, stop and consult the correct Toyota diagram.
[Products Worth Considering]

These custom-fit seat covers are tailored for Toyota RAV4 gasoline models from 2019 through 2025, giving your SUV a refined interior upgrade with a precise OEM-inspired look. The spill-resistant faux leather surface helps protect against daily messes, scuffs, and pet wear while staying easy to clean, and the reinforced airbag-compatible stitching supports safety without sacrificing style. A secure strap, zipper, and Velcro installation system helps keep the covers in place for a stable, comfortable fit in all seasons.

This custom-fit steering wheel cover is designed for select Toyota models and sized for standard steering wheels to help improve grip and comfort while driving. Made with soft microfiber leather and a non-slip rubber inner ring, it adds control, protects your wheel, and brings a stylish diamond-quilted look to your car interior. Installation is simple and tool-free, making it an easy upgrade for everyday driving.

Pair of 3 Ton (2.7 metric Ton) jack stands with 6,000-pound capacity
Emergency Tire Change vs. Maintenance Lift
A supplied tire jack, a service floor jack with stands, and drive-on ramps are three separate setups. The table below shows why one generic checklist is unsafe.
| Procedure | Vehicle setup | Support method | Critical limit |
|---|---|---|---|
| Roadside tire change | Follow the owner’s manual. Toyota tire-change instructions commonly call for Park, the parking brake, no occupants, and a chock at the diagonally opposite wheel. | Use the supplied jack only at the exact tire-jack point shown for that model year. | Never put any part of your body under the RAV4. |
| Maintenance lift with floor jack and stands | Follow Toyota service information. For 2019–2025 RAV4 and RAV4 Hybrid service lifting, Toyota directs the operator to release the parking brake, select Neutral, and use wheel chocks. | Lift at the specified jack position, then support at the separate specified safety-stand positions with the required attachments. | Do not rely on the floor jack as the only support. |
| Drive-on ramps | Follow the ramp instructions, center the tires, then secure the vehicle as directed after it is positioned. | The tires remain supported by the ramps; chock the wheels that remain on the ground. | Do not use ramps on an incline, gravel, soil, grass, or soft asphalt. |
Critical setup difference: Do not copy the Park-and-parking-brake steps from a roadside tire change into a service-jack procedure. Use the exact Toyota instructions for the model year and lifting method in front of you.
How to Jack a RAV4: Step-by-Step
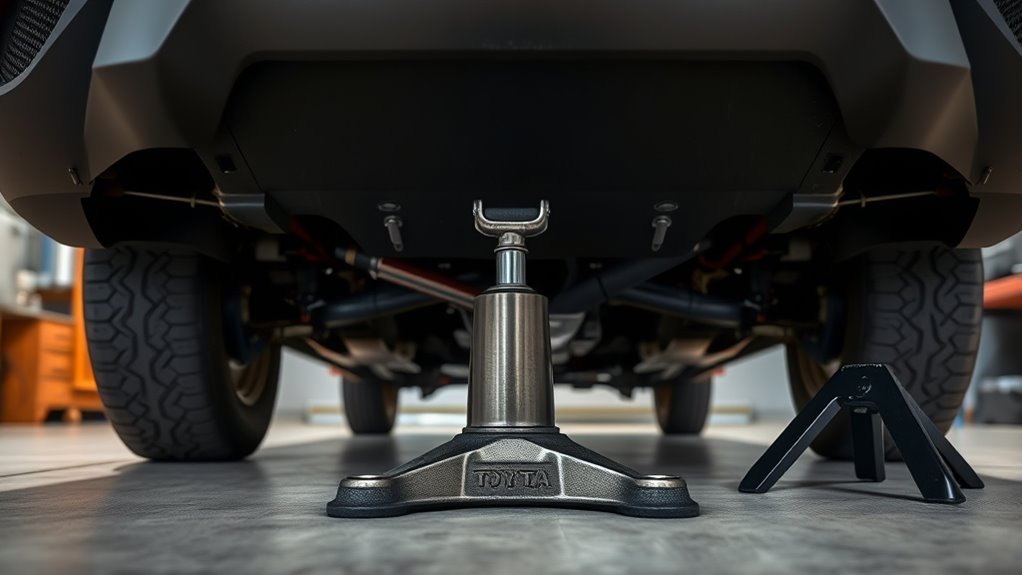
Do not begin until you have identified the correct Toyota lift point, support points, and vehicle-control settings.
For an Emergency Tire Change
- Move to a safe, hard, level location. Turn on the hazard lights and keep people away from traffic.
- Follow the owner-manual vehicle setup. Use the exact transmission, parking-brake, and wheel-chock directions for your RAV4.
- Keep everyone out of the vehicle. Do not start the engine or hybrid system while the vehicle is supported by the jack.
- Loosen the wheel nuts before lifting. Break them loose only as directed; do not remove them while the tire is on the ground.
- Place the supplied jack at the exact emergency jack point. Do not assume every generation uses a rocker-panel pinch-weld notch.
- Raise the vehicle only as high as needed. Keep every part of your body out from under the RAV4.
For the complete wheel-removal and spare-installation sequence, see how to change a flat tire on a Toyota RAV4.
For Maintenance With a Floor Jack and Safety Stands
- Unload the RAV4 and use hard, level ground. Level concrete is preferred. Avoid gravel, soil, grass, soft asphalt, and any slope.
- Inspect the equipment. Do not use a jack or stand with leaks, cracks, bent parts, damaged locking teeth, missing labels, or an open recall.
- Identify the lift and support points before moving the jack. Use the Toyota service diagram for the exact model year and drivetrain.
- Set the transmission, parking brake, and chocks exactly as Toyota directs. For 2019–2025 service lifting, Toyota specifies Neutral, the parking brake released, and wheel chocks.
- Fit the correct attachment. Use a rubber attachment or purpose-made adapter that matches both the specified support shape and the equipment instructions.
- Center the floor-jack saddle under the specified jack position. Confirm that no plastic cover, exhaust part, suspension component, or thin sheet metal is carrying the load.
- Raise the RAV4 slowly. Watch the saddle and vehicle from outside the crush zone. Stop immediately if the jack tilts, rolls unexpectedly, or loses contact.
- Place the safety stands at the specified support positions. Set both stands to equal height and confirm their locks are fully engaged.
- Lower the vehicle onto the stands gradually. Transfer the load slowly and confirm each saddle remains centered.
- Verify the final setup from outside the crush zone. Follow the stability-check method in the Toyota service information and the stand manufacturer’s instructions. Do not use an improvised shove test.
Warning: Never slide under a RAV4 resting on a floor jack or emergency tire jack alone. After a load is raised, it must be secured promptly with the specified stands or other approved support.
Where Are the Safe RAV4 Jack and Stand Points?
There is no single text description that safely identifies every Toyota RAV4 jack point. The RAV4 has changed across generations, and the emergency tire-jack point, center floor-jack point, and safety-stand support position are not interchangeable.
| RAV4 range | What the published Toyota information shows | Safe takeaway |
|---|---|---|
| Early-2000s RAV4 examples | The 2003 owner’s manual identifies suspension-related emergency jack locations rather than the later rocker-panel guide description. | Do not assume an older RAV4 uses the same side notch as a current model. |
| 2013–2018 RAV4 | Toyota owner and service information provides separate front and rear floor-jack illustrations and specified support locations. | Use the diagram, not a guessed crossmember, differential, or subframe edge. |
| 2019–2025 RAV4 and RAV4 Hybrid | Toyota service information separates the jack position from the safety-stand support positions and specifies rubber attachments. | Match the illustrated point and support shape exactly. |
| 2026 and later | Use the official manual and service information issued for that model year. | Do not borrow a 2025 diagram for a newer vehicle without verification. |
Later-model tire-change instructions use jack-point guides under the rocker panel, but that description is not universal across the RAV4’s history. A floor-jack saddle or safety stand must not be placed on a nearby seam merely because it looks similar.
For front center lifting, rear center lifting, or safety-stand placement, use only the exact points shown in Toyota owner or service information. Never substitute thin sheet metal, plastic undertrays, the exhaust, the oil pan, a front lower arm, another suspension part, or an unverified subframe edge.
Note: A tire-jack point is not automatically a center floor-jack point or a safety-stand point. Confirm the symbol, illustration, and procedure for the exact job.
How Should You Place Jack Stands or Ramps?
Safety stands support the vehicle after it has been lifted. A floor jack lifts the vehicle but is not the final support. Place every stand on hard, level ground and directly under the Toyota-specified support position.
Use the rubber attachment or saddle shape shown by Toyota and permitted by the stand manufacturer. The contact area must sit squarely, with the stand lock fully engaged. Lower the jack slowly and watch the support point from outside the crush zone. If the saddle shifts toward an edge, raise the vehicle only when it is safe to do so and reset the stand.
Ramps support the vehicle through the tires. Follow the ramp manufacturer’s weight, tire-width, surface, and positioning instructions. Drive straight onto the ramps, center each tire, secure the vehicle as directed, and chock the wheels that remain on the ground. Do not crawl underneath if a ramp has moved, cracked, tilted, or failed to seat flat.
Which Tools Prevent RAV4 Pinch-Weld Damage?
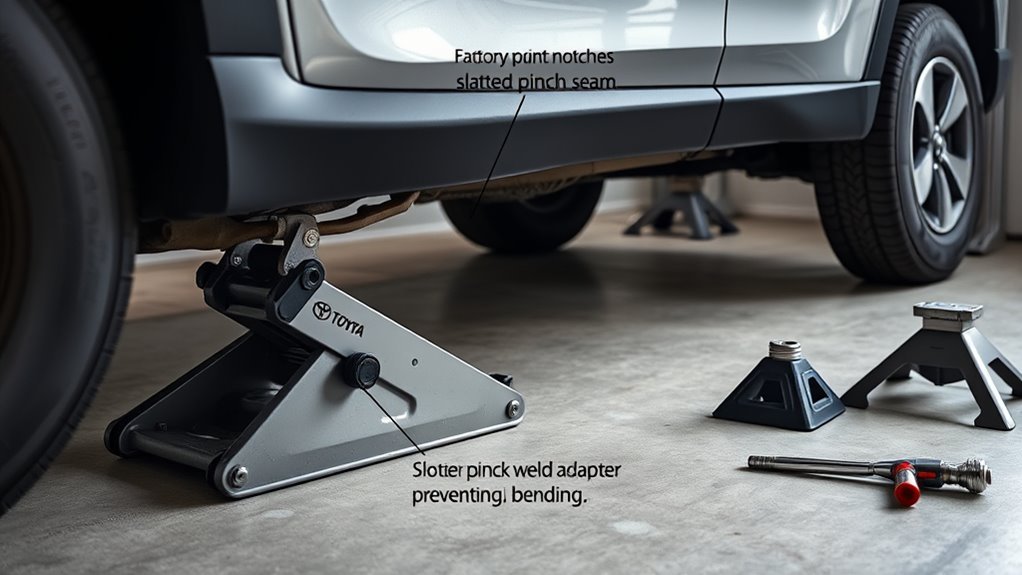
Toyota service information specifies rubber attachments for safety stands. At an approved rocker-flange or pinch-weld support location, use an attachment that matches the illustrated support shape and is compatible with the jack or stand.
A slotted adapter can keep a reinforced seam from taking the full load on its narrow edge, but the slot depth, width, material, and load rating must suit the equipment and vehicle contact point. Do not use a loose household block, improvised puck, damaged pad, or adapter that prevents the saddle from seating fully.
Inspect the attachment before every lift. Reject it if it is cracked, cut, permanently deformed, oil-soaked, loose on the saddle, or missing its rating or compatibility information. An adapter protects the contact point; it does not make an unapproved lift location safe.
[Products Worth Considering]

2-IN-1 SET: Includes 2 jack stand pads and 2 height-adding pinch weld adapters, providing two lifting accessories in one convenient set

Aircraft-Grade Durability:Crafted from high-strength billet aluminum with protective nylon inserts, our pinch weld jack adapter won't crack or bend like cheap plastic alternatives. The anodized orange finish resists corrosion while making this frame rail protector highly visible in your garage

【PRODUCT PARAMETERS】Size: 2.5 *1.97*1.73 inches; Net weight: 0.26 lbs; Capacity: 2-3 tonnes; Set includes 4 PCS. The jack pad is an indispensable helper for you to maintain your car, buy it if you like it!
Common Mistakes, Troubleshooting, and Safety Checklist
A single wrong setup step can make the RAV4 unstable. Run through this checklist before anyone enters the area beneath the vehicle.
- Use hard, solid, level ground. Avoid gravel, grass, soil, soft asphalt, and inclines.
- Unload the vehicle and keep all passengers out.
- Use the procedure-specific transmission and parking-brake setting; do not apply a universal rule.
- Chock the wheels exactly as the Toyota procedure directs.
- Use only the specified lift and support points for the model year and drivetrain.
- Use the required rubber attachment or a compatible purpose-made adapter.
- Never lift or support from the oil pan, exhaust, plastic undertray, front lower arm, other suspension parts, or unverified sheet metal.
- Check whether stand capacity is marked per stand or per pair, and never exceed the label.
- Inspect the jack, stands, ramps, and adapters for damage, leaks, deformation, missing labels, and recall notices.
- Verify final seating from outside the crush zone using the equipment and Toyota instructions.
If a jack tilts, a stand shifts, or the vehicle moves, stay out of the crush zone and do not reach underneath to correct it. Lower the vehicle only if that can be done safely from the normal control position. If the vehicle cannot be lowered safely, keep everyone away and call a qualified roadside or repair professional.
Frequently Asked Questions
Is it safe to lift a RAV4?
Yes, when the exact Toyota procedure is followed. Use the specified lift point, support the vehicle at the specified stand positions, use the required attachments and chocks, and never work underneath while a jack is the only support.
Should a RAV4 be in Park or Neutral when jacking?
It depends on the procedure. Toyota emergency tire-change instructions commonly use Park and the parking brake. Toyota’s 2019–2025 service information for lifting with a jack and safety stands instructs the operator to release the parking brake, select Neutral, and use wheel chocks. Follow the exact manual for your model year and task.
Can I use the scissor jack that came with the RAV4?
Use the supplied jack only for the purpose and jack points stated in the owner’s manual, normally an emergency tire change. Do not use it as support for inspection, oil changes, brake work, or any task that places part of your body under the vehicle.
Where is the front center jack point on a RAV4?
The front center jack point varies by generation and drivetrain and must be identified from the model-year floor-jack diagram. Do not assume a crossmember, subframe lip, lower arm, or underbody part is safe because it appears strong.
Can I put jack stands on the RAV4 pinch welds?
Only when Toyota identifies that exact reinforced area as a support position and the stand uses the correct rubber attachment or compatible saddle. A nearby rocker seam or an emergency tire-jack notch is not automatically an approved stand point.
Can I jack a RAV4 on gravel?
No. Gravel can shift under a jack wheel or stand foot and prevent a stable foundation. Move the RAV4 to hard, solid, level ground before lifting.
Are RAV4 Hybrid jack points different?
They can be. Hybrid and plug-in hybrid models can have different underbody components, covers, and service precautions. Use the exact gas, hybrid, or plug-in hybrid diagram for the model year.
What weight capacity do my jack stands need?
The marked capacity must exceed the actual load carried by the stands, and you must confirm whether the label applies to each stand or the pair. Follow the stand manufacturer’s instructions rather than an internet rule of thumb.
What happens if I skip the pinch-weld adapter?
A bare saddle can concentrate the load on a narrow seam, bend the flange, damage corrosion protection, or prevent stable seating. Use the attachment specified by Toyota and permitted by the equipment manufacturer.
Should I loosen the wheel nuts before jacking a RAV4?
For an emergency tire change, Toyota owner-manual procedures instruct you to loosen the wheel nuts before raising the vehicle. Loosen them only as directed; do not remove them until the tire is off the ground.
Should I check for jack or jack-stand recalls?
Yes. Check the equipment model and manufacturer before use, especially for older stands or jacks. Do not use equipment with an open recall, leaking hydraulics, cracked welds, bent legs, damaged locks, deformation, or missing capacity labels.
Safety Disclaimer: This article is for general information and cannot replace the owner or service instructions for a specific RAV4. Working under a lifted vehicle can cause serious injury or death if the vehicle falls. If you cannot positively identify the lift and support points or complete the setup exactly as directed, have a qualified mechanic perform the work.
Conclusion
Before jacking a RAV4, open the exact Toyota diagram and decide whether you are following the emergency tire-change procedure, a service-jack-and-stand procedure, or ramp instructions. Confirm the vehicle-control settings, chock locations, lift point, support positions, attachment shape, and equipment capacity. If any one of those details is uncertain, stop before lifting.
References
- Toyota Owner’s Manual Resources — Toyota Motor Corporation. Select the exact RAV4 model year and powertrain.
- 2025 Toyota RAV4 Hybrid Owner Manual: If You Have a Flat Tire — Toyota Motor Sales, U.S.A., Inc.
- 2019–2025 RAV4/RAV4 Hybrid Vehicle Lift and Support Locations — Toyota service information reproduced by Mitchell.
- 2003 Toyota RAV4 Owner’s Manual — Toyota Motor Corporation. Shows generation-specific tire-jack locations and wheel-change precautions.
- OSHA 1910.244: Other Portable Tools and Equipment — General workplace requirements for jack capacity, inspection, and securing a raised load.
- OSHA 1926.305: Jacks, Lever and Ratchet, Screw, and Hydraulic — General workplace jack requirements; not a substitute for Toyota procedures.
- NHTSA Recalls — National Highway Traffic Safety Administration. Search vehicle and equipment recall information.



[…] in your RAV4 can make a good SUV feel worn out, even when the brakes still stop well. Start with a safe inspection of the pads, rotors, shims, clips, and wheel location before you replace parts. This guide shows […]
[…] A blown infotainment fuse causes a completely dark screen; replace it with the exact amperage listed in your owner’s manual. […]
[…] completely away from traffic, park on firm and level ground, secure the vehicle, use the correct Toyota RAV4 jack point, and treat a compact spare as a temporary emergency tire. Do not continue driving on a fully flat […]
[…] time: Plan about 45 to 90 minutes for a mechanical gas-AWD RAV4 if you have the correct tools, safe lifting equipment, model-specific service data, and clear access to both plugs. Torque-vectoring models or vehicles […]
[…] Use only the lift and support points shown in Toyota information for your exact model year and procedure. Do not assume the roadside tire-jack point, a center floor-jack point, and a safety-stand point are interchangeable. Toyota service information for 2019–2025 RAV4 models separates the jack position from the safety-stand locations and specifies wheel chocks and rubber stand attachments. For the detailed diagrams and setup differences, see the RAV4 jack-points guide. […]