
Last updated: July 23, 2026 — RAV4-specific wheel-nut torque and compact-spare guidance rechecked against Toyota’s 2026 U.S. RAV4 Hybrid owner guidance; tire inspection and repair guidance rechecked against NHTSA and USTMA.
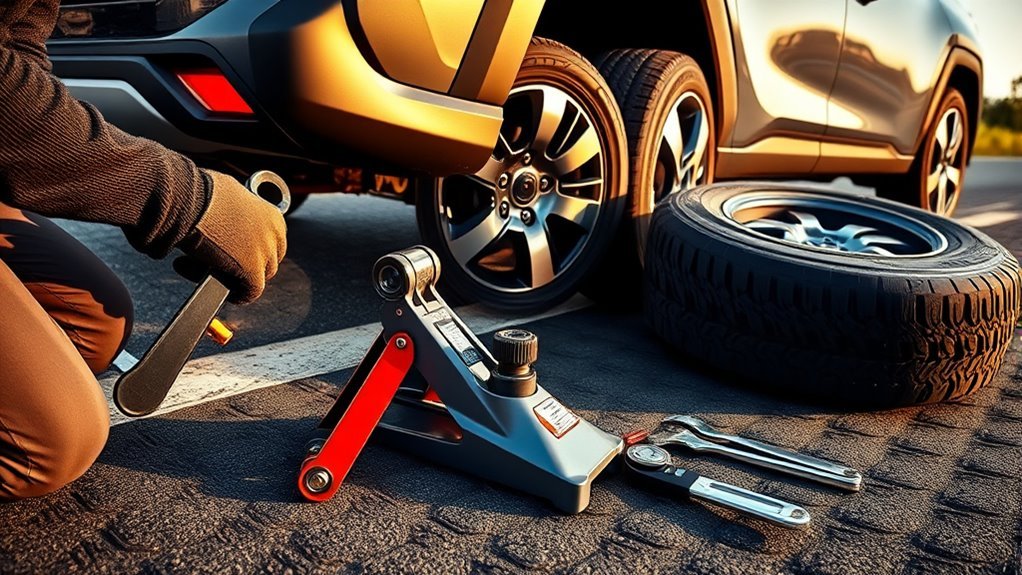
A flat tire on a Toyota RAV4 is manageable when you get completely away from traffic, park on firm and level ground, secure the vehicle, use the correct Toyota RAV4 jack point, and treat a compact spare as a temporary emergency tire. Do not continue driving on a fully flat tire unless moving a very short distance is necessary to escape immediate danger. Tool storage, spare type, required tire pressure, speed limits, and wheel-nut torque can vary by model year, market, and wheel setup, so your owner’s manual and vehicle labels are the final authority.
Affiliate disclosure: This page may contain affiliate links. As an Amazon Associate, AutoReviewNest earns from qualifying purchases at no extra cost to you.
Quick Answer
To change a flat tire on a Toyota RAV4, pull fully away from traffic onto hard, level ground, shift into Park, turn off the vehicle, set the parking brake, and switch on the hazard lights. Chock the wheel diagonally opposite the flat, loosen each wheel nut about a half-turn before lifting, place the jack at the factory jacking point, raise the vehicle only enough to remove the tire, install the spare, hand-thread every nut, lower the RAV4, and tighten the nuts in a crisscross pattern. Toyota’s U.S. 2026 RAV4 Hybrid guidance lists 76 ft-lb (103 N·m) and a 50 mph compact-spare limit for that model; verify both values for your exact RAV4.
Key Takeaways
- Do not change a tire in a traffic lane, on soft ground, or on a slope.
- Loosen the wheel nuts slightly before jacking up the RAV4; remove them only after the tire is off the ground.
- Use only the factory jacking point shown for your exact model year.
- Toyota’s U.S. 2026 RAV4 Hybrid guidance lists 76 ft-lb (103 N·m), but other model years, markets, and wheel setups must be verified separately.
- A compact spare is for temporary emergency use. Follow the pressure and speed limits specified for the spare installed in your RAV4.
At a Glance
| Time Required | Allow about 20–40 minutes; seized nuts, poor weather, or an unfamiliar tool layout may take longer |
| Difficulty | Moderate DIY task |
| Tools Needed | Usable spare or approved repair kit, factory jack, jack handle, wheel-nut wrench, wheel chocks, pressure gauge, flashlight, gloves, and a torque wrench if available |
| Verify Before Lifting | Spare type, spare pressure, speed restriction, jacking-point diagram, wheel-nut torque, and wheel-lock key location |
| Cost | No immediate roadside cost if the factory spare and tools are usable; professional tire repair or replacement is extra |
Warning: Do not proceed if the RAV4 cannot sit completely out of traffic on firm, level ground, if you cannot identify the correct jack point, or if the spare, jack, wrench, wheel studs, or wheel nuts appear damaged. Call roadside assistance instead.
How Should You Prepare a Toyota RAV4 for a Tire Change?
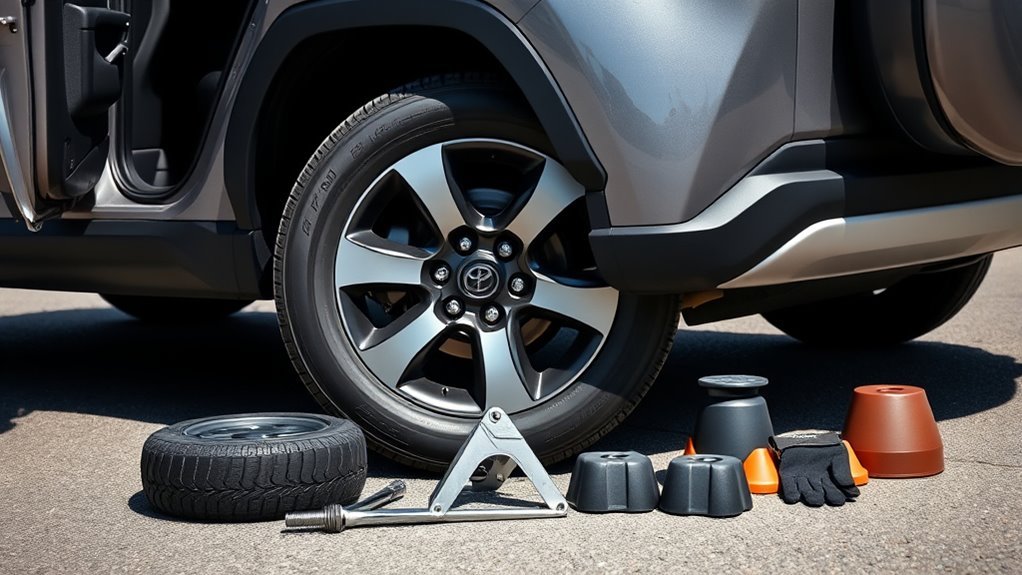
Start by moving as far away from traffic as safely possible. Choose a hard, flat surface such as a parking lot, driveway, or wide shoulder. Shift the RAV4 into Park, turn the vehicle off, set the parking brake, and turn on the hazard lights. If the tire failed while the vehicle was moving, avoid sudden steering or braking and pull over only after the RAV4 is stable and controllable.
If your RAV4 has a power back door, Toyota’s flat-tire instructions may require you to turn off the power back door system before replacing the tire. This prevents the hatch from moving unexpectedly while you retrieve or store the spare and tools.
Open the rear hatch and inspect the cargo area for the spare tire, jack, jack handle, and wheel-nut wrench. Many RAV4 models keep these items below or beside the rear cargo floor, but the layout can change by generation and equipment package. Some vehicles may carry a tire repair kit instead of a spare. Toyota provides model-specific manuals through its Toyota Owners manuals and warranties page.
Verify these four items before lifting the RAV4:
| Item | What to Confirm |
|---|---|
| Spare or repair kit | Confirm whether you have a compact spare, full-size spare, or sealant/inflator kit and whether it is usable. |
| Pressure and speed | Read the required pressure and speed restriction in the owner’s manual and on the spare or equipment label. |
| Jack location | Find the exact emergency jacking-point diagram for your model year before placing the jack. |
| Wheel-nut torque | Confirm the correct torque for the original or aftermarket wheel currently installed. |
Before you begin, check that the spare is properly inflated, the jack is straight and undamaged, and the wrench fits every wheel nut. If the vehicle has wheel locks, locate the wheel-lock key before lifting. Keep all tools within reach but outside traffic and away from the underside of the vehicle.
Note: A compact spare may not have a tire-pressure warning valve and transmitter. The TPMS warning may remain on after the spare is installed, so check the spare with a pressure gauge rather than relying only on the dashboard. See the separate RAV4 tire-pressure warning reset guide after the regular tire has been repaired or replaced.
[Products Worth Considering]

This wheel lock key set is designed to help remove and replace compatible Toyota and Lexus wheel locks with confidence. It includes four wheel lock nuts and one key, offering a practical replacement solution for many popular models while supporting secure wheel protection and reliable fitment. Built for durability and corrosion resistance, it is a useful choice when matching OE reference numbers and vehicle compatibility is important.

This wheel lock lug nut set adds an extra layer of theft protection for compatible Toyota and Lexus vehicles by securing wheels with a unique key pattern that resists common removal tools. Built to OEM-standard fitment with corrosion-resistant, triple-chrome finished construction, it is designed for direct replacement and long-lasting performance. The set includes locking nuts and a matching key for easy installation on compatible vehicles with the correct thread and cone seat specifications.
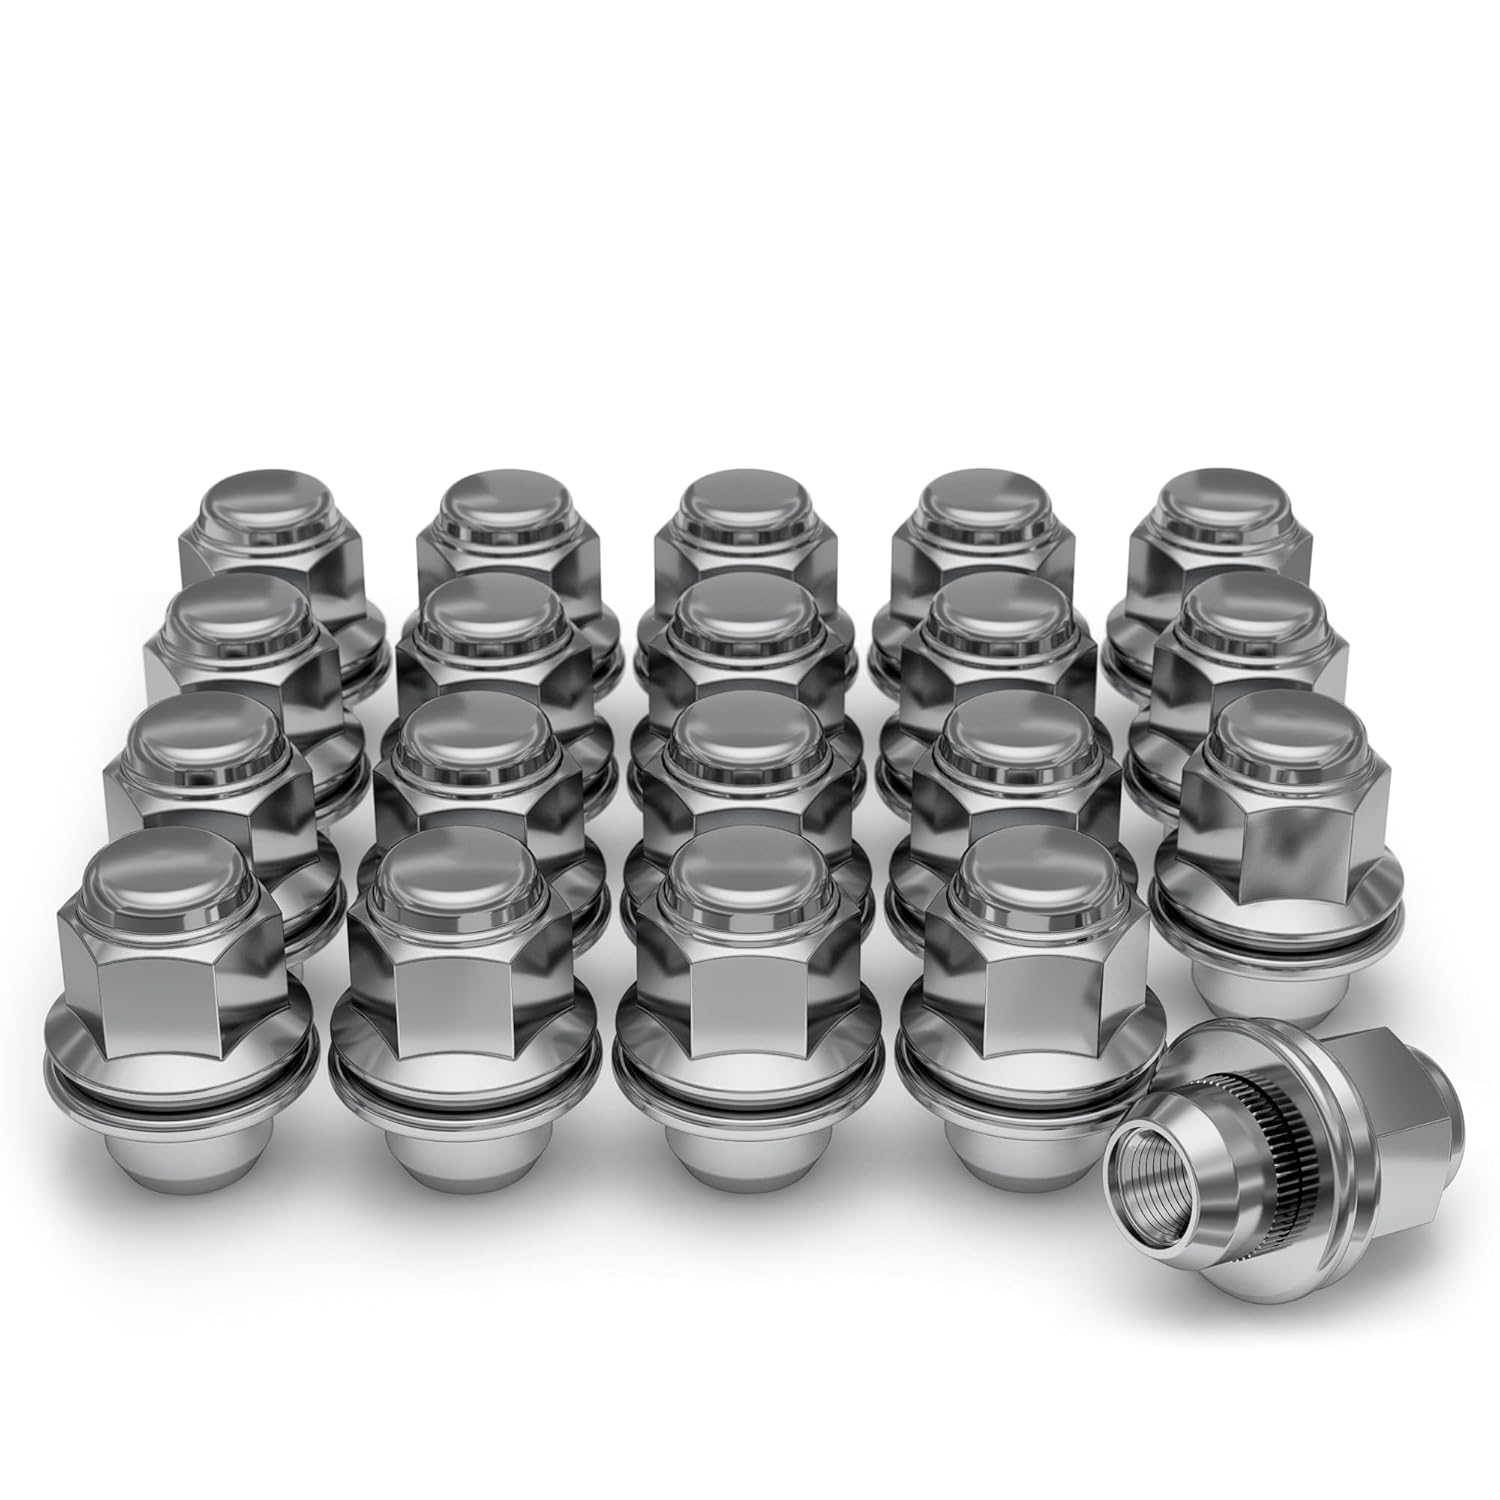
These White Knight mag-style lug nuts are designed for select Toyota, Lexus, Kia, and Genesis vehicles, delivering a secure fit and a clean factory-inspired look. Made from heat-treated cold forged carbon steel with a chrome finish, they offer durable strength, reliable corrosion resistance, and easy installation with a traditional hex-body, flat-seat design. Use them to replace worn or damaged lug nuts while maintaining proper wheel fitment and dependable performance.
Where Are the Toyota RAV4 Jacking Points?
Use the factory emergency jacking point nearest the flat tire. On many RAV4 models, the reinforced jacking areas are along the pinch weld near each wheel: behind a front wheel or in front of a rear wheel. The exact notch, saddle orientation, and approved lifting area must be confirmed in the owner’s manual for your model year.
[Products Worth Considering]

This custom-fit car phone holder is designed for Toyota RAV4 models with a 7/8-inch screen, providing a secure and convenient mounting solution without blocking vents or sightlines. It combines magnetic alignment with fast wireless charging to keep your phone powered while offering 360-degree rotation for optimal viewing in portrait or landscape mode. Built from durable ABS material and easy to install without tools, it supports safer hands-free navigation and calling on every drive.

This brand new replacement hubcap is designed for Toyota Rav4 models from 2013 through 2018 with 17-inch factory wheels. It features sturdy mounting clips and a heavy-duty steel retention ring for a secure, OEM-style fit, plus a durable ABS construction with a shiny painted finish for a clean factory look. Sold as a single piece, it is a reliable aftermarket alternative to the original wheel cover.

2-IN-1 SET: Includes 2 jack stand pads and 2 height-adding pinch weld adapters, providing two lifting accessories in one convenient set
Where Is the Correct Jack Point Near the Flat Tire?
Look under the rocker panel near the flat tire and identify the reinforced pinch-weld notch shown in your manual. The jack saddle must contact the reinforced metal area, not plastic trim, a flat section of the floor pan, a suspension component, or an unmarked body panel. If you cannot identify the reinforced point clearly, do not lift the vehicle.
Chock the wheel diagonally opposite the flat. Recent RAV4 manuals use the following directional pattern; verify it against the diagram for your exact model:
| Flat Tire | Wheel-Chock Position |
|---|---|
| Front left | Behind the rear-right tire |
| Front right | Behind the rear-left tire |
| Rear left | In front of the front-right tire |
| Rear right | In front of the front-left tire |
Is the RAV4 on Firm, Level Ground?
Before raising the vehicle, confirm that it is standing on solid, level pavement. Soft gravel, sand, dirt, sloped pavement, ice, and wet grass can allow the jack to sink or shift. If the ground is unstable, move to a safer location if that can be done without driving on the flat tire, or call roadside assistance.
| Check | What You Want | What to Avoid |
|---|---|---|
| Surface | Hard, dry, level pavement | Soft soil, loose gravel, sand, ice, or a slope |
| Vehicle | Park, parking brake set, engine off, hazards on | Neutral, running vehicle, occupants inside, or traffic exposure |
| Jack | Square under the approved reinforced point | Angled, leaning, sinking, or touching trim |
How Should the Jack Be Positioned?
Set the jack directly under the approved jacking point and raise it slowly until the saddle contacts the reinforced area. Do not lift the tire yet. Check that the jack is vertical, its base is fully supported, and the saddle is centered. If the jack is crooked, leaning, or sinking, lower it and reposition it before continuing.
Preparation Tip: Save a clear photo or screenshot of the jacking-point diagram from your owner’s manual on your phone. It is easier to compare the diagram with the underside of the RAV4 than to search through the manual during a dark or wet roadside emergency.
Should You Loosen RAV4 Lug Nuts Before Jacking?
Yes. With the vehicle still fully on the ground, fit the wheel-nut wrench squarely over one nut and turn it counterclockwise. Break each nut loose by about a half-turn, but do not remove it. The tire’s contact with the ground prevents the wheel from spinning while you apply force.
Use a star or crisscross sequence so the wheel is loosened evenly. Apply steady pressure and keep the wrench fully seated to avoid rounding the nut. Do not jump on the wrench or use an improvised extension that could slip. If a wheel nut is seized, rounded, or damaged, call roadside assistance or a tire service rather than destabilizing the vehicle.
Toyota’s U.S. 2026 RAV4 Hybrid owner guidance lists a wheel-nut torque of 76 ft-lb (103 N·m) for that model and instructs the nuts to be tightened in the specified order after the vehicle is lowered. Verify the value for your exact model year, market, and wheel setup.
[Products Worth Considering]


One-piece Solid lug nuts feature durable design and provide perfect replacement for your Tacoma, 4Runner, Corolla, GX470

Comes as a 4 piece set, for changing your spare tire
How High Should You Jack the RAV4?
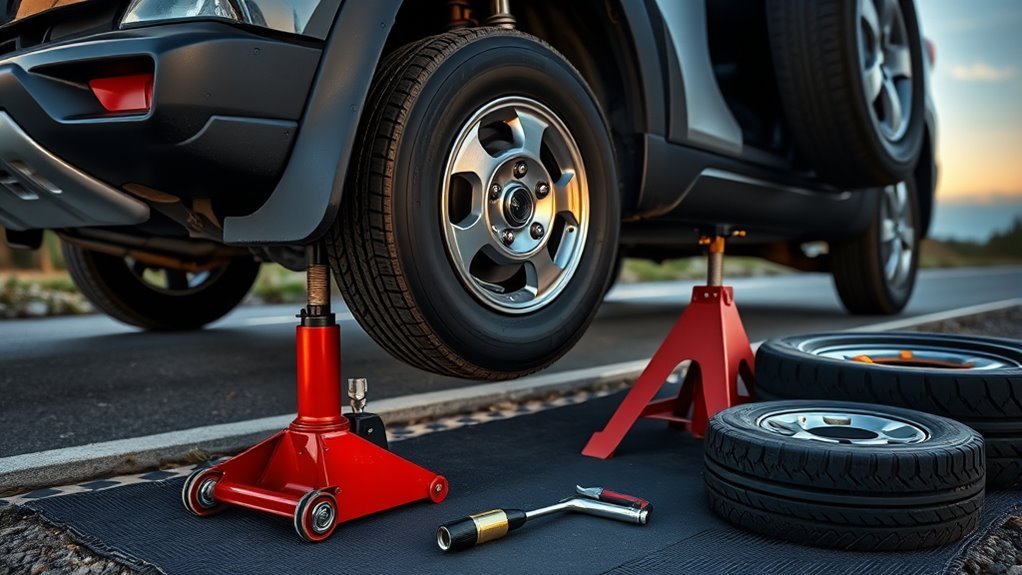
Raise the RAV4 slowly after all wheel nuts have been loosened. Lift only until the flat tire clears the ground and there is enough space to mount the inflated spare. Raising the vehicle higher than necessary reduces stability.
Do not put any part of your body under the RAV4 while it is supported by the factory tire jack. The supplied jack is intended for an emergency tire change, not under-vehicle inspection or repair. Do not start the vehicle, allow anyone to remain inside, or push against the body while it is raised.
Pause when the tire clears the ground. Recheck the jack, wheel chock, surface, and vehicle stability. If the jack leans, shifts, sinks, or makes the setup appear unstable, lower the vehicle carefully and start again or call for help.
How Do You Remove the Flat Tire Safely?
Finish removing the loosened wheel nuts by turning them counterclockwise. Keep them together in a clean container, pocket, or other secure place where they cannot roll into traffic or become contaminated with dirt. Pull the wheel straight away from the hub with both hands.
If the wheel is stuck to the hub, do not crawl under the vehicle, shake the RAV4, or strike the wheel with a heavy tool. Confirm that the vehicle is stable, then gently bump the tire’s rubber sidewall while remaining clear of the underside. Once the wheel releases, remove it and lay it flat with the finished face upward.
What Should You Check on the Wheel Nuts and Studs?
Inspect the wheel nuts and studs for stripped threads, cracks, deformation, heavy corrosion, or other damage. Do not force a damaged nut back onto a stud. If a nut will not thread normally by hand or a stud appears damaged, use the spare only if the wheel can be secured correctly and have the vehicle inspected immediately. Otherwise, arrange a tow.
Can the Flat RAV4 Tire Be Repaired?
Inspect the flat before storing it. Look for nails, screws, cuts, exposed cords, bulges, cracks, uneven wear, and signs that the tire was driven while flat. Internal damage may be present even when the outside puncture looks small.
The National Highway Traffic Safety Administration’s TireWise tire-safety guidance says tires should be replaced when the tread reaches 2/32 inch or is level with the built-in treadwear indicators. NHTSA also recommends checking tire pressure, including the spare, at least monthly when the tires are cold.
- Measure tread depth with a gauge if one is available.
- Replace a tire worn to 2/32 inch or level with its treadwear indicators.
- Do not repair sidewall damage, shoulder-area punctures, bulges, exposed cords, or visible structural damage.
- Tell the tire technician if the RAV4 was driven while the tire was flat or severely underinflated.
- Have the tire removed from the wheel and inspected internally before deciding whether it is repairable.
Which Tire Punctures Can Be Repaired?
If a nail or screw is lodged in the tread, note its location and leave the final repair decision to a trained tire technician. The U.S. Tire Manufacturers Association limits standard repair consideration to the tread area and punctures no larger than 1/4 inch, or 6 mm. The tire must be removed from the wheel so its inner liner and internal structure can be inspected.
USTMA requires both a rubber stem or plug to fill the injury and a patch to seal the inner liner. Plug-only, patch-only, overlapping, shoulder, and outside-in repairs are not proper permanent repairs. The Tire Industry Association also advises professional internal inspection and repair.
Warning: A roadside plug, inflator, or sealant may provide temporary mobility for certain tread punctures, but it does not replace removal of the tire, internal inspection, and a proper combination repair by a trained technician.
How Do You Mount the RAV4 Spare Tire?
Lift the spare onto the wheel studs and slide it flat against the hub. Wipe loose dirt, corrosion flakes, or debris from the wheel-to-hub contact surface first. Foreign material between the wheel and hub can prevent the wheel from seating correctly.
Start every wheel nut by hand. Turn each nut clockwise slowly and confirm that it threads freely. If a nut binds, feels crooked, or stops immediately, back it off and inspect the threads. Never use the wrench to force a cross-threaded nut.
- Hold the spare flat against the hub while starting the first nut.
- Hand-thread all wheel nuts before using the wrench.
- Snug the nuts lightly in a crisscross pattern while the RAV4 remains raised.
- Do not apply final torque until the vehicle is lowered.
- Reuse the original wheel nuts in the orientation shown in the owner’s manual. Do not reverse them, substitute different nuts, or force a nut that does not seat normally.
How Do You Tighten RAV4 Lug Nuts and Check the Spare?

Lower the RAV4 until the spare touches the ground and cannot rotate, then lower the vehicle fully. Remove the jack only after the RAV4 is stable on all four tires.
Tighten the wheel nuts in a crisscross pattern. Repeat the sequence two or three times so the wheel seats evenly. If a torque wrench is available, use the exact value specified in the owner’s manual. Toyota’s U.S. 2026 RAV4 Hybrid guidance lists 76 ft-lb (103 N·m) for that model, but do not apply that number blindly to another model year, market, aftermarket wheel, or nonstandard wheel-nut system.
| Step | Action | Why It Matters |
|---|---|---|
| 1 | Lower the vehicle fully | Stabilizes the RAV4 and prevents wheel rotation |
| 2 | Tighten the first nut | Begins seating the wheel |
| 3 | Move to the opposite nut | Balances clamping force |
| 4 | Repeat the crisscross pattern | Reduces uneven seating |
| 5 | Confirm final torque | Provides the specified clamping force |
Check the spare-tire pressure with an accurate gauge. Use the pressure specified in the owner’s manual, on the vehicle’s tire-information label, or on the compact-spare marking provided for that tire. Many compact spares require substantially more pressure than the regular road tires, but 60 psi is not a universal value for every spare or RAV4 configuration.
If you do not have a torque wrench at the roadside, drive only as permitted by the spare’s instructions and have the wheel-nut torque checked at the nearest safe service location.
What Should You Do After Installing the Spare?
- Secure the flat tire. Place it in the cargo area or designated storage position so it cannot move during braking or a collision.
- Return the jack and tools to their holders. Loose tools can become dangerous projectiles.
- Check the spare pressure. Correct it before driving if the tire is below its required pressure.
- Drive gently. Avoid hard acceleration, sharp turns, sudden braking, potholes, and unnecessary highway travel.
- Follow the marked limit. Toyota’s U.S. 2026 RAV4 Hybrid guidance says not to exceed 50 mph with its compact spare. Follow the manual and markings for your exact spare.
- Arrange professional service promptly. Have the damaged tire inspected, repaired, or replaced as soon as possible.
A compact spare can change vehicle height, traction, braking, and wheel-speed readings. Toyota warns that systems such as ABS, traction control, stability control, pre-collision functions, and speed-based navigation features may not operate normally while a compact spare is fitted. Use it only long enough to reach a safe service location.
If your RAV4 has all-wheel drive, do not treat the compact spare as a normal long-term replacement. Tire size and circumference differences can affect vehicle behavior. Ask the tire shop to confirm that any replacement tire meets Toyota’s size and compatibility requirements.
Note: Ready.gov recommends carrying emergency supplies such as jumper cables, reflective warning devices, a phone charger, a blanket, and basic safety items. A pressure gauge, flashlight, gloves, reflective vest, and charged air inflator are especially useful during a flat-tire emergency.
What If the RAV4 Spare Is Flat, Missing, or Unsafe?
Do not install a spare that is flat, cracked, badly aged, visibly damaged, or unable to hold its specified pressure. Do not use a wheel that does not fit cleanly over the hub and studs or wheel nuts that cannot be threaded and seated correctly. Call roadside assistance or arrange a tow.
If the RAV4 has a sealant-and-inflator kit instead of a spare, follow the exact kit instructions. Sealant kits cannot repair every failure. Sidewall cuts, large punctures, wheel damage, separated tread, and a tire that has come off the rim normally require towing.
Before long trips, inspect the equipment your RAV4 actually carries. Check the spare or sealant expiration date, pressure, jack, wrench, wheel-lock key, flashlight, warning devices, and roadside-assistance details.
When Should You Call Roadside Assistance Instead?
Call for help if the RAV4 is near fast traffic, the shoulder is narrow, the surface is sloped or soft, visibility is poor, the lug nuts are seized, the jack point is damaged, the spare is unsafe, or you are uncertain about any step. Staying out of traffic matters more than completing the change yourself.
Arrange a tow after a blowout or impact that may have damaged the wheel, suspension, brake components, steering, bumper, or underbody. Installing a spare addresses only the tire; it does not confirm that the rest of the vehicle is safe to drive.
Frequently Asked Questions
Can I drive on the RAV4 spare beyond the recommended limit?
No. A compact spare is a temporary emergency tire, not a normal replacement. Toyota’s U.S. 2026 RAV4 Hybrid guidance says not to exceed 50 mph with its compact spare. Follow the lower of the speed limits stated in the owner’s manual or on the spare, and drive only far enough to reach a safe repair location.
Is it safe to change a tire alone at night or on a busy road?
Not if the RAV4 cannot be positioned completely away from moving traffic on firm, level ground. Turn on the hazard lights, use reflective warning devices if they can be placed without entering traffic, and wait in the safest available location for roadside assistance.
Will a different wheel size affect my RAV4’s ABS or traction control?
It can. Toyota warns that systems including ABS, stability control, traction control, pre-collision functions, and speed-based navigation features may not operate normally with a compact spare. Use the spare temporarily and replace it with the correct-size road tire promptly.
How do I reset the tire pressure monitoring system after mounting the spare?
First, check the spare with a pressure gauge and inflate it to its specified pressure. A compact spare may not have a TPMS transmitter, so the warning may remain on until the regular wheel and tire are repaired or replaced. After reinstalling the regular tire, follow the TPMS initialization or wheel-registration instructions for your exact RAV4 model year.
Can I temporarily repair the tire with a plug instead of replacing it?
An emergency plug or sealant may provide temporary mobility for some small tread punctures, but it is not a proper permanent repair. USTMA guidance requires the tire to be removed and inspected internally, the injury to be filled with a rubber stem or plug, and the inner liner to be sealed with a patch. Sidewall, shoulder, large, overlapping, or structurally damaged punctures should not be repaired.
What torque should Toyota RAV4 lug nuts be tightened to?
Toyota’s U.S. 2026 RAV4 Hybrid guidance lists 76 ft-lb, or 103 N·m, for that model. Verify the specification in the owner’s manual for your exact model year, market, original or aftermarket wheel, and wheel-nut design before tightening.
Conclusion
To change a Toyota RAV4 flat tire safely, get fully away from traffic, secure the vehicle on firm and level ground, loosen the wheel nuts before lifting, use the exact factory jack point, mount the spare without forcing the nuts, and tighten the wheel in a crisscross pattern after lowering. Check the spare’s required pressure and speed restriction before driving. Then go directly to a qualified tire shop for an internal inspection, proper repair, or replacement of the damaged tire.
Sources
- Toyota Owners — 2026 RAV4 Hybrid: If You Have a Flat Tire — factory procedure, emergency jacking guidance, compact-spare cautions, 50 mph compact-spare limit, and 76 ft-lb wheel-nut torque for that model.
- Toyota Owners — Manuals and Warranties — model-year and vehicle-specific manual lookup.
- NHTSA TireWise — tire pressure, tread, aging, TPMS, blowout, and recall guidance.
- U.S. Tire Manufacturers Association — Tire Repair Basics — tread-area repair limits, 1/4-inch puncture limit, internal inspection, and combination repair requirements.
- Tire Industry Association — Tire Repair — professional demounting, inspection, and proper tire-repair guidance.
- Ready.gov — Car Safety — roadside emergency-kit recommendations.




[…] For the complete wheel-removal and spare-installation sequence, see how to change a flat tire on a Toyota RAV4. […]
[…] you are using a compact spare after a puncture, see the RAV4 flat-tire guide. The TPMS light may stay on until the regular wheel and tire are repaired, reinstalled, and […]