
By Ryker Calloway · Last updated: July 31, 2026
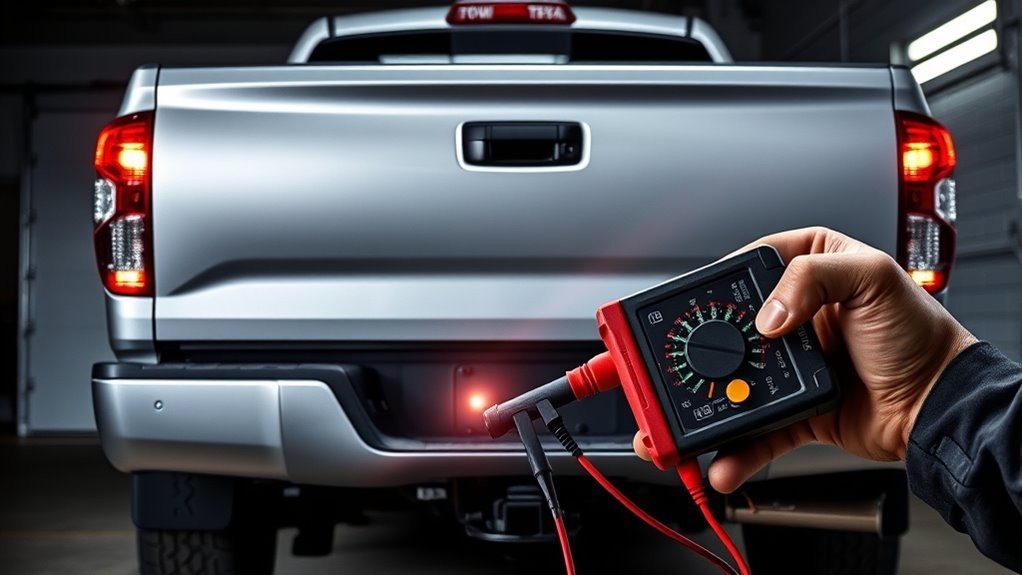
When Toyota Tundra trailer lights are not working, the fastest diagnostic order is: test the trailer on another tow vehicle, test the Tundra socket by function, check the model-year-specific towing fuse or relay, then inspect grounds and wiring under load. Running-light-only failures often point to the tail-light circuit, while dim, flickering, or cross-feeding lamps usually point to resistance in a ground or connector.
Do not assume every Tundra uses the same fuse slot. The 2007 owner information identifies a 30A TOW TAIL fuse for trailer tail lights, but later years and third-generation trucks can use different locations, labels, modules, and control logic. Match the symptom to the exact circuit before replacing parts.
Quick Answer
Unplug the trailer and test it on another vehicle first. If it works, test the Tundra’s 4-way or 7-way socket with each function active. No running-light output means checking the tail-light circuit and the exact fuse diagram for your model year. Low, flickering, or load-dependent output means cleaning and voltage-drop testing the ground and connector. If a replacement fuse blows again, stop and find the short before towing.
Key Takeaways
- Test the trailer on another vehicle to separate a trailer fault from a Tundra-side fault.
- Match the failed function to its circuit; the tail, stop/turn, brake-output, reverse, and 12-volt auxiliary feeds are not the same circuit.
- Confirm fuse and relay labels with the exact model-year manual or fuse-box cover.
- Test grounds under load because a continuity beep alone can miss a high-resistance connection.
- Stop if a fuse blows again, wiring heats or melts, or multiple known-good trailers fail on the same truck.
Five-Minute Test: Is the Fault on the Tundra or the Trailer?
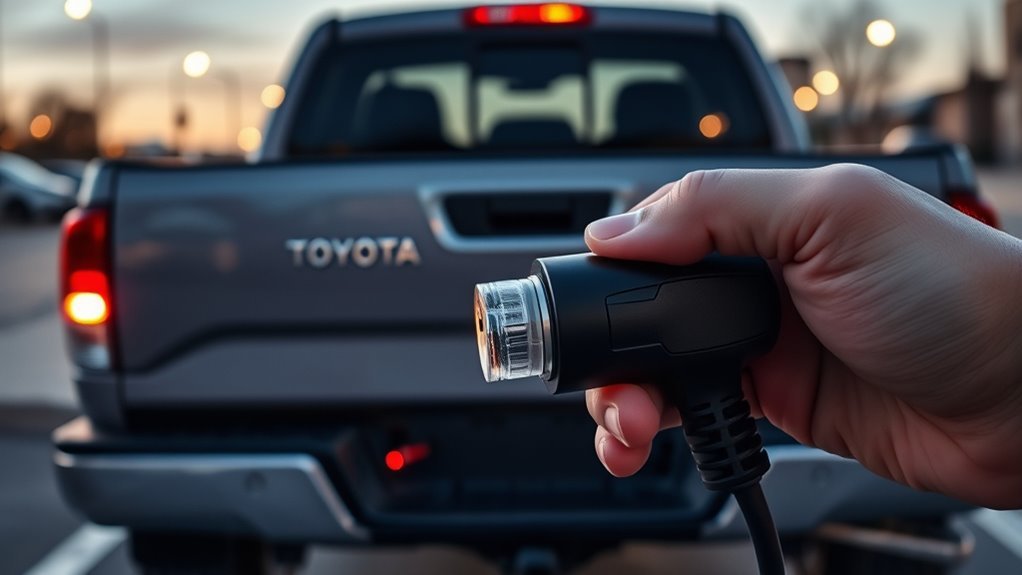
Start with the trailer unplugged. Look for water, green corrosion, bent terminals, pushed-back pins, cracked plastic, or a plug that will not lock. Do not probe randomly across terminals because a short can damage a fuse or control module.
- Connect the trailer to another compatible tow vehicle. Confirm running lights, left and right stop/turn functions, reverse lights if fitted, and electric brakes if fitted.
- If the trailer works, test the Tundra socket with a plug-in tester, test lamp, or digital multimeter while each function is active.
- If the truck socket works but the trailer does not, move to the trailer plug, main ground, lamp grounds, bulbs or LED assemblies, and harness.
- If the truck socket fails on more than one known-good trailer, check the exact towing fuse and relay diagram, rear connector, truck ground, converter or control module, and harness.
| Test Result | What It Isolates | Next Move |
|---|---|---|
| Trailer fails on two tow vehicles | Trailer-side fault is most likely | Inspect the trailer plug, ground, lamps, and harness |
| Trailer works elsewhere, but Tundra socket has no output | Tundra-side circuit fault | Check the matching fuse or relay, socket, truck ground, and harness |
| Tundra socket tests correctly, but lights fail when connected | High resistance or trailer-side load fault | Test voltage under load and inspect grounds and terminals |
| Several known-good trailers fail on the Tundra | Truck connector, wiring, converter, or module fault | Stop replacing trailer parts and diagnose the truck side |
The Federal Motor Carrier Safety Administration requires working and visible lamps on covered commercial vehicles. Private-trailer road-use rules depend on state or local law, but the safe choice is the same: do not tow with failed stop lamps or turn signals.
Before You Start: Tools and Safety Checks
Gather a digital multimeter, a 12-volt test lamp or plug-in trailer tester, a fuse puller, needle-nose pliers, contact cleaner, a wire brush, dielectric grease, and replacement fuses that match the original rating. Basic isolation often takes 10 to 30 minutes; damaged harnesses or module faults take longer.
Park on level ground, set the parking brake, chock the trailer wheels, and keep loose clothing and test leads away from hot or moving parts. Turn the truck and all lamps off before connecting or removing jumper leads. Unplug the trailer before repairing wiring.
Know which circuit you are testing. A 7-way socket can carry tail lamps, combined stop/turn signals, electric-brake output, reverse lamps, ground, and a 12-volt auxiliary feed. A working lighting circuit does not prove that the brake-output or auxiliary circuit works.
Warning: If a replacement fuse blows immediately, a connector becomes hot, or insulation melts, stop testing. Never install a higher-amp fuse, bridge a fuse with metal, probe terminals in a way that can short adjacent pins, or tow with failed stop or turn lights.
Also confirm that the truck, hitch, trailer, and load remain within the Toyota Tundra towing limits. Electrical repairs do not make an overloaded towing setup safe.
[Products Worth Considering]
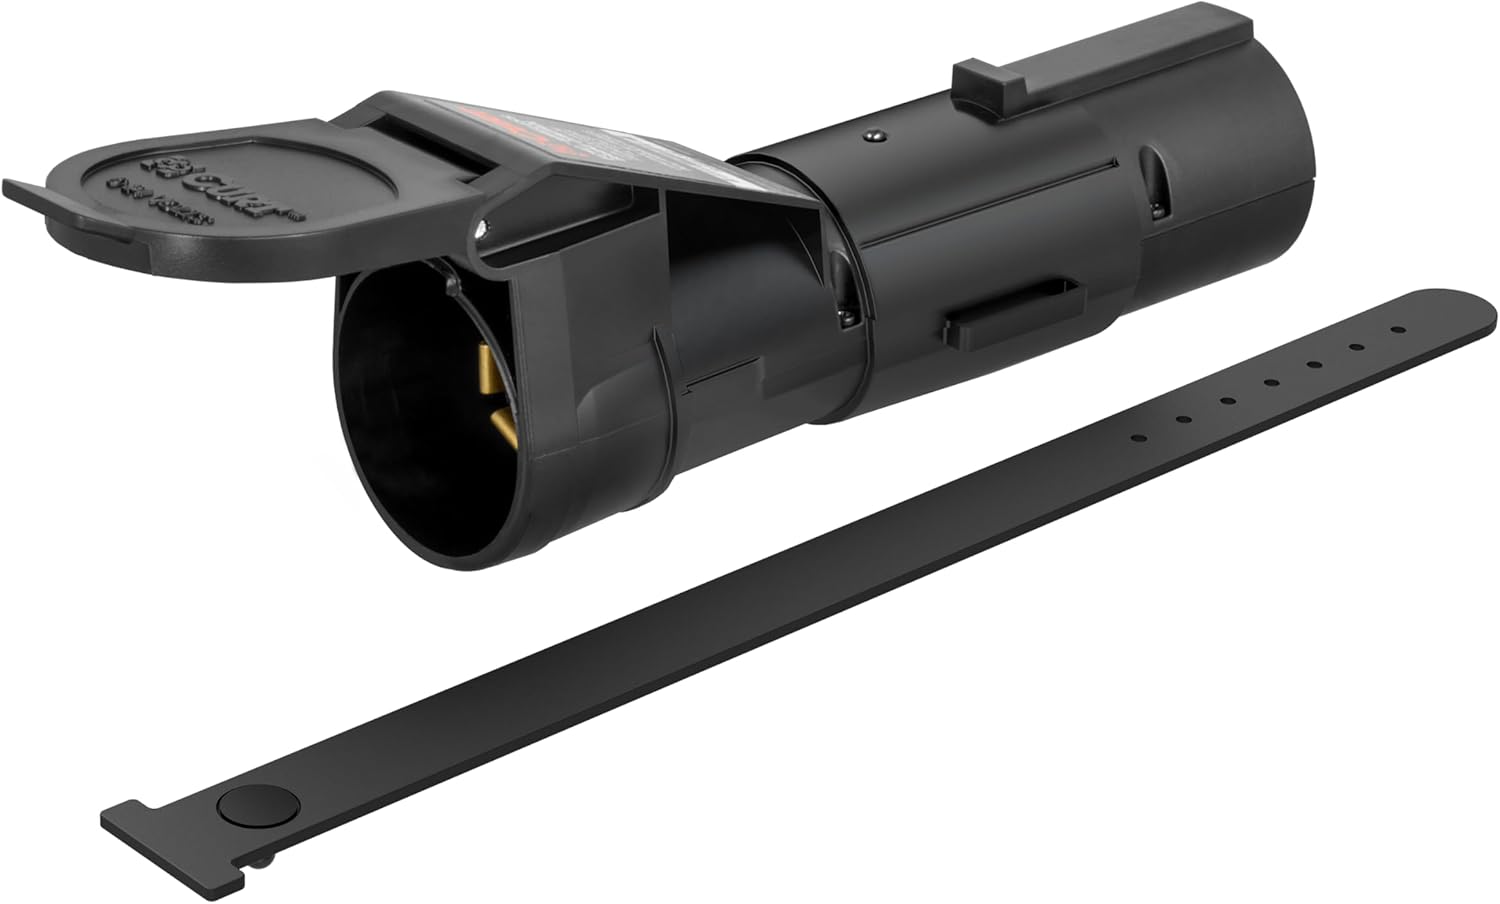
The CURT Echo mobile trailer brake controller offers smart, smartphone-based brake control with a simple plug-and-play design that connects between your vehicle and trailer 7-way plugs. Its portable construction makes it easy to transfer between compatible towing setups, while the durable potted enclosure helps protect against weather and vibration. With proportional braking support and app-based profile management, it delivers a modern, responsive towing experience.

This proportional electric brake controller automatically applies trailer brakes based on your vehicle's braking force and speed for smoother, more responsive stopping. It is compatible with a wide range of tow vehicles and trailer setups, and includes an LED display for easy setup, diagnostics, and manual braking control. The included mounting hardware and plug-and-play port help make installation simple and convenient.

This proportional trailer brake controller provides smooth, responsive braking by automatically matching your tow vehicle’s stopping force for safer trailer control. The bright LED digital display makes it easy to monitor voltage output in real time, while adjustable braking and sync settings help tailor performance to different trailers and road conditions. Designed for quick installation and broad compatibility, it supports 1 to 4 axle trailers for dependable towing confidence.
Which Failure Pattern Matches Your Trailer Lights?
Use the failed function to choose the first circuit to test. This prevents a good connector, bulb, or control unit from being replaced by guesswork.
| Symptom | Most Likely Area | First Test | Next Step |
|---|---|---|---|
| No trailer lights at all | Main ground, disconnected plug, truck socket, or multiple-circuit power fault | Test the trailer elsewhere, then test the Tundra socket | Check connector ground and the model-year towing circuits |
| Running lights fail, but stop/turn lights work | Tail-light output, TOW TAIL circuit on applicable years, tail relay, or brown trailer wire | Turn on parking lights and test the tail-light terminal | Check the exact fuse/relay diagram, socket, and running-light wire |
| Running lights work, but stop/turn lights fail | Stop/turn fuse or converter circuit, left/right output, or trailer wiring | Test both stop/turn terminals at the truck socket | Compare truck input and trailer output; inspect both side circuits |
| Only one side fails | One stop/turn terminal, lamp assembly, socket, branch wire, or local ground | Test the matching truck terminal and lamp feed | Trace that side from plug to lamp |
| Lights dim, flicker, or change when brakes are applied | High-resistance ground, loose terminal, corrosion, or overloaded connection | Run a temporary ground test and measure voltage under load | Clean, tighten, or replace the restricted connection |
| 7-way lights work, but electric brakes do not | Brake controller setting, brake-output circuit, 7-way terminal, or trailer brake wiring | Use the controller’s manual override as directed by the exact manual | Check gain, brake type, output, ground, and trailer brake circuit |
| 7-way lights work, but the 12-volt auxiliary terminal is dead | Separate auxiliary fuse, relay, wiring, or activation condition | Identify the auxiliary terminal by function and compare with the model-year manual | Do not replace the TOW TAIL fuse unless the tail-light circuit also failed |
| Several trailers fail on the same Tundra | Tundra socket, towing fuse/relay, ground, converter, control module, or harness | Use a known-good plug-in tester | Diagnose the Tundra side before replacing trailer parts |
Which Tundra Fuse Should You Check?
Use the fuse-box cover and the owner’s manual for the exact model year, trim, and factory tow equipment. The Toyota owner manual page provides model-year manuals. Do not rely on a slot number copied from a different year.
The 2007 Tundra owner information lists a 30A TOW TAIL fuse for trailer tail lights. It also lists separate towing-related circuits, including stop-light/converter and trailer-brake circuits. That distinction matters: a working TOW TAIL fuse does not prove that the stop/turn, electric-brake, reverse, or 12-volt auxiliary circuit is healthy.
| Model Group | What to Look For | Do Not Assume |
|---|---|---|
| 2007 Tundra | TOW TAIL 30A for trailer tail lights; other towing circuits are listed separately | That one fuse controls every 4-way or 7-way function |
| 2008-2021 Tundra | Exact-year labels may include TOW TAIL, TOWING, TOW BRK, STOP, TAIL, or TOW BK/UP | That the 2007 or 2020 slot number applies to every second-generation truck |
| 2022 and newer Tundra | Exact manual, fuse-box cover, warning messages, tow equipment, and circuit-specific diagnosis | That the second-generation fuse layout or converter logic applies |
- Switch the truck and all lighting functions off.
- Identify the fuse by label and circuit, not by amperage alone.
- Pull it straight out and inspect the element.
- Because a visual check can miss a fine break, confirm the fuse with continuity or test both fuse test points when the circuit is energized.
- Replace a failed fuse only with the same type and amp rating.
- Activate the failed function and retest the socket before reconnecting the trailer.
If the replacement fuse opens again, disconnect the trailer. Inspect the trailer plug, lamp wiring, branch splices, frame pass-throughs, and any recently added accessory for a short to ground. Do not keep feeding fuses into an active short.
[Products Worth Considering]

This automotive circuit tester checks low-voltage DC systems from 3-65V, making it useful for diagnosing headlights, taillights, fuses, sockets, and other vehicle wiring issues. The digital backlit display provides clear voltage readings with fine accuracy, while the bidirectional polarity indicator helps you test from either ground or positive. Built with a durable probe, insulated tip, and extra-long spring wire, it is designed for dependable everyday use in automotive and household electrical work.

The V500 Pro is an all-in-one automotive electrical diagnostic tool that combines circuit testing, wire tracing, oscilloscope analysis, multimeter functions, injector testing, relay and fuse checks, and component activation in one device. It helps technicians and DIY users quickly find open circuits, short circuits, broken wires, and current leaks while reducing disassembly and guesswork. With a rotating screen, built-in flashlight, and adjustable low-voltage power supply, it is designed to speed up troubleshooting in tight and low-light work areas.

The CURT Venturer NEXT is a compact, time-delay electric trailer brake controller designed for dependable braking control from inside your vehicle. Its low-profile design, adjustable power and ramp time, and plug-and-play friendly setup make it a practical choice for towing with confidence. Built for 12-volt systems and compatible with electric over hydraulic brakes, it offers flexible installation without leveling or internal moving parts.
How Do You Test the Tundra’s 4-Way or 7-Way Connector?
Identify the connector type and each terminal by function. A 4-way flat connector normally carries ground, tail/running lights, left stop/turn, and right stop/turn. A 7-way RV blade adds circuits such as electric-brake output, reverse lamps, and 12-volt auxiliary power. Terminal position and wire color can differ by connector standard or prior repairs.
Set a digital multimeter to DC volts. Connect the black lead to a verified ground, then probe one function at a time. Compare socket voltage with battery voltage measured at the same moment. A reading that falls sharply when the trailer or a test lamp is connected points to resistance that an unloaded meter test may miss.
| Connector Function | Activate It This Way | Healthy Test Pattern | If Missing or Low |
|---|---|---|---|
| Tail/running lights | Turn on parking lights or headlights | Steady voltage close to battery voltage | Check tail-light fuse/relay, terminal tension, corrosion, and wiring |
| Left stop/turn | Use left signal; press brake for a steady output | Flashes with left signal; stays steady with brake applied | Check the left output circuit, converter if equipped, and trailer branch |
| Right stop/turn | Use right signal; press brake for a steady output | Flashes with right signal; stays steady with brake applied | Check the right output circuit, converter if equipped, and trailer branch |
| Ground | Power off for continuity; circuit on for voltage-drop testing | Low resistance when disconnected and very low voltage drop under load | Clean and tighten the socket, chassis, trailer-frame, and lamp grounds |
| Electric-brake output on 7-way | Connect a compatible trailer or approved load and use the controller’s manual override | Output rises with manual-controller command and gain setting | Check controller settings, brake type, fuse, 7-way terminal, and trailer brake wiring |
| Reverse-light output on 7-way | With the vehicle secured, select reverse as directed by the manual | Voltage appears only with the reverse circuit active | Check the reverse circuit, fuse, wiring, and connector standard |
| 12-volt auxiliary on 7-way | Follow the exact model-year activation conditions | Steady or switched power as designed for that truck | Check the separate auxiliary fuse, relay, activation logic, and harness |
Note: The CURT trailer wiring reference shows that 7-way RV blade standards can use different wire colors for the same functions. Match terminal function and connector orientation, not color alone.
For the electric-brake terminal, pressing the truck brake pedal while parked may not produce a useful reading with every proportional controller. Use the manual override and follow the exact controller instructions. See the Tundra integrated trailer brake controller guide for controller-specific setup and testing.
[Products Worth Considering]
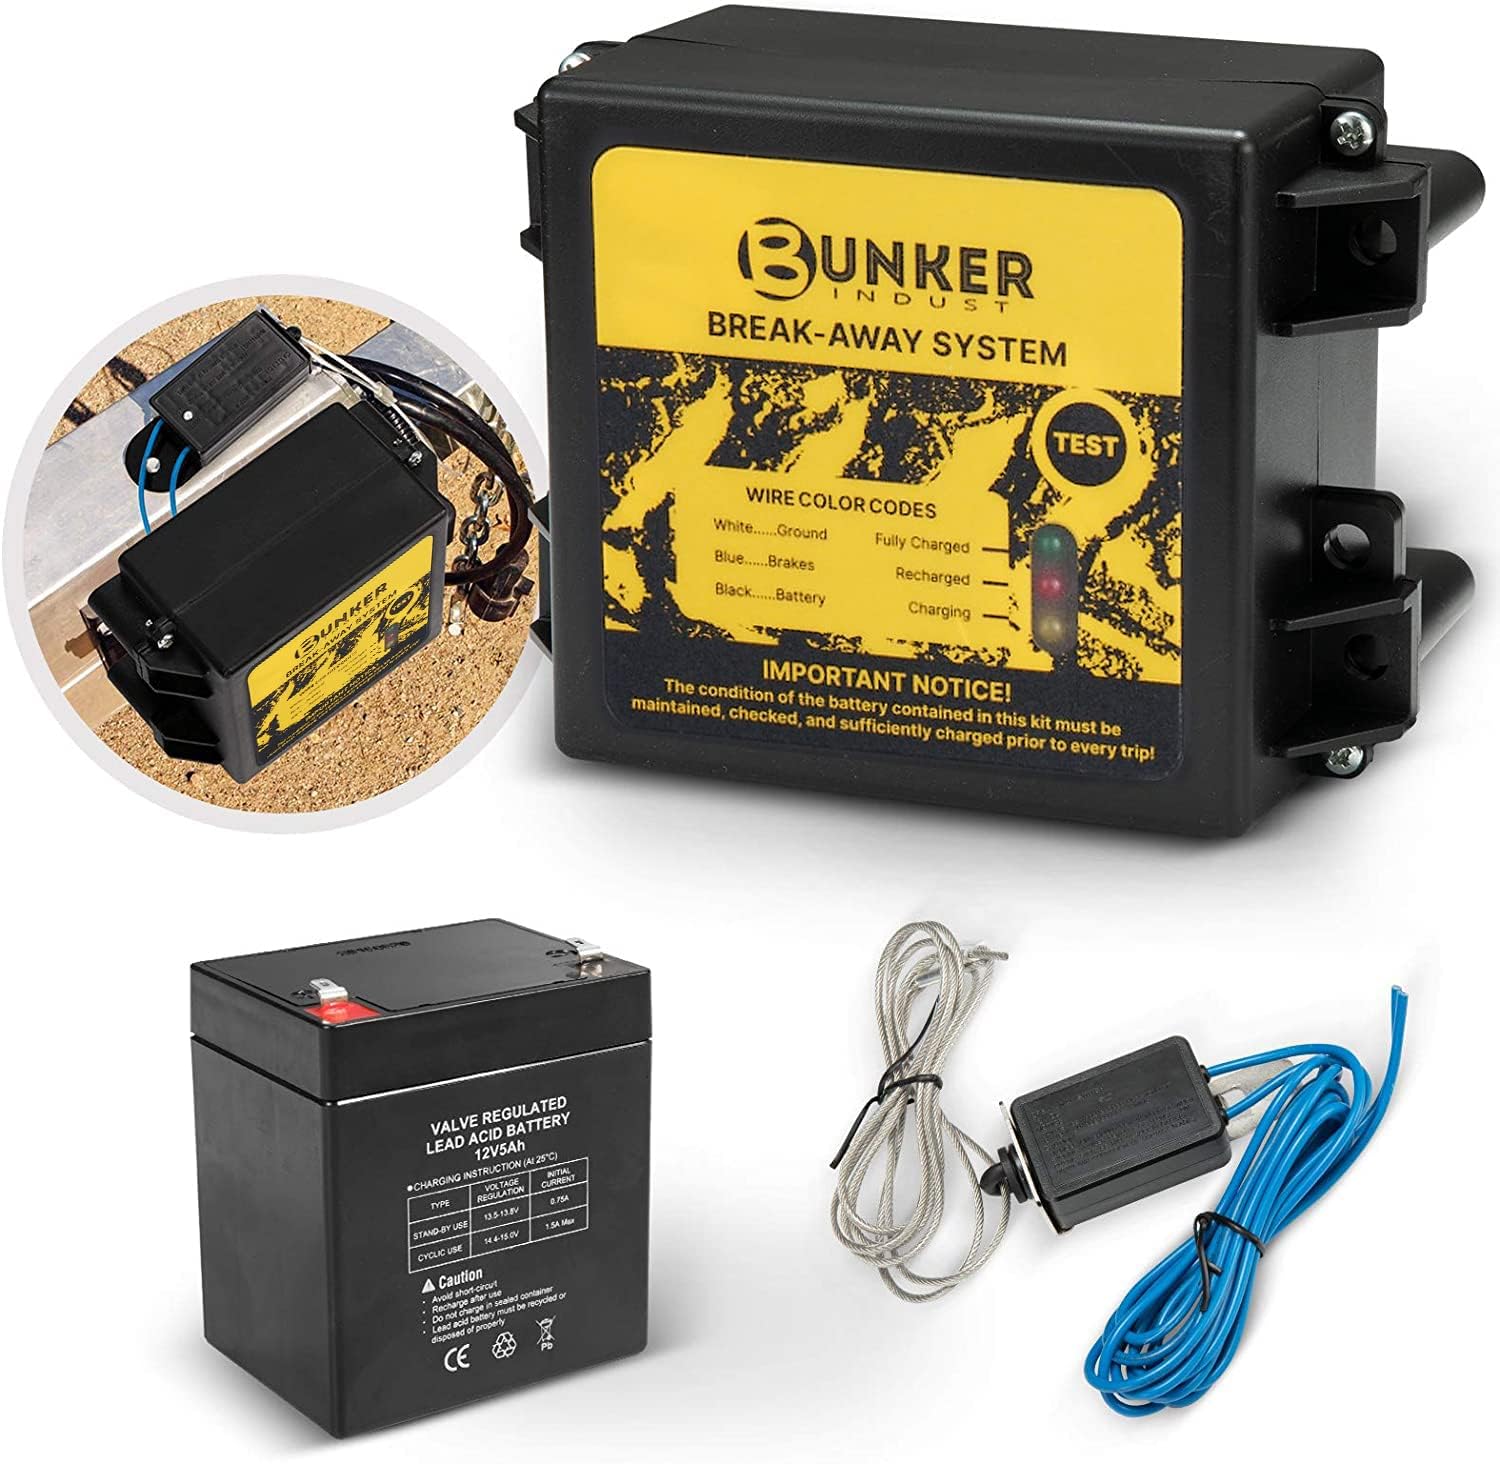
This trailer breakaway kit is designed for trailers with an existing electric brake system, helping activate the brakes if the trailer separates from the tow vehicle. It includes a battery, breakaway switch, and charger with an LED display for easy status checks, making it a practical safety upgrade for caravans and trailers. The side-mount design supports quick installation, while weather and corrosion resistance help it stand up to outdoor use.

This automotive test light combines a bright LED voltage display with quick polarity indication for fast, accurate circuit checks in a wide range of vehicle systems. It helps diagnose battery, charging, lighting, and fuse issues with a sharp stainless probe, long spring wire, and easy-to-use alligator clip for efficient troubleshooting.
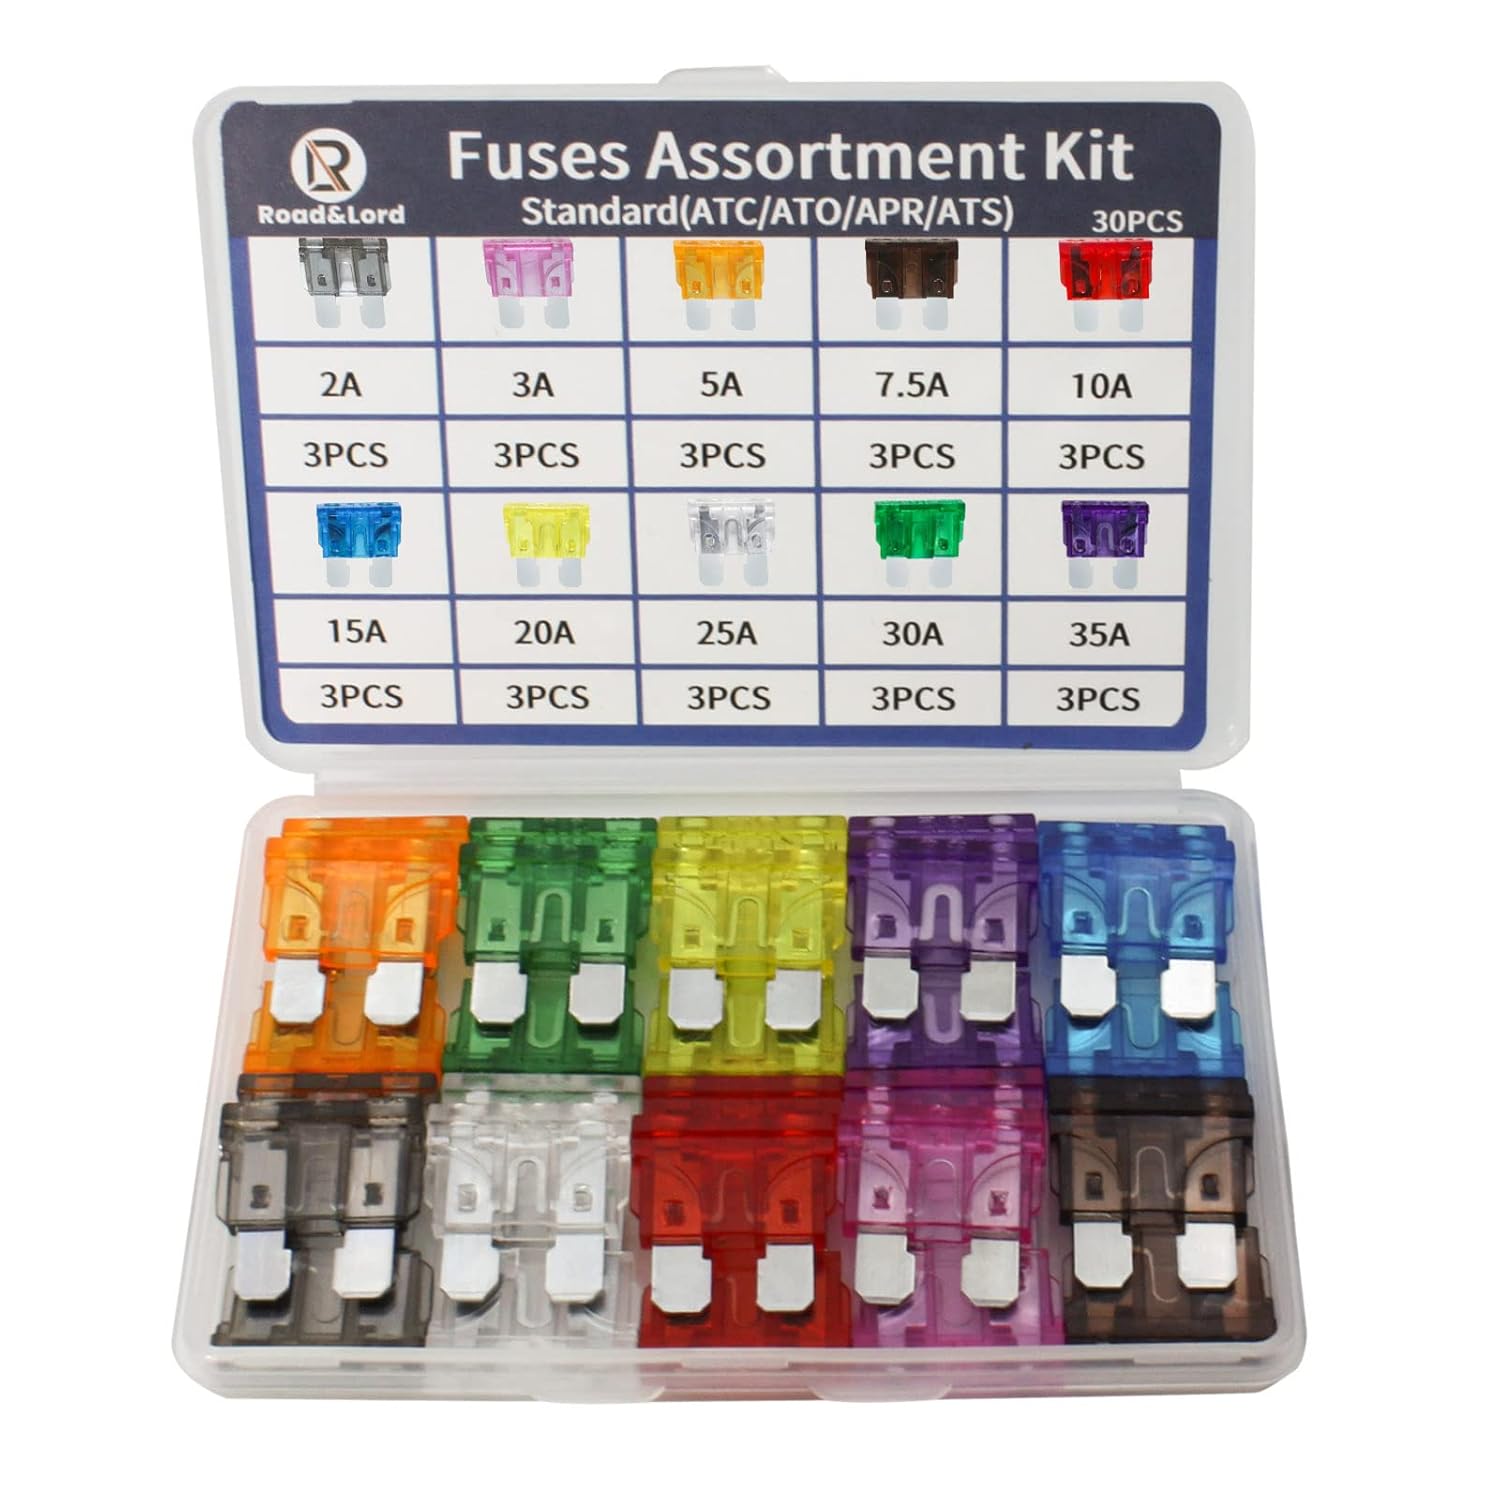
This standard blade fuse assortment kit provides a convenient selection of common amp ratings to help protect vehicle electrical systems from overloads, short circuits, and wiring damage. With transparent, color-coded housings and clearly marked ratings, it makes blown fuse replacement fast and easy for cars, trucks, boats, RVs, and other DC applications. The durable compact case keeps the fuses organized for reliable storage and quick access when needed.
How Do You Confirm a Bad Trailer Ground?
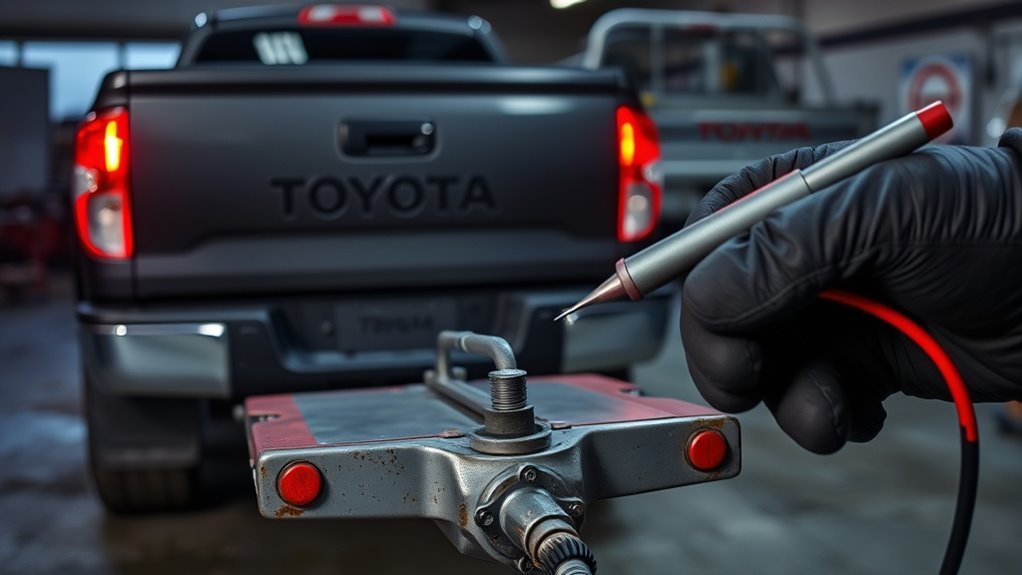
A weak ground can make lamps dim, flicker, cross-feed, or fail only when several bulbs operate together. Start at the trailer connector and follow the main ground conductor to the frame. Then inspect the ground at each lamp if the trailer uses the frame as the return path.
Inspect the Main and Lamp Grounds
With the trailer unplugged and power off, check for loose fasteners, rust, paint under the ring terminal, damaged strands, heat discoloration, and corrosion hidden under insulation. On a standard 4-way plug, the ground wire is normally white, but verify the actual wiring before cutting or splicing.
- Confirm the main connector ground attaches to clean, bare structural metal.
- Inspect individual lamp grounds, especially on one-side failures.
- Check folding tongues, tilt beds, aluminum frames, and bolted sections that may interrupt the frame return path.
- Do not treat a continuity beep as final proof; a few remaining strands can pass a meter’s tiny test current but fail under lamp load.
Clean and Reattach the Ground
Remove the fastener and clean the frame to bare metal. Cut back wire with black or green corrosion until clean copper remains. Install a correctly sized, properly crimped ring terminal and a star washer where appropriate, then tighten the connection securely.
Protect the finished connection from moisture without insulating the metal-to-metal contact. Reconnect the trailer and operate the running lights, brake lights, and turn signals together. A repaired ground should remain stable under the highest normal lamp load.
Test With a Temporary Jumper Ground
With all lamps off, connect a fused or suitably protected jumper between a clean truck chassis ground and a clean trailer-frame point. Keep the jumper away from the exhaust, driveline, and sharp edges. Then operate the lamps.
- If the lights return to normal, repair the trailer’s permanent ground path.
- If only one lamp improves, inspect that lamp’s local ground.
- If nothing changes, continue to the power terminals, branch wiring, lamp assembly, fuse, and converter or control module.
For a more conclusive test, measure voltage drop from the socket or trailer ground to battery negative while the affected lamps are operating. A measurable rise on the ground side indicates resistance; Fluke’s automotive guidance uses about 0.1 volt as a working limit for low-current wires and switches, while the exact acceptable value depends on the circuit and service information.
Step-by-Step Voltage and Load Tests
Start at the Tundra socket with the trailer disconnected. The goal is to confirm the correct function, then confirm that the circuit can carry a small load without the voltage collapsing.
- Measure battery voltage and record it as your reference.
- Turn on the parking lights and test the tail/running-light terminal.
- Test the left and right stop/turn terminals with the matching signal active.
- Press the brake pedal and confirm both combined stop/turn terminals remain steady on a 4-way system.
- For 7-way electric-brake output, use the manual controller override with a compatible trailer or approved test load.
- Test the ground path under load, not only with the ohms or continuity setting.
- Reconnect the trailer and repeat the failed function. Compare the loaded reading with the unloaded socket reading.
A digital meter can show normal-looking voltage through a restricted connection because the meter draws very little current. A 12-volt test lamp or plug-in tester adds a small load. If the meter looks normal but the test lamp is dim or the voltage falls when connected, inspect terminal tension, corrosion, splices, and grounds.
Diagnostic rule: Correct output at the Tundra socket plus failed trailer lamps moves the fault to the trailer. Missing output at the unplugged Tundra socket moves the fault to the truck-side fuse, relay, connector, converter or module, or harness.
Do not use an incandescent test lamp on unknown low-current data or control-module terminals. Limit testing to identified 12-volt trailer power circuits, or use the service procedure and a high-impedance meter.
Common Wiring Failures: Wires, Pins, and Converters
Inspect the full wiring path before buying a socket, harness, converter, or control unit. Trailer wiring usually fails where it bends, rubs, traps water, or hangs below the frame.
Wire Insulation Damage
Look for cuts, flattened sections, green copper, heat damage, exposed conductor, and wires pinched at the coupler, folding tongue, frame holes, suspension, or rear bumper. Flex the harness gently while the circuit is operating; a reading that changes points to an intermittent conductor or terminal.
- Remove the damaged conductor section instead of covering exposed copper.
- Use equal or heavier automotive wire with the correct insulation and current capacity.
- Use properly crimped, sealed connectors and adhesive-lined heat shrink for a permanent splice.
- Do not use tape or self-fusing wrap as the only repair for a broken conductor.
- Support the repair so vibration and road spray cannot reopen it.
Bent, Loose, or Corroded Pins
With the truck off and trailer unplugged, inspect each terminal for green corrosion, burning, spread contacts, pushed-back pins, or weak retention. Clean light surface corrosion with electrical contact cleaner and allow the connector to dry.
A slightly misaligned terminal may be repositioned only if it remains tight and undamaged. Replace the connector when a terminal is loose, overheated, cracked, or unable to grip its mating contact. Tight terminal tension matters as much as clean metal.
Converter or Control-Module Faults
Some Tundra towing systems use a converter or electronic control to produce trailer outputs. If equipped, test the identified input and output circuits with the correct wiring information. Do not assume every generation uses the same box or location.
- Confirm the related truck lighting input works.
- Confirm power, ground, and fuse feeds to the converter or module.
- Compare the input command with the trailer-side output.
- Disconnect and repair trailer shorts before installing a replacement unit.
- On module-controlled systems, use scan data and factory diagnostics when basic circuit tests do not isolate the fault.
If the converter or module receives the correct inputs and power/ground but provides no output on a known-good load, replacement may be justified. Confirm the exact service procedure first.
If the Trailer Works Elsewhere, How Do You Isolate the Tundra?
When the trailer passes on another tow vehicle, begin at the Tundra’s rear socket and work toward the power source. Do not replace trailer bulbs, grounds, or harnesses after the trailer has already passed a complete function test elsewhere.
- Test the failed function at the Tundra socket with the trailer unplugged.
- If output is missing, check the exact fuse and relay for that function.
- Inspect the rear socket and its connector for water, corrosion, pushed-back terminals, heat, and impact damage.
- Verify the truck-side ground under load.
- Inspect the harness forward from the bumper for rubbed insulation, crushed sections, rodent damage, poor aftermarket splices, and loose connector locks.
- If basic power, ground, fuse, relay, and wiring checks pass, test the converter or control module using model-year service information.
Generation matters. Second-generation fuse labels and converter layouts should not be copied to a 2022-and-newer Tundra. Newer trucks can also display trailer connection or brake warnings that help narrow the affected system.
Safe Home Repairs After the Fault Is Confirmed
Make only the repair supported by the test result. A new fuse will not cure a short, and a new connector will not repair a broken wire farther forward.
- Replace a blown fuse with the same type and amp rating after locating the likely cause.
- Replace a cracked, burned, or loose pigtail with a weather-resistant connector designed for the circuit.
- Repair damaged conductors with correctly sized wire and sealed crimp connections.
- Clean ground points to bare metal and replace corroded terminals and fasteners.
- Use a temporary chassis-to-trailer jumper only as a diagnostic test, then restore a permanent ground.
- Secure the repaired harness away from exhaust heat, moving parts, sharp edges, and road spray.
After the repair, test every function separately and together: running lights, left and right stop/turn lamps, hazards, reverse lamps if fitted, electric brakes if fitted, and the 12-volt auxiliary circuit if used. Recheck the connector for heat after a brief loaded test.
When Should You Replace Parts or Call a Professional?
Call a qualified automotive electrical technician when the fault involves repeated fuse failure, melted wiring, an electronic towing module, an integrated brake-controller warning, or a truck harness that disappears into a protected loom. You should also get help when several known-good trailers fail on the same Tundra and basic socket, fuse, relay, power, and ground checks do not isolate the cause.
| Finding | Correct Action | Priority |
|---|---|---|
| Light surface corrosion with firm terminals | Clean, dry, protect lightly, and retest under load | High |
| Loose, burned, melted, or cracked socket | Replace the connector and inspect the mating plug and circuit load | High |
| Correct converter/module inputs but no output | Confirm power, ground, load, and service procedure before replacement | High |
| Replacement fuse opens immediately | Stop energizing the circuit and locate the short | Highest |
| Multiple trailers fail on the same truck | Diagnose the Tundra socket, harness, converter/module, and network faults | Highest |
| Persistent trailer-brake warning or no manual brake output | Stop towing and diagnose the controller, 7-way circuit, and trailer brakes | Highest |
Keep your voltage readings, fuse labels, symptoms, and test sequence. Those notes reduce diagnostic time and help prevent duplicate parts replacement.
How Do You Prevent Repeat Trailer-Light Failures?
Inspect the truck socket and trailer plug before long trips, after winter salt, and after towing through mud or water. Look for moisture, green corrosion, loose terminal tension, cracked seals, and unsupported wiring.
- Clean connectors with electrical contact cleaner and let them dry fully.
- Apply only a light film of dielectric grease after cleaning; it does not restore burned metal or weak terminal tension.
- Keep connector caps and seals in place when the socket is not in use.
- Tighten ground fasteners and protect the finished connection from moisture.
- Clamp or loom high-flex wiring so it cannot rub on the frame, hitch, spare tire, or suspension.
- Test all lamps and trailer brakes before every towing trip.
Pro tip: Keep a compatible plug-in trailer tester in the truck. It can isolate the Tundra socket without connecting the trailer.
Frequently Asked Questions
How do I fix Toyota Tundra trailer lights that are not working?
Test the trailer on another compatible tow vehicle first. If it works, test each Tundra socket terminal with the matching function active, check the exact model-year fuse or relay, then inspect the socket, grounds, harness, and converter or module under load.
Which fuse controls Toyota Tundra trailer running lights?
The 2007 Tundra owner information lists a 30A TOW TAIL fuse for trailer tail lights. Other years can use different slots, related fuses, relays, and control logic, so confirm the exact model-year manual and fuse-box cover before replacing a fuse.
Why do trailer running lights fail while brake lights still work?
That pattern isolates the tail or running-light circuit. Test the tail-light terminal with the parking lights on, then check the exact tail-light fuse or relay, connector terminal, brown trailer wire on a standard 4-way system, lamp branches, and grounds.
Why do trailer brake and turn lights fail while running lights work?
The tail-light circuit is working, but the combined stop/turn outputs are not. Test the left and right stop/turn terminals at the Tundra socket, then inspect the related fuses, converter or module if equipped, connector terminals, and trailer branch wiring.
Can a bad ground make only one trailer light fail?
Yes. A failed local lamp ground or a high-resistance branch can affect one side or one function. Test power and ground at the affected lamp while the circuit is operating, not only with a continuity check.
Should I use dielectric grease on trailer plug terminals?
Clean and dry the connector first, then apply a light film for moisture protection. Dielectric grease does not repair corrosion, burned terminals, or weak terminal tension, and the connector should not be packed with grease.
Where is the trailer-light fuse on a Toyota Tundra?
The location varies by model year and equipment. Use the fuse-box cover and the exact Toyota owner’s manual. Depending on the year and failed function, relevant labels may include TOW TAIL, TOWING, TOW BRK, STOP, TAIL, or TOW BK/UP.
Why does my Tundra 7-way plug have no power?
First identify which terminal is dead. Tail lights, stop/turn lights, electric-brake output, reverse lights, and 12-volt auxiliary power use different circuits. Activate the matching function, verify the ground, and check the circuit-specific fuse, relay, connector, and wiring.
Why do my trailer lights work on another truck but not my Tundra?
The trailer has passed a basic function test, so focus on the Tundra socket, model-year fuse and relay, truck-side ground, rear harness, and converter or electronic towing module.
Why is there no trailer-brake output while the Tundra is parked?
Some proportional brake controllers do not provide a useful pedal-command reading while stationary. Connect a compatible trailer or approved load, set the controller correctly, and use the manual override according to the exact owner’s manual.
Can I tow if only the trailer running lights work?
No. Do not tow on public roads until required stop lamps, turn signals, and other required lighting work correctly. If the trailer has electric brakes, confirm brake output and brake operation as well.
Why does the trailer-light fuse keep blowing?
Repeated fuse failure points to a short, damaged insulation, water intrusion, pinched wiring, a failed component, or an incorrect repair. Stop replacing fuses and isolate the short before reconnecting the trailer or towing.
Safety Disclaimer: This article is for informational purposes only and does not replace professional vehicle diagnosis. If you find melted wiring, repeated fuse failure, brake-control faults, or unclear test results, consult a qualified mechanic or automotive electrical technician before towing.
Conclusion
When Toyota Tundra trailer lights are not working, isolate the system before buying parts. Test the trailer on another vehicle, test the Tundra socket by function, and check the exact model-year fuse or relay for the failed circuit.
If voltage is present but the lamps dim, flicker, or fail under load, inspect terminal tension and run a ground or power-side voltage-drop test. If a replacement fuse blows, wiring heats, or multiple known-good trailers fail, stop towing and get the truck or trailer circuit diagnosed.
The practical order is simple: separate truck from trailer, identify the failed function, test under load, repair the confirmed fault, then retest every towing circuit before the trip.
References
- Toyota Tundra Owner’s Manuals and Warranties – Toyota Owners official source, accessed July 31, 2026
- 2007 Toyota Tundra Owner’s Manual Fuse Listing – third-party manual mirror showing TOW TAIL 30A and related circuits, accessed July 31, 2026
- Fuses Location – Tundra 50 (2007-2021) – third-party service-data reference; verify against the exact Toyota manual
- Trailer Wiring Diagram and Installation Help – CURT Manufacturing connector-function reference, accessed July 31, 2026
- Lighting Devices and Reflectors – Federal Motor Carrier Safety Administration commercial-vehicle guidance, accessed July 31, 2026
- 49 CFR Part 393 Subpart B: Lamps, Reflective Devices, and Electrical Wiring – eCFR official regulation source, accessed July 31, 2026
- Diagnosing Voltage Drops: Electrical Automotive Troubleshooting – Fluke automotive electrical testing guidance, accessed July 31, 2026


[…] Tundra‘s rearview camera can go dark when you shift into reverse, and Toyota has confirmed the […]