Last updated: September 1, 2026 — model-year scope, brake-fluid guidance, pad limits, rotor runout, parking-brake differences, warning-light safety, and current brake-squeal bulletin reviewed.
Affiliate disclosure: As an Amazon Associate, AutoReviewNest earns from qualifying purchases.
Evidence note: This guide synthesizes Toyota owner/service information and NHTSA manufacturer-communication data. It does not claim hands-on testing across every Tundra generation. Brake specifications and service procedures can change by model year, axle, drivetrain, and brake system, so confirm the procedure for your exact truck before disassembly.
A Toyota Tundra brake inspection checklist should cover seven areas: brake fluid and warning lights, pedal feel, pad and hardware wear, calipers and hydraulic lines, rotor condition, the parking brake, and a low-speed road test. The important catch is that one specification does not fit every Tundra. Older trucks can use mechanical parking-brake hardware, while 2022-and-newer Tundras use an electronic parking brake, and rotor limits can differ by generation and axle. If you find an active fluid leak, a red brake-system warning, a sinking or very spongy pedal, or clearly reduced braking, do not continue to a road test.
Quick Pre-Trip Brake Checklist & Safety Steps
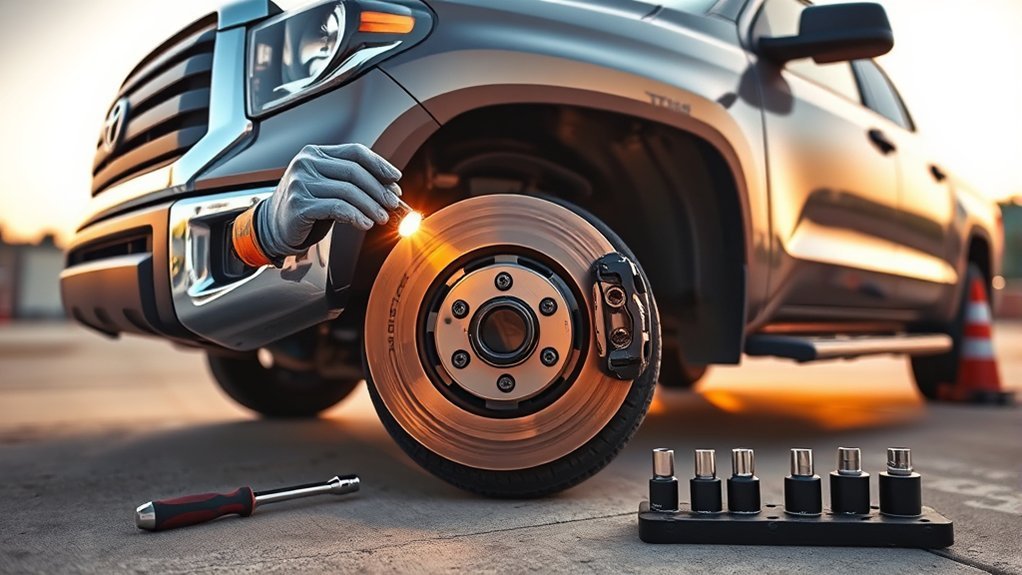
Start with checks that do not require disassembly. Look for a red brake warning, confirm the pedal feels normal, inspect the brake-fluid reservoir, and look around the wheels and visible brake lines for fresh fluid. Then inspect pad wear, caliper hardware, and rotor condition if you can do so safely.
| Check | What to Inspect | Stop or Service If |
|---|---|---|
| 1 | Brake fluid | Below the specified range, repeatedly dropping, contaminated, or leaking |
| 2 | Warning lights and pedal | Red brake warning, sinking pedal, severe sponginess, or reduced braking |
| 3 | Pads and hardware | Below the model-specific limit, uneven, contaminated, cracked, or damaged |
| 4 | Calipers, hoses, and lines | Wet leakage, damaged hose, seized hardware, torn boot, or abnormal drag |
| 5 | Rotors | Below minimum thickness, cracked, severely scored, or outside the correct runout limit |
| 6 | Parking brake | Will not hold, will not release, drags, or shows an EPB warning |
| 7 | Low-speed road test | Pulling, grinding, pulsation, abnormal noise, warning light, or weak braking |
If a wheel must come off, work on a firm, level surface, chock the wheels, and support the truck at approved lifting points with properly rated stands. Never work around a wheel or brake assembly while the truck is supported only by a hydraulic jack.
Check Brake Fluid, Master Cylinder, and Sensors
Clean around the reservoir cap before opening it so dirt cannot enter the hydraulic system. Check the level using the procedure for your exact model year. On many Tundras, the normal brake-fluid level is between the MIN and MAX marks; do not treat “just below MAX” as a universal target. Newer electronically controlled brake systems can also require a model-specific level-check procedure.
A slight gradual level decrease can occur as brake pads wear. Frequent refilling, a sudden drop, or visible wetness around a hose, caliper, line, reservoir, or master-cylinder area needs diagnosis rather than repeated topping-off. Use only the fluid grade approved for your truck. See the Toyota Tundra brake fluid guide for the DOT 3 versus DOT 4 distinction, and confirm the final specification in your Toyota owner’s manual.
Do not assume that a damp master-cylinder area only needs a seal replacement. Brake-fluid leakage is a hydraulic-system fault, and the source should be identified before the truck is driven. If the pedal is sinking, unusually spongy, or braking effort has changed, stop the inspection and have the system diagnosed.
Warning-light color and meaning also matter. A red brake-system warning can indicate low brake fluid or a brake-system malfunction. Do not begin or continue a road test with that warning active; stop safely and follow the warning procedure in the exact owner’s manual.
[Products Worth Considering]

This brake caliper compression tool helps make disc brake pad replacement and caliper servicing faster, safer, and more controlled. Its universal ratcheting design supports multi-angle operation in tight wheel spaces, while the sturdy steel build and widened contact plate help reduce slipping and uneven force during maintenance. Two caliper hooks are included to simplify solo brake work and keep components organized.

TOVASTY rear brake pads are designed for a wide range of Toyota and Lexus models, delivering dependable braking performance with a carbon ceramic formula. They help reduce brake dust, promote quieter operation, and support consistent stopping power with improved heat resistance for everyday driving confidence.

This brake caliper compression tool makes brake pad replacement faster by retracting single, dual, or quad pistons with minimal effort. Built for compatibility across many cars, trucks, ATVs, UTVs, and SUVs, it delivers strong pressing power for efficient maintenance. The durable aluminum alloy and steel construction, along with organized EPE foam storage, help keep it protected and ready for repeated use.
Inspect Brake Pads, Hardware, and Parking-Brake Adjustment
Inspect the brake pads on both sides of the axle and compare inner versus outer wear. Measure the friction material rather than guessing from the visible edge. Uneven wear can point to a caliper, piston, hardware, mounting, or hydraulic problem that should be corrected before new pads are installed.
[Products Worth Considering]

This Yuirote universal car motor diagnostic tool helps drivers quickly detect engine fault codes and identify system issues for routine inspections and maintenance. It also supports electronic parking brake reset and emergency release functions, making it useful for handling EPB-related problems without a repair shop visit. Its compact, ergonomic design and broad vehicle compatibility make it a practical choice for car owners and DIY repair enthusiasts.

These heavy-duty running board side steps are designed to improve access to your Toyota Tundra without reducing ground clearance. Built for Double Cab and CrewMax front door applications, they offer practical convenience for everyday entry, roof loading, and off-road use. The durable iron construction and easy no-drill installation make them a reliable upgrade for rugged driving.

Bosch QuietCast premium ceramic rear brake pads are engineered for quiet, reliable stopping power with low dust performance. Featuring pre-attached multilayer shims, corrosion-resistant backing plates, and OE-style slots and chamfers, this set is designed for smooth fitment and long-lasting durability. It includes pads for one axle, plus hardware and lubricant where available, making installation easier for compatible Lexus, Pontiac, and Toyota vehicles.
Brake Pad Wear
Do not use 3 mm as a universal Toyota Tundra discard specification. Toyota service information for multiple Tundra applications lists a 1.0 mm minimum pad-lining thickness, but the exact specification for your model year and axle still controls. A shop or owner may choose to replace pads earlier when little usable life remains, especially before towing or a long trip, but that preventive decision should not be presented as Toyota’s universal minimum.
Replace friction material as an axle set when replacement is required, and compare all pads for taper or side-to-side differences. Inspect anti-rattle springs, clips, shims, retaining pins, support plates, boots, and any sliding hardware used by that specific brake assembly. Do not apply lubricant to friction surfaces, rotors, or areas where Toyota does not specify it.
Parking Brake Adjustment
The parking-brake procedure changes substantially by generation. Do not copy an older star-wheel adjustment onto every Tundra.
| Tundra Brake Setup | What to Do | Key Caution |
|---|---|---|
| Mechanical parking-brake system | Inspect the shoes, drum surface, springs, adjuster, cable operation, and holding ability using the exact model-year procedure. | Do not assume one adjustment count applies to every early Tundra. |
| Applicable 2007–2021 drum-in-hat system | Toyota service information for representative second-generation trucks uses a lock-then-back-off adjustment; a 2011 procedure specifies backing off 8 notches. | Verify the procedure for the exact model year before adjusting. |
| 2022 and newer electronic parking brake | Check EPB operation and warnings and follow the model-year-specific Toyota service procedure. | Do not use the older eight-notch mechanical adjustment procedure. |
After any mechanical parking-brake adjustment, verify that the brake holds when applied and releases without drag. On an EPB-equipped truck, stop if the parking brake will not apply or release normally or if the system displays a warning.
Check Calipers, Guide Pins, and Brake Lines for Leaks or Seizure
Inspect each caliper for fluid leakage, damaged dust boots, corrosion, seized pistons, abnormal pad wear, and damaged mounting or retaining hardware. Do not assume every Tundra caliper uses the same type of guide pin. Some assemblies use different fixed-caliper and pad-retaining hardware, while other locations can use sliding components.
If you see fresh brake fluid, a damaged hydraulic hose, a piston that will not move correctly, or a wheel that remains abnormally difficult to turn, do not treat the condition as a routine lubrication problem.
- Check flexible hoses for cracks, abrasion, bulges, twisting, and wetness.
- Inspect hard lines and fittings for corrosion, damage, and leakage.
- Check pad-retaining pins, clips, springs, support plates, or slide hardware used by that axle.
- Compare inner and outer pad wear for evidence of a sticking piston or hardware problem.
- Keep brake grease away from friction material and rotor faces.
Toyota maintenance procedures specifically call for checking brake lines and hoses for damage, wear, deformation, cracks, corrosion, leaks, bends or twists. If you are diagnosing a wheel that stays hot, pulls, drags, or wears one pad faster than the others, see the Tundra sticking brake caliper guide. For scheduled inspection timing, use the Tundra maintenance schedule for the applicable model year.
[Products Worth Considering]

This brake bleeder hose kit helps remove old brake fluid and air from motorcycle brake and clutch systems quickly and efficiently. Its one-way check valve prevents air from being drawn back into the system, while the easy-to-connect clips make bleeding simple for routine maintenance. Built for reliable use, it is a practical tool for keeping motorcycle braking performance responsive.
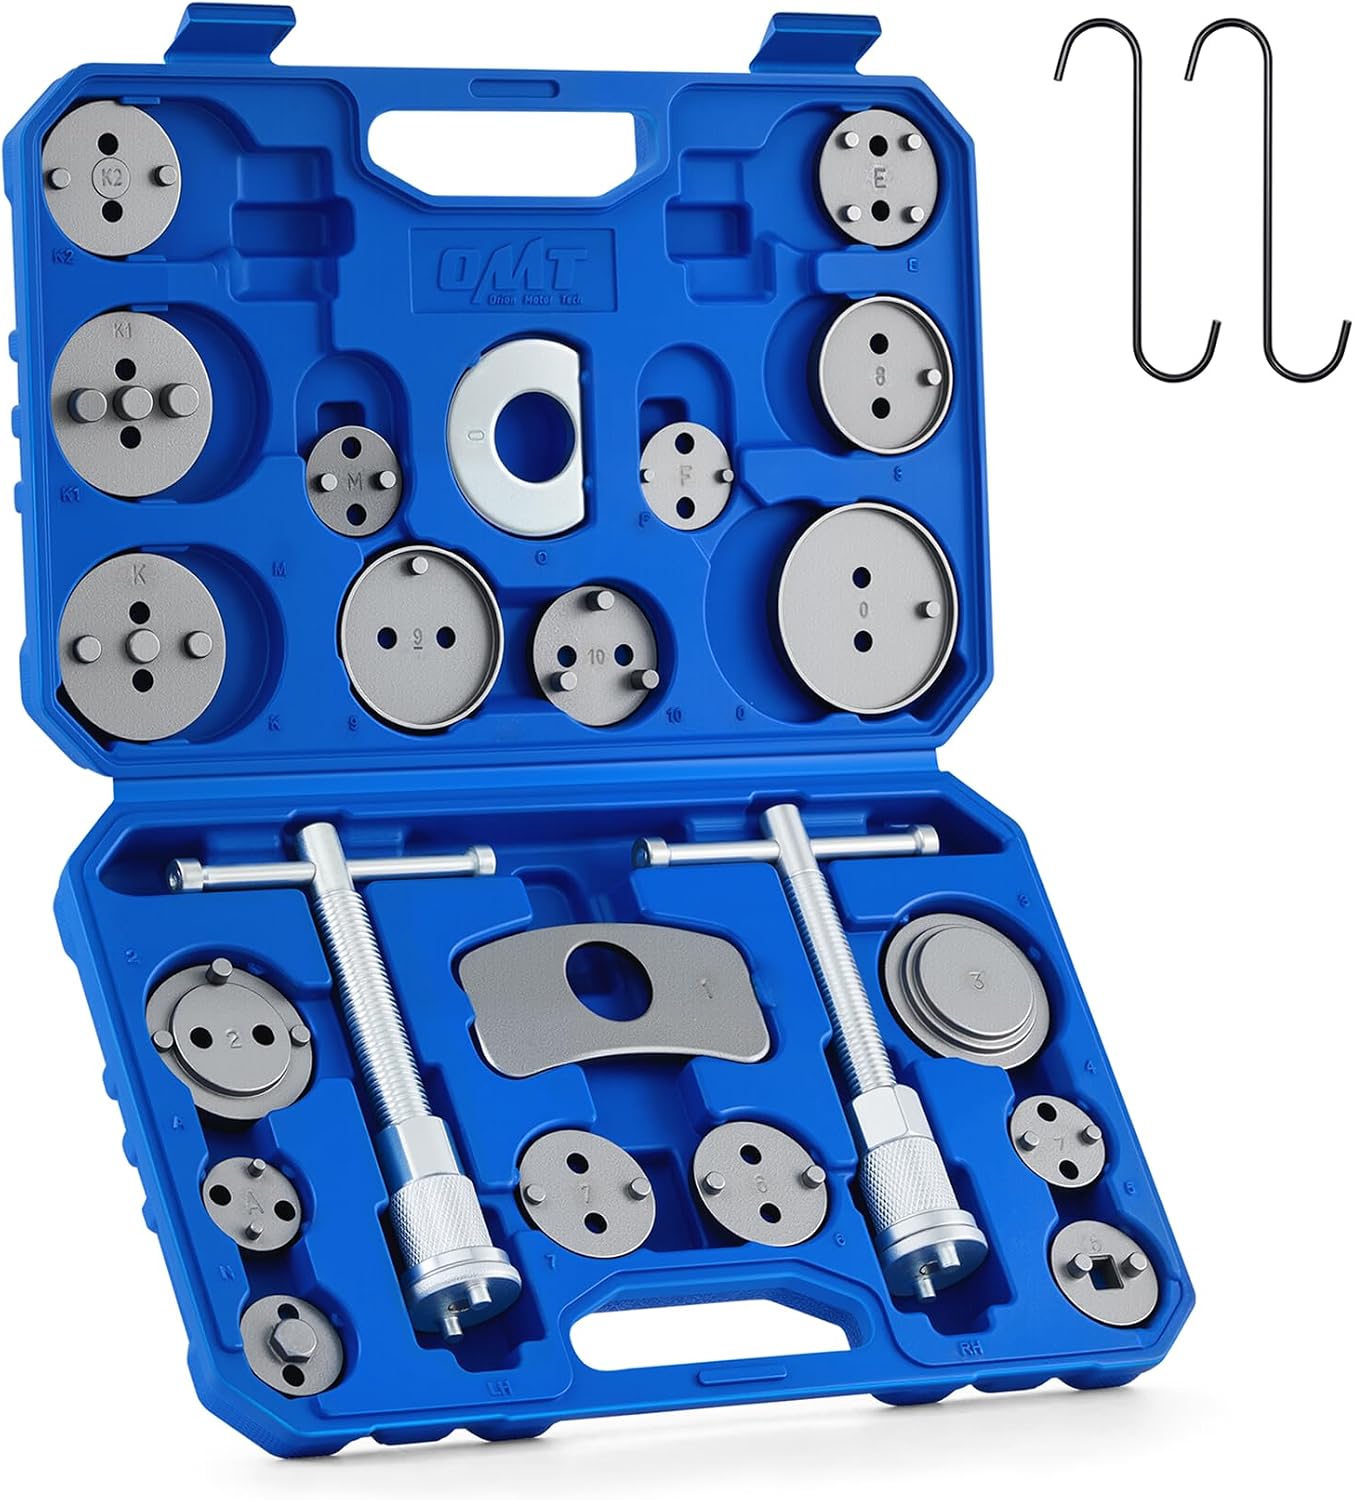
This 24-piece brake caliper compression tool set helps you quickly and safely rotate pistons back into the caliper during brake pad service. It includes multiple adapters, retaining plates, thrust bolt assemblies, and hangers for broad vehicle compatibility, while the heavy-duty steel construction and organized storage case make it ideal for reliable shop or home repairs.
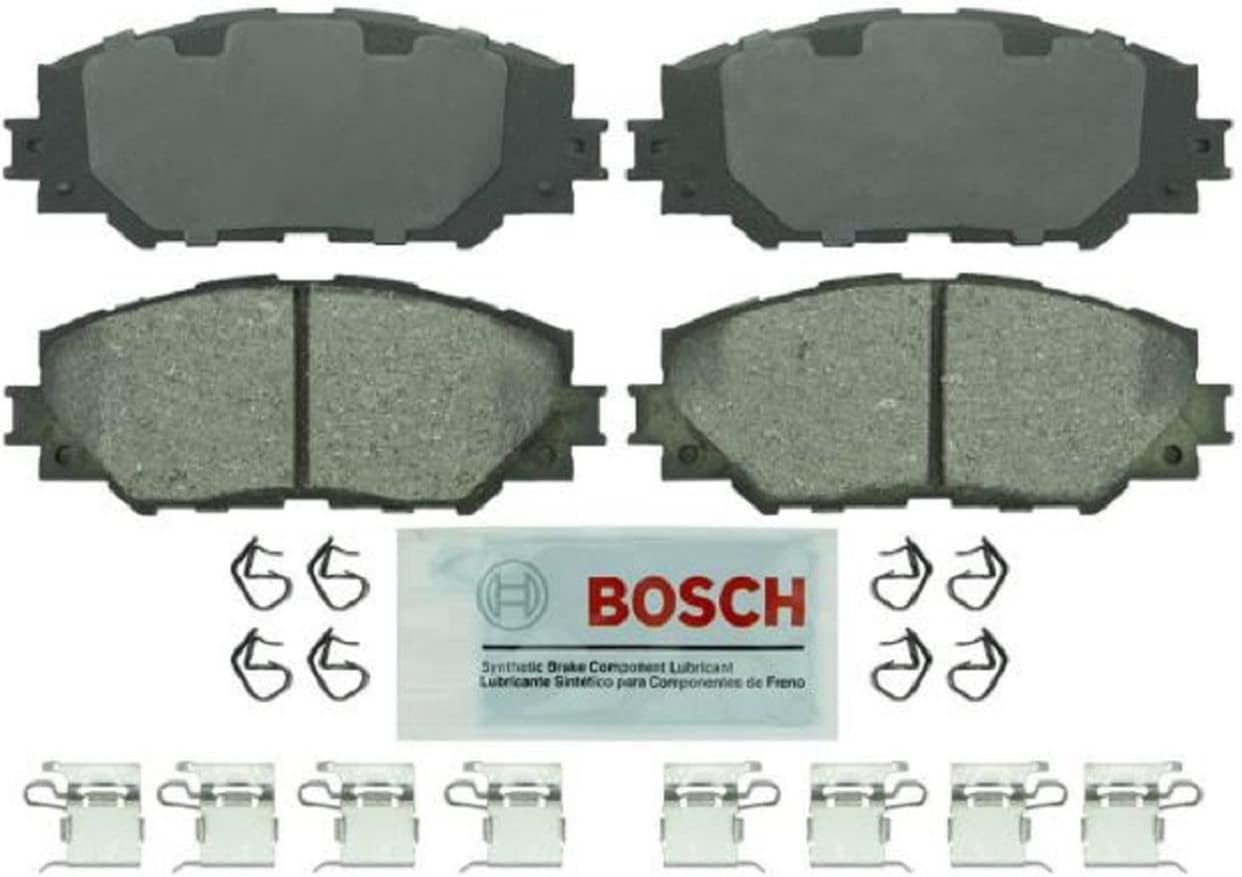
Bosch Blue ceramic front brake pads deliver dependable stopping power with platform-specific friction material designed for select Lexus, Pontiac, Scion, and Toyota vehicles. OE-style shims, slots, and chamfers help promote quiet braking, while the rust-inhibitive coating supports long-lasting performance and cleaner operation. The set includes hardware and synthetic lubricant for easier installation on one axle.
Inspect Rotors: Thickness, Runout, and TSB-Related Issues
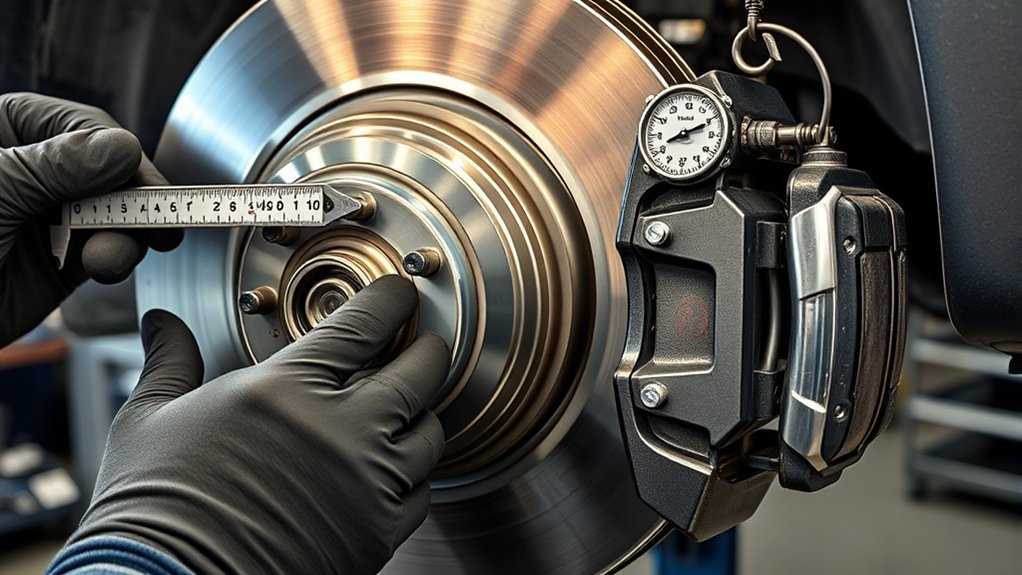
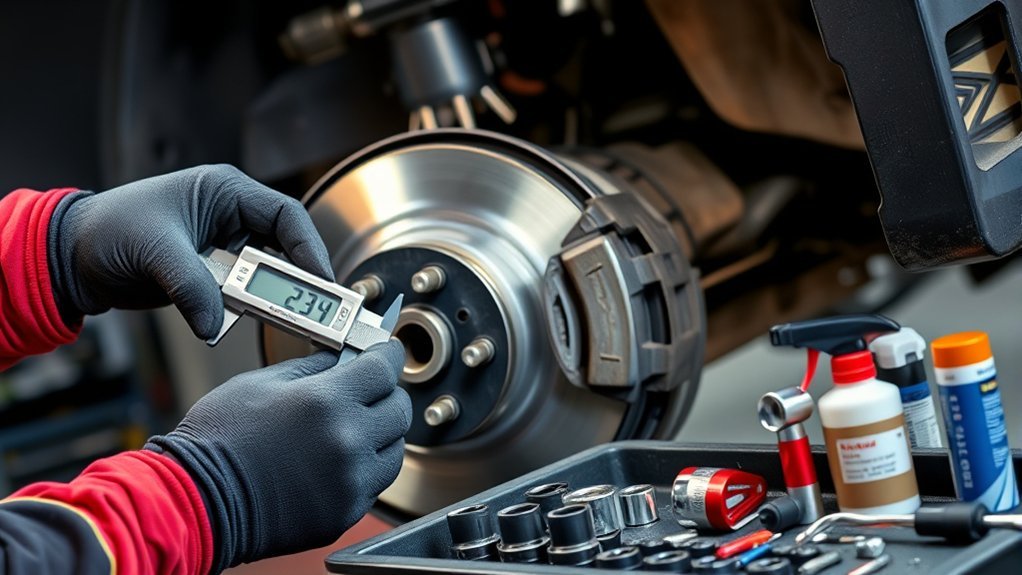
Measure rotor thickness with a micrometer and compare the result with the minimum specification for the exact model year and axle. Do not judge a rotor only by visible grooves, and do not assume that every vibration means the rotor must automatically be replaced.
Actual lateral runout is measured with a dial indicator using the Toyota procedure, not by spinning the wheel and feeling for vibration. The rotor must be correctly seated and secured as specified while it is measured. Toyota service procedures commonly place the indicator about 10 mm from the outer edge, but the maximum allowable runout differs by axle and application.
| Service-Data Example | Front Maximum Runout | Rear Maximum Runout |
|---|---|---|
| Representative 2007–2021 second-generation Tundra service data | 0.05 mm (0.002 in) | 0.20 mm (0.0079 in) |
| 2023 Tundra service data | 0.05 mm (0.002 in) | 0.15 mm (0.0059 in) |
These numbers show why 0.05 mm must not be used as a universal Tundra rotor limit. Check the exact specification before condemning a rotor. If runout exceeds the applicable limit, the correct procedure can include checking rotor seating, changing its position on the hub, checking hub or bearing condition, measuring rotor thickness, machining where Toyota permits it, or replacement.
For more generation-specific rotor and pad dimensions, see the Tundra brake rotor and pad measurement guide.
2022–2026 front-brake squeal note: Current NHTSA-indexed manufacturer-communication data lists Toyota bulletin T-SB-0022-25 Rev2, dated July 1, 2026, for a front-brake squeal condition on certain 2022–2026 Tundra and Tundra Hybrid vehicles. A technical service bulletin is not automatically a safety recall. If your truck has persistent front squeal, check applicability by VIN/model year with Toyota and review current manufacturer communications or recalls through NHTSA.
Road Test, Noise Diagnosis, and When to Visit a Shop
Only road-test the Tundra after the static inspection shows no active hydraulic leak, the brake pedal is firm, the wheels are correctly installed, and no red brake-system warning is present. Choose a dry, level, low-traffic area and begin at low speed.
Do not use a road test to “see what happens” when the truck already has a red brake warning, active fluid leak, sinking pedal, severe grinding, or clearly reduced braking.
- Apply light, progressive stops first and confirm the truck stops straight.
- Watch and feel for steering-wheel or pedal pulsation.
- Listen for grinding, scraping, clicking, clunking, or persistent squeal.
- Check for pulling or a wheel that appears to drag.
- After stopping safely, investigate any new warning light before continuing.
A spongy or sinking pedal can indicate air, leakage, or another hydraulic fault and needs prompt diagnosis. Uneven pad wear can point to a caliper or hardware problem. Pedal pulsation can involve rotor runout, rotor thickness variation, hub seating, or other mechanical causes rather than a visually “warped” rotor alone.
If the red brake-system warning illuminates during the test, stop in a safe place and follow the owner’s-manual instructions. Do not continue driving merely to complete the checklist. Other ABS, stability-control, or electronic-parking-brake warnings should be handled according to the exact model-year manual because their meaning and permitted driving response can differ.
Frequently Asked Questions
What Is Included in a Brake Inspection?
A Toyota Tundra brake inspection should check brake-fluid level and leakage, warning lights and pedal feel, pad thickness and wear pattern, calipers and hardware, hoses and hard lines, rotor thickness and runout where needed, parking-brake operation, and braking behavior during a safe low-speed road test.
How Often Should I Change the Brake Pads on My Tundra?
There is no single Toyota Tundra brake-pad replacement mileage. Follow the maintenance schedule for your model year and replace pads according to measured thickness, wear pattern, damage, contamination, noise, braking symptoms, and the applicable service limit. Towing, heavy loads, mountain driving, stop-and-go traffic, and off-road use can change wear rate substantially.
What Brake Pad Thickness Is Too Low on a Toyota Tundra?
Toyota service information for multiple Tundra applications lists 1.0 mm as a minimum pad-lining thickness, but confirm the exact specification for your model year and axle. A preventive replacement may be appropriate before the minimum is reached when little usable life remains or wear is uneven.
Where Should Toyota Tundra Brake Fluid Level Be?
On many Tundras, brake fluid should be within the MIN-to-MAX range shown on the reservoir. Do not assume it must sit just below MAX. Follow the exact owner’s-manual procedure, especially on newer electronically controlled brake systems, and investigate a reservoir that needs frequent refilling.
Can I Drive With a Red Brake Warning Light?
Do not continue a brake-inspection road test with a red brake-system warning. On newer Tundras, Toyota states that the warning can indicate low brake fluid or a brake-system malfunction. Stop in a safe place and follow the owner’s-manual procedure or contact a qualified Toyota service facility.
Do 2022 and Newer Tundras Use the Same Parking-Brake Adjustment?
No. 2022-and-newer Tundras use an electronic parking brake, so the older mechanical star-wheel procedure should not be applied to them. Use the exact Toyota service procedure for the truck’s model year and brake system.
Why Do Some 2022–2026 Tundra Front Brakes Squeal?
Toyota manufacturer communication T-SB-0022-25 Rev2 addresses a front-brake squeal condition on certain 2022–2026 Tundra and Tundra Hybrid vehicles. Persistent squeal does not prove the bulletin applies to a particular truck, so confirm the model year, VIN, symptoms, current bulletin revision, and warranty status before repair.
What Causes Brake Pedal Pulsation on a Tundra?
Brake pulsation can be related to rotor runout, thickness variation, rotor-to-hub seating, hub or bearing issues, uneven friction transfer, or other brake faults. Measure the components using the specification for the exact axle rather than assuming every pulsation means a visibly warped rotor.
Conclusion
A useful Tundra brake inspection ends with a decision, not simply a list of parts. If fluid level is within the correct range, no leaks or warnings are present, pad and rotor measurements are within the exact model-year limits, hardware moves correctly, the parking brake works normally, and a low-speed test is clean, you can document the findings and continue normal maintenance. If wear is approaching a limit or noise, drag, or pulsation appears, schedule service before towing or a long trip. If you find a red brake warning, active leak, sinking pedal, severe grinding, or noticeably reduced braking, stop driving and have the system diagnosed.