Mk5 Supra brake cooling is mainly a track and HPDE upgrade. Start with a healthy brake system, suitable pads, and fresh brake fluid that meets the vehicle’s required specification. Add ducts when repeated hard braking still causes excessive rotor or caliper heat, pad fade, glazing, rapid pad wear, or rotor discoloration. A proper duct captures high-pressure air and directs it toward the center of the front rotor so the internal vanes can pump that air outward. The duct primarily removes heat from the rotor; lower rotor temperature can also reduce heat transfer into the pads, caliper, and brake fluid.
Last updated: September 1, 2026 — rechecked Toyota model-year information, brake specifications, duct-kit documentation, installation guidance, track-test evidence, and U.S. brake-fluid standards.
Quick Answer
Mk5 Supra brake cooling works by feeding fresh air toward the center of the front rotors, where the rotor vanes move that air outward as the wheels turn. It is most useful for HPDE, track days, repeated mountain descents, or other driving that creates persistent brake heat. If the pedal stays firm but stopping power falls, investigate pad fade. If the pedal becomes long or spongy, inspect the hydraulic system and brake fluid rather than assuming ducts alone will fix it.
Key Takeaways
- Brake ducts primarily remove heat from the rotors; lower rotor temperatures can reduce heat transfer into the pads, calipers, and brake fluid. Oil coolers solve a separate engine-temperature problem.
- For 2024 U.S. models, the Supra 3.0 used larger front brakes than the 2.0. The 2026 U.S. model-year lineup consisted of 3.0, 3.0 Premium, and MkV Final Edition grades, with the Final Edition receiving larger front brake hardware.
- Toyota said fifth-generation GR Supra production would end in spring 2026, so model-year and market identification matter when ordering brake parts.
- A duct kit becomes worthwhile when repeated hard use produces pad fade, glazing, rapid pad wear, blue/purple rotor marks, or excessive measured brake temperatures.
- Cooling is not a substitute for suitable pads, compatible fresh brake fluid, correct bedding, torque checks, and post-session inspection.
At a Glance
| Time Required | Verus rates its A0258A installation at 2–3 hours; allow more time for a first installation or a different kit |
| Difficulty | Verus rates A0258A Beginner to Novice, but brake-area disassembly, torque checks, and steering clearance remain safety-critical |
| Tools Needed | Jack and jack stands or lift, ratchet, E16 socket, 8 mm and 10 mm sockets, 6 mm Allen tool, extension, cutting tool, clamps, and kit-specific hardware |
| Cost | Verus listed the A0258A kit at $829.95 when checked September 1, 2026; prices change, and pads, fluid, and other track preparation are additional |
Do You Need Brake Cooling on a Mk5 Supra?
Do not add ducts simply because the car will see a track. First identify what is actually limiting the brakes. A healthy street-driven Supra may never need dedicated ducting, while a fast HPDE car on sticky tires can generate enough heat to justify it quickly.
| What You Notice | Start Here | When Ducts Make Sense |
|---|---|---|
| Normal street braking with no fade | Inspection, correct pads, healthy rotors, and fresh specified fluid | Usually unnecessary |
| Firm pedal but reduced bite after repeated hard stops | Check pad compound, bedding, wear, and temperatures | Useful when rotor/pad heat remains excessive with the correct pads |
| Long or spongy pedal | Inspect fluid condition, bleeding, leaks, and hydraulic components | Only after the hydraulic problem is corrected |
| Blue/purple rotors, glazing, fast pad wear, or high measured temperatures | Confirm pad/fluid setup and measure repeatable temperatures | Strong candidate for front brake ducting |
| Brake pedal remains consistent but engine oil/coolant runs hot | Diagnose engine cooling separately | Brake ducts will not solve the engine-temperature problem |
How Mk5 Supra Brake Cooling Works
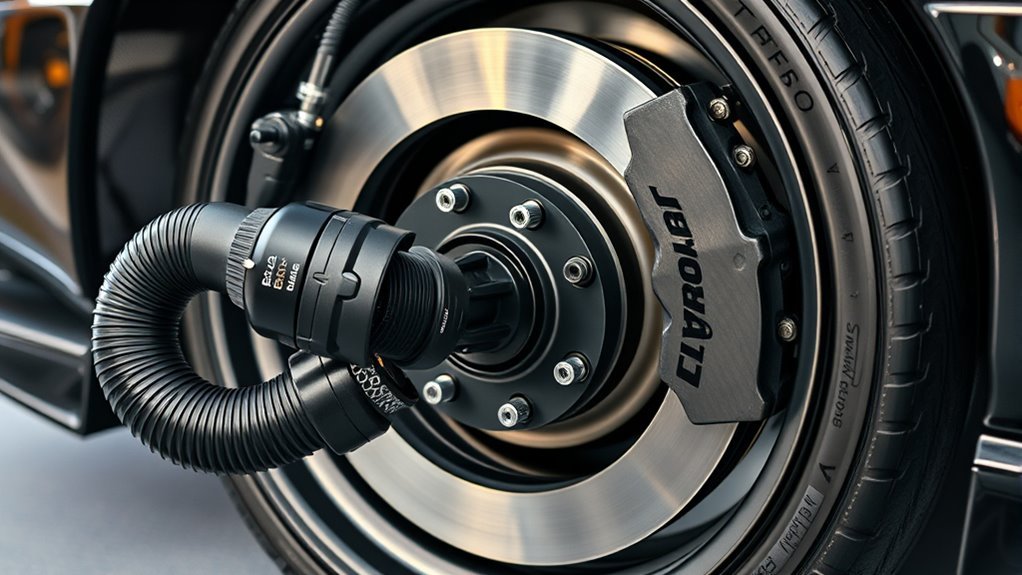
A brake duct system starts at a high-pressure inlet area, usually near the front bumper, undertray, or fender liner. From there, a hose carries air to a backing plate or outlet aimed at the rotor center. The goal is not simply to blow air at the outside face of the rotor. Feeding the center lets the spinning vented rotor draw air through its internal passages and move it outward.
This matters because the brake system converts vehicle speed into heat. Under ordinary street use, the factory system has enough thermal capacity and airflow for normal stops. Under repeated high-speed braking, heat accumulates in the rotor and transfers into the pads, caliper pistons, seals, and brake fluid. When components exceed their useful temperature range, you can experience fade, longer pedal travel, glazing, accelerated wear, or fluid boiling.
Research on brake duct and dust-cover shape shows that duct direction, location, size, and shape affect brake-disc heat transfer and can help reduce fade, distortion, and judder when the system is designed correctly. SAE International specifically identifies duct direction, position, geometry, and size as brake-disc cooling variables.
Where the Cooling Air Should Go
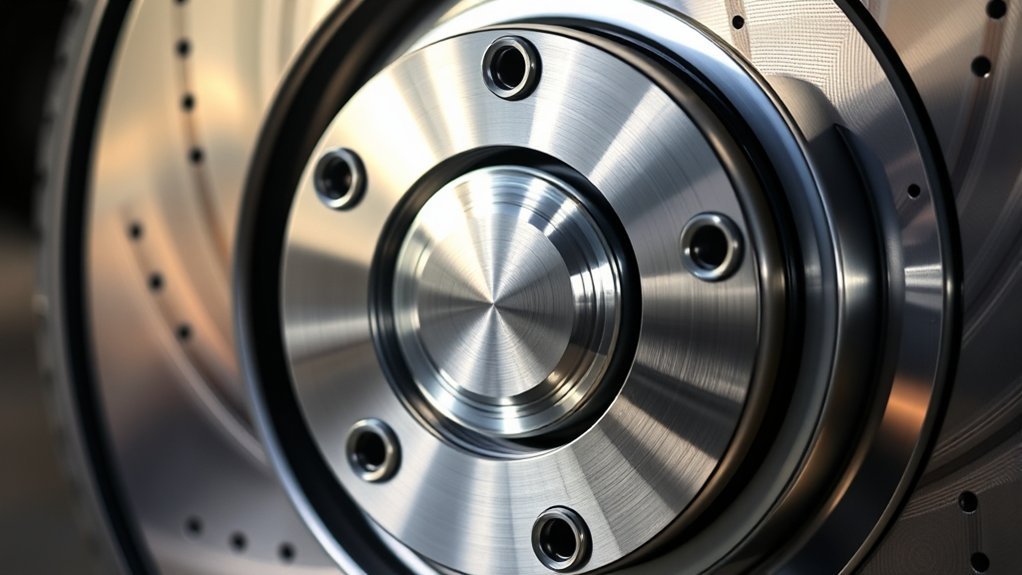
The preferred target for a vented rotor is the rotor center and vane inlet rather than only the outer friction surface. Feeding the center allows the disc’s internal ventilation to move the air outward through the rotor. It also avoids concentrating the cooling stream on one small area of the outer face.
Brake Cooling vs. Oil Cooling
Brake ducts and oil coolers are often discussed together because both are track heat-management upgrades, but they solve different problems. Brake ducts address brake-system heat. Oil coolers manage engine-oil temperature and can also influence overall engine cooling. The GR Supra uses an oil-to-coolant heat-exchanger arrangement, while aftermarket air-to-oil systems are intended for sustained engine heat rather than direct brake cooling.
Note: If your pedal stays firm but the car will not slow as hard, investigate pad fade or pad-temperature mismatch. If the pedal gets long or spongy, investigate fluid heat, air, leaks, or another hydraulic problem. Diagnose the symptom before buying cooling parts.
Why Brake Cooling Matters for Life and Performance
On track, the Supra’s brakes can go through repeated heat cycles in a short time. Excess heat can change pad friction, discolor rotors, damage dust boots, shorten seal life, and reduce brake-fluid thermal margin. Toyota also warns that high-performance driving creates a risk of personal injury or death and may cause vehicle damage that is not covered by insurance or warranty. Brake preparation should therefore be treated as a safety issue rather than a cosmetic upgrade.
Good brake cooling does not make the car “fade-proof.” It gives the braking system more thermal margin so each braking zone can remain more repeatable.
Effective cooling can help in three main ways:
- More consistent friction: Keeping pads closer to their intended temperature window reduces the chance of temperature-related fade.
- Longer component life: Lower peak temperatures can reduce heat stress on pads, rotors, seals, boots, and nearby components.
- Better repeatability: A stable pedal and consistent bite make it easier to use similar braking points from lap to lap.
Warning: Brake work is safety-critical. Support the car on proper jack stands, never let the caliper hang from the brake hose, use the current kit instructions and correct vehicle service specifications, and inspect the entire system before driving at speed.
Stock vs. Aftermarket Mk5 Supra Cooling: Parts, Costs, and When to Upgrade
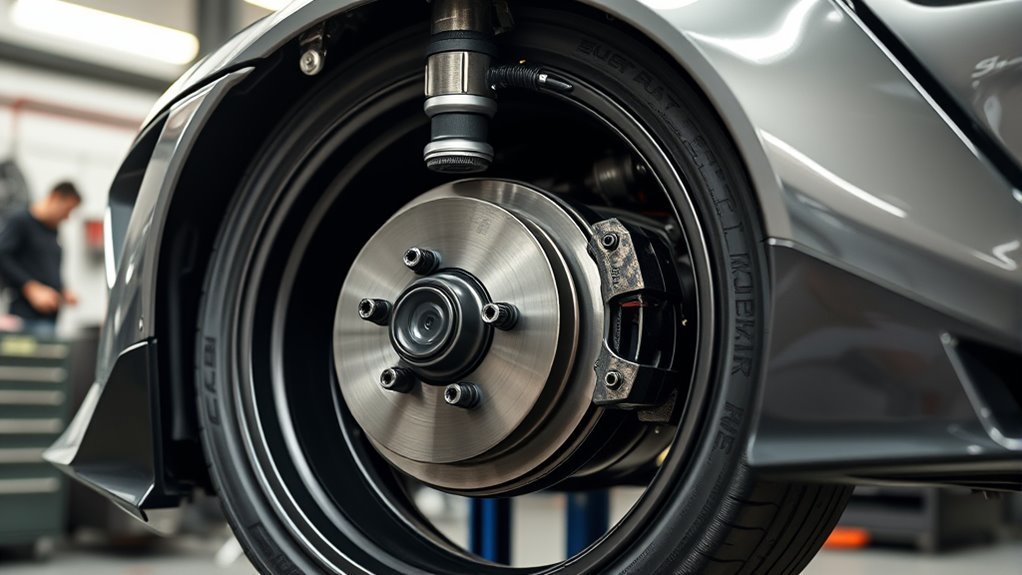
The stock Mk5 Supra brake package depends on model year, trim, and market. In Toyota’s 2024 U.S. specifications, the 2.0 used 330 mm × 24 mm ventilated front rotors with single-piston aluminum floating front calipers. The 3.0 used larger 348 mm × 36 mm ventilated front rotors with Brembo four-piston fixed front calipers. Rear brake hardware also differed by trim. Toyota’s 2024 GR Supra brochure provides the official model-year comparison.
For 2026, Toyota listed 3.0, 3.0 Premium, and MkV Final Edition U.S. grades. Toyota says the MkV Final Edition received larger front brake calipers and rotors along with suspension, chassis, and handling changes. Toyota also announced that fifth-generation GR Supra production would end in spring 2026. Toyota’s 2026 GR Supra page provides the grade information, while Toyota’s Final Edition announcement provides the production context.
For broader hardware identification, see the Supra brake system guide and Supra rotor-size guide. This page stays focused on brake thermal management and ducting.
| Setup | Best For | Limitations |
|---|---|---|
| Stock brakes and airflow | Daily driving, short spirited runs, light autocross | Can lose thermal margin during repeated high-speed braking |
| Track pads + compatible high-temp fluid | Typical first HPDE brake preparation | Track compounds may be noisy, dusty, or unsuitable for some street temperatures |
| Brake duct kit | Persistent rotor/caliper heat, glazing, rapid wear, repeated track use | Requires careful hose routing, steering clearance, and regular inspection |
| Air-to-oil cooler | Sustained engine-oil or coolant heat on track | Does not directly cool the brakes |
Upgrade when repeatable symptoms or measurements show that heat is limiting the brakes. If the car is street-driven and the brakes remain consistent, healthy rotors, appropriate pads, and fresh specified fluid may be enough. For HPDE use, establish that baseline first and add ducts when brake temperatures remain the limiting factor.
[Products Worth Considering]

These battery terminal anti-corrosion washers help protect battery connections from buildup and extend battery life in 6V and 12V systems. The set includes color-coded red and green rings for easy positive and negative identification, plus a removable inner ring to fit larger terminals when needed.

The Mityvac MV8500 Silverline Elite is a versatile automotive service kit for brake and clutch bleeding, diesel fuel priming, and vacuum or pressure testing. Its dual-capability pump streamlines diagnostics and maintenance across motorcycles, cars, trucks, and SUVs, while the ergonomic design supports comfortable use during longer jobs. Built with a durable zinc-aluminum die-cast body and a 4.5oz fluid reservoir, it delivers reliable performance for professional and DIY repair work.

This MOTOALL oil filter kit is designed for compatible Toyota and Lexus vehicles, helping support routine engine maintenance with a convenient five-piece pack. It fits select Avalon, Camry, RAV4, Sienna, and several Lexus models, making it a practical choice for scheduled oil changes. Built new and well packed, it includes multiple interchangeable part numbers for easy replacement matching.
Mk5 Supra Brake-Duct Upgrades & Installation (Parts, Fitment, Step-by-Step)
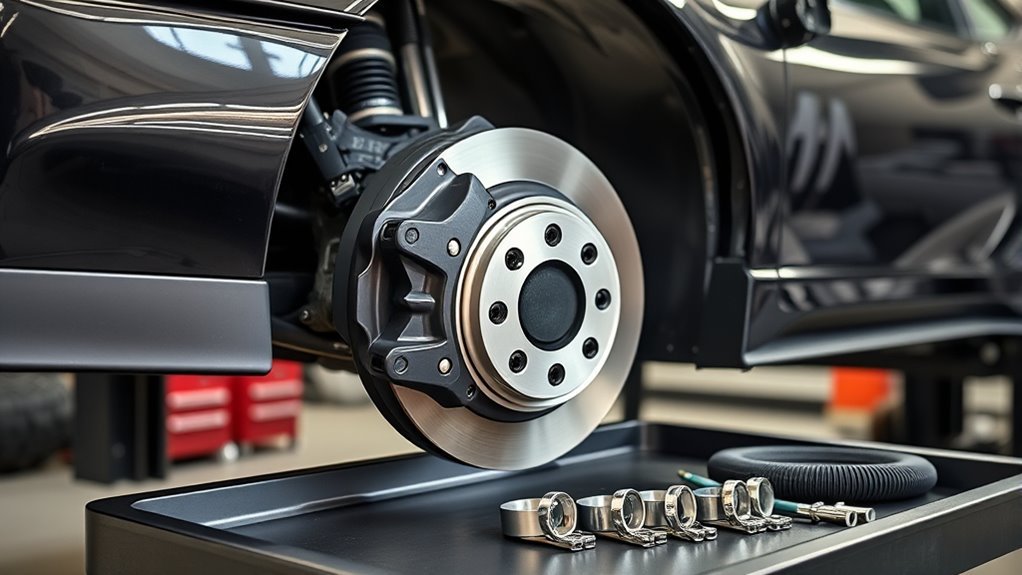
Kit contents vary, so do not assume every Supra brake-cooling system uses the same hardware. The Verus Engineering A0258A kit specifically uses carbon fender transition ducts, stainless backing plates with duct outlets, pre-cut 2.5-inch high-temperature silicone hose, clamps, cable ties, and a steering-rack limiter kit. Verus Engineering says its layout uses the factory high-pressure inlet path and sends the airflow toward the center of the rotor.
[Products Worth Considering]

Upgrade your vehicle interior with Skechers seat covers designed for comfort, protection, and a more refined look. Air-Cooled Memory Foam helps relieve pressure while breathable mesh promotes airflow for a cooler ride, and the form-fitting design suits most cars, trucks, vans, and SUVs. Advanced stitching supports side airbag compatibility for added peace of mind on the road.

These Jenofa floor mats and cargo liners are made for a precise fit in compatible Kia K5 and Hyundai Sonata models, helping protect the original floor and cargo area from daily messes. Built from durable TPE material with all-weather coverage, they resist heat, cold, mud, snow, and spills while remaining easy to clean and simple to install. The sleek noir design adds a clean, integrated look to the interior while delivering practical protection.

Parts Checklist
For a duct installation:
- Left and right inlet or transition ducts specified by the kit
- Left and right ducted backing plates or rotor-center outlets
- High-temperature brake-duct hose of the kit-specified diameter
- Hose clamps, cable ties, and supplied mounting hardware
- Steering rack limiters if required by the selected kit
For supporting track preparation and testing:
- Brake fluid that meets the vehicle’s required specification and has suitable thermal performance for the intended use
- Brake pads matched to tire grip, vehicle weight, pace, and operating temperature
- Temperature paint, temperature stickers, or suitable temperature-measuring equipment
- Inspection tools for pad thickness, rotor condition, hose routing, and hardware
Step-by-Step Install Overview
- Read the current kit instructions: Confirm the exact kit revision, vehicle fitment, supplied hardware, tools, and current torque requirements before disassembly.
- Prepare the car: Park on level ground, loosen the front wheel hardware as instructed, raise the front of the car, and support it securely on approved lifting points.
- Remove the front wheels: Keep hardware organized and protect wheel and brake surfaces.
- Remove and support the caliper: Follow the kit and vehicle service procedure. Never let the caliper hang from the brake hose.
- Remove the rotor and factory backing plate as required: This provides access for the ducted backing plate.
- Install the fender transition duct: The Verus procedure requires trimming a small lip in the factory fender liner so its transition duct can sit flush. Do not copy that trimming step to a different kit unless its instructions require it.
- Attach and route the hose: Secure the high-temperature hose to the inlet and route it behind the knuckle without a sharp bend or kink.
- Install the ducted backing plate: Follow the current kit instructions for orientation, mounting hardware, and torque.
- Connect the hose to the backing plate: Secure it while maintaining clearance from the tire, wheel, brake hose, ABS wiring, and suspension components.
- Check lock-to-lock steering clearance: Turn the steering through its full usable range and check suspension movement where practical. The hose must not stretch, crush, rub, or contact the wheel or tire.
- Reassemble the brakes and wheels: Follow current service and kit specifications for all safety-critical fasteners.
- Inspect before driving: Confirm clamps, ties, backing plates, brake hoses, wiring, wheel clearance, pedal feel, and any disturbed brake hardware before road or track use.
Pro Tip: Mark the hose near each clamp and cable tie with a paint pen before the first track session. Recheck those marks after driving. Movement can reveal a slipping hose or clamp before the hose reaches the tire, wheel, or another hot/moving component.
Steering-clearance tradeoff: The current Verus Supra brake-cooling kit includes a steering-rack limiter kit to create hose clearance. Verus states that fitting one limiter on each side increases the turning radius by about 1.5 ft. Account for that tradeoff on a dual-purpose street/track car and follow the limiter instructions supplied with the kit.
Post-Install Brake-Duct Inspection Checklist
- Check the inlet and hose for blockage, crushing, or kinks.
- Check hose clearance at straight ahead and through the full usable steering range.
- Confirm the hose does not contact the tire, wheel, brake hose, ABS wiring, control arms, or other moving parts.
- Confirm clamps and cable ties have not shifted.
- Inspect both backing plates for looseness or contact with the rotor.
- Recheck the installation after the first road test and again after the first track session.
- Inspect the ducting whenever tire size, wheel offset, alignment, ride height, or suspension hardware changes.
Do Ducts Replace Pads and Fluid?
No. Ducts add airflow, but they do not correct an unsuitable pad compound, contaminated fluid, poor bedding, or a hydraulic fault. Federal Motor Vehicle Safety Standard No. 116 sets minimum brake-fluid performance requirements. DOT 4 fluid must have an equilibrium reflux boiling point of at least 230°C / 446°F when tested under the dry test and a wet ERBP of at least 155°C / 311°F. FMVSS 116 is a minimum regulatory standard, not a track-performance recommendation. Use fluid compatible with the Supra’s required specification and select its thermal performance for your actual use.
Track Setup & Troubleshooting: Temp Monitoring, Testing, and Common Fixes
After installation, test the system instead of assuming it works. Verus Engineering tested its Mk5 Supra brake-cooling kit with OEM rotors and calipers, high-temperature fluid, track pads, stainless lines, temperature stickers, and a laser temperature gun at Putnam Park Road Course. Its test write-up reports lower brake temperatures with the duct kit than with the OEM configuration.
Evidence boundary: The Verus test was manufacturer-run, not independent. The main comparison used sessions of 4 laps, 4 laps, and 6 laps, followed by immediate temperature checks, with temperature stickers used as a second reference. Treat those results as evidence that the kit changed temperatures on that test car and setup—not as a guaranteed temperature drop for every Supra, circuit, driver, tire, pad, or weather condition.
[Products Worth Considering]

Brake cooling duct has a single hole that is offset

Brake cooling duct has a single hole that is centered

Compatible with 1993–1998 Toyota Supra
Simple Temperature Testing Process
- Baseline the car: Record brake behavior and temperatures with the current configuration before changing the ducting when practical.
- Use repeatable sessions: Compare similar lap counts, pace, braking effort, and cool-down behavior.
- Measure the same locations: Use consistent measurement points on the caliper, rotor, rotor hat, or temperature indicators.
- Record conditions: Note ambient temperature, tire, pad compound, fluid, session length, and driver observations.
- Compare both sides: A large left-to-right difference can reveal a blocked duct, hose problem, brake drag, or another mechanical issue.
- Inspect after cooling: Look for hose contact, pad taper, rotor cracks, uneven deposits, damaged boots, loose clamps, and displaced cable ties.
| Symptom | Likely Cause | Fix |
|---|---|---|
| Firm pedal, less stopping power | Pad fade, glazing, or pad outside its useful temperature range | Inspect pads and bedding, use a suitable compound, measure heat, and add ducting if temperature remains excessive |
| Long or spongy pedal | Overheated fluid, air, leak, or another hydraulic issue | Inspect the system, correct leaks or faults, bleed/flush as required, and use compatible fluid suitable for the operating temperature |
| Blue/purple rotor marks | High rotor temperature | Inspect rotor condition, pad choice, duct aim, airflow, and braking technique |
| Glazed pads | Excess temperature, unsuitable compound, or bedding problem | Inspect or replace damaged pads, correct bedding where appropriate, and address the thermal cause |
| Hose wear or rubbing | Poor routing, insufficient slack, steering contact, or suspension contact | Stop and re-route the hose; verify steering and suspension clearance before further track use |
| One side much hotter | Blocked duct, kinked hose, backing-plate problem, pad drag, or caliper fault | Inspect the full airflow path and brake hardware before assuming the temperature difference is normal |
When an Oil Cooler Makes Sense Too
If brake performance remains consistent but engine oil or coolant temperatures climb during long sessions, the problem is not brake cooling. The factory arrangement transfers engine-oil heat into the coolant circuit through a heat exchanger. Aftermarket air-to-oil systems can move more of that heat directly to outside air and may help a heavily tracked or higher-power Supra manage sustained engine heat.
Do not buy an oil cooler to solve pad fade. Use logged engine temperatures to decide whether engine cooling needs attention. A balanced track-prep sequence is to establish healthy brakes, suitable pads and fluid, add ducting when brake heat remains the limit, and address oil/coolant heat separately when the data shows it is necessary.
Frequently Asked Questions
How does brake cooling work?
Brake cooling captures outside air and routes it toward the center of a vented rotor. As the rotor spins, its internal vanes move the air outward, increasing heat transfer from the disc. Lower rotor temperature can also reduce the amount of heat transferred into nearby pads, calipers, and fluid.
Are Mk5 Supra brake cooling ducts worth it?
They can be worthwhile when repeated track braking produces excessive rotor or caliper temperatures, pad fade, glazing, rapid wear, or rotor discoloration after pads and fluid are already appropriate for the use. For normal street driving, dedicated ducts are usually lower priority than basic brake maintenance.
Do I need brake ducts for street driving?
Usually not if the brakes remain consistent during normal road use. Street-driven cars should first have healthy rotors, suitable pads, correctly specified fresh brake fluid, and no hydraulic faults. Add ducting when repeated high-energy braking creates a documented thermal problem rather than simply because the part is available.
What is the difference between Supra 2.0 and 3.0 brakes?
For 2024 U.S. models, the Supra 2.0 used 330 mm × 24 mm front rotors with single-piston floating calipers, while the 3.0 used 348 mm × 36 mm front rotors with Brembo four-piston fixed calipers. Brake packages also vary by model year, trim, and market, so confirm the exact car before ordering parts.
Do brake ducts fix a spongy pedal?
Not by themselves. A long or spongy pedal can indicate overheated fluid, air, a leak, or another hydraulic problem. Inspect and correct the brake system first. Cooling may help reduce future thermal load, but it is not a substitute for repairing the cause of abnormal pedal travel.
Should the duct aim at the rotor face or the rotor center?
For a vented rotor, direct the outlet toward the rotor center and vane inlet when the kit is designed for that path. Feeding the center allows the disc’s internal ventilation to move cooling air outward rather than concentrating airflow only on the outer friction face.
How do I know my Supra brake ducts are working?
Compare repeatable before-and-after sessions using the same measurement locations and similar driving conditions. Temperature stickers, temperature paint, or suitable measuring equipment can show whether rotor or caliper temperatures change. Also compare pad condition, fade, hose condition, and left-to-right temperature balance rather than relying on one reading.
How does the brake system work step by step?
When you press the pedal, hydraulic pressure moves the caliper pistons and clamps the pads against the rotors. Friction converts vehicle motion into heat. The rotor stores and releases much of that heat, while some transfers into the pads and calipers. Brake ducting increases airflow so the rotor can reject heat more effectively during repeated use.
Conclusion
Mk5 Supra brake cooling is about controlling a measured heat problem, not simply adding more hardware. Start with a healthy brake system, suitable pads, compatible fresh fluid, correct bedding, and repeatable temperature observations. If rotor and caliper heat still causes fade, glazing, rapid wear, or excessive temperatures, a properly designed front duct can increase the system’s thermal margin by directing outside air toward the rotor center.
Install the ducting with particular attention to steering and suspension clearance, then inspect it after the first road test and track session. Measure before and after where possible. If the brakes remain consistent but engine oil or coolant temperatures become the next limit, treat that as a separate engine-cooling problem rather than expecting brake ducts to solve it.
Sources
- Toyota 2024 GR Supra e-brochure — official U.S. brake specifications, trim differences, and HPDE safety/warranty context.
- Toyota 2026 GR Supra official page — 2026 U.S. grades and MkV Final Edition brake updates.
- Toyota USA Newsroom — GR Supra MkV Final Edition — Final Edition braking changes and fifth-generation production timeline.
- Verus Engineering Mk5 Supra Brake Cooling Kit — current kit components, duct routing concept, pricing reference, and rotor-center airflow design.
- Verus Engineering Installation Manuals — installation documentation for the Supra A0258A brake-cooling kit.
- Verus Engineering Mk5 Supra Brake Cooling Kit Testing — manufacturer-run track-test method using temperature stickers and laser temperature readings.
- 49 CFR 571.116 / FMVSS 116 — U.S. brake-fluid boiling-point and performance requirements.
- SAE Technical Paper 2014-01-2519 — brake cooling-air duct direction, location, shape, and size as brake-disc cooling variables.