The Toyota GR Supra brake system is strong from the factory, but it is easy to buy the wrong parts if you do not confirm the exact model year, trim, market, and rear parking-brake setup first. This guide focuses on the modern MkV/A90/A91 Toyota GR Supra, especially the 3.0 models, and explains the OEM brake specs, brake bias, maintenance checks, rear electronic parking brake notes, and upgrade planning steps in plain language.
Quick Answer
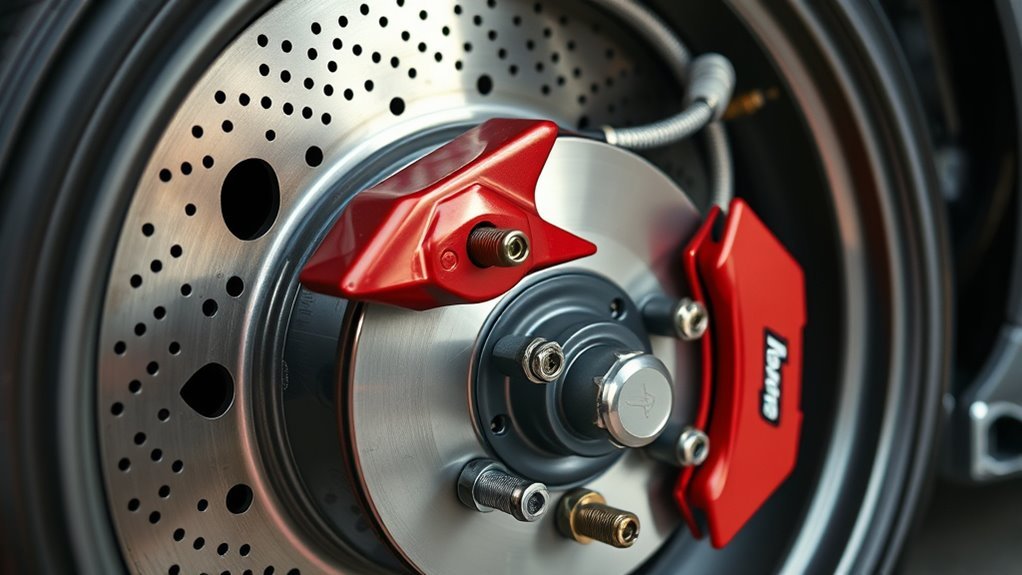
The MkV Toyota GR Supra uses a hydraulic four-wheel disc brake system, not a disc/drum rear setup. Published GR Supra technical specs list 348 x 36 mm front rotors and 345 x 24 mm rear rotors, with 4-pot fixed front calipers and single-pot floating rear calipers. Always verify fitment by VIN before buying pads, rotors, or a BBK.
Key Takeaways
- For MkV/A90/A91 GR Supra brake work, confirm the exact trim and market before ordering parts because 2.0, 3.0, Premium, A91, and Final Edition equipment can differ.
- The modern GR Supra uses front and rear disc brakes; do not shop for rear drum shoes unless you are working on an older Supra generation.
- The rear parking brake is an electronic parking brake system, so rear pad, caliper, or rotor service may require the correct service procedure or diagnostic tool.
- Big brake kits must be checked for wheel clearance, piston area, rotor size, brake bias, ABS/EBD compatibility, and rear EPB retention.
Supra Brake System Overview
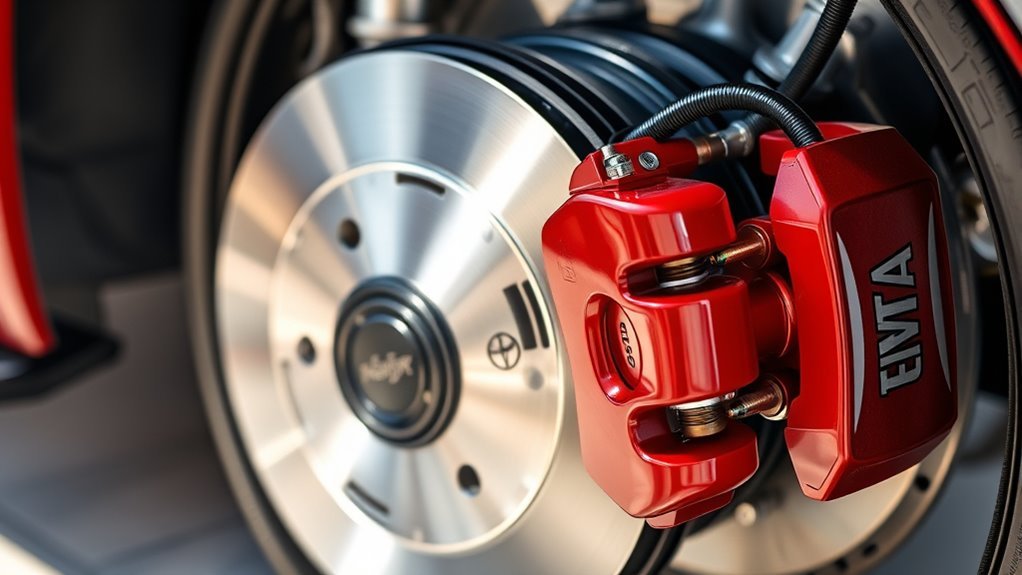
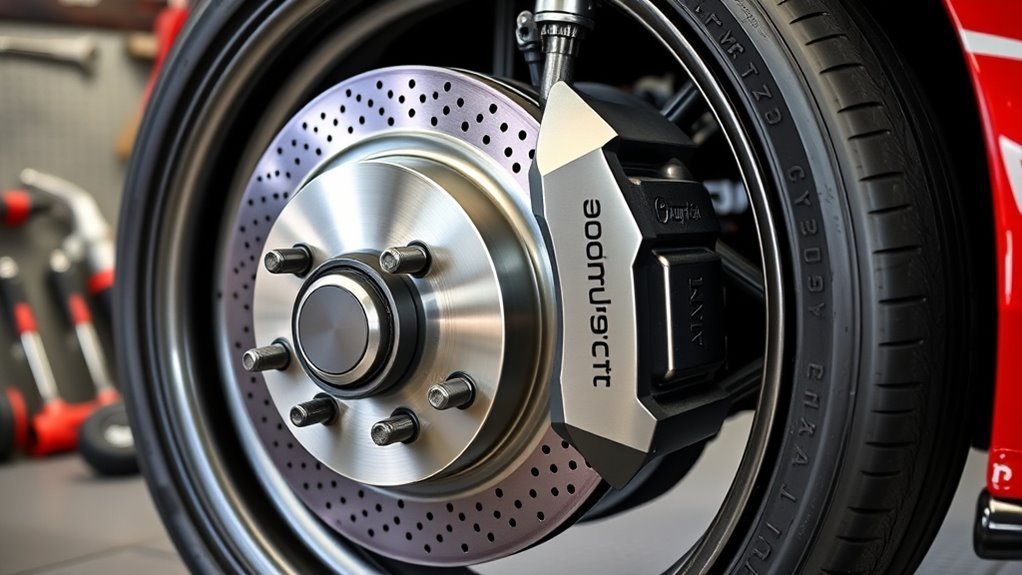
The MkV Toyota GR Supra braking system is a hydraulic four-wheel disc setup. In the published GR Supra technical specifications, the front brakes are ventilated discs with 4-pot fixed calipers, while the rear brakes are ventilated discs with a single-pot floating caliper. That matters because a modern GR Supra owner should be shopping for rear disc brake parts, not rear drum brake shoes.
The service brakes, ABS, stability control, electronic brake-force distribution, tire grip, pad compound, and rotor condition all work together. If one part is mismatched, worn, overheated, or installed incorrectly, the car can feel unstable under hard braking even if the parts technically bolt on.
Note: This article covers the modern GR Supra MkV/A90/A91 platform. Older Supra generations use different brake layouts, rotor sizes, parking-brake hardware, and part numbers.
OEM Supra Rotor, Caliper, and Fluid Specs
For the modern GR Supra technical-spec baseline, Toyota lists 348 x 36 mm front rotors and 345 x 24 mm rear rotors. Toyota’s 2021 U.S. GR Supra brochure also describes 4-piston Brembo front calipers with two-piece 348 mm vented front rotors on 3.0, 3.0 Premium, and A91 Edition models. Use these figures as a starting point, then confirm the part number by VIN before purchasing.
| Component | Published spec / guidance | What to verify before buying |
|---|---|---|
| Front rotor | 348 x 36 mm ventilated disc | Left/right rotor direction, trim, market, hat design, and wheel clearance |
| Rear rotor | 345 x 24 mm ventilated disc on the cited technical spec | Rear disc size, electronic parking brake compatibility, and caliper fitment |
| Front caliper | 4-pot fixed caliper; Brembo front brakes on many 3.0 trims | Pad shape, caliper casting, and trim-specific equipment |
| Rear caliper | Single-pot floating caliper | EPB service procedure and rear kit compatibility |
| Brake fluid | DOT 4 Low Viscosity brake fluid in the owner-manual technical data | Use the fluid type required by the owner’s manual and service information for your vehicle |
Warning: Brakes are safety-critical. Use the factory service manual, correct torque specs, proper jack stands, and the correct EPB service procedure. If you are opening the hydraulic system, replacing calipers, or unsure about bleeding, have a qualified technician do the work.
How the Hydraulic Brake System Works
When you press the brake pedal, force is transferred through the master cylinder into pressurized brake fluid. That fluid pressure pushes the caliper pistons outward, clamping the brake pads against the rotors. Friction between the pads and rotors converts vehicle motion into heat, slowing the wheels and the car.
- Pedal input: The driver presses the brake pedal.
- Hydraulic pressure: The master cylinder sends pressure through the brake lines.
- Caliper clamp: Caliper pistons press pads against the rotors.
- Heat management: The rotors and pads absorb and shed heat.
- Electronic support: ABS, stability control, and brake-force distribution help manage wheel slip and vehicle balance.
A firm, consistent pedal usually points to a healthy hydraulic system. A sinking pedal, spongy pedal, fluid leak, warning light, grinding noise, or strong pull under braking should be inspected immediately.
Brake Bias: What Sets It and Why It Matters
Brake bias is the split of braking force between the front and rear axles. The factory setup is designed to slow the car while keeping it stable, preventing premature rear lockup, and working with ABS and electronic brake-force distribution.
Rotor diameter, effective pad radius, pad friction, caliper piston area, tire grip, suspension setup, and vehicle weight transfer all influence how the car behaves under braking. Piston count alone does not tell you whether a brake kit is balanced. A well-designed four-piston setup can be safer and easier to modulate than an oversized multi-piston kit that changes hydraulic balance too much.
A brake upgrade should make the car easier to slow repeatedly, not harder to control. Heat capacity, pad choice, tire grip, and balance matter more than caliper size alone.
Inspecting and Maintaining Supra Brakes
At a Glance
| Time Required | 15–30 minutes for a visual inspection; longer for pad, rotor, fluid, or caliper service |
| Difficulty | Beginner for visual checks; intermediate to advanced for service work |
| Tools Needed | Flashlight, tire-pressure gauge, jack and stands, torque wrench, pad gauge, dial indicator for runout checks, scan tool/service information for EPB work |
| Cost | Visual checks are low-cost; pads, rotors, fluid, and BBKs vary widely by brand and use case |
| Check | What to look for | Action |
|---|---|---|
| Brake fluid | Low level, dark fluid, contamination, warning light, soft pedal | Use the specified DOT 4 Low Viscosity fluid and bleed only with the correct service procedure |
| Pads | Thin friction material, uneven wear, cracks, glazing, noise | Replace axle pairs and match the compound to street or track use |
| Rotors | Scoring, heat checks, lip wear, vibration, runout | Measure thickness/runout and replace in matched pairs when below service limits |
| Calipers and lines | Leaks, torn boots, sticking piston, swollen hose, uneven pad wear | Repair before driving hard; bleed the system after hydraulic parts are opened |
| Parking brake | EPB warning, poor holding, dragging rear brake, rear service difficulty | Follow the EPB service mode procedure; do not force the rear piston back |
Pro Tip: If the car sees track use, record pad thickness before and after each event. That simple log helps you spot accelerated wear, uneven caliper behavior, and whether your pad compound is too mild for the heat you are creating.
Upgrading Brakes: BBKs, Rotor Size, and Compatibility
A big brake kit can add heat capacity, improve pad options, reduce unsprung weight if designed well, and make repeated hard stops more consistent. It is not automatically a shorter-stopping-distance upgrade on the street. Tires, pad temperature range, ABS calibration behavior, brake balance, and road surface matter just as much.
BBK Fitment and Clearance
Before buying a BBK, measure more than rotor diameter. You need radial clearance inside the wheel barrel, spoke clearance, hub fitment, rotor offset, brake-line routing, and caliper bridge clearance. A kit that fits one 19-inch wheel may not fit another 19-inch wheel because spoke shape and barrel profile differ.
| Item checked | Purpose |
|---|---|
| Wheel barrel clearance | Prevents the caliper from contacting the inside of the wheel |
| Spoke clearance | Prevents the caliper face from contacting the wheel spokes |
| Rotor offset and hub fit | Keeps the rotor centered in the caliper and seated correctly on the hub |
| Brake-line length and routing | Avoids stretching, kinking, or rubbing through the line at full steering lock |
| Rear EPB support | Preserves parking-brake function and avoids warning lights |
Rotor Diameter and Brake Bias
Larger rotors increase effective leverage and heat capacity, but they also change the braking torque available at that axle. If the caliper piston area and pad friction are not matched to the system, the pedal can feel too long, too firm, or poorly balanced. A front-only BBK should be selected from a manufacturer that designed the kit to work with the OEM rear brakes, ABS, and stability-control behavior.
For track use, a brake kit that keeps temperatures stable over a full session may be more valuable than a kit with the largest possible rotor. On the street, a pad that works cold, stays quiet, and remains predictable in rain can be a better choice than a race pad that needs heat.
Master Cylinder, Lines, and Fluid
Changing caliper piston area can change pedal travel and pedal effort. That does not mean every BBK needs a larger master cylinder, but it does mean the kit should be engineered around the factory hydraulic system. Stainless brake lines can improve pedal feel when installed correctly, but they must be routed and secured safely.
For brake fluid, follow the owner’s manual first. If the car is tracked, choose a high-quality DOT 4 fluid compatible with the system and flush it more often. Do not mix unknown fluids, and do not use silicone DOT 5 fluid in a system that is specified for DOT 4 unless the manufacturer explicitly allows it.
Street, Track, Pad Compounds, and Brake Fade
Street pads usually prioritize quiet operation, low dust, cold bite, and rotor life. Track pads prioritize heat tolerance and repeated high-speed stops, but they can be noisy, dusty, abrasive, and weak when cold. Match the pad compound to how the car is actually driven.
- Daily driving: Use a street or performance-street pad with good cold bite.
- Mountain roads: Consider a higher-temperature street pad and fresh DOT 4 fluid.
- Track days: Use track-capable pads, high-temperature fluid, and post-session inspections.
- Mixed use: Be realistic; one pad rarely does everything perfectly.
Rear Electronic Parking Brake Specifics
The modern GR Supra does not use the old-style mechanical drum-in-hat parking brake described for some older cars. It uses an electronic parking brake system operated by a switch. Rear brake service should be handled with the correct EPB procedure so the rear caliper and actuator are not damaged.
EPB Service Precautions
Before rear pad, rotor, or caliper work, check the service manual for the correct EPB service mode procedure. Do not force the rear caliper piston back with a generic clamp unless the service information says that method is safe for your exact setup. If the EPB warning light appears after service, stop and diagnose the issue before driving normally.
Rear Kit Compatibility
If you are buying a rear BBK, confirm how the kit keeps the parking brake functional. Some rear kits retain the electronic parking brake with a dedicated solution; others are track-only setups that may remove or compromise parking-brake function. For a street car, keeping a reliable parking brake is not optional.
Common Failures, Maintenance, and Quick Fixes
Brake problems usually give warning signs before they become dangerous. Take grinding, fluid loss, warning lights, and pedal changes seriously. Quick fixes should only be used for simple checks; leaks, hydraulic faults, severe vibration, or EPB faults need proper diagnosis.
| Symptom | Likely causes | What to do |
|---|---|---|
| Grinding noise | Pads worn out, debris, rotor damage | Stop aggressive driving and inspect pads/rotors immediately |
| Steering wheel shake under braking | Rotor thickness variation, pad deposits, runout, worn suspension parts | Measure rotor condition and inspect front-end components |
| Soft or sinking pedal | Air in system, fluid leak, overheated fluid, master-cylinder issue | Do not ignore it; inspect for leaks and bleed/repair correctly |
| Car pulls under braking | Uneven pads, sticky caliper, tire issue, alignment issue | Inspect both brakes on the axle and check tires |
| EPB warning or rear brake drag | Incorrect rear service procedure, actuator issue, stuck caliper | Use diagnostic/service information before further driving |
Frequently Asked Questions
What is the difference between Supra 2.0 and 3.0 brakes?
It depends on model year, market, and trim. Many GR Supra 3.0 trims use 4-piston Brembo front calipers with 348 mm front rotors, while some 2.0 and non-Premium configurations may use different front or rear brake hardware. Always verify by VIN before buying pads or rotors.
Does the MkV GR Supra have rear drum brakes?
No. The modern MkV/A90/A91 GR Supra uses rear disc brakes. Published Toyota technical specs list rear ventilated discs with a single-pot floating caliper. Rear drum-brake language usually applies to older vehicles or different parking-brake designs, not the modern GR Supra brake layout.
How does the GR Supra brake system work step by step?
You press the pedal, the master cylinder builds hydraulic pressure, brake fluid transfers that pressure to the calipers, the pads clamp the rotors, and friction slows the wheels. ABS and electronic brake-force distribution help manage wheel slip and vehicle balance during hard braking.
What is the Toyota Pulse Braking System?
“Pulse” is not the normal name for the GR Supra’s factory brake-pressure control system. Toyota commonly refers to systems such as ABS, Electronic Brake-force Distribution, Brake Assist, Vehicle Stability Control, and Traction Control. Some dealers also sell pulsing third-brake-light accessories, but those are different from the hydraulic brake system.
Can I install a front-only big brake kit on a Supra?
Yes, but only if the kit is engineered to work with the OEM rear brakes, master cylinder, ABS, and stability-control behavior. A front-only BBK that is too aggressive can shift brake balance forward, trigger ABS early, or increase stopping distance on some surfaces.
What brake fluid should I use in a GR Supra?
Use the brake-fluid type specified in the owner’s manual for your exact vehicle. The cited GR Supra owner-manual technical data lists DOT 4 Low Viscosity brake fluid. For track use, choose a compatible high-quality DOT 4 fluid and service it more often.
Conclusion
The modern Toyota GR Supra brake system is a capable four-wheel disc setup, but accurate fitment matters. Use the OEM rotor, caliper, and fluid specs as your baseline; verify parts by VIN; respect the rear electronic parking brake; and treat brake bias as a full-system issue, not just a caliper-size issue. For street cars, prioritize predictable cold bite and reliable EPB function. For track cars, add heat capacity, suitable pads, fresh fluid, and post-event inspections before chasing the biggest possible rotor.
Sources
- Toyota GR Supra Technical Specifications — published rotor dimensions, front/rear disc layout, and caliper types.
- 2021 Toyota GR Supra eBrochure — 3.0 Brembo front caliper and 348 mm vented front rotor information.
- Toyota Manuals and Warranties: GR Supra — owner manual access and official owner documentation.
- 49 CFR § 571.116 Motor Vehicle Brake Fluids — DOT brake-fluid standard context.
- Toyota Safety Sense and Star Safety System — Toyota’s description of ABS, EBD, Brake Assist, VSC, and TRAC safety technologies.
- Toyota USA Newsroom: 2026 GR Supra — current MkV Final Edition model-year context.