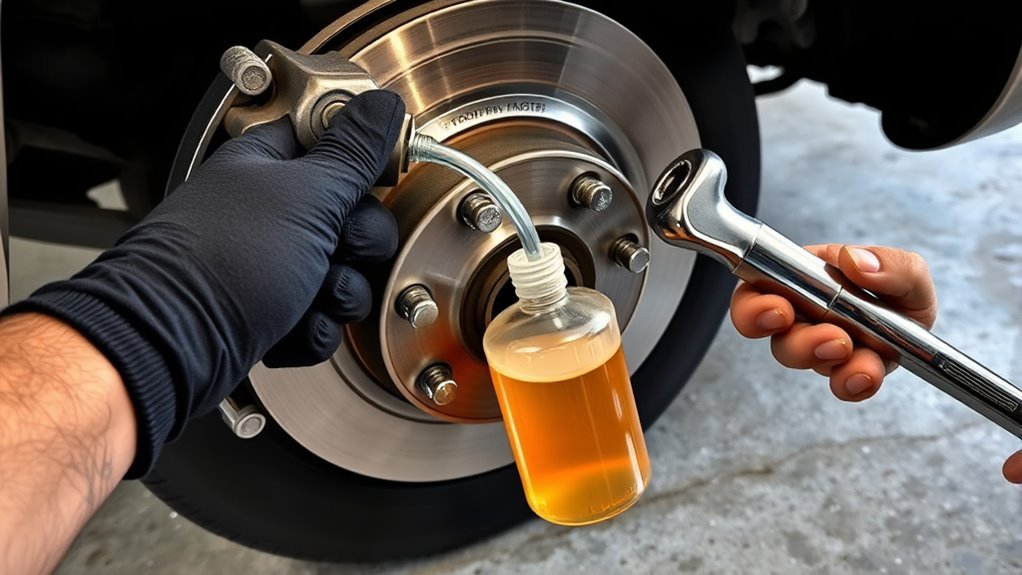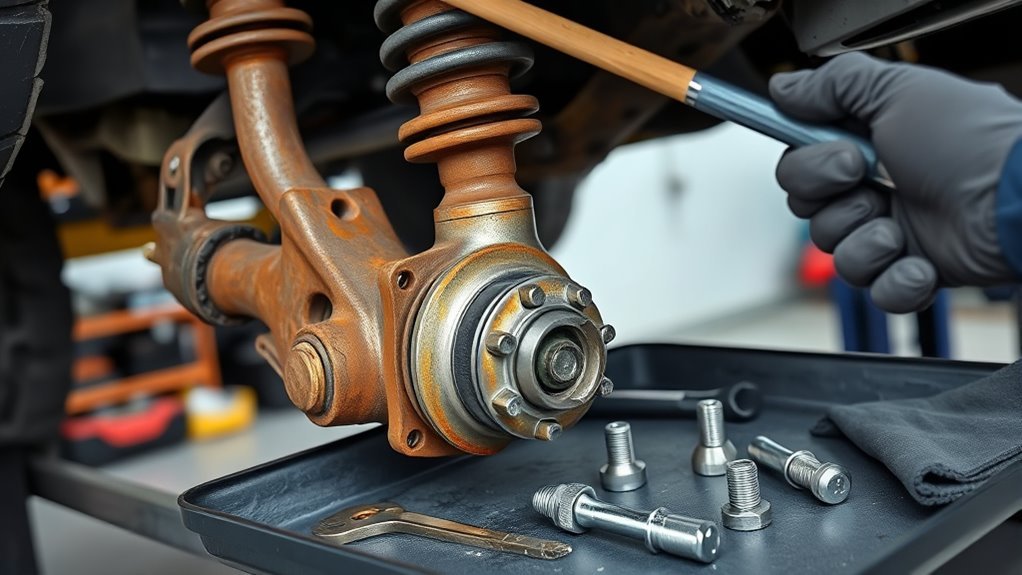
You’ll notice clunks or pops on turns, loose or wandering steering, uneven inner/outer front tire wear, and increased cabin vibrations or squeaks. Visually inspect for torn boots, grease loss, or rust, then jack the wheel and shake at 12/6 o’clock or pry between arm and hub to detect vertical or lateral play. Replace worn joints—aim by 120–150k miles or sooner with symptoms—using OEM parts and proper torque. Keep going for step‑by‑step replacement and buying tips.
Quick Diagnose-and-Fix Checklist for 4Runner Lower Ball Joints
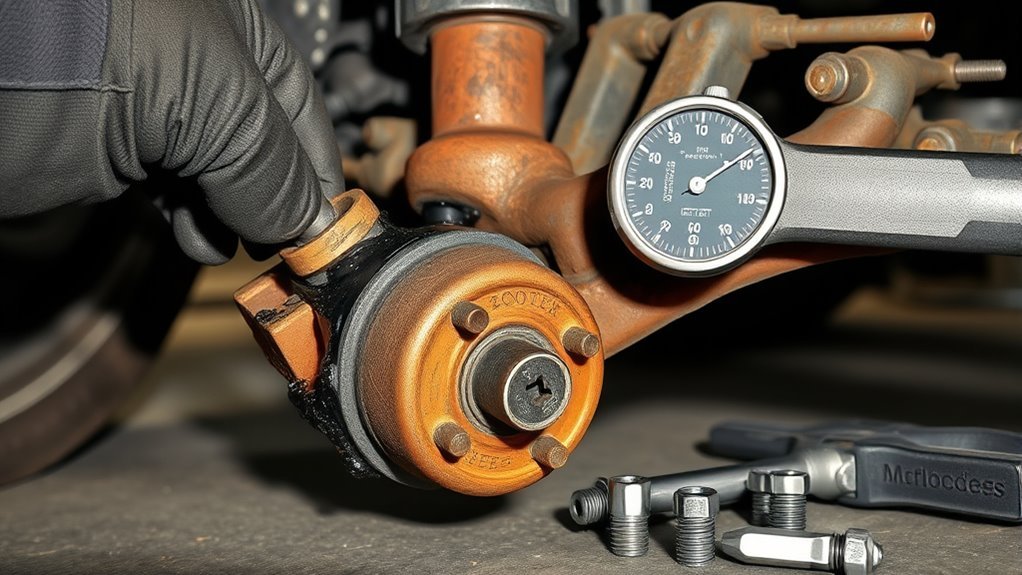
When you hear clunks over bumps or notice your 4Runner pulling or wandering, don’t ignore it — those are primary signs of lower ball joint wear that need immediate attention. You’ll follow a short, precise checklist: listen for clunking or rattling on rough roads, inspect boots for tears and joints for heavy rust, and check steering for looseness or wandering. Measure tire wear pattern—inner or outer edge wear flags alignment drift from failing joints. If boots are torn or corrosion’s advanced, plan replacement; don’t patch a critical steering component. For preventative freedom, log replacement frequency around 100K miles and align that with your service intervals. Prioritize ball joint maintenance during routine suspension checks; torque and visual inspections catch problems early. When you identify wear, replace both sides to restore predictable handling and liberate yourself from sudden failure risk. Act fast, keep records, and regain confident control of your 4Runner.
Spot Clunks, Rattles, and Clicks From Lower Ball Joints
When you hear a clunk, rattle, or click, start by isolating the source—front wheel, steering, or control arm—so you can determine if the lower ball joint is involved. Check for vertical or lateral play at the joint with the wheel off the ground and a pry bar at the control arm; increased movement points to worn ball joint bearings. If play or worsening noise is present, get a professional suspension diagnosis to confirm the ball joint and prevent alignment or tire-wear issues.
Identifying Clunk Sources
How can you tell whether that clunk, rattle, or click is coming from a lower ball joint or another suspension part? Focus on pattern, location, and conditions. A clunk noise that worsens over bumps and dips, paired with inner or outer tire edge wear, points strongly to a worn ball joint causing misalignment. Listen while turning and driving straight; ball-joint sounds often register under load and during steering inputs. Don’t assume—other components (control-arm bushings, tie rods, sway-bar links) produce similar tones but under different maneuvers. You’ll liberate yourself from doubt by documenting when the sound occurs, noting accompanying tire wear, and scheduling a professional inspection. Regular checks after ~100K miles reduce risk and keep handling predictable and safe.
Diagnosing Suspension Play
You’ve already narrowed down sources by noting when the clunk appears; now focus on quantifying suspension play to confirm a lower ball joint. Stand at the wheel, steer slightly while an assistant shakes the tire at 12 and 6 o’clock. Excessive play, wandering or increased clunk/rattle during turns points to ball joint deterioration. Squeaks on turn suggest dry joints—address with lubrication or replacement. Check steering free-play and road-test over bumps; noises that grow with imperfections mean urgent intervention. Prioritize ball joint maintenance before doing suspension upgrades to preserve control and freedom on the road.
| Test | What to feel/hear | Action |
|---|---|---|
| Tire shake | Vertical play/clunk | Replace joint |
| Steering feel | Wandering | Inspect tie/ball |
| Turn noise | Squeak/click | Lubricate/replace |
| Road bumps | Increasing rattle | Urgent repair |
| Visual | Boot damage | Preventive fix |
Why Loose, Wandering Steering Often Means Bad Lower Ball Joints
When your 4Runner’s steering feels loose or has extra play, it’s often because worn lower ball joints are allowing unwanted movement in the steering linkage. That looseness produces wandering lane drift and uneven tire wear—especially on inner or outer edges—because the wheel alignment can’t stay consistent under load. Check for these symptoms plus cabin vibrations and clunking during turns to confirm the ball joints need inspection or replacement.
Loose Steering Play
If your 4Runner starts to wander in its lane or the steering feels disconnected, worn lower ball joints are often the culprit because they introduce excess play into the front suspension and steering linkage. You’ll notice a loose steering feel and reduced vehicle stability; this undermines steering alignment and makes precise inputs ineffective. Mechanical play from worn joints lets the wheel move before the tire responds, so you fight constant corrections. You may also hear clunks or pops during turns and feel looseness at the wheel—symptoms that can mimic bad tie-rod ends or poor alignment, so inspect both. Check lower ball joints after 100,000 miles and plan replacement by 150,000 to restore crisp steering and reclaim control.
Wandering Lane Drift
Why is your 4Runner drifting in its lane even though the steering wheel feels free? You’re feeling loose steering because worn lower ball joints introduce play in the suspension, letting the geometry wander and the truck pull to one side. That disconnect undermines your control and freedom on the road.
- You notice a subtle drift that resists minor steering corrections.
- You sense a disconnected steering feel when tracking straight.
- You fear highway driving because the vehicle slips lanes with crosswinds.
- You want safe, predictable steering without constant correction.
Inspect lower ball joints after 100K miles or sooner. Prompt replacement avoids further suspension damage, reduces the need for extreme alignment adjustments, and restores driving stability so you can reclaim confident, liberated control.
Uneven Tire Wear
Loose, wandering steering doesn’t just feel unsafe—it shows up on your tires. You’ll see accelerated inner or outer edge wear when lower ball joints let the wheel tilt and wander. If one front tire wears noticeably faster, that’s a red flag: replace ball joints to restore tracking and prevent repeat damage. Check ball joints after ~100K miles, or sooner if you hear clunks or feel looseness. Prioritize tire maintenance and alignment importance together—aligned wheels and solid joints free you from constant steering fights and wasted rubber.
| Symptom | Meaning |
|---|---|
| Inner/outer edge wear | Wheel tilt from worn joint |
| One tire worse | Asymmetric failure, replace joint |
Harsh Cabin Vibrations Caused by Lower Ball Joints vs Balance/Drivetrain
When you feel harsh, rhythmic vibrations through the cabin, worn lower ball joints are a common but often overlooked cause that can mimic wheel balance or drivetrain issues; distinguishing them requires checking for increased clunking over bumps, play in the joint, and uneven tire wear. You want freedom from anxiety on the road, so focus on clear vibration causes and practical diagnosis techniques.
- Listen for rhythmic rattles that worsen over bumps — lower ball joints produce impact-like noises, unlike steady imbalance hums.
- Physically check joint play: vertical or lateral looseness during a pry test points to the ball joint, not a tire weight.
- Road-test at varying speeds: balance issues peak at specific RPM/speed bands; joint faults persist and change with suspension loading.
- Inspect after 100K miles and replace promptly to restore comfort, safety, and the liberated confidence of a stable 4Runner.
Uneven Front Tire Wear Patterns From Failing Lower Ball Joints
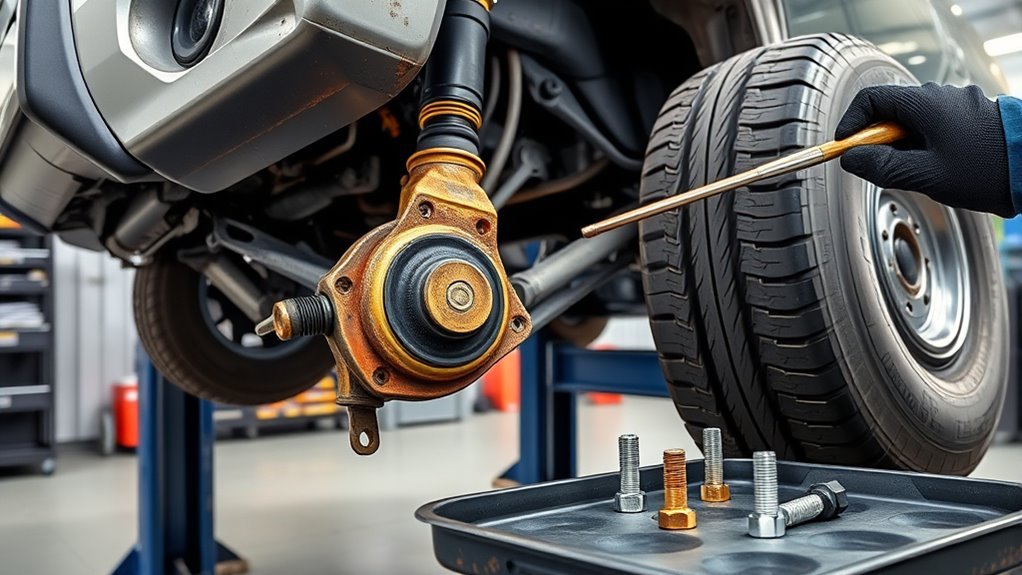
Uneven front tire wear often points to failing lower ball joints because they let the suspension geometry shift under load, causing accelerated inner- or outer-edge wear on one tire. You’ll see rapid wear on one side when a worn joint allows camber or toe to wander; that shift concentrates load and destroys tread quickly. If both front tires show excessive wear, check tire pressure first but keep failing lower ball joints high on the suspect list—geometry errors compound pressure issues. Listen for clunks or pops during turns; those noises often accompany the same looseness that creates uneven wear. For liberation from repeat replacements, treat tire maintenance and suspension health as linked systems: rotate and inspect tires regularly, track tread depth differences, and prioritize replacement of worn joints before misalignment ruins new rubber. Vehicles over 100K miles demand closer scrutiny. Acting early preserves handling, extends tire life, and keeps you in control rather than chained to avoidable failures.
Hands-On Inspection: Shake, Pry, and Boot Checks (Measure Play)
Grab a jack and secure the front wheel off the ground near the lower A-arm, then grip the tire at 12 and 6 o’clock and rock it to detect any vertical or axial play that indicates a worn lower ball joint. You should feel slack or tightness immediately; any noticeable movement is a clear wear indicator. Pry gently between the lower control arm and hub with a pry bar to amplify play—measure and compare against spec if you can. Inspect the boot for tears or grease loss; a torn boot is an urgent sign that ball joint maintenance is overdue.
Lift the wheel, rock it 12-to-6, pry to amplify play — feel, listen, inspect: torn boot or movement means urgent ball-joint service
- Feel: detectable vertical/axial play means reduced control and imminent failure.
- Listen: steering squeaks signal dry joints needing service.
- Inspect: torn boots or lost grease are visual wear indicators demanding action.
- Act: document findings, plan repair, reclaim vehicle safety and freedom.
When to Replace: Mileage Benchmarks and Warning Signs
Start checking lower ball joints routinely after about 100,000 miles and plan on replacement by roughly 150,000 miles, sooner if you notice warning signs. Use this replacement timeline as a firm baseline: inspect at 100k, re-evaluate around 120k, and prioritize replacement past 120k if you drive hard or carry loads.
Watch for definitive warning signs: uneven tire wear at inner or outer edges, clunking during turns, loose or imprecise steering, and squeaks when steering that signal dry joints. If you find a torn boot, replace immediately — contamination accelerates failure. High-mileage 4Runners (over 120,000 miles) should lean toward proactive replacement to avoid catastrophic failure under stress.
Apply maintenance tips focused on inspection frequency and addressing squeaks or torn boots without delay. Don’t gamble with steering control; treat the replacement timeline and warning signs as emancipatory steps toward safe, reliable freedom on the road.
Prep & Step-by-Step DIY Lower Ball Joint Replacement (Tools, Time)
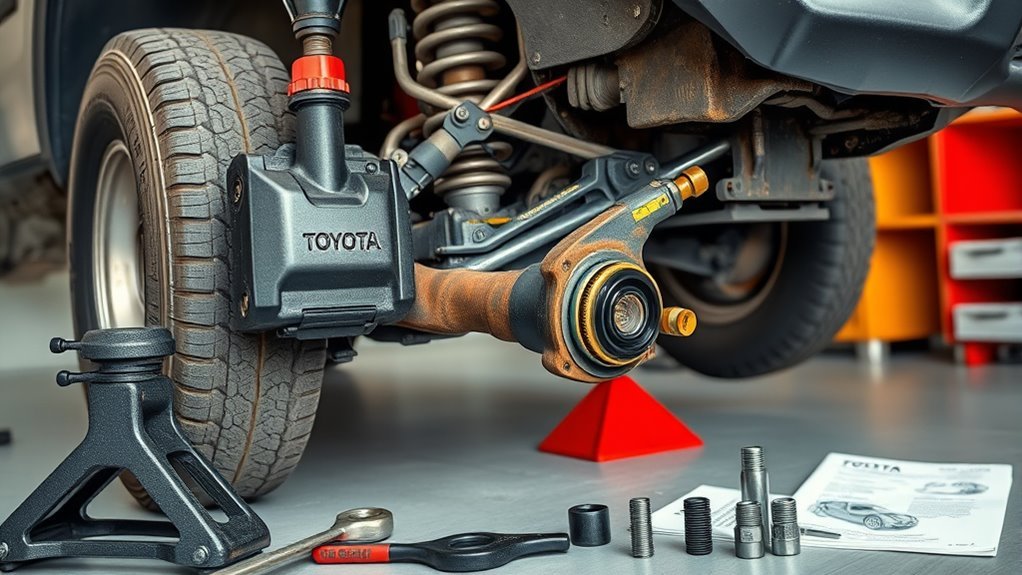
If you’re tackling a lower ball joint replacement on a 4Runner, prep properly: gather a jack, jack stands, a socket set, pry bar, penetrating oil (sprayed on fasteners the day before), and OEM replacement joints for best reliability, then clear and clean a workspace so tools and parts are organized. You’ll work efficiently if you respect tool organization and workspace cleanliness; lay out sockets, retainers, and new parts in order of use.
Plan ~2 hours: lift vehicle, remove wheel, inspect by shaking tire at 12/6 o’clock for slack, then disconnect tie rod and control arm fasteners. Use penetrating oil, separate the joint with a pry bar or ball joint press, install OEM unit, torque to spec, reassemble, and test for play.
You want control and freedom—doing it yourself reclaims cost and knowledge. Review a model-specific guide first. Stay safe on jack stands, double-check torque, and confirm no play before driving.
- Prepare tools
- Inspect carefully
- Replace methodically
- Verify safety
Where to Buy Quality 4Runner Lower Ball Joints and Cost-Saving Tips
When you’re shopping for 4Runner lower ball joints, prioritize OEM parts from reputable vendors—4xInnovations, All-Pro Off Road, RockAuto, ToyotaTRDParts, and Metal-tech 4×4 offer reliable options at better prices than many dealerships. You’ll find these online retailers list part numbers, fitment data, and user reviews so you can confirm compatibility quickly. Dealers often charge about $125 per joint; buying online can cut that cost substantially.
Choose OEM parts for proven durability and correct tolerances; avoid unknown aftermarket units that may introduce premature wear. If you’re doing multiple suspension items, buy in bulk or wait for sales events to lower per-item cost. Read forum feedback and seller ratings to spot common failure reports or shipping issues. Verify return policies and warranty coverage before purchase. With disciplined sourcing and basic parts planning, you’ll maintain your 4Runner affordably and keep control over repairs without relying on dealer pricing or unnecessary shop labor.
Frequently Asked Questions
How Long Do Toyota Lower Ball Joints Last?
You’ll typically get about 100,000 miles from Toyota lower ball joints before replacement; ball joint lifespan can reach 150,000 miles with care. Maintenance tips: inspect after 100k, use OEM parts, monitor noise and tire wear.
Why Do Toyota Ball Joints Fail?
They fail because ball joint wear from torn boots, contamination, and cumulative stress degrades bearings; you’ll notice looseness, noise, and uneven tires. You should prioritize suspension maintenance and OEM replacements to reclaim control and reliability.
Conclusion
You’ve got the signs, hands-on checks, and a clear replacement plan—so don’t ignore telltale clunks, wandering steering, or uneven tire wear. You may think professional labor is safer, but with the right tools, a torque wrench, and step-by-step patience, you can safely replace 4Runner lower ball joints at home and save notably. Follow measurements, boot/press guidance, and torque specs precisely to restore handling and avoid repeat failures.