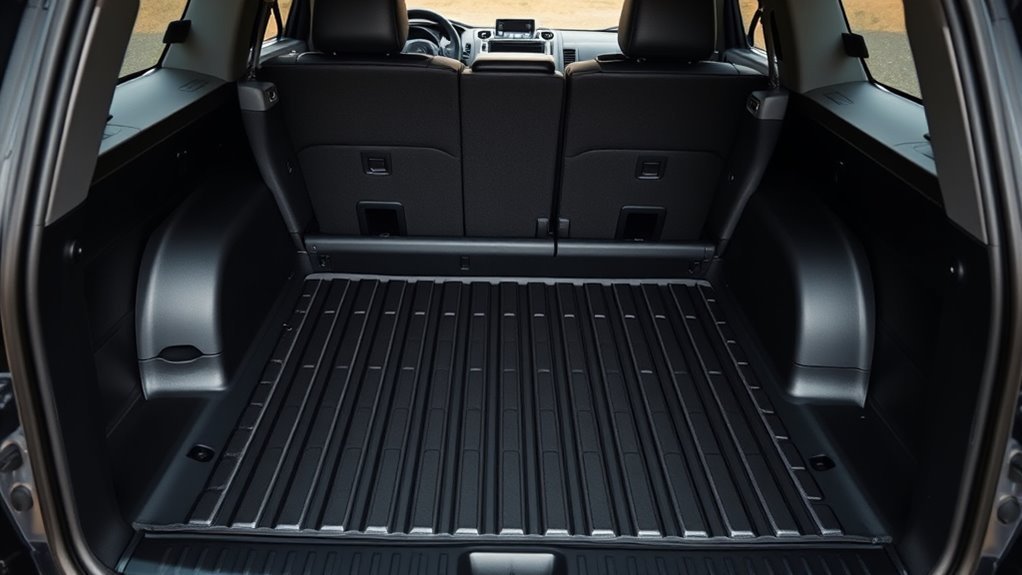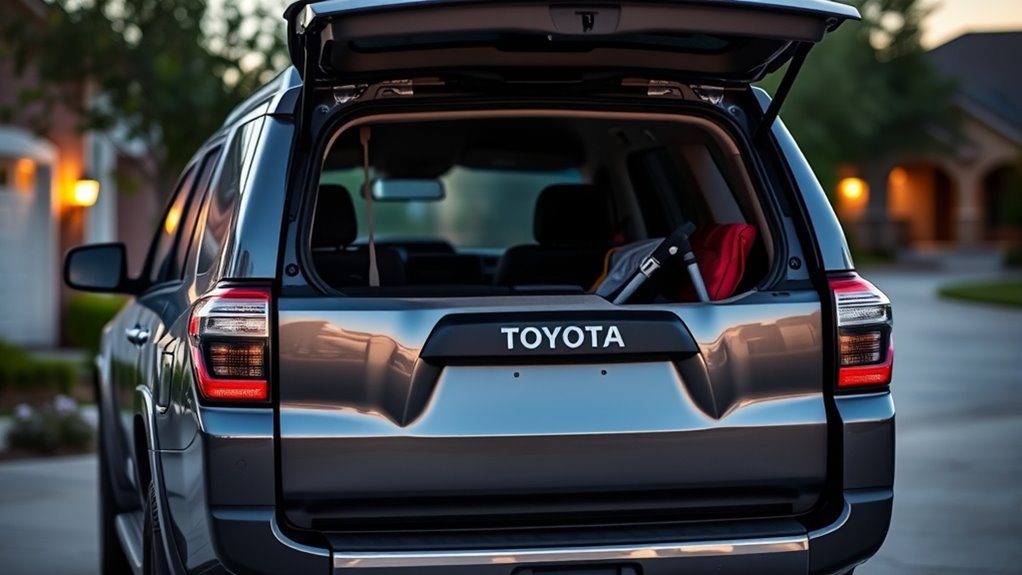
Last updated: August 8, 2026. The 4Runner power liftgate works differently depending on model year. On 2025 and newer sixth-generation 4Runners, Toyota offers a factory power back door with hands-free operation on equipped vehicles. On 2010–2024 fifth-generation 4Runners, powered opening and closing requires an aftermarket retrofit such as an AutoEase system. If a factory 2025+ liftgate will not operate, first make sure the power rear window is completely closed, the power-back-door system is enabled, and the vehicle meets the operating conditions. The sections below separate factory Toyota operation from fifth-generation retrofit installation so the procedures are not mixed.
Quick Start: Open, Close, and Set Height (4Runner Power Liftgate)
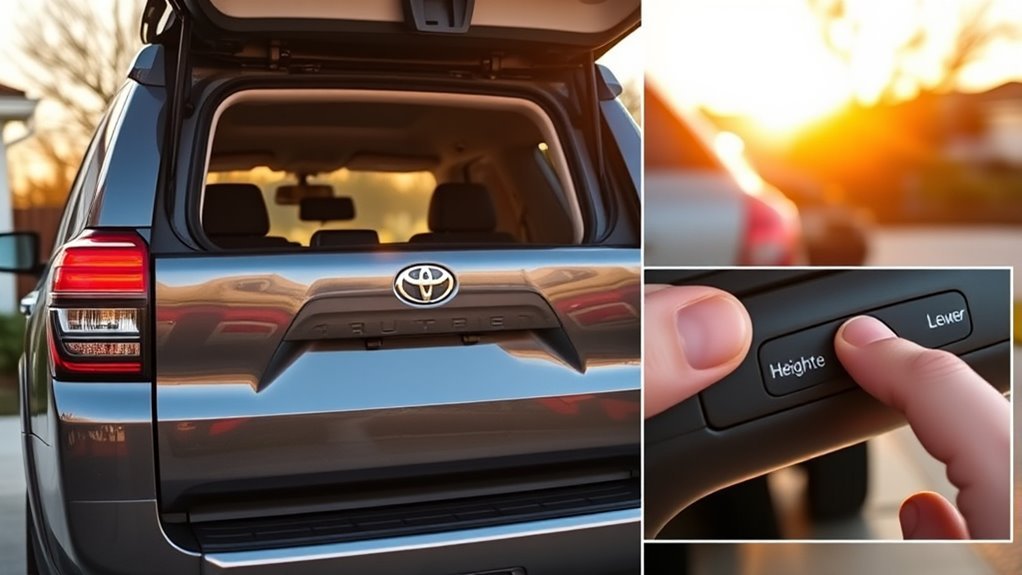
| 4Runner | Power-Liftgate Setup | Which Instructions Apply? |
|---|---|---|
| 2010–2024 | Factory liftgate is manually raised; powered opening/closing requires an aftermarket retrofit. | Use the retrofit and aftermarket troubleshooting sections below. |
| 2025–2026 | Toyota factory power back door and hands-free operation are available on equipped vehicles; the power rear window remains a separate standard 4Runner feature. | Use the factory-operation, kick-sensor, height-setting, safety, and factory troubleshooting instructions below. |
For an equipped 2025+ 4Runner, begin by confirming that the rear window is fully closed and the power-back-door system is enabled. Toyota’s 2025 owner’s manual says the factory system can be operated with the wireless remote, instrument-panel switch, or switches on the back door. The exact controls depend on the operation you are performing and whether the door is locked.
- Key fob: Press and hold the power-back-door button. Pressing it during movement stops the door; holding it again while stopped commands movement in the opposite direction.
- Instrument-panel switch: Unlock the back door, then press and hold the power-back-door switch.
- Rear opener: When unlocked, press the back-door opener. When locked, carry the electronic key and press and hold the opener.
- Rear close switch: Press the switch on the lower part of the open back door to close it automatically.
To set a custom opening height, stop the power back door at the position you want, then press and hold the switch on the lower part of the back door for approximately 2 seconds. Toyota says the buzzer sounds four times when the setting is stored. To cancel the adjusted opening position, hold the same switch for approximately 7 seconds; after the confirmation buzzer sequence, the next opening returns to the initial setting.
How the 4Runner Power Liftgate Works
The phrase 4Runner power liftgate can describe two different systems. Toyota calls the factory 2025+ unit a power back door. It integrates the electronic key, instrument-panel control, back-door switches, hands-free kick sensor when equipped, power rear window status, and safety functions. A fifth-generation aftermarket retrofit instead adds powered hardware and its own control module to a 2010–2024 liftgate that was originally designed for manual opening and closing.
Power Strut Mechanics
On a 2010–2024 aftermarket conversion, kits such as the AutoEase system replace the factory damper stays with powered struts and add a controller, wiring, and interior/rear switches. Those powered struts move and support the liftgate under control of the retrofit module.
Do not assume those aftermarket strut specifications apply to a factory 2025+ Toyota system. Toyota’s owner’s manual documents the sixth-generation system by its operating functions and safety logic rather than by the aftermarket strut specifications sometimes quoted for retrofit kits.
Control And Sensors
On an equipped 2025+ factory power back door, Toyota provides control through the electronic key, instrument-panel switch, back-door opener and close switch, plus a hands-free kick sensor when equipped. The rear window must be fully closed for automatic power-back-door operation.
Toyota also documents jam-protection sensors on both sides of the power back door. If an obstruction is detected while the door is closing, the door can move in the opposite direction or stop. Toyota additionally describes a fall-down-protection function that can stop automatic opening when excessive force is applied.
These protections are safeguards, not permission to place a hand, arm, cargo item, or other body part in the closing path to test the system.
Use the Kick Sensor (2025+ 4Runner) : Steps & Tips
The Hands Free Power Back Door is available only on equipped 2025+ 4Runners and must be enabled in the vehicle settings. Toyota specifies that the engine switch must be OFF, or if it is ON, the shift lever must be in P. Carry the electronic key within its normal operating range.
- Stand approximately 11.8–19.7 inches (30–50 cm) from the rear bumper.
- Use the lower-right area of the rear bumper, where Toyota locates the kick-sensor detection zone.
- Move your foot to within approximately 3.9 inches (10 cm) of the bumper and then pull it back.
- Complete the entire kick-and-retract motion within approximately 1 second.
- Do not touch the bumper with your foot and do not leave your foot underneath it.
If the kick sensor does not respond, confirm that the rear window is fully closed, the Hands Free Power Back Door setting is enabled, the electronic key is with you, and the vehicle is in the correct operating state. Dirt, attachments around the bumper, or an altered detection area can also interfere with reliable operation.
Toyota warns that if a bicycle carrier or another similar heavy object is attached to the power back door, the Hands Free Power Back Door function should be disabled.
Install & Activate the AutoEase Power Liftgate
This section applies to the 2010–2024 fifth-generation Toyota 4Runner. AutoEase currently lists the N280 4Runner generation as 2010–2024 and offers a retrofit system that adds powered opening and closing to the factory manual liftgate.
The typical retrofit includes powered struts, a control module, wiring harnesses, dashboard/rear controls, mounting hardware, and optional hands-free hardware depending on the selected kit. A documented fifth-generation installation also required interior-panel removal, replacement of the original liftgate supports, routing wiring from the front of the vehicle to the rear, connecting the controller, and installing the rear close button.
Installation is substantially more involved than replacing ordinary gas struts. The hardest part reported in documented fifth-generation installations is often routing the wiring through the liftgate while working around the 4Runner’s power rear-window hardware. Support the liftgate securely before disconnecting its original supports, keep wiring away from the moving rear-window mechanism, protect every wire passing through metal or panel openings, and follow the instructions supplied with the exact kit revision.
Do not use fifth-generation AutoEase wiring instructions on a 2025+ sixth-generation 4Runner. The vehicle platform, factory electronics, liftgate hardware, and available OEM power-back-door system are different. If adding power operation to a non-equipped 2025+ vehicle, use a retrofit specifically designed for the sixth-generation model and verify trim compatibility before installation.
[Products Worth Considering]

This plug-and-play AC button switch is designed to replace a faulty factory air conditioner switch in compatible Toyota vehicles. It installs easily without tools and is made to match the original part for a seamless fit and reliable operation. Built from durable ABS plastic, it offers a dependable replacement backed by warranty support and fitment guidance.

These power liftgate struts are designed to restore smooth, reliable rear hatch operation on Toyota RAV4 models from 2013 to 2018. Built for plug-in installation with original-style fitment, they help reduce noise and shock while delivering strong, dependable lift support. The units are engineered for durability and long service life, making them a practical replacement for worn electric tailgate actuators.

Custom-fit floor mats and cargo liner set designed for Toyota 4Runner 5-seat models from 2003 to 2009. The all-weather TPE construction helps trap mud, snow, spills, and debris with raised edges and grooves for dependable interior protection. Easy to install and simple to clean, this set provides a secure, odorless upgrade for keeping your SUV's carpet and cargo area protected.
4Runner Power Liftgate Troubleshooting (Struts, Wiring, Buttons)
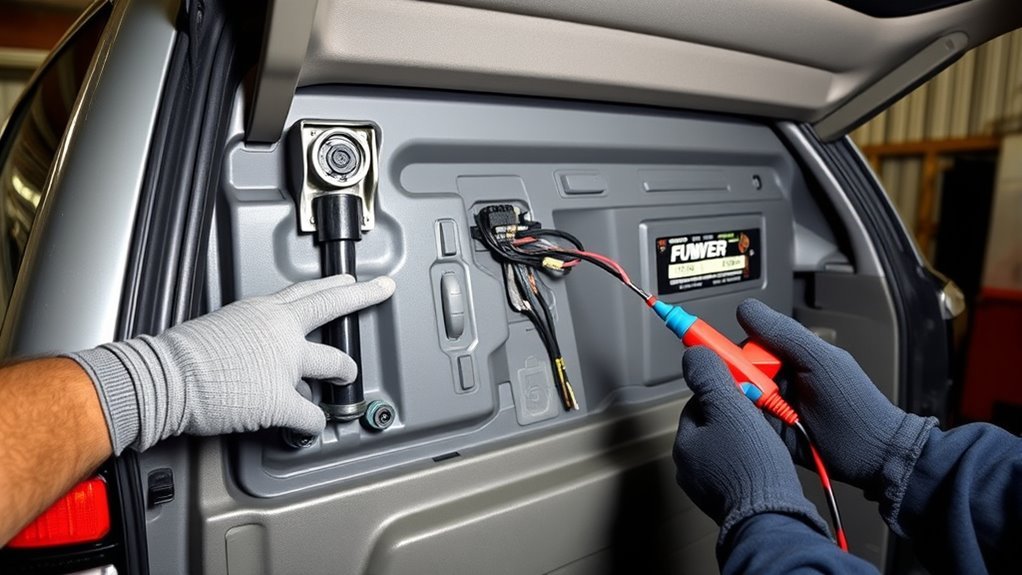
Start troubleshooting by identifying whether you have a factory 2025+ power back door or a 2010–2024 aftermarket conversion. The diagnostic path is different.
[Products Worth Considering]

This 2-piece suspension tool set combines a compact strut spreader with a high-leverage lower control arm prying tool to help speed up safe suspension service. Designed for many FWD, import, and domestic vehicles, it supports strut, hub, ball joint, and control arm work while helping reduce the risk of damage to surrounding components. Heavy-duty steel construction makes it a dependable choice for mechanics and serious DIY suspension repair.

This metal replacement center console latch is designed to restore secure closing performance for a wide range of Toyota and Scion vehicles. Built as an upgraded metal part, it helps solve broken latch issues and provides a more durable alternative to the original component. It is compatible with many popular models and includes the needed screws and screwdriver for installation.

This steering clock spring is designed to restore reliable steering wheel controls across a wide range of Toyota models. It supports audio, cruise control, and other multifunction commands while matching OEM part numbers for confident replacement fitment. Built for dependable signal transfer and straightforward installation, it is an effective solution for repairing steering column control issues.
Factory 2025+ Power Back Door: First Checks
- Close the power rear window completely. Toyota lists a fully closed back window as an operating condition for the power back door.
- Confirm the system is enabled. The power-back-door function can be disabled through vehicle settings.
- Check the vehicle state. For hands-free operation, use engine OFF or engine ON with the shift lever in P. Toyota also imposes operating conditions on automatic opening when the engine switch is ON.
- Test more than one control. Try the electronic key, instrument-panel switch, and rear switch to determine whether the fault affects one input or the entire system.
- Check for an obstruction. Jam protection can reverse or stop the door when resistance is detected.
- Consider lost position memory. Toyota service information notes that certain power interruptions can cause loss of stored back-door position and require power-back-door initialization.
- Escalate persistent faults. If the system remains inoperative after the documented operating conditions are satisfied, diagnosis with Toyota service information is preferable to replacing parts by guesswork.
2010–2024 Aftermarket System: First Checks
For an aftermarket system, verify the vehicle’s 12-volt battery condition, the retrofit fuse/fuse tap, ground connection, controller connectors, powered-strut connectors, and any added dashboard or rear switches. Compare the wiring to the manual for the exact version of the kit rather than assuming a diagram from another model or earlier kit revision is identical.
Strut Failure Diagnosis
First identify which type of support you are inspecting. A stock 2010–2024 manual liftgate uses damper stays. If a manually opened gate sags or will not remain safely raised, inspect the damper stays and mounting points.
An aftermarket powered strut is different. Symptoms such as one side moving ahead of the other, binding, abnormal noise, repeated stopping, a loose mounting point, damaged wiring, or a strut that does not respond can indicate a mechanical, electrical, or control problem. Do not assume a powered unit has simply “lost pressure,” and do not disassemble an electric strut. Support the gate securely before servicing either side.
For a factory 2025+ system, do not replace liftgate hardware until the rear-window condition, system setting, operating prerequisites, jam protection, battery state, and initialization status have been checked.
Wiring And Connections
This wiring guidance primarily applies to aftermarket 2010–2024 installations. Check that the added harness connectors are fully seated, pins are not damaged or corroded, the ground point is secure, and the fuse or fuse tap is installed according to the kit instructions.
Inspect routed wires for pinch points around trim, hinges, the liftgate, and the power rear-window mechanism. Wiring should not block factory drainage paths or interfere with the moving glass. Any added opening through a panel or grommet should be protected against abrasion and water entry according to the retrofit manufacturer’s installation procedure.
Owners and installers have reported that moisture management deserves extra attention on fifth-generation 4Runner conversions because the liftgate also houses the retractable rear-window system. A control module or connector should not be placed where water is expected to drain through the liftgate.
Button And Sensor Issues
For a factory 2025+ system, begin with operating conditions rather than probing vehicle communication wiring. If the rear close switch works but the kick sensor does not, check the Hands Free Power Back Door setting, electronic-key location, transmission position, and kick technique. If none of the factory inputs work, check for warning messages and have the system diagnosed using the Toyota repair procedure.
For an aftermarket system, a failed dashboard or rear button can mimic a controller fault. Inspect the added switch connector and harness before replacing the control module. Electrical measurements should follow the kit’s wiring diagram; avoid probing factory CAN wiring without the correct service information and diagnostic equipment.
Button Placement & Waterproofing Tips
This section is mainly relevant to 2010–2024 aftermarket retrofits that require an added rear button. Use the mounting location specified by the kit whenever possible. If drilling or cutting is required, confirm that the location is clear of the retractable rear-window mechanism, factory wiring, drainage routes, and structural hardware before making the opening.
Protect exposed metal from corrosion and use the sealing method specified by the kit manufacturer. Keep connectors and the control module away from known drainage paths. Do not rely on a bead of silicone as a substitute for correct component placement, protected wire routing, and intact factory grommets.
After installation, cycle the liftgate and rear window several times while watching the harness. Nothing should stretch, rub, snag, or contact the moving glass. Reinspect the installation after rain or washing if any aftermarket wiring passes through the liftgate.
Safety Features: Pressure Reversal, Obstacle Detection, Bounce-Back
For the factory 2025+ system, Toyota describes the relevant protection as a jam-protection function. Sensors are located on both sides of the power back door. If something obstructs the door while it is closing, the door can automatically move in the opposite direction or stop.
- Jam protection: Closing can reverse or stop when an obstruction is detected.
- Fall-down protection: Excessive force during automatic opening can stop the opening operation.
- Operating interlocks: Automatic operation depends on conditions including rear-window position, system settings, and vehicle state.
- Back-door closer: A partly closed factory power back door can automatically pull itself fully shut, so fingers must be kept away from the closing area.
Never intentionally use a hand, arm, child, pet, or valuable object to test jam protection. Toyota warns that protection may not work in every possible trapping situation or with every object shape, particularly close to the fully closed position.
Accessories & Upgrades for the 4Runner Power Liftgate
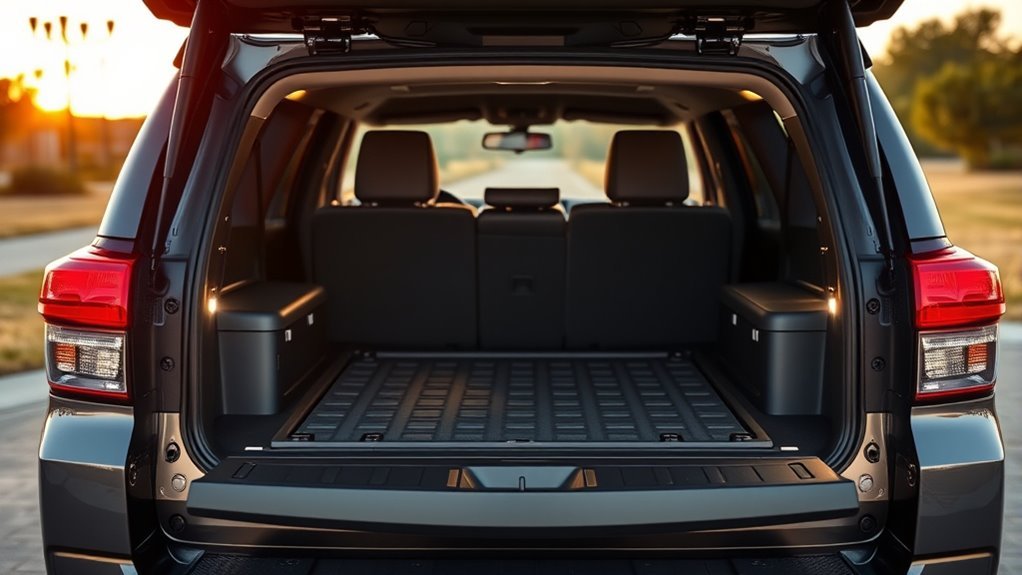
Choose a liftgate upgrade by generation first. For a 2010–2024 fifth-generation 4Runner, aftermarket kits such as AutoEase can add powered opening and closing, dashboard/rear controls, key-fob integration, and optional hands-free hardware depending on configuration.
For a 2025+ sixth-generation 4Runner, first confirm whether the vehicle already has Toyota’s factory power back door. Toyota offers the feature on equipped vehicles, and adding a second aftermarket system to a factory-equipped liftgate would be unnecessary. Aftermarket sixth-generation retrofit systems also exist for vehicles that were not factory-equipped, but compatibility should be checked against the exact model year, trim, powertrain, and existing options before purchase.
Be particularly cautious with accessories that add weight to the liftgate, including ladders, racks, bicycle equipment, storage panels, or externally mounted gear. Added weight changes the load the liftgate hardware must control. Toyota specifically instructs owners to disable the hands-free kick function when a bicycle carrier or similar heavy object is attached to the factory power back door.
[Products Worth Considering]

Upgrade your Toyota 4Runner with these heavy duty roof rack cross bars designed for raised side rails and secure cargo transport. The aluminum construction, anti-theft locking system, and tie-down loops help keep gear stable on the road while the low-profile design helps reduce wind noise. Easy to install with no drilling required, they provide a durable and convenient solution for road trips, hauling, and outdoor adventures.
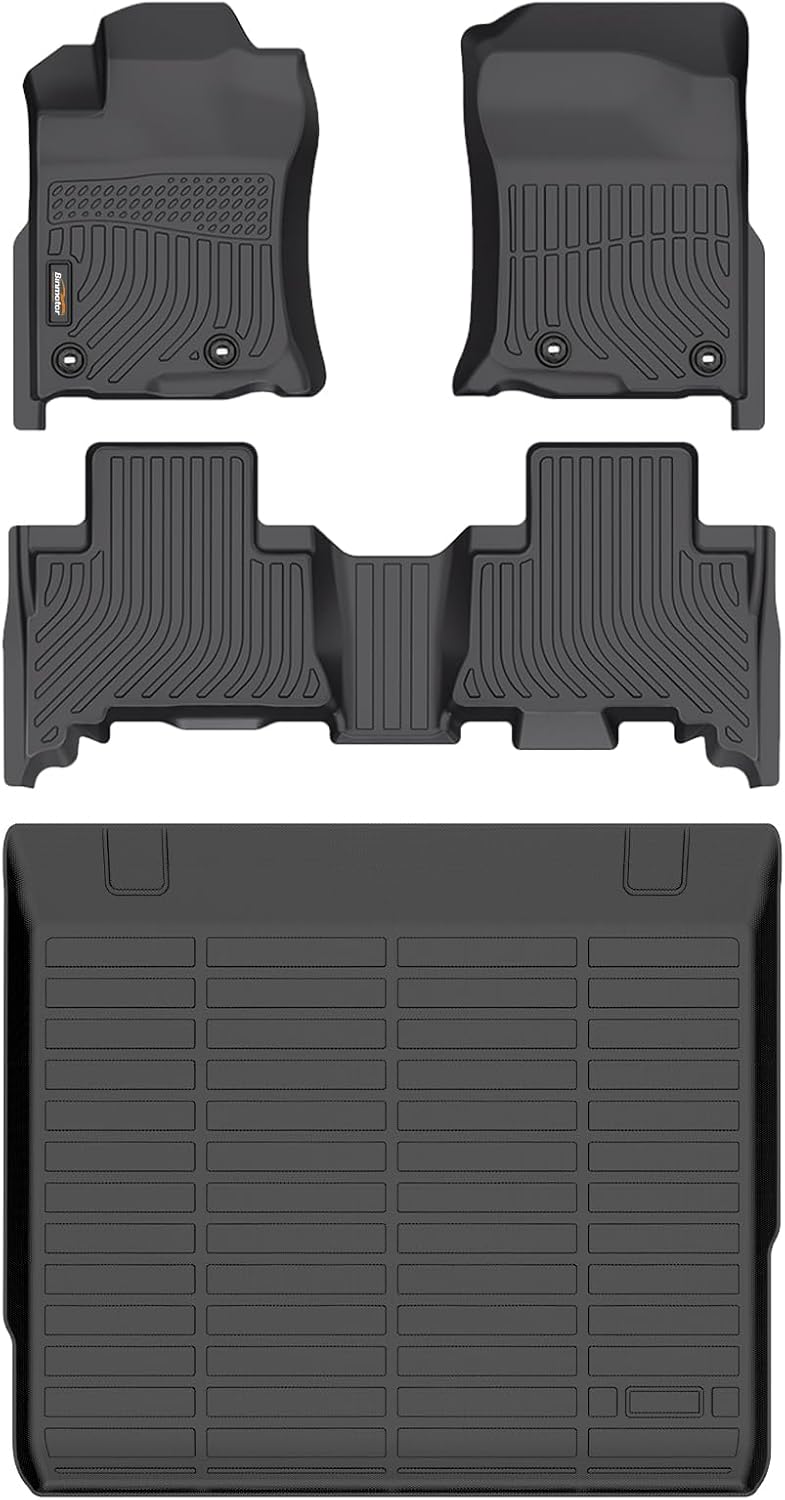
These custom-fit floor mats and cargo liner are designed for select Toyota 4Runner models and provide full-coverage protection for your interior. Made from durable TPE material with raised edges and non-slip buckles, they help contain dirt, spills, snow, and debris while staying securely in place. The waterproof design is easy to clean, making them a practical all-weather upgrade for everyday driving.

This replacement keyless entry remote set is designed for a wide range of Toyota, Scion, and related models, offering a convenient solution when your original fob is lost, damaged, or no longer working. Each remote comes pre-tested with battery and electronics already installed, and the set supports self-programming for compatible vehicles with a working key. It is intended for regular key vehicles and provides reliable remote locking and unlocking functionality.
Frequently Asked Questions
Does Every 2025 or 2026 4Runner Have a Power Liftgate?
No. Toyota describes the hands-free power liftgate as an available feature, so do not assume every sixth-generation 4Runner has it. Check the vehicle’s equipment list, controls, and vehicle settings. The power rear window is a separate 4Runner feature.
Can You Add a Power Liftgate to a 2010–2024 Toyota 4Runner?
Yes. The fifth-generation 2010–2024 4Runner can be converted with an aftermarket power-liftgate kit. These systems typically add powered struts, a controller, wiring, and additional switches. Because installation involves interior trim and electrical routing, it is a substantial modification rather than a simple strut replacement.
Why Is My 2025+ 4Runner Power Liftgate Not Working?
Start by checking whether the power rear window is fully closed and the power-back-door system is enabled. Then verify the vehicle is in an allowed operating state, test another liftgate control, and check for an obstruction or warning message. If the system lost its stored door position after a power interruption, initialization may be required.
How Do I Set the 4Runner Power Liftgate Opening Height?
On an equipped 2025+ factory system, stop the back door at the desired height and hold the switch on the lower part of the back door for approximately 2 seconds. The buzzer sounds four times when the position is saved. Holding the switch for approximately 7 seconds cancels the adjusted position.
Can the Power Liftgate Be Locked Independently From the Vehicle?
The factory 2025+ back door is integrated with the vehicle’s locking system rather than functioning as a separately keyed compartment. Toyota also provides close-and-lock functions on equipped vehicles. Use the vehicle’s normal locking controls and confirm the doors are locked before leaving the vehicle.
Will Using the Liftgate Affect My Vehicle Warranty?
Normal use of a factory-equipped power liftgate is part of the vehicle’s designed operation. For an aftermarket retrofit in the United States, installing a third-party part does not automatically cancel the entire vehicle warranty. However, warranty coverage can be denied for a repair when an aftermarket component or its installation caused the damage. Keep installation and service records and review the warranty terms for your vehicle.
How Does Extreme Cold or Heat Impact Liftgate Performance?
Temperature can affect batteries, lubricants, seals, and moving components, so liftgate speed or behavior can change in severe weather. Do not rely on an unverified universal temperature rating for every 4Runner system. If a factory liftgate repeatedly stops, binds, or displays a warning in extreme conditions, follow the Toyota troubleshooting procedure rather than forcing the door.
Can the Liftgate Be Operated While the Vehicle Is in Gear?
Do not treat the factory power back door as a feature for use while driving or intentionally operating in gear. Toyota specifies that hands-free operation requires the engine switch to be OFF or, when it is ON, the shift lever to be in P. The owner’s manual also places operating conditions on automatic opening when the engine switch is ON. Stop the vehicle and use Park before loading or unloading.
Is There a Battery Drain Risk if Left Unlocked Overnight?
A properly functioning, fully closed power back door should not be assumed to cause abnormal overnight battery drain simply because the vehicle is unlocked. If the 12-volt battery repeatedly becomes discharged, check battery condition and parasitic draw instead of assuming the liftgate is responsible. An aftermarket retrofit should also be checked for incorrect wiring or a controller that fails to enter its normal low-power state.
Conclusion
The most important point is to match the instructions to the correct 4Runner generation. A 2025+ equipped 4Runner can use Toyota’s factory power back door and hands-free kick sensor, while a 2010–2024 fifth-generation model needs an aftermarket system for powered opening and closing.
For a factory liftgate that will not operate, check the power rear window, system setting, electronic key, vehicle state, obstruction detection, and initialization status before replacing hardware. For an aftermarket fifth-generation system, focus on the retrofit fuse, grounds, wiring, controller, switches, powered struts, and water-safe installation. Keeping those two systems separate makes 4Runner power-liftgate operation and troubleshooting much easier—and prevents fifth-generation retrofit advice from being mistaken for Toyota’s sixth-generation factory procedure.