Last updated: July 15, 2026
If your tire inflator is leaking air, first notice when the hiss occurs. A brief hiss while attaching or removing the chuck can be normal because air trapped in the hose escapes. A continuous hiss while the chuck is fully connected, growing soap bubbles, or pressure loss after the inflator is removed indicates a leak.
Common leak points include the chuck-to-valve connection, hose fittings, quick couplers, O-rings, gauge body, tire valve core, and valve stem. Test one connection at a time before replacing the inflator.
Quick Answer
A tire inflator leaks air when its chuck, hose, fitting, coupler, seal, gauge, or the tire’s valve cannot hold pressure. Reseat the chuck first, then apply mild soapy water to each pneumatic connection and watch for growing bubbles. Repair the part where bubbles appear. If the tire keeps losing pressure after the inflator is removed, inspect the valve, bead, tread, and wheel instead.
Key Takeaways
- A short hiss during connection or removal may be normal. Continuous hissing while fully connected is not.
- Use a soap-bubble test on pneumatic joints to pinpoint the leak before replacing parts.
- Use PTFE thread-seal tape only on suitable tapered pipe threads when the manufacturer permits it.
- If the tire loses pressure after the inflator is removed, check the valve core, stem, bead, tread, and wheel.
- Replace cracked hoses, damaged seals, worn chucks, and faulty valve parts instead of overtightening them.
At a Glance
| Time Required | About 10–25 minutes for basic diagnosis; repair time varies |
| Difficulty | Easy to moderate |
| Tools Needed | Spray bottle or small brush, mild dish soap and water, dry cloth, valve-core tool, suitable wrench, and replacement seals or chuck if needed |
| Cost | Varies by the failed part and inflator model; diagnose the leak before buying parts |
Warning: Keep your face and hands away from a pressurized hose, chuck, valve core, or damaged fitting. Disconnect electrical power and release trapped pressure before removing parts. Never direct compressed air at skin, clothing, or another person. OSHA’s under-30-PSI rule applies specifically to compressed air used for workplace cleaning; it is not a tire-inflation limit.
Why Is My Tire Inflator Leaking Air?
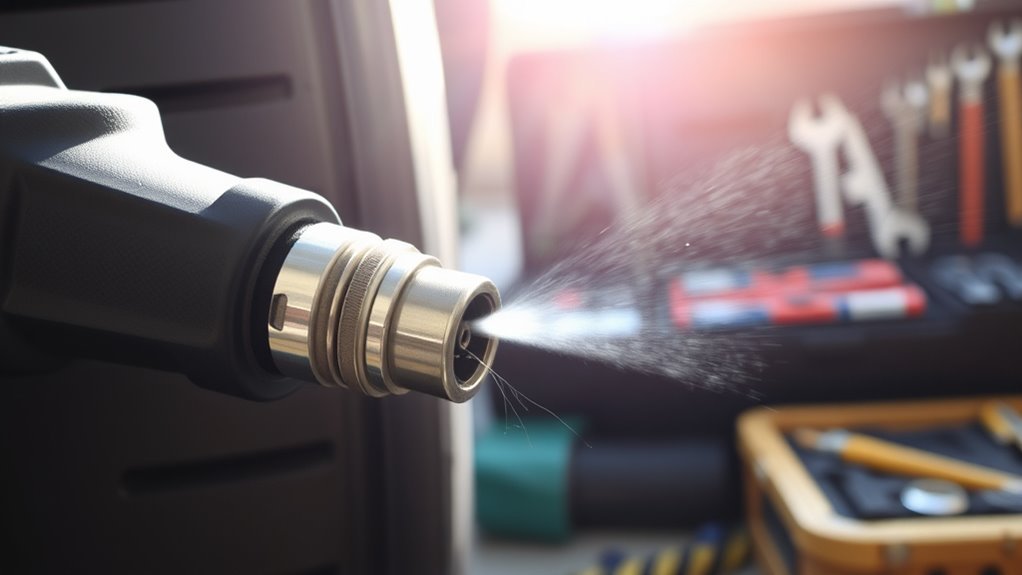
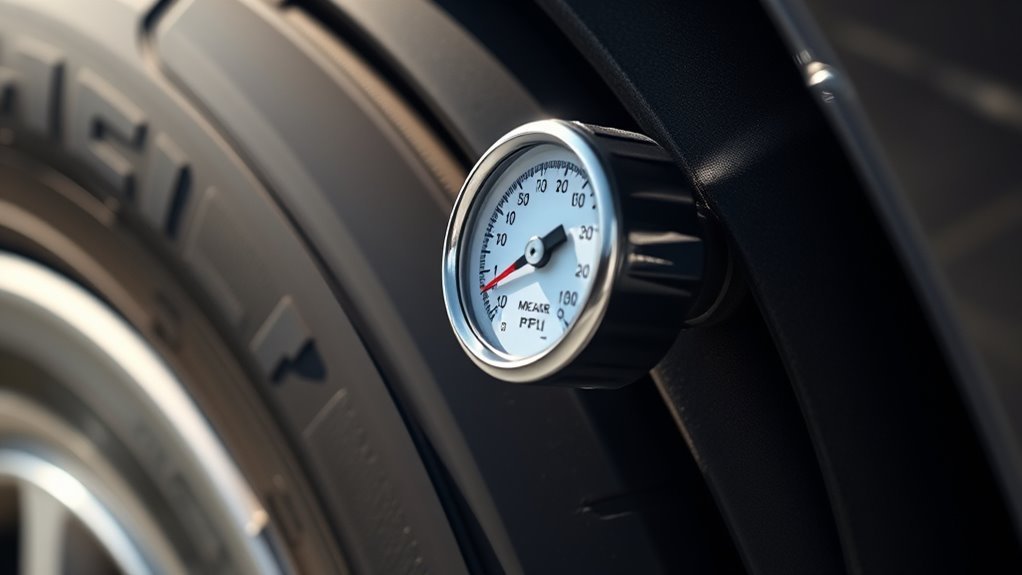
Air passes through several sealing points before it reaches the tire. A poor seal at any point can make the inflator hiss, run longer than expected, show an unstable pressure reading, or lose pressure when the pump stops. See this guide to tire inflator parts if you need help identifying the chuck, hose fitting, gauge, or compressor head.
Common leak sources include:
- Hose-to-inflator connection: The fitting, crimp, seal, or hose end may be loose, cracked, or damaged.
- Hose-to-chuck connection: The chuck may have a worn internal seal, loose fitting, or damaged body.
- Chuck-to-valve connection: The chuck may be crooked, insufficiently tightened, or unable to compress its seal around the valve stem.
- Quick-connect plug and coupler: The coupler seal may be worn, contaminated, scratched, or incompatible with the plug profile.
- Pressure-gauge or trigger assembly: Air may escape around the gauge base, bleed valve, trigger, or an internal cartridge.
- Tire valve core or stem: A loose core, damaged stem, corroded clamp-in valve, or failed TPMS service seal may leak after the inflator is removed.
- Internal check valve or compressor head: Pressure may bleed back into the unit even when no exterior joint produces bubbles.
[Products Worth Considering]
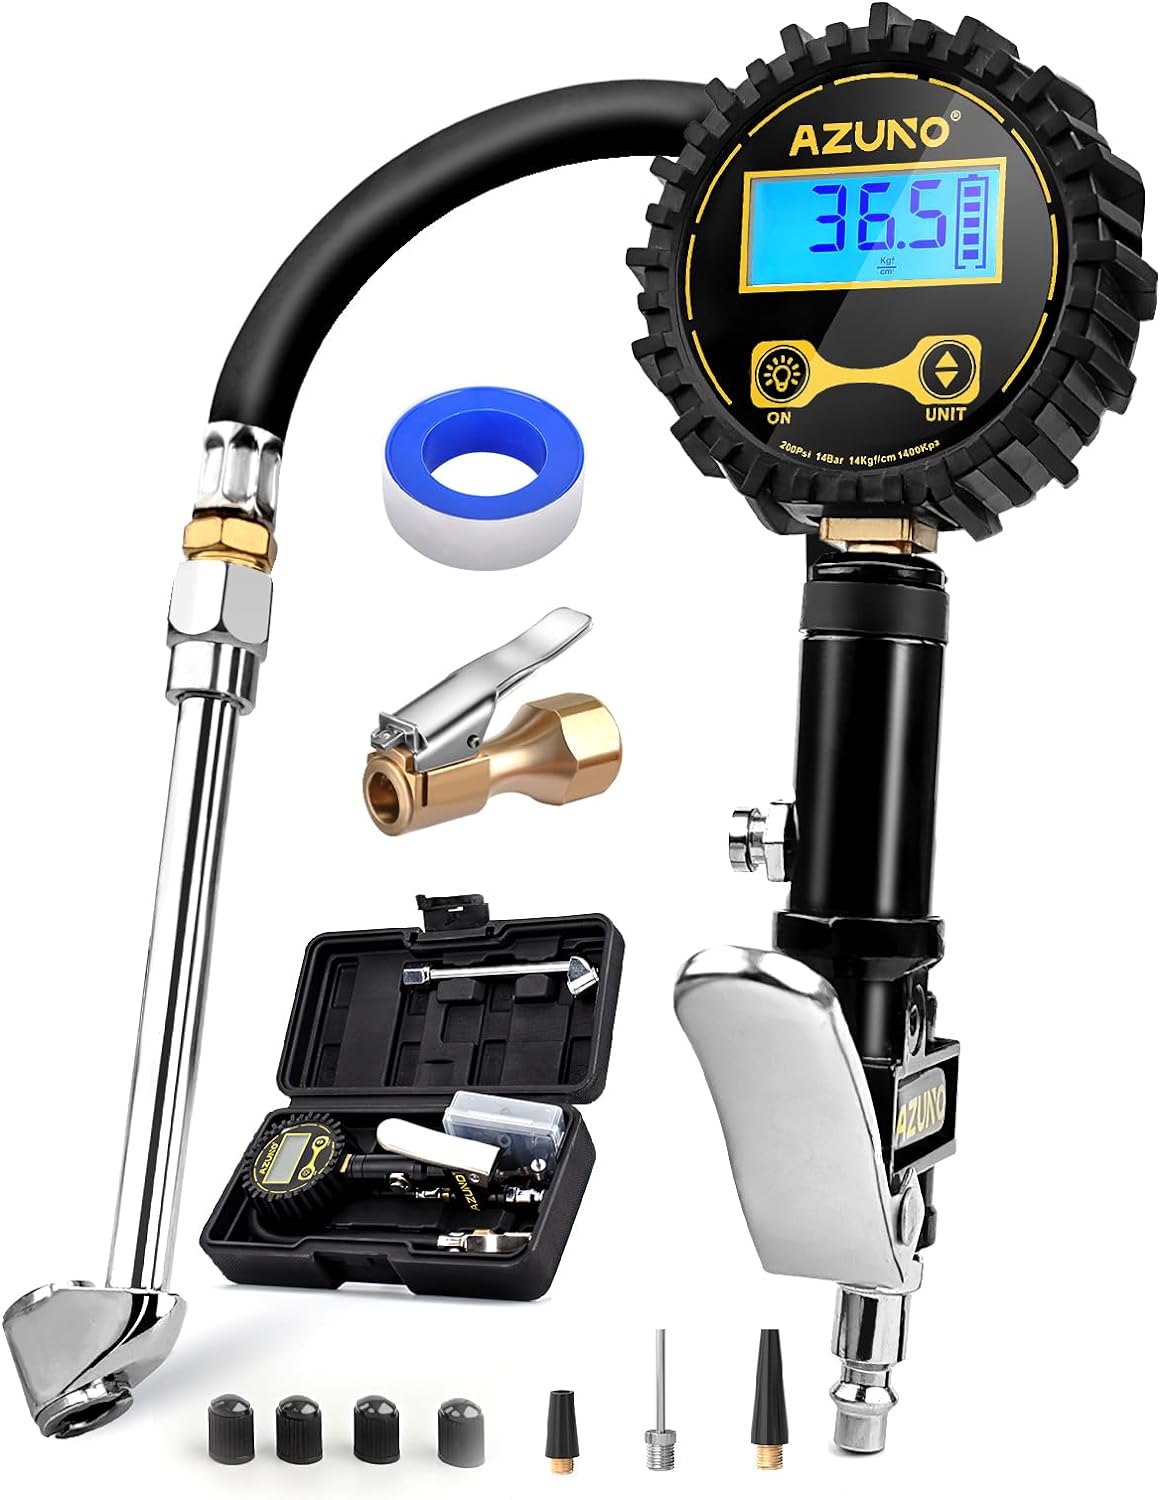
This digital tire inflator delivers accurate, easy-to-read pressure measurements with a bright backlit LCD and precise 0.1 resolution for confident inflation. Designed for single-handed use, it makes it simple to inflate or deflate tires while staying organized in the included portable carrying box. Built for a wide range of vehicles, it is a practical air compressor accessory for cars, trucks, SUVs, motorcycles, and more.

This portable tire inflator delivers fast, convenient inflation for cars, bikes, motorcycles, and balls with dual power options from a rechargeable battery or a 12V car cord. Its digital LCD pressure gauge and automatic shutoff help prevent over-inflation, while multiple preset modes and a custom setting make it easy to use for different inflation tasks. Built-in flashlight and USB power ports add extra emergency utility on the road.

This emergency tire repair kit helps you quickly fix tubeless punctures without removing the tire from the rim. It includes multiple screw sizes and sealant glue for a tight, reliable seal, making it a practical solution for roadside emergencies, travel, and everyday vehicle maintenance. Compact and easy to use, it is suitable for a wide range of vehicles, including cars, motorcycles, trucks, and ATVs.
What the Timing of the Hiss Tells You
| What You Notice | What It Usually Means | First Check |
|---|---|---|
| A brief hiss only while attaching or removing the chuck | A small amount of air is leaving the hose or connection space | Recheck tire pressure after removal; no repair is needed if pressure remains stable |
| A continuous hiss while the chuck is fully attached | The chuck is crooked, loose, worn, dirty, or not sealing around the valve | Remove and reconnect the chuck squarely, then inspect its rubber seal |
| The hiss starts or changes when the hose moves | The hose body, crimp, swivel, or fitting may be cracked | Flex the unpressurized hose gently and inspect the area that bubbled |
| Pressure drops while the inflator remains attached after shutdown | The chuck, tire valve, or an internal check valve may be leaking | Soap-test exterior joints; seek model-specific service if no external leak appears |
| The tire loses pressure after the inflator is removed | The tire valve, bead, tread, sidewall, or wheel is leaking | Test the valve first, then the bead, tread, and wheel |
Do not assume the inflator is defective until you test both the tool and the tire valve. NHTSA’s tire safety guidance recommends using the vehicle manufacturer’s pressure and checking tires regularly because underinflation affects safety, handling, and tire life.
If bubbles appear only where the chuck meets the valve, reseat or service the chuck. If the valve bubbles after the chuck is removed, the tire valve—not the inflator connection—is leaking.
How Do You Find Where the Tire Inflator Is Leaking?
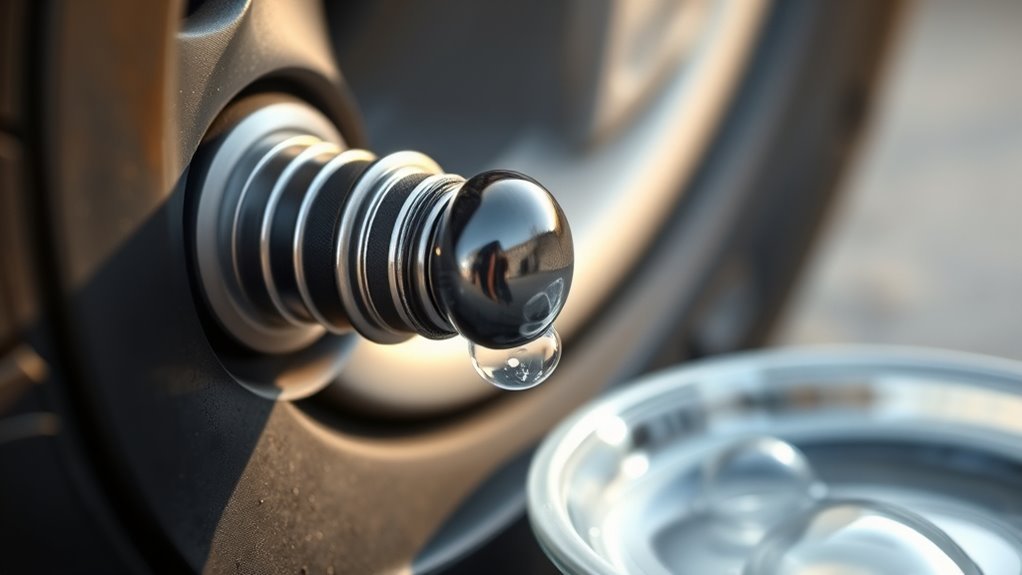
A soap-bubble test reveals the leak location because escaping air makes the solution expand into visible bubbles. Test one joint at a time so you can identify the exact failed seal.
Make a Soap Bubble Solution
Mix a few drops of mild dish soap with water in a spray bottle. The solution should wet the surface and form bubbles without becoming a thick foam that hides the connection.
Pressurize the Inflator
Connect the inflator according to its manual and run it briefly so the hose and chuck are under pressure. Do not exceed the tire’s recommended pressure or the inflator’s operating limits. If you are testing a shop inflator or gauge, use the compressor and regulator settings specified by its manufacturer.
Test Each Pneumatic Connection
Apply the solution to one area at a time:
- The hose fitting where it exits the inflator.
- The threaded or sealed joint at the air chuck.
- The chuck jaws, locking lever, or screw-on seal.
- The tire valve core and the base of the valve stem.
- Any quick-connect plug and coupler.
- The gauge base, trigger, or bleed-valve area if accessible without opening the tool.
Apply the solution only to pneumatic joints. Do not spray it into cooling vents, electrical controls, displays, battery compartments, power plugs, or an open housing. Near electronics, place the solution with a small brush or damp cloth instead.
Fast-growing bubbles indicate an active leak. Small bubbles that continue expanding indicate a slower leak. Foam that does not grow may simply be trapped from application, so wipe the area and test it again.
Pro Tip: Move the hose gently without pulling on the valve stem. Bubbles that appear only when the hose bends often point to a damaged inner liner, swivel, or crimped hose end.
How Do You Fix Each Tire Inflator Leak?
Match the bubble location and leak timing to the repair below. Disconnect power and release trapped pressure before loosening a fitting or removing a part.
| Leak Location | Likely Cause | Best Fix |
|---|---|---|
| Tapered pipe threads at an inflator, gauge, or hose fitting | Loose joint, damaged threads, or failed thread seal | Inspect the threads and use approved thread sealant only if the manufacturer identifies the joint as a sealable pipe thread |
| Air chuck connection | Crooked attachment, dirt, flattened seal, weak lever, or damaged chuck | Reconnect it squarely, clean the sealing area, or replace the chuck or serviceable seal |
| Quick coupler | Dirty or worn seal, scratched plug, or mismatched plug and coupler profiles | Clean the plug and use a matching plug-and-coupler set; replace the coupler if it still leaks |
| Gauge base, trigger, or bleed valve | Loose approved fitting, damaged cartridge, O-ring, spring, or internal valve | Follow the gauge manufacturer’s service instructions or replace the non-serviceable assembly |
| Valve center after the chuck is removed | Loose, contaminated, bent, or damaged valve core | Seat it carefully with a valve-core tool or replace the core, then reinstall a sealing cap |
| Valve-stem base | Cracked snap-in stem, failed grommet, corrosion, or TPMS service-seal failure | Have a tire professional replace the correct stem or TPMS service components |
| Hose body, crimp, or swivel | Split rubber, pinhole, heat damage, kink damage, or failed crimp | Replace the hose; do not patch a pressurized hose with household tape |
| No external bubbles, but pressure flows back into the inflator | Possible internal check valve, head seal, valve plate, or cartridge leak | Use the model’s service procedure or warranty; do not open a sealed unit without approved instructions |
[Products Worth Considering]

This tire repair rubber nail kit offers a simple self-service solution for punctures in cars, motorcycles, trucks, and more. The spiral rubber design helps create a firm seal that supports quick repairs without removing the tire, while the two included sizes make it easier to match different puncture types. Built for broad vehicle compatibility, it is a practical emergency repair option for roadside and garage use.

This tire valve stem removal tool kit provides an easy way to remove, install, and service valve cores on a variety of vehicles. It includes multiple tool styles plus valve caps and cores, making it useful for routine tire maintenance and unexpected roadside repairs. The compact design supports convenient storage and transport, while the included 4-way tool adds extra functions for valve-related tasks.
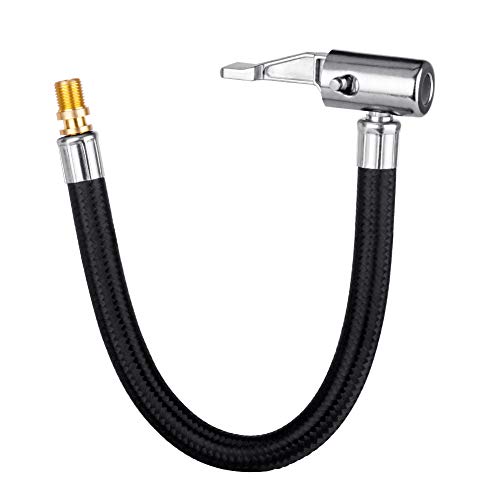
Please Note Before You Buy This:this is only an inflator hose adapter, was designed to convert screw-on(twist-on) air chuck to lock-on air chuck, not for connecting to tire inflator/pump directly, please refer to the left second&third product image.Hose end thread is standard us fine thread connection(0.305"x32TPI), the same as the thread on all USA standard car valve stems, compatible with screw-on(twist-on) air chuck's inner thread.
How to Fix a Leaky Hose Fitting
Disconnect the inflator from power and release pressure. Remove the fitting only if the manual allows it. Clean the joint and inspect for cracks, stripped threads, cross-threading, a damaged O-ring, or a missing washer.
Use PTFE thread-seal tape only on suitable tapered pipe threads, such as compatible NPT fittings, and only when the manufacturer permits it. Keep tape away from the first thread so fragments do not enter the air path. Do not tape straight threads, flare fittings, compression joints, quick-connect sealing surfaces, valve cores, O-ring joints, or the inside of a chuck.
Reinstall the fitting until it is properly seated. Do not force metal fittings into a plastic housing. If the connection still bubbles, replace the damaged fitting, hose end, seal, or housing rather than tightening it harder.
How to Fix a Leaky Air Chuck
If the chuck leaks only while attached to the tire, remove it and reconnect it directly in line with the valve stem. A crooked chuck may depress the valve core before its rubber seal closes around the stem.
Check the chuck for dirt, a hardened or flattened seal, a loose threaded joint, damaged jaws, or a weak locking lever. Replace the chuck if its sealing parts are damaged or unavailable separately.
Note: Some portable inflators use a screw-on hose instead of a locking chuck. A brief hiss during attachment or removal may be air leaving the hose. Continuous bubbling after the connector is fully seated indicates a failed seal, damaged thread, or valve problem.
How to Check the Tire Valve Core
Remove the inflator and apply the soap solution to the center of the tire valve. Growing bubbles indicate that the valve core is not sealing.
Use a proper valve-core tool to turn the core clockwise only until it is seated. Do not use pliers or a screwdriver, and do not force it tighter. If bubbles continue, replace the correct valve core, reinflate the tire, confirm pressure with a reliable gauge, and install a sealing valve cap.
If your built-in gauge gives inconsistent readings after the leak is fixed, follow this tire pressure gauge calibration guide before assuming the tire is still leaking.
What Should You Do If the Valve Components Are Damaged?
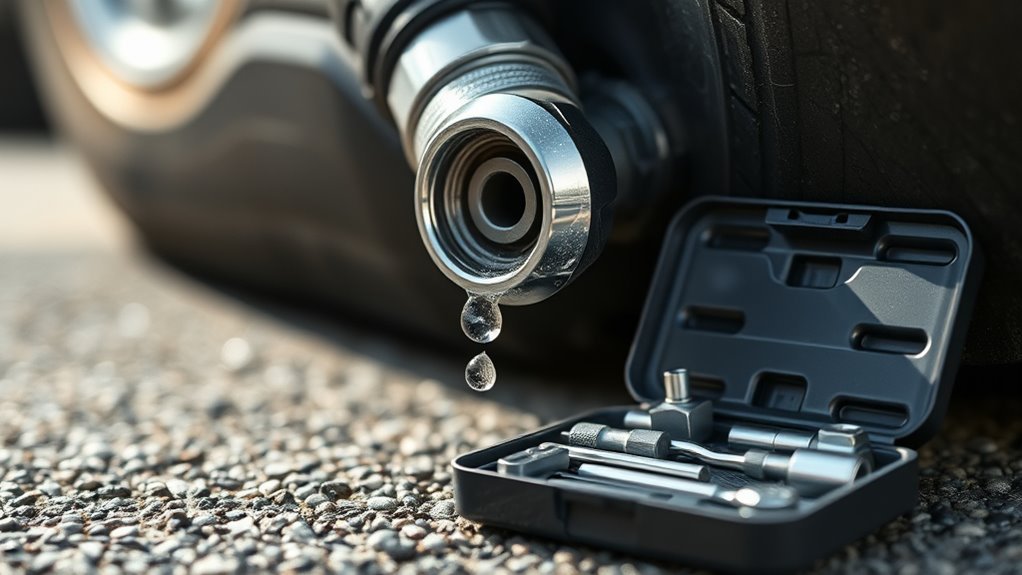
Inspect the valve stem for cracked rubber, corrosion, bending, damaged threads, a missing sealing cap, or bubbles around the base where the stem meets the wheel.
A valve core may be replaceable without removing the tire, although removing it releases tire pressure. A damaged snap-in stem, clamp-in valve, grommet, or TPMS service seal usually requires deflating the tire and separating part of the bead from the wheel.
The U.S. Tire Manufacturers Association advises using a valve that matches the wheel and pressure application. It also recommends replacing damaged valve components and using the appropriate TPMS service kit when the sensor assembly is disassembled.
Do not twist, pry, or clamp a metal TPMS valve stem. Have a tire professional service the assembly according to the vehicle, sensor, and valve manufacturer’s instructions.
[Products Worth Considering]

Practical Function: Tpms valve stem can be used with the tire pressure sensor to monitor the tire pressure in time to avoid accidents caused by tire failure. And it can maintain the air pressure inside the tire to prevent the tire from leaking. In addition, it can prevent water or dust from entering the tire, prolonging the service time of the tire

Direct replacement - the components in this tire pressure monitoring system valve kit are designed to match the original parts required to service the TPS on specified vehicles

【Compatibility 】This tire pressure sensor valve stem (TPMS) are compatible with Audi, for BMW, for Toyota, for Honda, for Mazda, for Dodge, for Chevrolet, for Chevy, for Ford, for Hyundai, for Infiniti, for Chrysler, for Jaguar, for Volvo, for Jeep, for Acura, for Peugeot, for Land Rover Valve Stem.
How Can You Tell the Tire Is Leaking Instead?
The inflator is not the source when the tire continues losing pressure after the chuck has been removed. Test these areas:
- Valve-core leak: Bubbles grow from the center of the valve.
- Valve-stem leak: Bubbles form at the rubber stem, metal grommet, or stem-to-wheel joint.
- Bead leak: Bubbles appear where the tire meets the rim, often near corrosion, debris, or wheel damage.
- Tread puncture: Bubbles appear in the tread area around a nail, screw, or small puncture.
- Wheel leak: Bubbles form near corrosion, a crack, or another damaged wheel surface.
- Temperature-related change: The cold pressure is lower, but no area produces growing bubbles and the tire remains stable afterward.
Check pressure when the tire is cold and use the vehicle placard or owner’s manual as the target. Michelin’s tire-pressure guidance recommends checking before driving or after the vehicle has been parked long enough for the tires to cool.
How Can You Prevent Future Tire Inflator Leaks?
A clean chuck, an unkinked hose, and intact seals prevent many repeat connection problems. Use these habits:
- Wipe the chuck clean. Dirt can keep its rubber seal from seating around the valve stem.
- Inspect the hose. Look for cuts, flattened areas, sharp kinks, melted spots, loose swivels, and damaged crimped ends.
- Check serviceable seals. Replace flattened, hardened, swollen, or torn O-rings with parts approved for the inflator.
- Use matching couplers. Confirm that a quick-connect plug and coupler use the same profile.
- Keep sealing valve caps installed. They protect the valve core from dirt and moisture and provide a backup seal.
- Store the inflator as directed. Avoid sharp hose bends and protect the unit from moisture, excessive heat, and impact.
- Follow the duty cycle. Stop for the cooling period stated in the manual during long inflation jobs.
- Maintain the battery correctly. Follow the battery maker’s charging and storage instructions, and charge the unit before use.
Connection styles, pressure limits, serviceable parts, and duty cycles vary by model. Follow the manual for your exact inflator instead of applying a repair procedure intended for another design.
When Should You Replace the Tire Inflator?
Replace or professionally service the inflator when its hose is non-serviceable, the housing or compressor head is cracked, an internal gauge or valve leaks, the motor struggles with a confirmed good power supply, or approved replacement parts are unavailable.
Stop using the unit if it smokes, smells burnt, exposes wiring, repeatedly trips protection after cooling, or cannot reach your vehicle’s placard pressure within the operating limits stated in its manual.
If no exterior joint produces bubbles but pressure bleeds back through the inflator after shutdown, an internal check valve, head seal, valve plate, or cartridge may be leaking. Use the manufacturer’s repair procedure or warranty rather than opening a sealed unit without instructions.
Frequently Asked Questions
Why does my tire inflator leak only when it is connected to the tire?
The chuck may be crooked, insufficiently tightened, dirty, or fitted with a worn rubber seal. Remove it and reconnect it squarely. If the connection still bubbles, inspect the chuck seal and test the tire valve after removing the inflator.
Is a short hiss normal when removing a tire inflator?
A brief hiss can be normal because air trapped in the hose or chuck escapes during removal. Recheck the tire with a reliable gauge. Continuous hissing while fully connected or ongoing pressure loss after removal indicates a leak.
Why does tire pressure drop after I remove a screw-on hose?
Some air leaves the hose as you unscrew it, but a large pressure loss may mean the connector keeps the valve core depressed for too long, the seal is worn, or the valve core is sticking. Disconnect the hose promptly, recheck pressure, and test the valve for bubbles.
Can I use PTFE thread-seal tape to stop a tire inflator leak?
Use PTFE tape only on suitable tapered pipe threads when the inflator manufacturer permits it. Do not use it on straight threads, O-ring joints, valve cores, quick-connect sealing surfaces, flare fittings, compression joints, or inside an air chuck.
Can a valve cap stop a tire from leaking?
A sealing valve cap can provide a backup seal and keep contamination away from the valve core. It should not replace repair of a leaking core, cracked stem, damaged TPMS seal, bead leak, puncture, or wheel defect.
Why does my inflator keep hissing after I release the trigger or stop the pump?
Air may be escaping through the chuck, gauge cartridge, bleed valve, trigger assembly, quick coupler, or an internal check valve. Soap-test all accessible pneumatic joints. If none bubbles but pressure still flows back into the unit, follow the manufacturer’s service or warranty procedure.
Conclusion
To fix a tire inflator leaking air, start by identifying when the hiss occurs and where bubbles grow. Reseat the chuck before replacing parts, then test the hose, approved fittings, coupler, gauge area, valve core, and valve-stem base.
Repair the exact failed seal instead of overtightening every connection. If the tire loses pressure after the inflator is removed, move the diagnosis to the valve, bead, tread, and wheel. Reinflate to the vehicle’s recommended cold pressure and confirm the final reading with a reliable gauge.
Sources
- NHTSA TireWise — supports using the vehicle manufacturer’s recommended pressure and regular tire checks.
- Michelin Tire Pressure Guide — supports checking pressure when tires are cold and explains normal short-term hissing during a pressure check.
- U.S. Tire Manufacturers Association TISB 40 — supports correct valve selection, sealing caps, valve inspection, and TPMS service considerations.
- OSHA 29 CFR 1910.242 — supports the workplace rule for compressed air used for cleaning.
- JACO FlowPro Troubleshooting — supports model-specific diagnosis of leaks at chucks, NPT fittings, O-rings, triggers, and quick-connect connections.
- Fanttik Valve-Connection Troubleshooting — supports checking chuck alignment, screw-on connector seating, hose movement, and valve-interface leaks.