

A tire inflator looks simple from the outside, but each part has a job. The hose carries air, the air chuck seals to the tire valve, the motor drives the compressor, and the gauge tells you when to stop. Understanding these parts helps you choose a better inflator, avoid air leaks, and keep your tires at the pressure listed on your vehicle’s tire placard.
Quick Answer
The main tire inflator parts are the hose, air chuck, motor-driven compressor, gauge, power cord or battery, fittings, and pressure controls. The hose and chuck move air into the valve stem, the motor compresses the air, and the gauge helps you inflate to the vehicle manufacturer’s recommended cold tire pressure.
Key Takeaways
- The hose, chuck, motor, and gauge are the core parts that determine how easy and accurate tire inflation feels.
- Always inflate to the vehicle’s recommended cold tire pressure, not the maximum pressure molded into the tire sidewall.
- Maximum PSI is not the same as speed; airflow, duty cycle, hose design, and motor quality also matter.
- Most poor inflation experiences come from leaks, weak power connections, inaccurate gauges, or a chuck that does not seal well.
At a Glance
| Time Required | 5–10 minutes to check and top off most passenger-car tires |
| Difficulty | Easy, as long as the tire is not damaged and the valve stem is accessible |
| Tools Needed | Tire inflator with gauge, valve caps, vehicle placard or owner’s manual, and soapy water for leak checks if needed |
| Cost | Usually no extra cost if you already own the inflator; replacement hoses, chucks, or fittings vary by model |
Key Considerations for Choosing the Right Tire Inflator
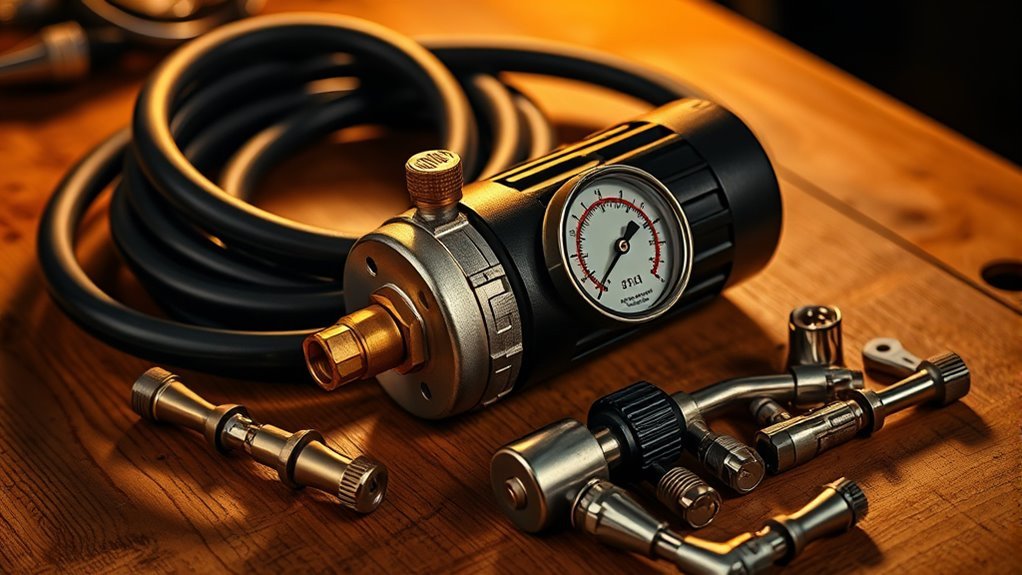
When you choose a tire inflator, start with the tires you actually need to service. A compact 12-volt inflator may be enough for a small car, while a truck, RV, trailer, or off-road tire may need stronger airflow, a longer duty cycle, and a more durable hose and chuck.
Do not judge an inflator by maximum PSI alone. Some service-style inflator gauges are rated for ranges such as 10–160 PSI, while some digital inflators list ranges up to 255 PSI. Those numbers tell you the pressure range the tool can measure or handle, but they do not tell you how fast it fills a tire. Inflation speed also depends on airflow, motor strength, hose restriction, power source, and how long the unit can run before it needs to cool down.
Warning: Inflate tires to the vehicle manufacturer’s recommended cold tire pressure, usually found on the driver-side door placard or in the owner’s manual. Do not use the tire sidewall’s maximum PSI as your normal inflation target. The sidewall number is a tire limit, not the vehicle’s recommended pressure.
Look for these features before buying:
- Accurate gauge: Digital gauges are easy to read, but a high-quality analog gauge can also work well. Choose a tool with a clearly stated accuracy rating.
- Auto shutoff: A preset shutoff helps prevent overinflation, especially when topping off several tires.
- Power source: 12-volt inflators are convenient in a vehicle, cordless models are portable, and AC or shop-air setups are better for garage use.
- Duty cycle: This tells you how long the inflator can run before cooling down. It matters most for large tires or multiple tires.
- Hose and chuck quality: A good hose stays flexible, and a good chuck seals without constant hand pressure.
- Adapters: Extra needles and nozzles are useful for balls, inflatables, bikes, and some Presta-valve setups.
[Products Worth Considering]
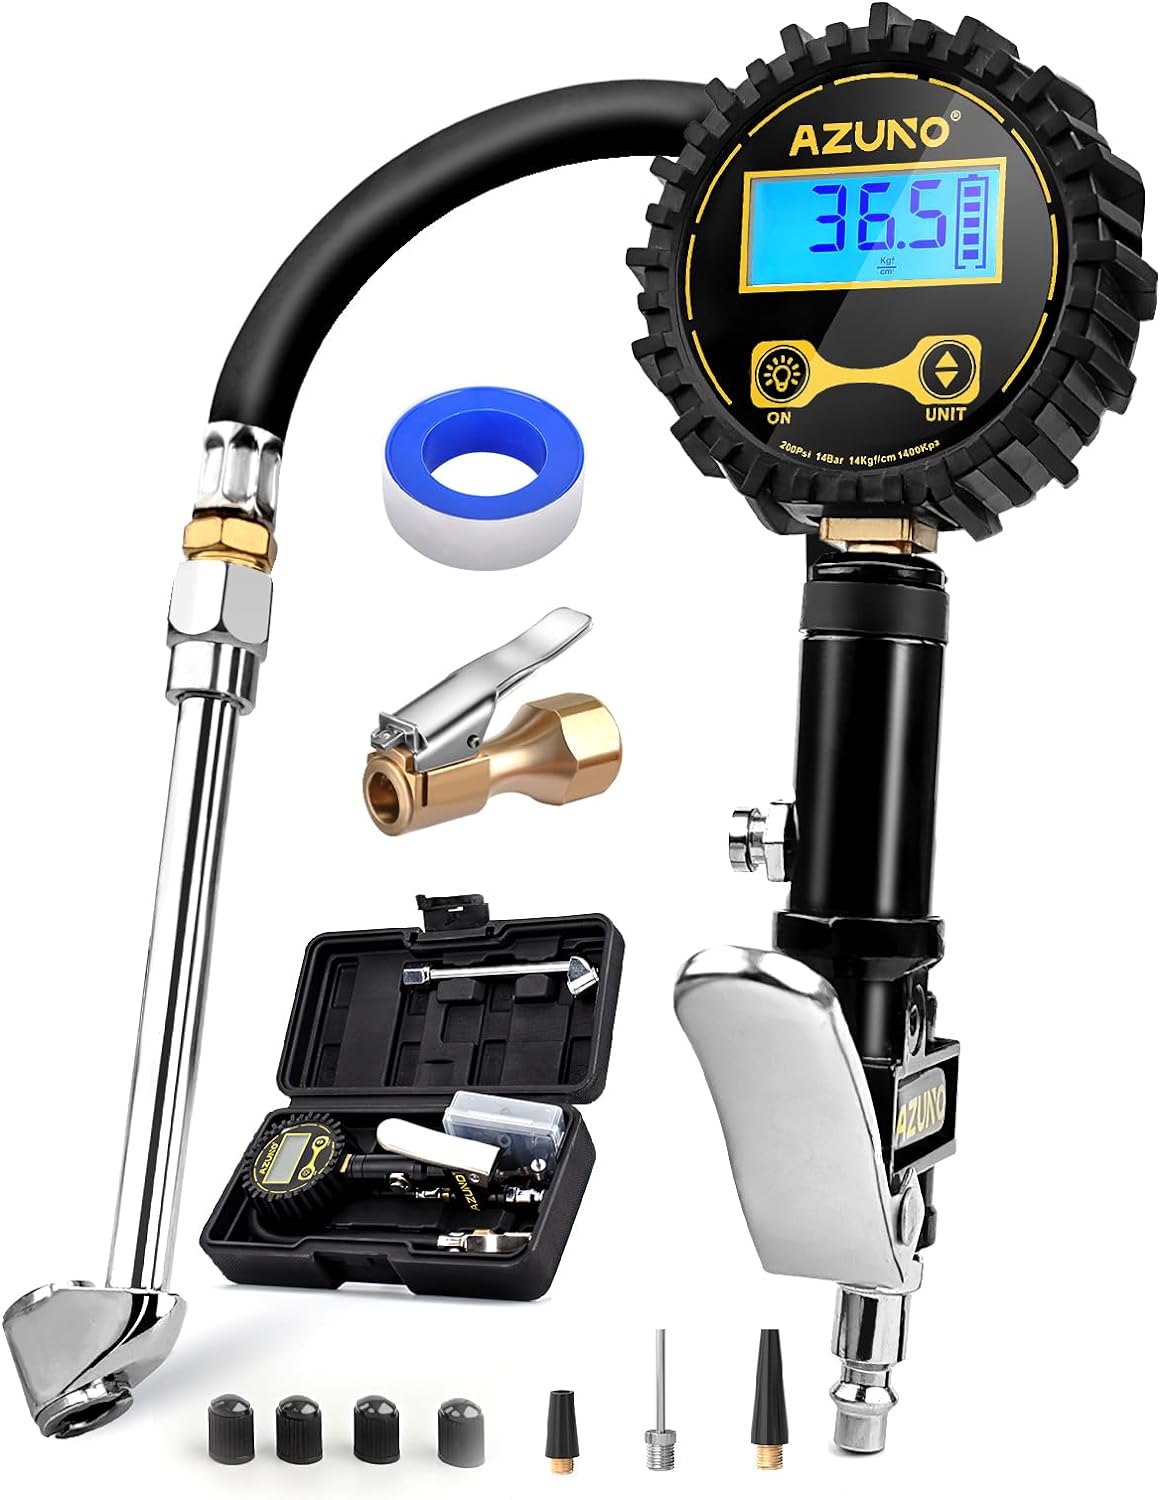
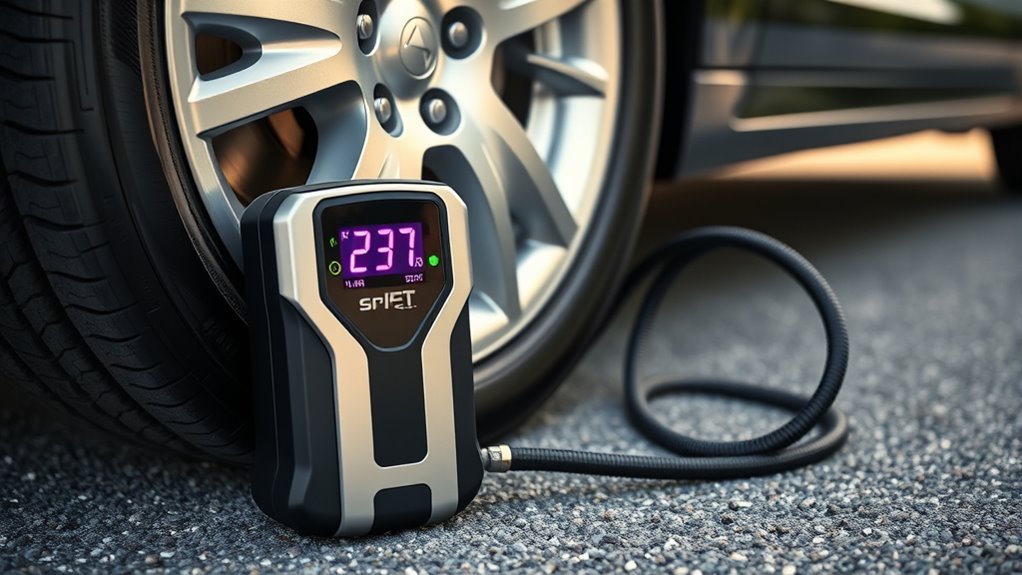
This digital tire inflator delivers accurate, easy-to-read pressure measurements with a bright backlit LCD and precise 0.1 resolution for confident inflation. Designed for single-handed use, it makes it simple to inflate or deflate tires while staying organized in the included portable carrying box. Built for a wide range of vehicles, it is a practical air compressor accessory for cars, trucks, SUVs, motorcycles, and more.

This compact vehicle power inverter converts DC power to AC, giving you reliable off-grid charging for laptops, small appliances, and everyday electronics while traveling. It includes dual AC outlets and USB ports for convenient multi-device charging, plus built-in safety protections and a cooling fan for dependable use on the road.

This compact car power inverter converts DC vehicle power to AC household power, making it easy to charge laptops, tablets, and other electronics on the go. It includes two AC outlets and two USB ports for versatile charging, plus built-in protection features, a cooling fan, and a durable aluminum housing for reliable travel use. Designed for road trips, camping, and commuting, it offers a convenient power solution with broad vehicle compatibility.
Main Tire Inflator Parts and What They Do
Most tire inflators share the same basic system: power goes into the motor, the motor drives a small compressor, compressed air moves through the hose, and the air chuck delivers it into the valve stem while the gauge tracks pressure.
| Part | What It Does | What to Check |
|---|---|---|
| Hose | Carries compressed air from the inflator to the tire. | Cracks, stiffness, kinks, loose fittings, and heat damage. |
| Air chuck | Locks or presses onto the valve stem to create a seal. | Fit, seal quality, valve compatibility, and worn rubber washers. |
| Motor and compressor | Compresses air and pushes it through the hose. | Overheating, weak output, noise changes, and duty cycle limits. |
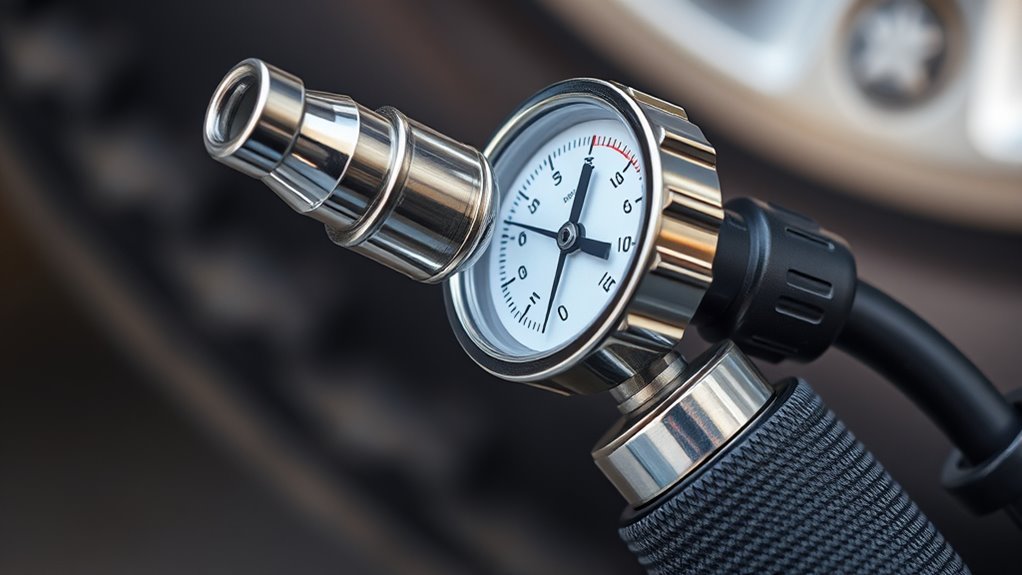
| Gauge | Shows tire pressure so you know when to stop inflating. | Accuracy, readability, backlight, units, and calibration confidence. |
| Fittings and couplers | Connect the hose, gauge, chuck, and compressor outlet. | Thread type, leaks, damaged seals, and correct quick-connect size. |
| Pressure controls | May include a trigger, bleed valve, preset pressure, or auto shutoff. | Smooth operation, accurate shutoff, and easy pressure release. |
Why the Hose Matters in Tire Inflators
The hose is the path between the inflator and the tire, so a weak or leaking hose can make even a powerful inflator feel slow. A good tire inflator hose should be flexible enough to reach the valve stem without strain, strong enough for the tool’s pressure rating, and fitted with secure connections at both ends.
Short hoses are easier to store, but they can make it harder to reach awkward valve stems. Longer hoses give you more working room, especially on trucks, trailers, and dual-wheel setups, but they should still resist kinking and abrasion. Rubber, EPDM, reinforced PVC, and braided designs are common, but the best choice depends on how often you use the inflator and whether it will live in a trunk, garage, or service shop.
Pro Tip: If inflation is slow and the motor sounds normal, spray a little soapy water around the hose fittings and chuck connection. Bubbles usually mean an air leak, not a weak motor.
Connecting the Air Chuck to Your Tire Valve
The air chuck is the small fitting that attaches to the tire valve stem. Its job is simple: make a tight seal so air goes into the tire instead of escaping around the valve. A poor chuck fit can cause hissing, inaccurate gauge readings, and slow inflation.
Proper Chuck Selection
There are two common air chuck flow styles: open flow and closed flow. Open-flow chucks allow air to pass through continuously when connected to an air source. Closed-flow chucks include a shutoff design that allows airflow only when the chuck is seated on the valve stem. Air-chuck makers describe these as different options for different inflator and compressor setups.
| Air Chuck Type | How It Works | Best Use Case |
|---|---|---|
| Open flow | Air can pass through the chuck whenever the line is pressurized. | Inflator gauges, portable pumps, and setups with a trigger or valve controlling airflow. |
| Closed flow | Air flows only when the chuck is pressed or locked onto the valve stem. | Direct compressor-hose setups or situations where you want less air loss when disconnected. |
Also pay attention to the chuck shape. A straight chuck is fine for many passenger-car wheels. A 90-degree or angled chuck can make motorcycles, trailers, inner dual wheels, and tight valve stems much easier to reach.
Ensuring Secure Connection
To connect the air chuck, remove the valve cap, align the chuck squarely with the valve stem, and press or lock it in place. If you hear a steady hiss, the chuck is not sealed. Re-seat it before adding air.
A screw-on chuck usually seals well but may release a little air when removed. A clip-on chuck is faster, but its internal seal can wear out. A push-on chuck is simple, but it may require hand pressure the entire time. Whichever style you use, the connection should feel stable and should not wiggle while the tire is inflating.
The Role of the Motor in Tire Inflators
The motor powers the compressor mechanism. In a small portable inflator, that motor may run from a 12-volt vehicle outlet or a rechargeable battery. In a garage setup, the air may come from a larger AC compressor with a tank. The stronger and better-cooled the motor and compressor system, the more confidently it can handle larger tires and repeated inflation jobs.
Motor Power Specifications
Motor specs can include voltage, wattage, amperage, maximum pressure, airflow, and duty cycle. For tire inflation, airflow and duty cycle often matter more than a flashy maximum PSI number. A high max PSI rating may look impressive, but a low-airflow inflator can still take a long time to fill a large tire.
If you use a 12-volt inflator, check the current draw and the vehicle outlet rating. Some heavier inflators connect directly to the battery with clamps because they need more current than a cabin power outlet can safely provide.
Efficiency and Performance
A strong inflator should reach the target pressure without overheating, tripping a fuse, or slowing dramatically. For occasional passenger-car top-offs, a compact unit may be enough. For off-road tires, LT tires, trailers, or repeated fills, look for a unit with a higher duty cycle, better cooling, and stronger hose and chuck hardware.
| Power Type | Strength | Watch Out For |
|---|---|---|
| 12-volt portable | Easy to keep in the car for emergencies. | Slow fill times, outlet amp limits, and heat buildup. |
| Cordless battery | Portable and convenient without cords. | Battery charge, battery age, and runtime limits. |
| AC plug-in | Good for home garage use. | Less useful for roadside emergencies unless you have power nearby. |
| Shop compressor | Fast, durable, and ideal for frequent use. | Requires the right regulator, hose, chuck, and pressure control. |
Maintenance and Longevity
To keep the motor and compressor healthy, follow the duty cycle in the manual, keep vents clear, and let the unit cool if it becomes hot. Store the cord, hose, and adapters neatly so they do not pull on the fittings. If the motor starts sounding rough, smells hot, or struggles to build pressure, stop using it until you inspect the hose, chuck, power source, and air path.
Why Accurate Gauges Matter
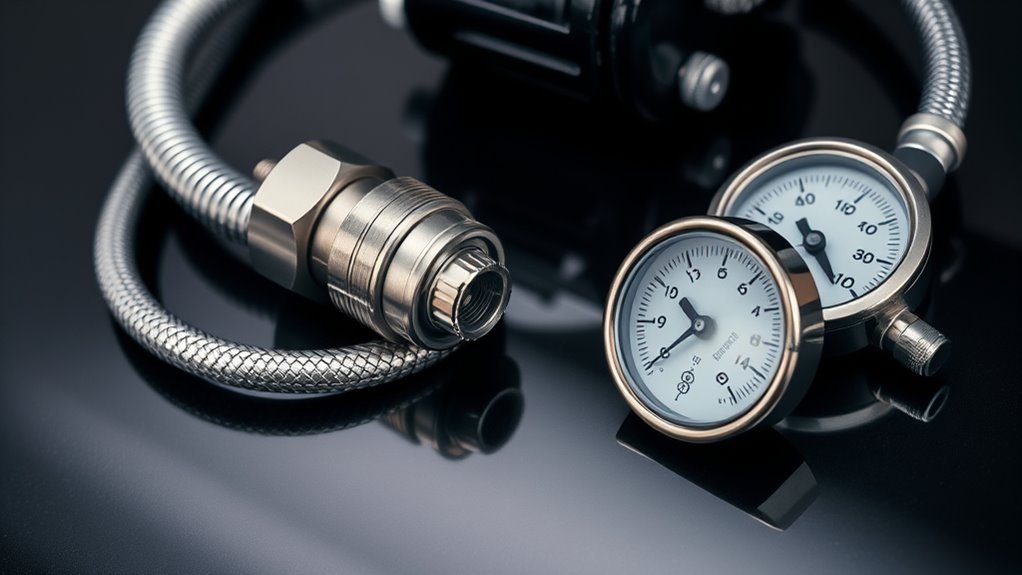
An accurate gauge matters because tire pressure affects safety, tire wear, handling, and fuel economy. The National Highway Traffic Safety Administration says to measure tire pressure when tires are cold or to account for the pressure change in warm tires. A cold tire is one that has not been driven on for at least three hours.
The right target pressure is not guessed. Use the tire information placard, certification label, or owner’s manual. This recommended pressure is set by the vehicle manufacturer for the vehicle’s tire size and load needs.
According to FuelEconomy.gov, keeping tires inflated to the proper pressure can improve gas mileage by 0.6% on average and up to 3% in some cases.
Digital gauges are easy to read in low light and may show PSI, kPa, bar, or kg/cm². Analog gauges do not need batteries and can be very reliable if well made. Pencil-style gauges are compact, but they can be harder to read precisely. Whatever style you use, compare it occasionally against a trusted gauge if readings seem inconsistent.
Air Chuck Types for Tire Inflators
Choosing the right air chuck can make tire inflation faster and less frustrating. The chuck must match your valve stems, your hose, and the way your inflator controls airflow. Standard passenger vehicles usually use Schrader valves, while some bicycles use Presta valves and need an adapter.
Common chuck designs include:
- Clip-on chuck: Locks onto the valve stem so you can inflate hands-free.
- Screw-on chuck: Threads onto the valve stem and often seals well, but takes longer to attach and remove.
- Push-on chuck: Fast and simple, but usually needs steady hand pressure.
- Dual-head chuck: Helps reach inner and outer valve stems on dual-wheel setups.
- Angled chuck: Useful when the valve stem sits close to the wheel or brake hardware.
Note: If a chuck leaks only while attached, the seal may be worn or the chuck may be sitting at an angle. If it leaks even when removed from the tire, the problem may be inside the chuck or fitting.
[Products Worth Considering]

This compact car power inverter converts DC 12V from your vehicle into AC 110V power, making it easy to charge and run everyday electronics on the go. It includes two AC outlets and four USB ports for convenient multi-device charging, while its efficient design helps reduce heat and operating noise. Built with multiple safety protections and a portable, space-saving form factor, it is a practical travel companion for road trips, commutes, and emergency power needs.
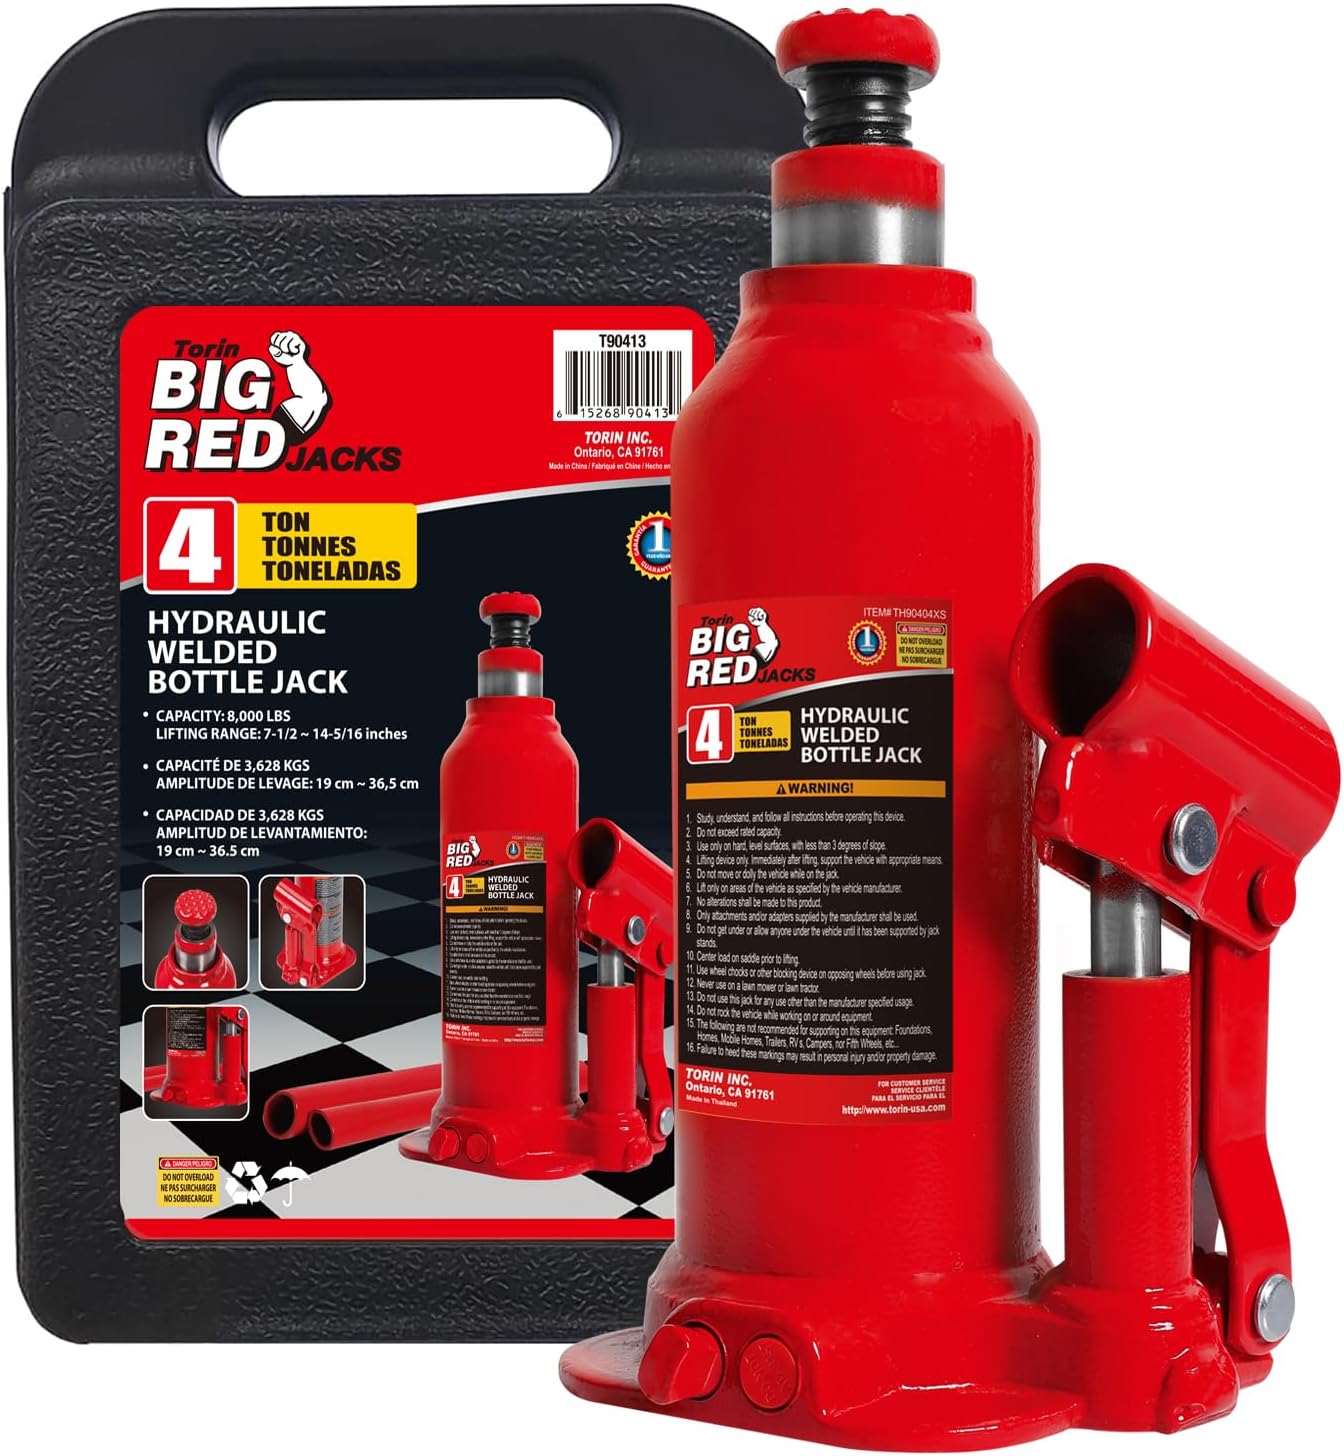
The Torin Big Red hydraulic bottle jack is built for residential and commercial lifting tasks, offering a stable wide base and rugged steel construction for dependable performance. Its smooth pressure pump, adjustable screw top extension, and serrated saddle make lifting easier and more secure, while the included carrying case simplifies storage and transport. Designed to meet ASME safety standards, it is ideal for vehicles, machinery, and other heavy-duty applications.
How to Use a Tire Inflator With a Gauge
Use the inflator when the tires are cold whenever possible. This gives the most accurate comparison to the pressure listed on the vehicle placard.
- Find the recommended PSI. Check the driver-side door placard, certification label, or owner’s manual.
- Inspect the tire first. Do not inflate a tire with visible sidewall damage, exposed cords, severe cracking, or a suspected blowout condition.
- Remove the valve cap. Put it somewhere safe so it does not roll away.
- Attach the chuck squarely. Press, clip, or screw it onto the valve stem until the hissing stops.
- Read the current pressure. Some inflators show pressure only when airflow pauses; check your manual if the reading jumps around.
- Add air in short bursts. If the inflator has auto shutoff, set the target PSI before starting.
- Stop at the recommended pressure. If you overfill, use the bleed valve or gently press the valve core to release a little air.
- Recheck the pressure. Wait a few seconds, then confirm the final reading.
- Remove the chuck quickly and straight. A tiny puff of air is normal; a long hiss means the chuck was removed too slowly or did not release cleanly.
- Replace the valve cap. The cap helps keep dirt and moisture out of the valve.
Warning: Do not use a tire inflator or compressor hose as a cleaning air gun. OSHA limits compressed air used for cleaning unless it is reduced below 30 psi and used with proper guarding and personal protective equipment.
[Products Worth Considering]

RAPID INFLATION & ROAD-READY PORTABILITY: Powerful 120W motor delivers up to 35L/min airflow—inflates a standard car tire (195/65 R15) from 30 to 36 PSI in under 1 minute under ideal operating conditions. Weighs only 2.2 lbs and fits glove compartments or trunks for daily commutes, road trips, and emergencies. Plugs into standard 12V DC car outlet with 15A fuse protection. AIRUN H features its cordless counterpart H2 Pro.

TRUSTED BY OVER 3 MILLION USERS: Based in Garden Grove, California, AstroAI serves customers in more than 15 countries worldwide. Known for professional-grade accuracy and durable construction, this digital tire inflator with gauge is a trusted choice for drivers, mechanics, and DIYers who rely on dependable tools.

Accurate: Spurtar tire inflator air pressure gauges with rubber hose are performance-tested and calibrated to the ANSI B40.1 Grade B (2%) international accuracy standard. This device allows you to measure your tire pressure accurately and inflate your tires without the need to drive to a gas station or garage. Easily use the tire pressure gauge with an air pump or compressor to inflate your tires efficiently
Troubleshooting Common Tire Inflator Problems
A tire inflator can fail in several simple ways. Start with the hose, chuck, power source, and gauge before assuming the motor is bad.
| Problem | Likely Cause | Fix |
|---|---|---|
| Air hisses at the valve | Chuck is crooked, loose, or worn. | Re-seat the chuck, inspect the seal, or replace the chuck. |
| Inflator runs but pressure rises slowly | Leak, kinked hose, weak airflow, or tire is larger than the inflator can handle quickly. | Check hose routing, test for leaks, and let the inflator cool if needed. |
| Gauge reading jumps around | Air is flowing, chuck is leaking, or gauge response is unstable. | Pause airflow, re-seat the chuck, and compare with a separate gauge. |
| Motor stops during use | Thermal protection, blown fuse, low battery, or exceeded duty cycle. | Let it cool, check power, inspect the fuse, and follow the manual’s runtime limit. |
| Auto shutoff stops too early or too late | Sensor delay, unstable pressure reading, or low-quality gauge. | Set the target carefully, wait for pressure to stabilize, and verify with a trusted gauge. |
Accessories to Enhance Your Tire Inflation Experience

The right accessories can make one inflator useful for more jobs. A longer hose helps with trailers and rear wheels. A dual-head chuck helps with dual-wheel trucks. A quick-connect fitting makes tool changes faster. A separate handheld gauge gives you a second reading if the built-in gauge seems questionable.
Useful accessories include:
- Replacement hose whip: Restores performance when the original hose cracks, kinks, or leaks.
- Angled or dual-head chuck: Helps reach tight valve stems and dual wheels.
- Quick-connect fittings: Speed up changes between inflator tools and compressor accessories.
- Bleed valve: Lets you release excess pressure without removing the chuck.
- Presta adapter: Makes the inflator useful for many bicycle tires.
- Carrying case: Protects the hose, cord, gauge, and adapters in the trunk.
Pro Tip: Keep a spare valve cap and a small adapter kit with the inflator. Small parts are easy to lose, and missing them is frustrating during a roadside top-off.
When to Repair or Replace Tire Inflator Parts
Replace a hose if it has cracks, bubbles, exposed reinforcement, burn marks, or leaks at the crimped ends. Replace a chuck if it no longer seals, if the locking lever is loose, or if the internal washer is damaged. Replace fittings if threads are stripped or if they keep leaking after proper tightening.
The motor and compressor are different. If the inflator is inexpensive and the motor fails, replacement is often more practical than repair. For professional or higher-end units, check whether the manufacturer sells hose assemblies, chucks, gauges, valve cartridges, or rebuild parts.
Frequently Asked Questions
How do you read a tire inflator gauge?
Attach the chuck securely, let the reading stabilize, and read the pressure in PSI, kPa, bar, or the unit your gauge displays. For the best result, check pressure when the tire is cold and compare it with the vehicle placard, not the tire sidewall maximum.
What are the two gauges on my air compressor?
Many shop compressors have a tank pressure gauge and an outlet or regulated pressure gauge. The tank gauge shows stored air pressure inside the tank. The outlet gauge shows the pressure being delivered through the hose after the regulator.
How do you use an air chuck with a gauge?
Press, clip, or screw the air chuck onto the valve stem until it seals. Read the gauge, add air in short bursts, and stop at the recommended cold tire pressure. If the gauge is built into the inflator, pause airflow briefly if the reading is unstable.
What is a tire inflator with gauge?
A tire inflator with gauge combines an air source or air-control tool with a pressure gauge. It lets you add air and monitor tire pressure with one device, which is more convenient than using a separate compressor and handheld gauge.
Should I inflate my tires to the PSI on the sidewall?
No. The sidewall PSI is usually the tire’s maximum pressure, not the vehicle’s recommended pressure. Use the vehicle placard or owner’s manual for normal inflation.
How often should I check tire pressure?
Check tire pressure at least once a month and before long trips. Tires naturally lose air over time, and pressure also changes with temperature.
Conclusion
A tire inflator is only as good as its parts. The hose must carry air without leaking, the chuck must seal to the valve stem, the motor must run within its limits, and the gauge must help you stop at the correct pressure. Once you understand how those parts work together, choosing, using, and troubleshooting a tire inflator becomes much easier.
For the safest results, check tires cold, use the pressure listed by the vehicle manufacturer, and stop using the inflator if the hose, chuck, gauge, or motor shows signs of damage. A few minutes of careful inflation can help protect your tires, improve fuel economy, and keep you ready for the road.
Sources
- NHTSA TireWise: Tire Safety Ratings and Awareness — backs cold tire pressure, placard pressure, and tire-safety guidance.
- FuelEconomy.gov: Keeping Your Vehicle in Shape — backs fuel-economy impact of proper tire inflation.
- OSHA 29 CFR 1910.242 — backs compressed-air cleaning safety warning.
- Milton Tire Inflator Gauge With Dual Head Air Chuck — example of service-style inflator gauge range and hose/chuck specifications.
- JACO Lightning Air Chucks FAQ — backs open-flow and closed-flow air chuck differences.


[…] show an unstable pressure reading, or lose pressure when the pump stops. See this guide to tire inflator parts if you need help identifying the chuck, hose fitting, gauge, or compressor […]
[…] For a broader explanation of the hose, chuck, gauge, motor, and other components, see the site’s tire inflator parts guide. […]