
[VERIFY: add the real author/reviewer name and relevant qualifications] · Reviewed against Toyota owner documentation and current recall notices · Last updated: July 31, 2026
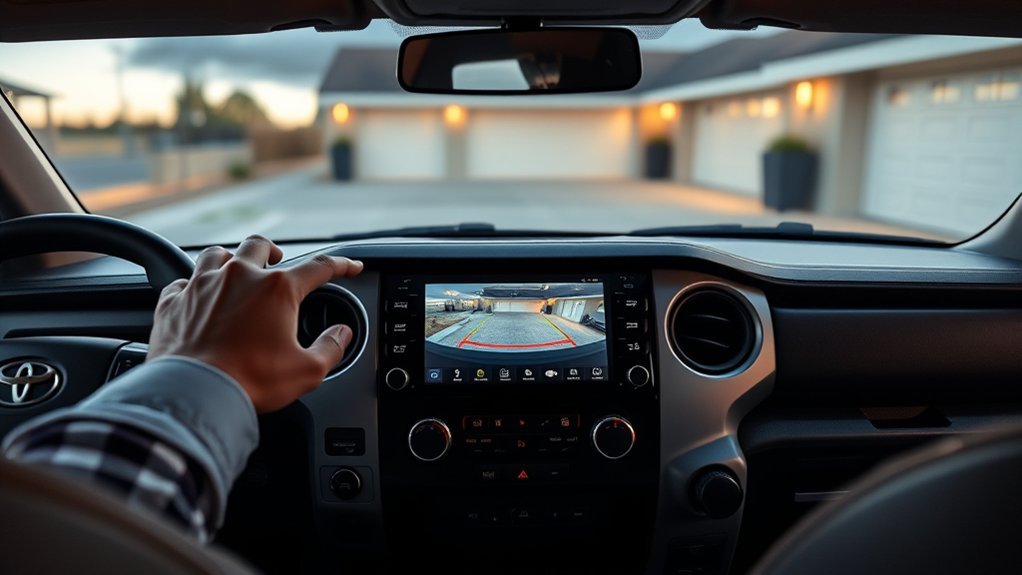
A factory-equipped Toyota Tundra backup camera activates automatically when you shift into Reverse with the ignition on. There is no separate activation setting for the basic rearview monitor. On trucks equipped with a Panoramic View Monitor or Multi-terrain Monitor, a separate camera switch can open additional views at low speed, and an Automatic Display setting may show a camera view in Drive or Neutral when the truck slows to approximately 10 mph or less. Camera controls, guide-line colors, and available views vary by model year and equipment.
This guide explains how to identify your camera system, activate available views, interpret the guide lines, align a trailer hitch, set linked reverse mirrors, and troubleshoot a black, green, frozen, or missing image. For detailed trailer-steering techniques, see this guide to backing a trailer with a Toyota Tundra.
Quick Answer
Shift into Reverse and the factory rearview image should appear automatically. If it does not, stop backing and shift to Park. Do not treat the camera switch as a fix for a failed reverse image. On Tundras equipped with Panoramic View Monitor or Multi-terrain Monitor, the camera switch can open extra views at low speed, and Automatic Display can show an available view in Drive or Neutral when speed falls to approximately 10 mph or less. Guide-line distances vary by system. Common references are approximately 1.5 ft and 3 ft from the bumper, while some Multi-terrain Monitor views also include a 6 ft line.
Key Takeaways
- The basic Toyota Tundra backup camera activates automatically in Reverse and normally turns off when you leave Reverse.
- The camera switch and Automatic Display mode apply only to trucks with an equipped surround-view or multi-terrain camera system.
- Guide-line colors and distances vary. Do not assume every Tundra uses 2 ft, 4 ft, and 6 ft markers.
- Vehicle-width lines show an estimated path and may be wider than the truck’s actual body.
- Linked reverse-mirror tilt is an if-equipped feature. The mirror selector normally must remain at L or R, not neutral.
- A black, green, frozen, or missing reverse image may require a VIN recall check and dealer software service.
- Use the Toyota owner-manual portal for the exact controls on your model year.
What’s in This Article
- Identify Which Camera System Your Tundra Has
- How to Activate the Toyota Tundra Backup Camera
- Use the Camera Switch and Automatic Display
- What the Backup-Camera Guide Lines Mean
- Use the Center Line to Align a Trailer Hitch
- Set Linked Mirrors to Tilt in Reverse
- Choose Camera Views and Guide-Line Modes
- Troubleshoot a Missing or Faulty Camera Image
- Understand Camera and Guide-Line Limitations
- When to Consult the Owner’s Manual or Dealer
- Frequently Asked Questions
Identify Which Camera System Your Tundra Has
Estimated time: 5–10 minutes to identify the system and check its settings.
Tundra camera controls vary by model year, trim, option package, drivetrain, and multimedia system. Start by identifying what appears on your screen and whether the dashboard has a separate camera switch.
| Camera system | How the rear view opens | Low-speed forward views |
|---|---|---|
| Standard rearview monitor | Appears automatically in Reverse | Normally unavailable |
| Toyota parking assist or Panoramic View Monitor, if equipped | Appears automatically in Reverse | Camera switch and Automatic Display may be available |
| Multi-terrain Monitor, if equipped | Rear or combined views appear in Reverse | Camera switch can open available views at approximately 10 mph or less |
A truck with only the standard rearview monitor may not have a camera button, an Auto option, a top-down vehicle image, or selectable guide-line modes. The absence of those controls does not mean the basic reverse camera is disabled.
You do not need tools for normal activation. Keep the truck parked while reviewing menus, and use the Toyota manual for your exact year before changing camera or parking-assist settings.
- Toyota Tundra with a factory camera system
- Owner’s manual for the exact model year
- Soft, damp cloth for lens cleaning
- Vehicle Identification Number for recall checks
How to Activate the Toyota Tundra Backup Camera
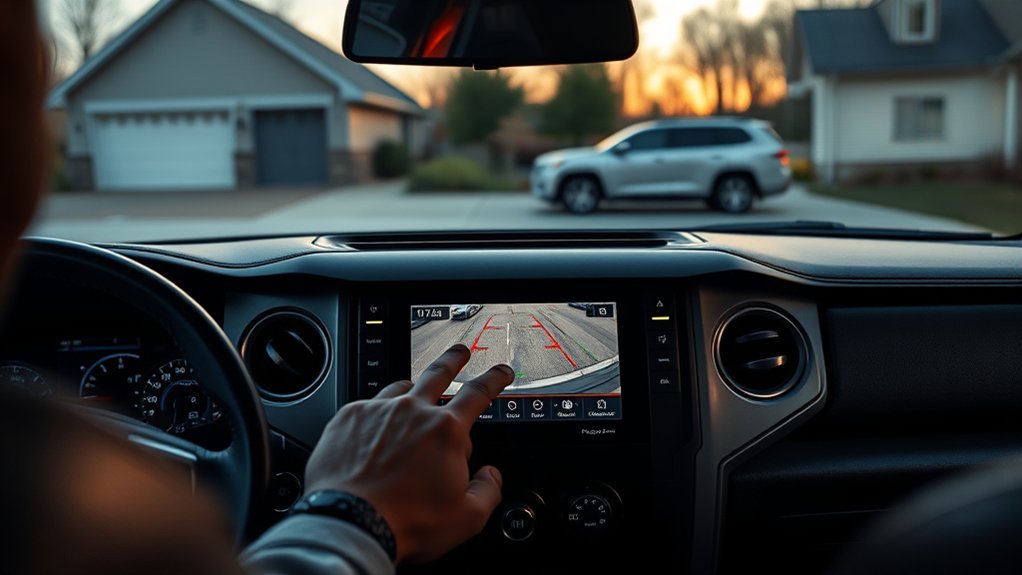
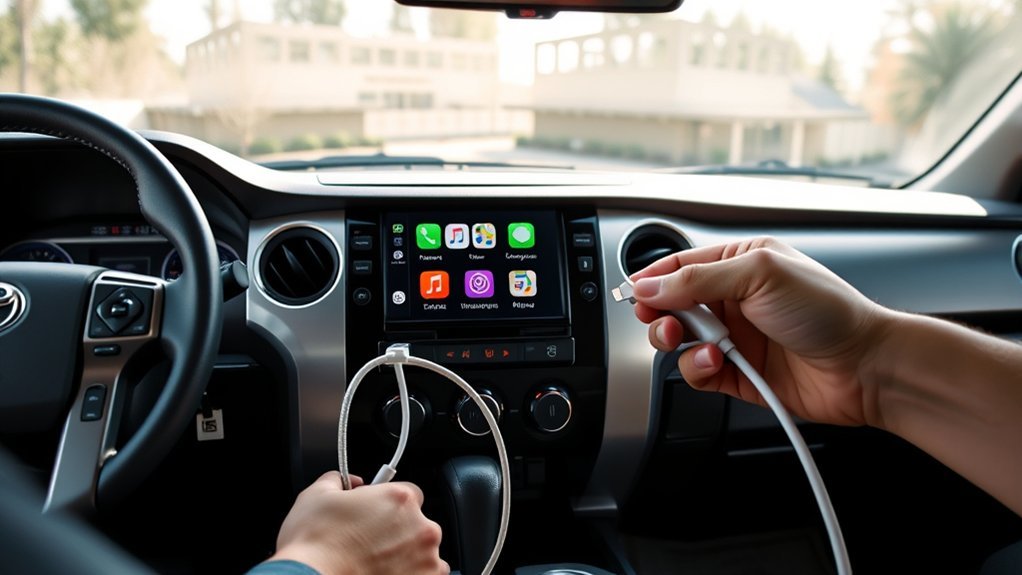
To activate the factory Toyota Tundra backup camera, turn the ignition on, hold the brake pedal, and shift into Reverse. The rearview image should appear automatically on the multimedia screen. On an older or basic rearview-monitor system, the camera view normally disappears when the selector leaves Reverse.
- Park on a level area and confirm that nothing is behind the truck.
- Turn the ignition on and keep your foot on the brake.
- Shift into Reverse.
- Confirm that a live rear image appears before the truck moves.
- Check the mirrors and look directly around the truck before backing.
If the screen does not change when you select Reverse, do not continue backing. Shift to Park and use the troubleshooting section below. Pressing the separate camera switch may open a surround-view screen on an equipped truck, but it does not correct a failed mandatory reverse image.
Warning: The backup camera is a supplemental aid. Check behind the truck directly, use both outside mirrors, and use a spotter when visibility is limited. Do not reverse while looking only at the screen.
Pro tip: If mud, salt, snow, or water obscures the image, flush loose grit away with water and wipe the lens gently with a soft, damp cloth. Do not scrub the lens or apply wax, glass treatment, or solvent.
Linked reverse-mirror tilt is separate from camera activation. If your truck has that feature, set it up using the mirror selector as described later in this guide.
Use the Camera Switch and Automatic Display on Equipped Trucks
The separate camera switch and Automatic Display setting are available only on certain Tundras with Panoramic View Monitor or Multi-terrain Monitor. They do not activate a basic rearview camera that has failed to display in Reverse.
[Products Worth Considering]

AUTO-VOX Solar Wireless Backup Camera makes reversing easier with a clear 1080P display, wireless digital signal, and a solar-assisted battery system that reduces maintenance. Designed for fast DIY setup, it mounts cleanly on a license plate and delivers dependable visibility for parking, towing, and blind-spot monitoring in a wide range of vehicles.
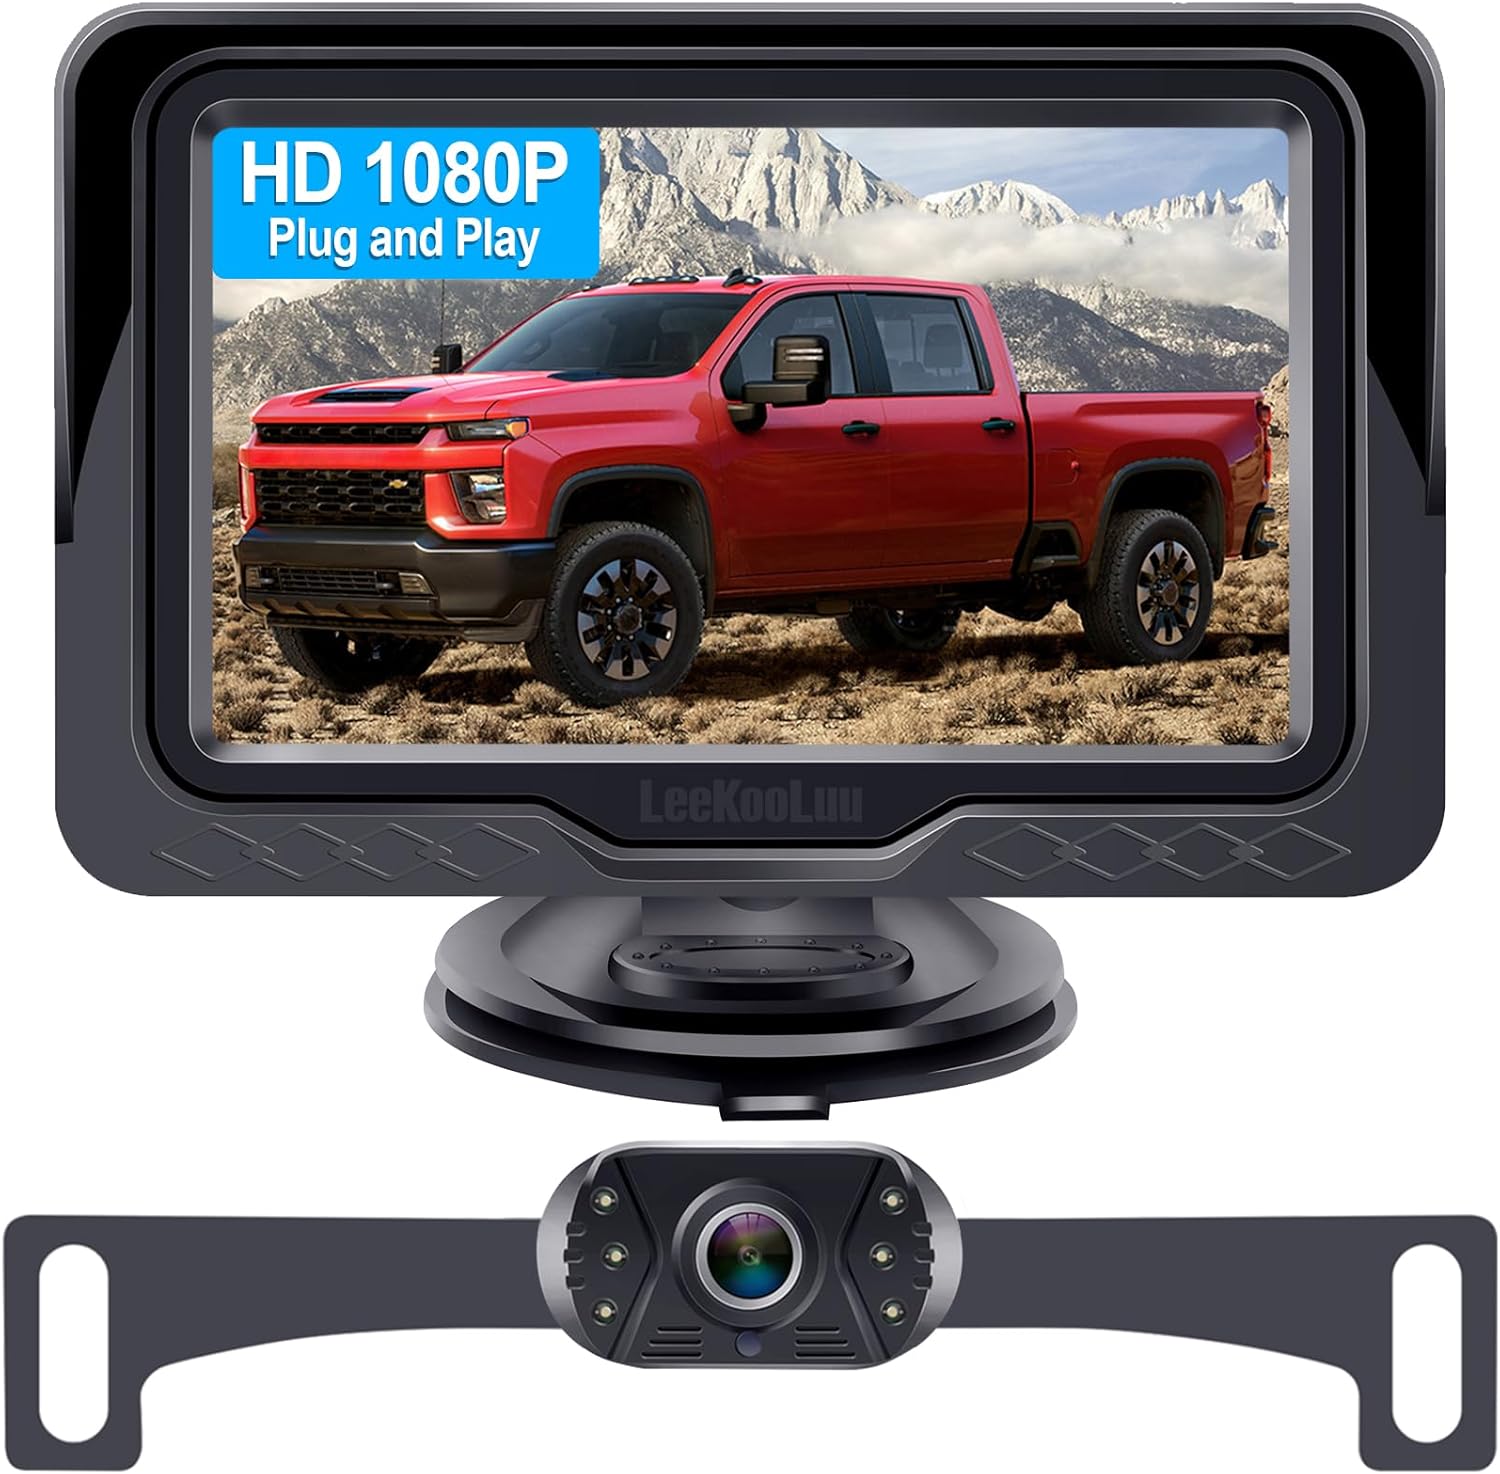
This plug-and-play backup camera system is designed for quick installation and dependable rear visibility on a wide range of vehicles. It delivers HD 1080P color images with stable signal transmission, clear night vision, and an adjustable 4.3-inch monitor for safer reversing in day or night conditions. With a waterproof all-weather design, customizable parking grid lines, and wide-angle viewing, it helps reduce blind spots and makes parking and maneuvering easier.
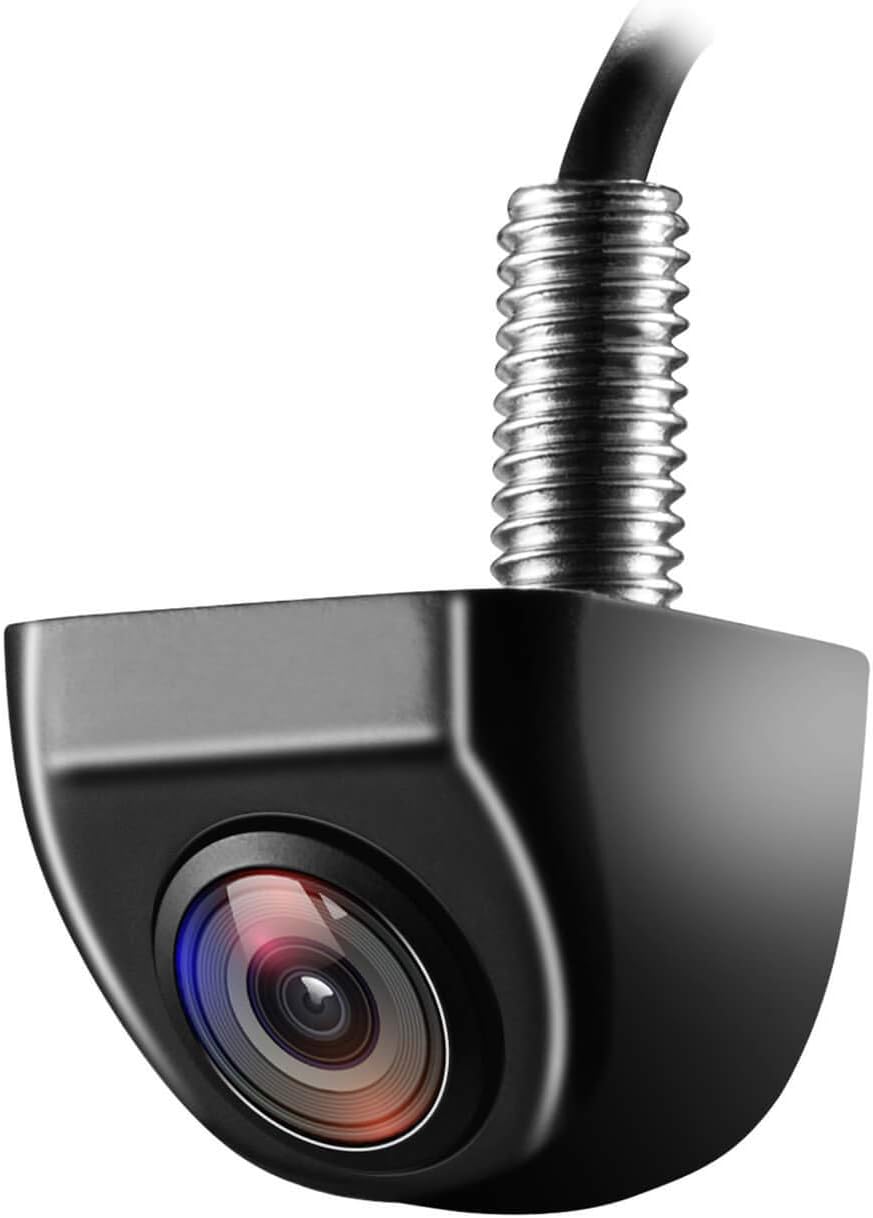
This OEM-style backup camera delivers a clear rear view with a wide-angle HD sensor to help reduce blind spots and make parking easier. Its fully sealed waterproof construction and strong low-light performance support reliable use in all weather and lighting conditions. Designed for cars, trucks, SUVs, vans, and RVs, it also supports front-view switching and selectable guide lines for flexible installation.
How Do You Turn On Automatic Camera Display?
With the truck moving at a safe low speed or stopped, press the physical camera switch. When the camera screen opens, look for the on-screen Automatic Display or Auto control. Select it to enable or disable automatic low-speed display.
On documented equipped systems, an available camera screen can appear when the transmission is in Drive or Neutral and vehicle speed falls to approximately 10 mph or less. The exact view depends on the camera package, drivetrain setting, parking sensors, and selected display mode.
If your dashboard has no camera switch or the screen has no Auto control, your Tundra may not include that optional function. Check the exact equipment list and owner documentation before assuming the control is missing.
What Happens Below the 10 mph Threshold?
Automatic Display does not simply keep the standard backup-camera feed active during forward driving. Instead, an equipped Panoramic View Monitor or Multi-terrain Monitor can show an appropriate front, side, panoramic, or terrain view when the truck slows to approximately 10 mph or less in Drive or Neutral.
The screen normally returns to its previous content when the truck exceeds the system’s low-speed limit or when the view is canceled. Reverse activation remains separate: shifting into Reverse should still call up the rearview image automatically.
For Tundra-specific multimedia updates, use the Toyota Tundra infotainment update guide. Safety-recall software should be installed through the remedy specified by Toyota.
What Do the Toyota Tundra Backup-Camera Guide Lines Mean?
Tundra guide-line colors, positions, and selectable modes vary by camera system. Do not assume that every screen uses three lines at 2 ft, 4 ft, and 6 ft.
| Display type | Documented examples | Important limitation |
|---|---|---|
| Standard rearview monitor | Red line at about 1.5 ft and blue line at about 3 ft from the bumper | Distances are approximate and assume a suitable road surface |
| Parking-assist or panoramic display mode | Common rear references include about 1.5 ft and 3 ft; colors vary by mode | Estimated-course lines may move with the steering wheel |
| Multi-terrain Monitor view | Some views include about 1.5 ft, 3 ft, and 6 ft references | The displayed set depends on the selected terrain or camera view |
- Distance guide lines: Show approximate ground-distance references behind the bumper. Read the legend for your exact display mode.
- Vehicle-width guide lines: Show an estimated straight-back path. Toyota notes that the displayed path may be wider than the truck’s actual width.
- Estimated-course lines: Move with the steering wheel on equipped systems to show a predicted reversing path.
- Vehicle-center line: Marks the estimated center of the truck and can help with hitch alignment when that mode is available.
- Parking-assist guide lines: Show a turning path or steering reference on certain systems and display modes.
Use the guide lines only as approximate ground references. Their relationship to a wall, trailer, person, loading dock, or overhanging object can differ from what the screen appears to show.
Use the Center Line to Align a Trailer Hitch
If your selected camera view includes a vehicle-center line or clearly shows the hitch ball, use it to line up the truck with the trailer coupler. This is basic visual alignment, not the same as Toyota’s separate Trailer Backup Guide or Straight Path Assist functions.
- Pull forward until the truck and trailer tongue are as straight as practical.
- Confirm that the trailer coupler is raised above the hitch ball and that no person is between the truck and trailer.
- Use the center line or visible hitch ball to align laterally with the coupler.
- Reverse at idle speed and make small steering corrections.
- Use the distance lines only as approximate references. Stop early, shift to Park, apply the parking brake, and inspect the remaining distance directly.
- Use a spotter whenever the coupler, hitch ball, or surrounding area is not fully visible.
For steering technique, Trailer Backup Guide, Straight Path Assist, spotter signals, and trailer-path control, read the full guide to backing a trailer safely with a Toyota Tundra.
Set Linked Mirrors to Tilt Automatically in Reverse
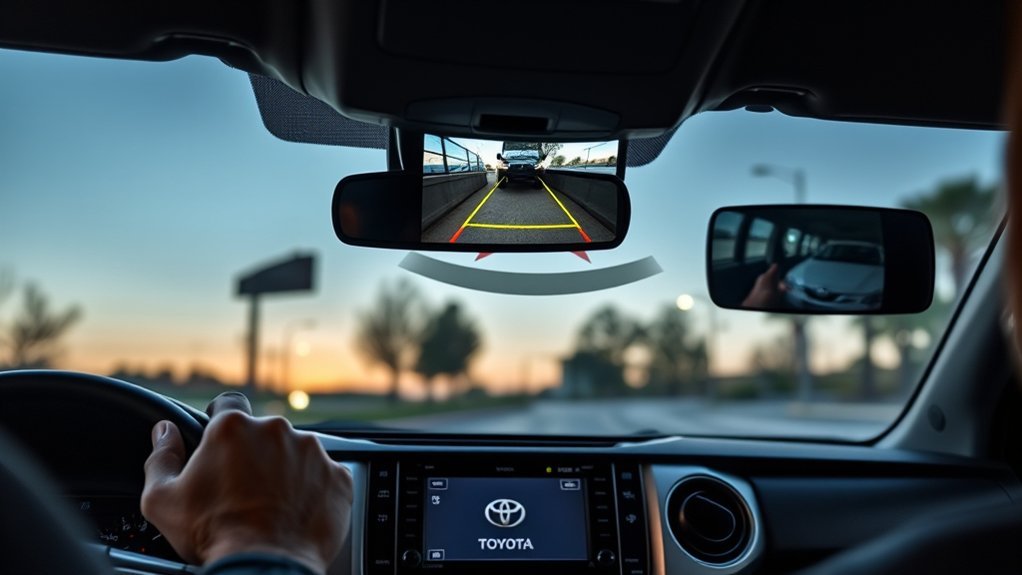
Linked reverse-mirror tilt is available only on equipped Tundras. When the system is present, leave the mirror selector at L or R before shifting into Reverse. Toyota describes the outside mirrors angling downward to improve the view of the ground.
To set the memorized reverse angle on a system that supports adjustment, shift into Reverse while safely parked, select L or R, and adjust the mirror to the desired downward view. The system can recall that reverse position the next time Reverse is selected. Moving the selector to the neutral position disables linked tilt.
If your Tundra does not list a linked mirror function in its owner documentation, moving the selector may have no effect. Do not assume every trim includes it.
| Action | Purpose |
|---|---|
| Confirm the feature is equipped | Avoid searching for an unsupported setting |
| Set the selector to L or R | Enable linked reverse tilt |
| Shift into Reverse while parked | Activate the memorized reverse position |
| Adjust the desired downward angle | Set the ground or trailer view |
| Move the selector to neutral | Disable linked tilt |
Choose Camera Views and Guide-Line Modes
Camera-view and guide-line controls vary by Tundra system. They may appear as buttons directly on the camera screen rather than inside a universal Camera Settings menu.
- Open the camera display: Shift into Reverse, or press the camera switch at low speed if your truck has an equipped panoramic or multi-terrain system.
- Switch camera views: Use the on-screen view selector to move among the rear, wide-rear, panoramic, front, side, or terrain views supplied by your system.
- Change guide-line mode: Use the guide-line switching control, if present, to cycle among estimated-course, parking-assist, distance-only, or center-line modes.
- Set Automatic Display: Select Auto only when your equipped system offers the control and you want low-speed camera views to appear in Drive or Neutral.
- Set mirror tilt separately: Use the physical mirror selector. Reverse-mirror tilt is not a general infotainment setting.
If the multimedia screen is frozen or its menus do not respond, follow the least destructive steps in this guide to reset the Tundra infotainment system. Do not perform a factory reset as a substitute for an unresolved camera safety recall.
[Products Worth Considering]

This wireless backup camera system offers quick magnetic installation, making it easy to mount without wiring for trucks, trailers, cars, and RVs. It delivers a clear 1080P image with enhanced night vision, stable digital signal transmission, and a wide 170° view to help reduce blind spots and improve reversing safety. Built for all-weather use, it also includes a long-lasting rechargeable battery, solar support, and parking assist lines for easier maneuvering.
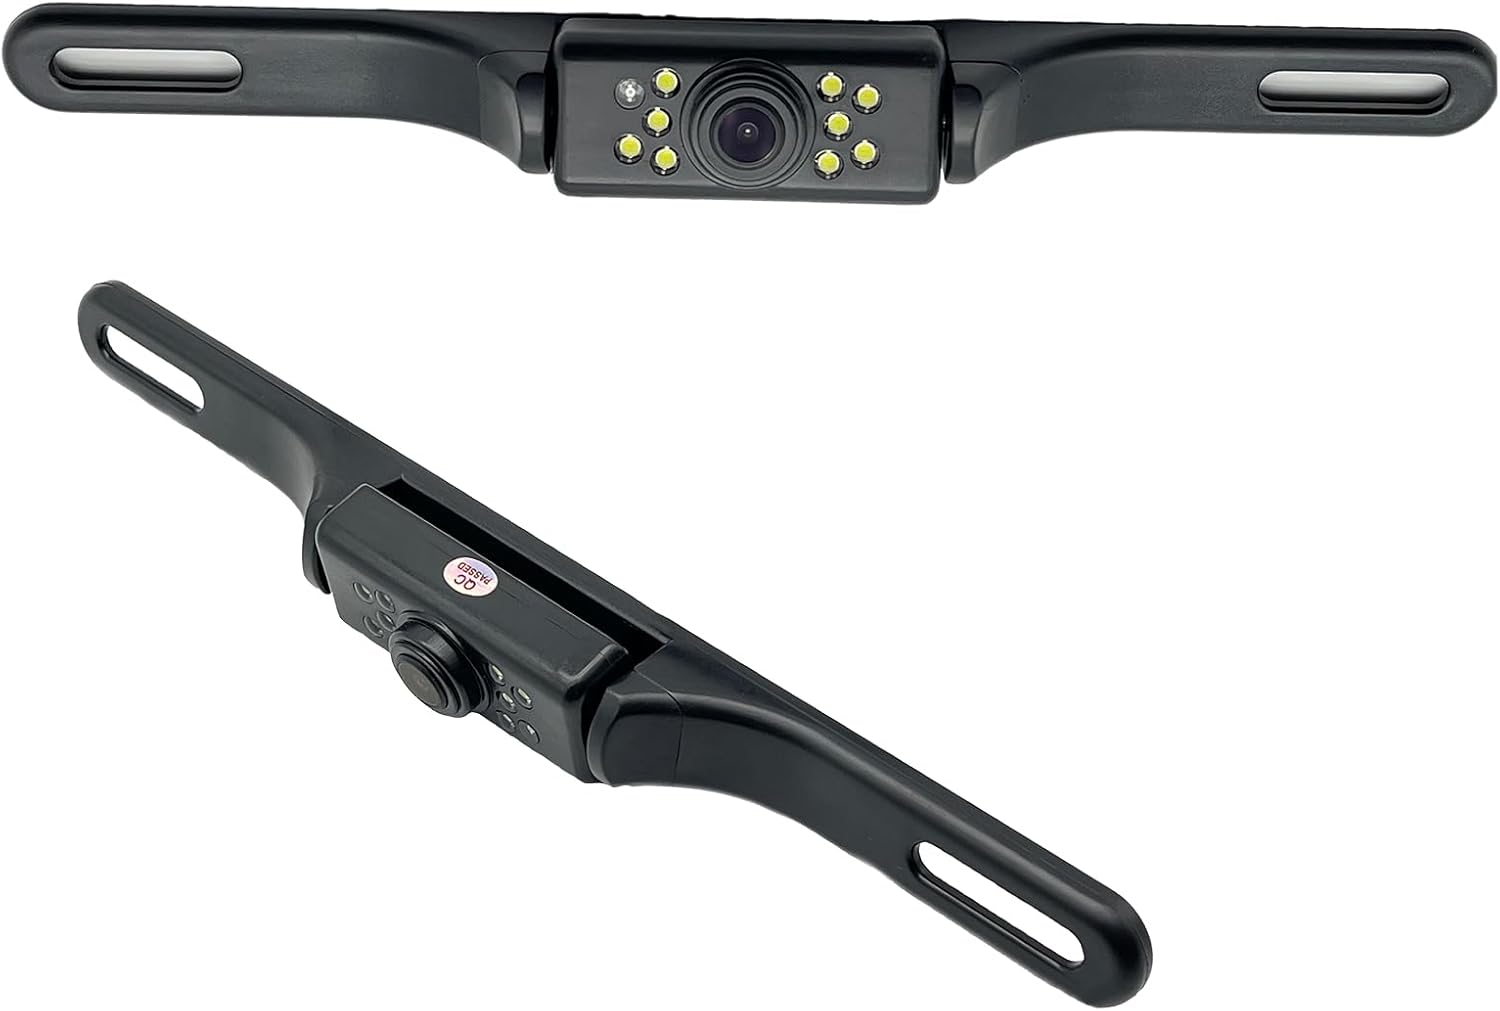
This YIMU license plate backup camera helps improve rear visibility with a wide 150° viewing angle, clear HD imaging, and full-color night vision powered by 7 LED lights. It supports CVBS and AHD switching for compatible screens, includes a long RCA video cable for flexible installation, and is built for reliable use in a variety of vehicles with waterproof and shockproof protection.

This Camecho vehicle backup camera helps improve rear, side, or front visibility with a wide 170° viewing angle and bright LED night vision for safer parking and reversing. Its waterproof, weather-resistant design and adjustable mounting make it a practical choice for many vehicles, while the included cable length supports straightforward installation.
How to Fix a Tundra Backup Camera That Will Not Activate
Match the symptom to the correct system before changing settings. A standard camera that fails in Reverse is different from an equipped Auto display that does not appear while driving forward.
| Symptom | First check | Next step |
|---|---|---|
| No screen change in Reverse | Ignition on, selector fully in R, live image absent | Stop backing, check recalls, and arrange diagnosis |
| Black, green, or frozen camera display | Photograph the symptom and record the model year | Check the VIN for current Toyota software recalls |
| Camera works in Reverse but not below 10 mph | Confirm Panoramic View Monitor or Multi-terrain Monitor is equipped | Open the camera screen and check Automatic Display |
| Guide lines are missing | Check the selected guide-line mode | Check initialization or dealer calibration if the lines do not return |
| Guide lines are badly misaligned | Check for a recent camera impact, tailgate work, battery event, heavy load, or steep surface | Have the camera position and calibration inspected |
| Mirrors do not tilt | Confirm the feature is equipped and selector is at L or R | Set the reverse angle or consult the model-specific procedure |
[Products Worth Considering]

The PixelMan PMD2A-S is a rearview backup camera designed to improve reversing visibility with crisp 1080P AHD output, a wide 170-degree viewing angle, and enhanced night vision. Its alloy housing, IP69 waterproof construction, and flexible HD/AHD switching help deliver reliable performance in harsh weather and low-light conditions. Built for easier installation with included brackets and RCA connectivity, it suits cars, SUVs, RVs, and other vehicles with compatible screens.

This wired backup camera system makes reversing easier with a quick plug-and-play setup, stable real-time video, and a wide-angle HD view to help reduce blind spots. The adjustable parking lines, brightness, contrast, and image flip options let you customize the display for safer parking in cars, trucks, RVs, vans, SUVs, trailers, and campers.

This wireless portable CarPlay screen brings Apple CarPlay and Android Auto to almost any vehicle for safer, hands-free driving and easier access to navigation, calls, music, and messaging. It features a vivid IPS touchscreen, fast wireless performance, OTA updates, multiple audio output options, and an integrated backup camera to improve convenience and parking safety. Plug-and-play setup makes installation simple without dashboard modifications, while steering wheel control support helps keep driving focused and intuitive.
What Should You Do If the Reverse Image Does Not Appear?
- Stop the truck and shift to Park. Do not continue reversing without a clear direct view and safe guidance.
- Confirm that the ignition is on and the gear selector is fully in Reverse.
- Check whether the screen is blank, black, green, frozen, flickering, or showing another menu.
- Inspect the exterior camera area for mud, ice, damage, or an obviously disturbed tailgate connection. Do not disassemble the camera.
- Record the model year, screen size, warning messages, and whether the fault occurs every time.
- Check the VIN for camera-display recalls before paying for software or display repair.
- Contact a Toyota dealer if the reverse image remains unavailable.
The camera button is not the primary diagnostic test for this symptom. It may open another camera view on an equipped truck, but a missing image in Reverse still needs to be resolved.
Why Do the Mirrors Not Tilt in Reverse?
First confirm that your trim has the linked reverse-mirror function. If it does, check the physical mirror selector. The function is normally enabled with the selector at L or R and disabled when the selector is centered or neutral.
Note: A centered mirror selector is a common reason an equipped linked-tilt system does not operate. Trucks without the feature will not gain it through an infotainment setting.
With the truck safely parked, select L or R, shift into Reverse, and adjust the desired downward angle if your system supports memorization. Return to Park before making any further checks outside the vehicle.
What If the Guide Lines Are Missing or Misaligned?
First check whether the camera screen has a guide-line switching button and whether a different display mode was selected. Some modes show moving course lines, some show fixed distance references, and some emphasize the vehicle center.
If the lines remain missing or appear far out of alignment, consider whether the battery was recently disconnected, the tailgate or camera was removed, the rear of the truck was struck, the truck is heavily loaded, or the test is being performed on a steep surface. A camera that has moved or lost initialization may require Toyota diagnostic or calibration procedures.
Check Your VIN for Camera-Display Recalls
Recall check current as of July 31, 2026:
- Toyota announced an October 1, 2025 recall for certain 2022–2025 Tundra and Tundra Hybrid vehicles because the 14-inch multimedia display could show a half-green, full-green, or full-black screen. Toyota’s remedy is a dealer multimedia-software update. Read the official Toyota recall announcement.
- Toyota announced a January 23, 2026 recall for certain 2024–2025 Tundra and Tundra Hybrid vehicles because the display could become stuck on a camera view or turn black. Toyota’s remedy is a dealer Parking Assist ECU software update. Read the official January 2026 recall announcement.
Recall inclusion depends on the individual VIN, not only the model year. Enter the VIN or license plate in Toyota’s official recall checker. Complete the specified dealer remedy rather than trying to install safety-system software from an unofficial source.
Understand Camera and Guide-Line Limitations
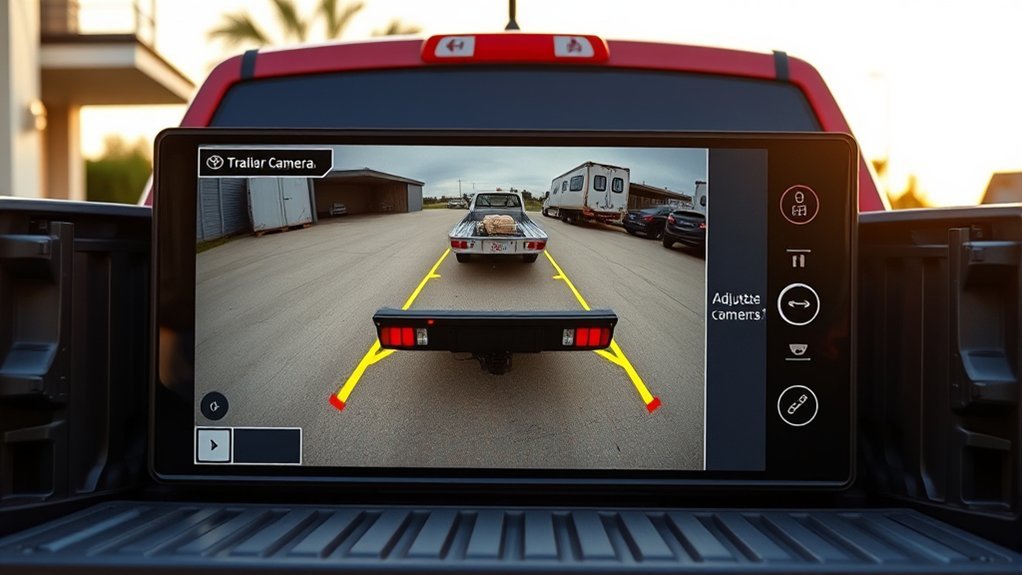
Use the Toyota Tundra backup camera as a supplemental view, not as the primary authority for clearance. Direct observation, both outside mirrors, parking sensors, and a spotter take priority.
Camera perspective and guide-line accuracy can change in these situations:
- Uphill ground: Objects may appear farther away than they really are.
- Downhill ground: Objects may appear closer or follow a different apparent course.
- Heavy or uneven cargo: Vehicle sag can shift the relationship between the guide lines and the road.
- Three-dimensional objects: A bumper, loading dock, trailer frame, or truck bed may extend into the path even when its lower edge appears outside a line.
- Objects near or below the bumper: The camera may not show them.
- Camera impact or movement: Guide lines may no longer align with the truck’s real path.
- Dirty, wet, icy, or poorly lit lens: The image may become blurred or difficult to interpret.
Do not use a colored line as permission to open the tailgate, place your hands behind the truck, or stand between the truck and a trailer. Stop, shift to Park, apply the parking brake, and confirm the clearance directly before anyone enters the area behind the vehicle.
When to Consult the Owner’s Manual or Dealer
Use the owner documentation whenever a button, screen, guide-line mode, or mirror function differs from this general guide. Toyota publishes separate instructions for the standard rearview monitor, parking-assist monitor, Panoramic View Monitor, Multi-terrain Monitor, and Trailer Backup Guide.
- Open the Toyota manuals and warranties portal and select the exact year and powertrain.
- Search the manual for “rear view monitor,” “parking assist monitor,” “panoramic view monitor,” “multi-terrain monitor,” or “linked mirror function.”
- Use the manual to identify the correct camera switch, display mode, speed condition, and guide-line legend.
- Check the VIN for recalls when the screen is black, green, frozen, or unavailable in Reverse.
- Contact a dealer when the camera has been struck, the guide lines remain badly misaligned, the reverse image repeatedly fails, or Toyota specifies a dealer software remedy.
Frequently Asked Questions
How do I turn on the backup camera on a Toyota Tundra?
Turn the ignition on, hold the brake, and shift into Reverse. A working factory rearview camera should display automatically. A separate camera switch is used only for additional views on equipped Panoramic View Monitor or Multi-terrain Monitor systems.
What do the lines on a Toyota Tundra backup camera mean?
The lines provide approximate distance, vehicle-path, width, turning, or center references. Their colors and distances vary by camera system and display mode. A standard system commonly uses references near 1.5 ft and 3 ft from the bumper. Some multi-terrain views also show a 6 ft line.
Why is my Tundra backup-camera screen black, green, or frozen?
Stop backing and shift to Park. Record the symptom, check the lens and visible camera area, and run the VIN through Toyota’s recall checker. Certain 2022–2025 and 2024–2025 Tundras have been included in camera-display software recalls, but coverage depends on the individual VIN.
Can the Tundra camera display while driving forward?
Only equipped surround-view or multi-terrain systems provide selectable low-speed forward views. The camera switch can open an available view at approximately 10 mph or less, and Automatic Display may show a view in Drive or Neutral as the truck slows. A basic rearview monitor normally operates only in Reverse.
Does the auto-tilt mirror feature work on all Tundra trims?
No. Linked reverse-mirror tilt is an if-equipped feature. On a supported system, the mirror selector normally must remain at L or R. Moving the selector to neutral disables the function.
Can I turn off the guide lines on the Tundra backup camera?
Some systems let you switch among estimated-course, parking-assist, distance-only, or center-line modes from the camera screen. Available choices vary, and a basic system may not provide a complete off switch. Check the manual for your model year and camera package.
The Toyota Tundra backup camera should activate automatically in Reverse. The separate camera switch, Automatic Display, selectable views, center line, and linked mirror tilt are equipment-dependent features. Identify the installed system before changing settings, treat every guide line as an approximation, and stop backing immediately when the reverse image is missing or unreliable.

[…] For normal operation, gridlines, and camera settings rather than fault diagnosis, see the guide to Tundra backup camera settings and gridlines. […]
[…] reverse position. Feature availability and operation vary by model year. See the site’s Toyota Tundra backup camera and reverse-mirror guide for the related backing […]