Last updated: July 23, 2026 — reviewed for differences in Toyota kit design, model year, and market equipment.
Quick Answer
Stop in a safe place, inspect the tire and wheel, and read the diagram printed on your Toyota sealant bottle and compressor. Connect the components in the order shown for your exact kit, inflate to the vehicle pressure shown on the tire placard, and stay within the compressor time limit. Drive the short distance specified in the owner’s manual—commonly about 2–3 miles for Toyota sealant kits—without exceeding the temporary speed limit. Stop, recheck the pressure, and arrange professional tire service immediately.
Key Takeaways
- Toyota has used more than one tire repair kit design, so the diagram on your kit and the owner’s manual for your exact RAV4 control the procedure.
- Use the kit only for one small puncture in the main tread, usually caused by a nail or screw.
- Do not use it for sidewall or shoulder damage, wheel damage, multiple punctures, an unseated tire, or a tire that was driven flat.
- Inflate to the pressure on the driver-side tire placard or in the owner’s manual, not the maximum PSI molded into the tire sidewall.
- The sealant repair is temporary. Recheck pressure after the required short drive and have the tire demounted and inspected as soon as possible.
At a Glance
| Time Required | Varies by kit and damage; allow time for inspection, inflation, the required short drive, and a pressure recheck |
| Difficulty | Easy only when the puncture is minor, the kit is complete, and the vehicle is parked safely |
| Tools Needed | Toyota sealant bottle, compressor, approved vehicle power outlet, gloves, and an RAV4 tire pressure gauge if available |
| Repair Type | Temporary emergency mobility repair, not a permanent tire repair |
| Replacement Item | The sealant bottle is normally single-use and must also be replaced before its printed expiry date |
| Condition | Use the Kit? | Safest Action |
|---|---|---|
| One small nail or screw puncture in the main tread | Usually yes, if the manual’s other conditions are met | Leave the object in place unless the exact manual says otherwise, then follow the kit diagram |
| Cut, bulge, split, exposed cord, or puncture in the sidewall or shoulder | No | Call roadside assistance or recovery |
| Bent or cracked wheel, damaged valve, or tire separated from the rim | No | Do not inflate; arrange recovery |
| Two punctured tires or several punctures in one tire | No | Call roadside assistance |
| Tire was driven with little or no pressure | No | Assume hidden internal damage and arrange recovery |
| Sealant is expired, missing, damaged, or already used | No | Call for assistance and replace the bottle before the next trip |
Can I Use the Toyota RAV4 Tire Repair Kit?
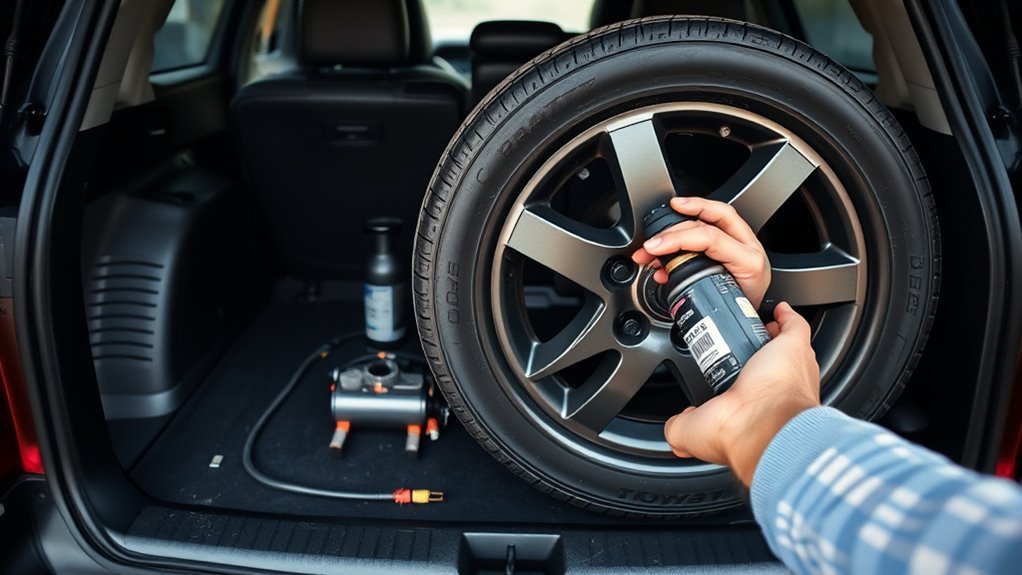
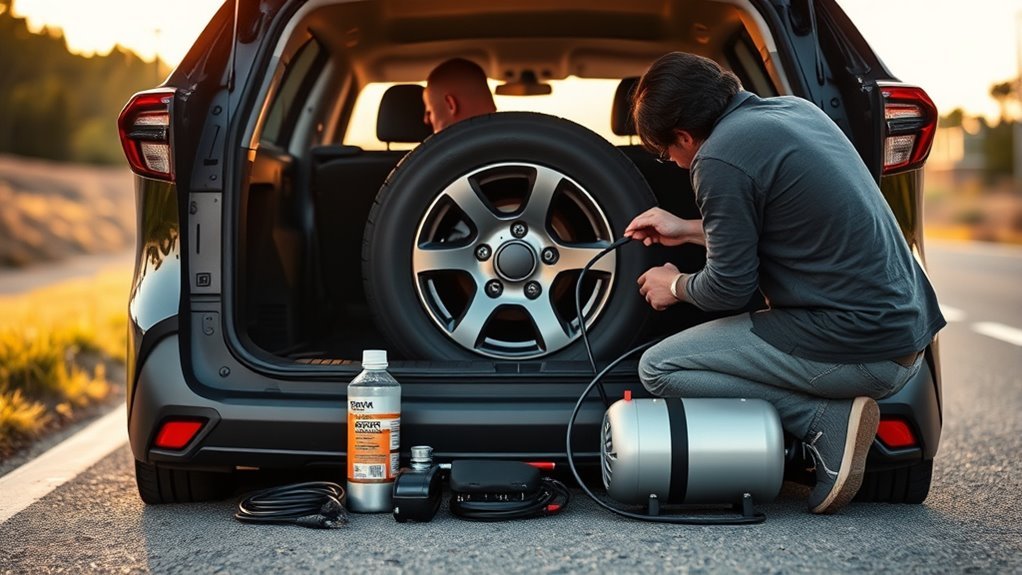
Yes, you can use the Toyota RAV4 tire repair kit when the damage is one small puncture in the main tread and the tire and wheel are otherwise in safe condition. The kit injects emergency sealant and adds air so you can drive cautiously to a Toyota dealer, Toyota Centre, or qualified tire professional.
Do not treat the result as a permanent tire repair. Guidance from the U.S. Tire Manufacturers Association says a qualifying permanent repair requires the tire to be removed from the wheel and inspected internally. A proper repair also seals both the puncture channel and the inner liner. An external plug, sealant, or on-wheel repair alone does not meet that standard.
Warning: Do not keep driving on a flat tire. Even a short distance with little or no pressure can damage the tire’s internal structure and the wheel, making the tire unsafe to inflate with sealant.
Which RAV4 Tire Repair Kit Do You Have?
Toyota has supplied different emergency tire repair kits, and RAV4 equipment varies by model year, trim, powertrain, and country. Some RAV4s have a spare wheel instead. Some kit designs lock the sealant bottle into the compressor before a hose is attached to the tire. Other designs connect the sealant bottle to the tire valve first and then connect a compressor hose to the bottle.
Before opening the sealant, compare the parts in front of you with the diagram printed on the bottle, compressor, storage cover, or instruction sheet. Then check the Toyota owner’s manual portal or the manual supplied with your vehicle. Do not substitute instructions from a different Toyota model merely because the components look similar.
- Confirm the equipment: Make sure your RAV4 actually has the sealant kit rather than a spare-wheel kit.
- Identify every component: Locate the bottle, compressor, power plug, hose or hoses, gauge, release cap or pressure-release control, and warning label.
- Read the limits: Find the compressor operating-time limit, minimum acceptable pressure, maximum temporary speed, and required distribution-drive distance.
- Check the bottle: Confirm that the seal is intact and the expiry date has not passed.
Equipment note: A Toyota UK RAV4 Plug-in Hybrid brochure lists a Tyre Repair Kit as standard equipment on the grades shown, but that does not mean every RAV4 in every country uses the same equipment or procedure.
[Products Worth Considering]

This 108-piece DEWALT mechanics tool set gives you a versatile range of sockets, extensions, adapters, and two pear head ratchets for everyday repair and maintenance work. DirectTorque technology helps improve grip on fasteners and reduce rounding, making it a reliable choice for automotive tasks and general mechanical projects. Built for organized, efficient use, it provides the essential tools needed to tackle a wide variety of jobs with confidence.

This all-in-one car emergency kit helps drivers stay prepared for roadside breakdowns, flat tires, and dead batteries with essential tools in one compact package. It includes a portable air compressor, heavy-duty jumper cables, a first aid kit, and other safety items designed for year-round peace of mind. Compact enough for easy trunk storage, it makes a practical safety solution and thoughtful gift for drivers of all ages.

These aluminum alloy tire valve stem caps provide durable, corrosion-resistant protection for your vehicle’s valve stems while helping maintain stable tire pressure. The rubber seal design helps block dust, moisture, and debris, reducing the risk of air leakage and valve damage. Easy to install and styled for a clean look, they fit a range of cars, SUVs, trucks, and motorcycles.
When Not to Use the RAV4 Tire Repair Kit
Before connecting anything, decide whether the tire is suitable for a temporary sealant repair. If any check below fails, skip the kit and call Toyota Roadside Assistance or another roadside recovery provider.
- Sidewall or shoulder damage: Do not use the kit on a cut, split, bulge, exposed cord, or puncture outside the main tread repair area.
- Damage beyond the kit limit: Do not use the kit when the puncture or cut exceeds the limit printed in your exact owner’s manual or on the kit. Do not estimate the hole size from the visible nail or screw head.
- Damaged wheel or valve: A bent or cracked wheel, a damaged valve stem, or a tire that has pulled away from the rim may not hold pressure safely.
- Multiple punctures: Do not use a single-use kit when two tires are punctured or when the affected tire has more punctures than the manual permits.
- Driven-on flat: If the vehicle was driven with little or no tire pressure, hidden sidewall or inner-liner damage may have occurred.
- Expired or used sealant: Do not rely on a bottle that is expired, partly used, leaking, or missing its original seal.
- Unsafe roadside location: Do not attempt the repair where you cannot remain clear of moving traffic. Call recovery instead.
The temporary repair zone is the main tire tread. Sidewall damage, shoulder damage, a damaged wheel, an unseated tire, multiple punctures, and suspected internal damage are recovery situations—not roadside sealant jobs.
[Products Worth Considering]

This 27-piece automotive tool kit is designed to support a wide range of vehicle repair and maintenance tasks for both DIY users and professionals. It combines durable stainless steel construction with practical, easy-to-use tools that help with tire repairs, general upkeep, and hard-to-reach areas. The included carrying case keeps everything organized and portable for emergency repairs or routine maintenance.

Add a touch of sparkle while helping protect your tire valves from dust, water, and sand with these handmade rhinestone valve stem caps. Designed for easy hand installation and a universal fit for many cars, trucks, motorcycles, and bicycles, they combine decorative style with practical sealing performance. The durable ABS construction with rubber seals helps support a tighter fit and helps reduce the risk of air leakage.

This PCV valve and hose kit is designed as a direct replacement for select Toyota, Scion, and Lexus applications, helping restore proper crankcase ventilation and engine performance. Built with durable NBR rubber and made for straightforward installation, it offers a reliable fit for compatible 2.4L models. It is a practical maintenance part for addressing worn or failing PCV components while supporting smoother engine operation.
How Do You Stop Safely and Inspect the Tire?
As soon as you notice a flat, unusual handling, or a low-pressure warning, slow down smoothly and move to a safe place away from traffic. Choose a hard, level surface whenever possible. Shift to Park, set the parking brake, turn on the hazard lights, and keep passengers away from the traffic side of the vehicle.
- Check the tread area: Look for a nail or screw in the main tread. Leave it in place unless the owner’s manual for your exact kit instructs otherwise.
- Inspect the sidewall and shoulder: Look for cuts, cracks, exposed cords, bulges, or a dark groove caused by driving on the flat tire.
- Inspect the wheel: Look for a bent rim, cracked wheel, heavy impact damage, or separation where the tire bead meets the wheel.
- Check the valve: Look and listen for a broken, loose, or leaking valve stem. A sealant kit cannot safely correct physical valve damage.
- Confirm the bottle date: Use only unopened, in-date sealant approved for the supplied Toyota kit.
- Check the surroundings: If you cannot perform the work while staying clear of traffic, remain in a safe location and call recovery.
Note: The repair kit is commonly stored below the luggage-area floor or in a side storage compartment, but the exact location varies. Use the luggage-area equipment diagram in your owner’s manual.
How Do You Connect the RAV4 Sealant Bottle and Compressor?
Keep the compressor switched off while making every connection. Follow the diagram printed on your exact kit; Toyota bottle and hose layouts are not universal. Do not puncture a bottle seal, remove a cap, or connect a hose until you understand the sequence shown for the supplied components.
- Lay out the components: Remove the compressor, bottle, hose or hoses, power plug, pressure-release part, and warning sticker from their storage location.
- Read the component labels: Identify the compressor inlet and outlet, the bottle connection, the tire-valve hose, and any cap that must be retained for later use.
- Connect the bottle as shown: On some kits, the bottle locks into or screws onto the compressor. On other kits, the bottle connects to the tire valve before the compressor hose is attached.
- Connect the tire valve securely: Remove the valve cap and tighten or lock the specified hose onto the valve without cross-threading it.
- Connect vehicle power: Confirm the compressor is off, then plug it into the 12V accessory outlet specified in the owner’s manual.
- Apply the warning label: Place the supplied sticker only where the kit instructions direct. Sticker locations differ between kit designs.
Pro Tip: Keep disposable gloves, paper towels, and a flashlight beside the kit. They make it easier to inspect the damage, read small connection diagrams, and contain minor sealant drips.
[Products Worth Considering]

This engine water pump kit is designed to help maintain reliable cooling performance across a wide range of compatible Toyota, Lexus, Scion, and Pontiac vehicles. Built with aluminum and tested for leak-free operation, it offers a direct replacement solution that supports engine efficiency and long-term service life. The kit includes a professional water pump and gasket for a convenient installation-ready repair.

These aluminum alloy tire valve stem caps are designed to fit a range of SUVs and trucks, including popular Toyota models, while adding a clean personalized look. They help protect valve stems from wear, moisture, and debris with a durable sealed design for everyday driving. Easy to install and made for long-lasting use, they offer a simple upgrade that improves both style and protection.

This complete ignition kit includes six direct replacement coil packs and six pre-gapped iridium spark plugs designed for select Toyota and Lexus 3.5L V6 vehicles. It can help address misfires, rough idle, hard starting, hesitation, and check engine light issues caused by worn ignition components while supporting smooth, reliable engine performance. Built for easy installation and backed by testing, warranty coverage, and technical support, it is a convenient tune-up solution.
How Do You Inflate the Tire Without Overheating the Compressor?
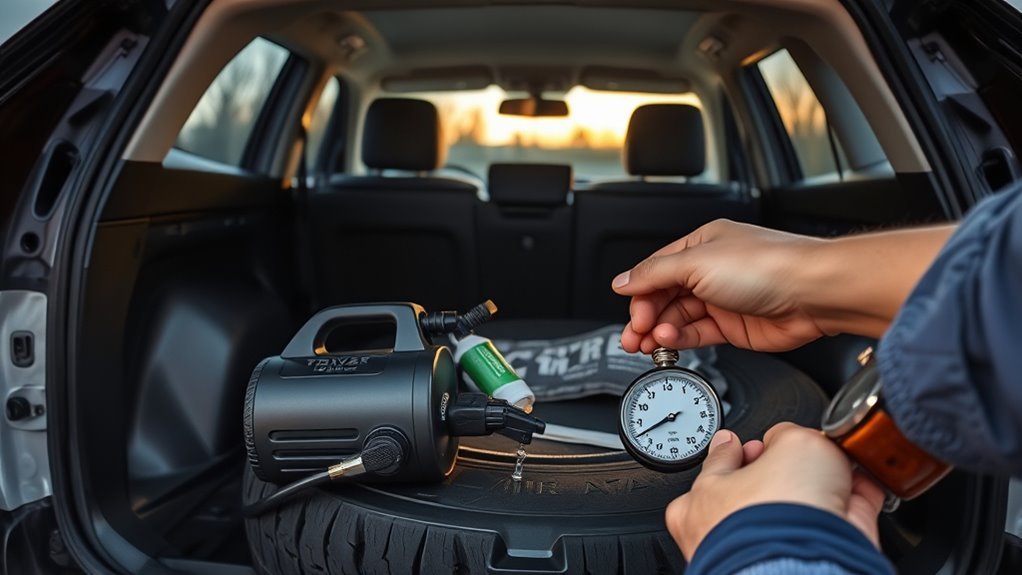
Start the engine, or put a hybrid or plug-in hybrid RAV4 in READY mode, only when you are ready to run the compressor and the owner’s manual directs you to do so. Never run the engine in a garage or other enclosed space. Turn on the compressor and remain beside the kit while the sealant enters the tire and pressure begins to rise.
The gauge can read high temporarily while sealant moves through the hose. Use the pressure listed on the RAV4’s Tire and Loading Information label or in the exact owner’s manual. The NHTSA tire safety guide explains that the vehicle manufacturer’s placard pressure—not the maximum pressure molded into the tire sidewall—is the correct target.
Warning: Never exceed the compressor operating-time limit printed on the kit or stated in the owner’s manual. If the tire cannot reach the permitted pressure within that period, switch the compressor off and call recovery. More compressor time will not make a severely damaged tire safe.
Start the Engine or READY Mode Before Inflating
The compressor draws power from the vehicle. Confirm that every hose is secure and the compressor switch is off before connecting power. Start the engine or select READY mode as instructed for your vehicle, turn on the compressor, and watch the gauge continuously.
- Check that the bottle and all hose fittings match the kit diagram and are locked or tightened securely.
- Turn on the compressor and stay beside it; do not leave the kit running unattended.
- Use the pressure-check function described in the kit instructions, if the gauge requires the compressor to be paused or cycled for an accurate reading.
- Turn off the compressor as soon as the tire reaches the specified pressure.
- If the target cannot be reached within the allowed time, stop and call roadside assistance.
Monitor the Gauge, Not the Tire’s Appearance
Do not judge pressure from the shape or firmness of the tire. A tire can look normal while remaining dangerously underinflated. If the reading exceeds the specified pressure, release air only through the control or method identified in the kit instructions.
Stop immediately if pressure will not rise, sealant escapes heavily, the sidewall changes shape, the tire remains separated from the wheel, or the compressor repeatedly shuts down. Check the kit instructions before restarting a compressor that has stopped because of heat protection.
Disconnect and Secure the Kit
When the permitted pressure is reached, switch off the compressor and follow the kit’s disconnection sequence. Depending on the design, the bottle may remain attached to a hose during the distribution drive or may be removed and stored. Some sealant may remain in the fittings, so keep them away from paint, trim, clothing, skin, and eyes. Replace the tire valve cap when the procedure directs you to do so.
How Far Should You Drive Before Rechecking Pressure?
Drive the short distance specified in the owner’s manual so the sealant can spread around the inside of the tire. Toyota’s general UK kit guidance describes a drive of about 2–3 miles, but your exact manual and kit label control both the distance and maximum speed. Avoid hard braking, sharp steering, rapid acceleration, heavy loads, potholes, and highway or motorway speeds.
Check the Pressure Immediately After the Short Drive
Stop on a hard, level surface in a safe location and reconnect the pressure gauge exactly as instructed. Compare the reading with the minimum continuation pressure and the target pressure in your exact RAV4 manual.
- Below the manual’s continuation limit: Do not drive. Call Toyota or your roadside recovery provider.
- Above the continuation limit but below the target: Reinflate only if the exact manual permits another inflation step.
- At the required pressure: Continue cautiously to a Toyota dealer/Toyota Centre or qualified tire professional.
- Pressure falls again: Treat the repair as failed and arrange recovery.
Do not borrow a pressure threshold from another Toyota model or a different kit. The limit printed in the manual for the vehicle and components in front of you is the relevant one.
Inspect the Tire Again Before Continuing
Look for fresh sealant leakage, sidewall deformation, a bulge, exposed cords, an uneven tire shape, or movement between the tire and wheel. Stop driving if the steering becomes heavy, the RAV4 pulls to one side, vibration develops, or the pressure-warning system reports another rapid loss.
TPMS note: Sealant use can complicate service of the tire pressure warning valve or transmitter. Tell the technician that sealant was used. After the tire and sensor have been serviced, use the correct procedure in the RAV4 tire pressure light guide if the system still requires initialization.
When Should You Stop and Call Recovery?
Do not continue testing a tire that repeatedly loses pressure. Continued loss means the puncture is outside the kit’s capability, the tire has hidden structural damage, a connection is leaking, the valve or wheel is damaged, or the tire bead is not sealed.
| Problem | What It May Mean | What to Do |
|---|---|---|
| Pressure will not rise | Loose connection, large leak, sidewall damage, valve damage, or bead leak | Switch off the compressor, check only the permitted connections, and call recovery if pressure still will not build |
| Pressure is below the manual’s continuation limit after the short drive | The temporary seal has failed or the damage exceeds the kit’s capability | Do not drive; contact Toyota or roadside assistance |
| Sealant leaks from the sidewall or wheel edge | Sidewall, shoulder, bead, valve, or wheel damage | Stop the procedure and arrange recovery |
| Steering vibration or pulling develops | Low pressure, internal damage, uneven sealant distribution, or wheel damage | Slow down smoothly, stop safely, and call recovery if the cause is not immediately resolved |
| Compressor stops before inflation is complete | Thermal protection, power-outlet issue, blown fuse, or compressor fault | Switch it off and follow the cooling or fault instructions in the manual; do not exceed the operating limit |
| Sealant is expired or already used | The bottle may not seal the puncture or may not contain enough material | Call for help and replace the bottle before a future trip |
In the UK, eligible owners can check Toyota Roadside Assistance for current coverage and recovery information. Elsewhere, contact Toyota Roadside Assistance for your country, your insurer’s service, an automobile club, or a qualified towing provider.
What Should You Tell the Tire Shop After Using Sealant?
Tell the technician immediately that an emergency sealant kit was used. The tire must be removed from the wheel and inspected internally before anyone can decide whether a permanent repair is permitted. Sealant use does not guarantee that the tire can be repaired; internal damage, puncture position, tire-manufacturer restrictions, the sealant used, or the shop’s repair policy may require replacement.
- Identify the tire that received sealant and the object that caused the puncture, if known.
- Explain whether the tire was driven while flat or severely underinflated.
- Report the pressure readings before inflation and after the required short drive.
- Tell the technician how far and how fast the vehicle was driven after sealing.
- Ask the technician to inspect the tire pressure warning valve and transmitter.
- Replace the used sealant bottle with the correct in-date Toyota replacement for the supplied kit.
- Keep the compressor if the manual identifies it as reusable and it has not been damaged.
Industry guidance limits permanent repairs to qualifying damage in the main tread area. The U.S. Tire Manufacturers Association says the tire should be demounted and inspected and that an acceptable repair fills the puncture channel and patches the inner liner. A roadside sealant repair does not replace that process.
How Do You Maintain a RAV4 Tire Repair Kit?
Inspect the kit before long trips and during routine vehicle checks. Confirm that every component shown in the owner’s manual is present, the compressor cord and hoses are undamaged, and the sealant bottle is unopened and within its printed service life.
- Check the expiry date: Replace the sealant before the date printed on the bottle.
- Replace used sealant: Treat the bottle as single-use unless its own instructions explicitly state otherwise.
- Keep the kit secured: Store every component in the designated luggage-area holder so it cannot become a projectile during sudden braking.
- Keep the kit clean and dry: Dirt in a threaded or locking connection can prevent an airtight seal.
- Know the placard location: The correct inflation pressure is normally shown on the driver-side door edge, doorjamb, or pillar.
- Carry roadside safety items: Gloves, a flashlight, reflective clothing, and paper towels can make the procedure safer and cleaner. Use warning devices only where they are legal and safe.
- Do not activate sealant for a test: Never connect or discharge the bottle merely to test the compressor or adjust routine tire pressure.
Frequently Asked Questions
How long can you drive after using a Toyota RAV4 tire repair kit?
Drive only as far as needed to reach a Toyota dealer/Toyota Centre or qualified tire shop. First complete the short sealant-distribution drive specified in the exact owner’s manual, stop, and recheck pressure. Continue only when the reading meets the manual’s requirements and the tire shows no further damage or pressure loss.
Can the RAV4 tire repair kit fix a sidewall puncture?
No. Do not use the kit on sidewall or shoulder damage. Those areas flex heavily and are outside the normal repairable tread zone. Call roadside assistance and have the tire replaced or professionally assessed.
Should I remove the nail or screw before using the Toyota sealant kit?
Usually no. Leave the object in place unless the owner’s manual for your exact kit tells you to remove it. Pulling it out can enlarge the opening and increase air or sealant loss.
What tire pressure should I inflate the RAV4 to?
Use the pressure shown on the RAV4 Tire and Loading Information label or in the owner’s manual for the exact vehicle. The label is normally on the driver-side door edge, doorjamb, or pillar. Do not use the maximum PSI molded into the tire sidewall as the target.
Where is the Toyota RAV4 tire repair kit stored?
It is commonly stored below the luggage-area floor or in a side compartment, but the exact position varies by model year, trim, powertrain, and country. Check the luggage-area equipment diagram in the owner’s manual. Some RAV4s have a spare wheel instead of a sealant kit.
Can I use the Toyota compressor without the sealant bottle?
Only if the instructions for your exact compressor provide a separate air-only mode. Do not assume every Toyota kit can be separated, and do not connect or discharge the sealant bottle simply to correct routine low pressure.
Can a tire still be repaired after Toyota sealant has been used?
Possibly, but it is not guaranteed. A technician must remove the tire, clean and inspect the inside, and apply the tire manufacturer’s and shop’s repair rules. The puncture location, internal damage, sealant type, or shop policy may require tire replacement.
Can I reuse the Toyota sealant bottle?
Normally no. The sealant bottle is intended for one temporary repair and should be replaced after use or before its printed expiry date. The compressor may be reusable when the manual says so and it remains undamaged.
Conclusion
You can use the RAV4 tire repair kit for one small tread puncture when the wheel, valve, sidewall, and tire structure appear safe. First identify the exact kit design, read its diagram and limits, stop on a safe level surface, connect the components in the prescribed order, and inflate to the vehicle’s specified pressure.
Complete the short drive and pressure recheck required by your owner’s manual. Stop and call recovery if pressure will not build or hold, the tire was driven flat, the wheel or valve is damaged, the damage is outside the main tread, the sealant is expired, or the roadside location is unsafe. Even when the kit works, arrange professional inspection immediately because the sealant is only a temporary mobility repair.
Sources
- Toyota Owners: Manuals and Warranties — official portal for selecting the owner’s manual that matches the vehicle’s exact model year and market
- Toyota UK: How to use a tyre repair kit — general Toyota sealant-kit procedure, equipment-life guidance, and roadside recovery advice
- Toyota UK: Weekend workshop tyre repair kit guide — example of a Toyota bottle-to-valve kit layout and two-to-three-mile distribution drive
- Toyota UK RAV4 Plug-in Hybrid brochure — market-specific example confirming that a Tyre Repair Kit was standard on the listed RAV4 Plug-in Hybrid grades
- U.S. Tire Manufacturers Association: Tire Repair Basics — tread-area limits, tire demounting and inspection requirements, and combined plug-and-patch repair guidance
- NHTSA TireWise — use the vehicle manufacturer’s tire pressure shown on the placard or in the owner’s manual
- Toyota UK Roadside Assistance — current eligibility, assistance, and recovery information for UK owners