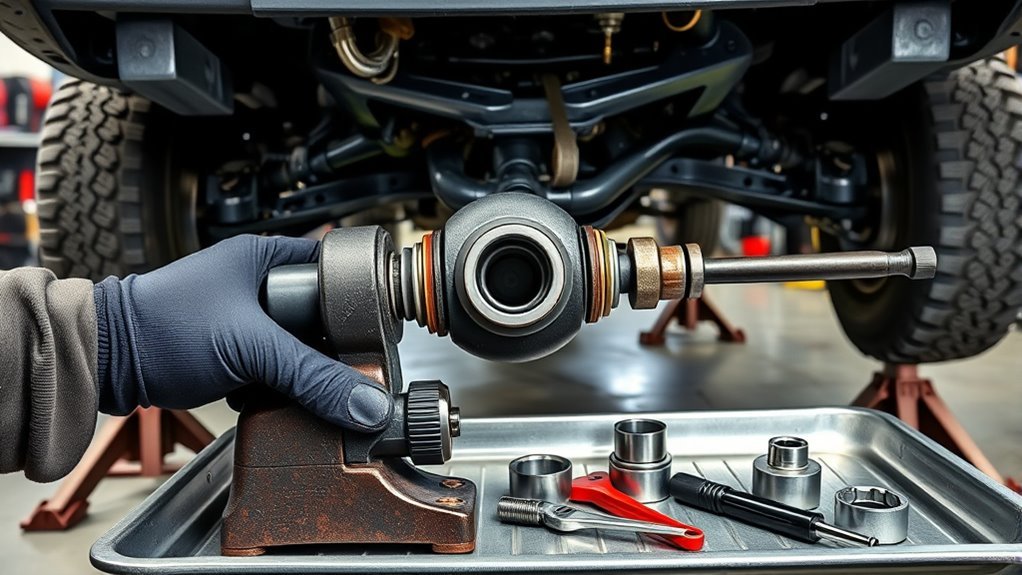
Worn Toyota Tacoma U-joints can cause clunks, squeaks, vibration under load, and visible looseness at the driveshaft. This guide shows how to inspect serviceable U-joints, remove the driveshaft without losing its orientation, press out the old joint, install the new caps and clips correctly, and road-test the truck safely. If your Tacoma is still under warranty or has an open recall, check Toyota and NHTSA before buying parts or starting a DIY repair.
Last updated: August 17, 2026 · Reviewed for service-safety, fitment, recall/TSB accuracy, and schema compliance.
Quick Answer
Replace Tacoma U-joints when you feel vibration under acceleration, hear clunks shifting between drive and reverse, see rust dust or dry caps, or feel play when twisting the driveshaft by hand. Confirm the exact joint by VIN, mark the shaft orientation before removal, press each cap out squarely, seat the new clips fully, then torque all fasteners to the correct Toyota service specification for your model year.
Key Takeaways
- Confirm the exact U-joint by Tacoma year, driveline, cab/bed configuration, and driveshaft type before buying parts.
- Always mark the driveshaft and flange before removal so the shaft goes back in the same orientation.
- Do not use generic torque ranges. Use Toyota repair-manual data or a professional service database for your VIN.
- If vibration remains after replacement, inspect the center support bearing, shaft balance, tires, mounts, pinion angle, and differential or transfer-case issues.
- 4WD trucks have a second U-joint set on the front driveshaft (transfer case to front differential) — confirm both if you drive 4WD, and check your VIN against Toyota’s active recalls and service campaigns before starting.
At a Glance
| Time Required | 2–4 hours for an experienced DIYer; longer if clips are rusted or caps are seized |
| Difficulty | Intermediate |
| Tools Needed | Jack stands, wheel chocks, paint marker, socket set, snap-ring pliers, U-joint press or arbor press, torque wrench, safety glasses, gloves |
| Before DIY | Check recall status, confirm warranty coverage, and verify the joint is serviceable on your driveshaft |
| Cost | Usually parts plus tool rental for DIY; shop cost depends on region, number of joints, and driveshaft type |
Before you start: Search your VIN in Toyota’s owner resources and the NHTSA recall lookup. If the truck has an open driveline recall, active warranty coverage, or a non-serviceable driveshaft assembly, schedule dealer or driveline-shop service instead of pressing the joint at home.
Two specific campaigns are worth checking by VIN: Toyota’s Customer Support Program ZH2 (technical instructions in TSB T-SB-0302-17) covered propeller-shaft U-joint replacement on certain 2005–2011 Tacomas, and NHTSA recall 25V656 (Toyota 25TB11/25TA11) covers front-driveshaft CV-joint inspection and replacement on roughly 6,000 MY2025 4WD Tacoma and Tacoma Hybrid trucks. Both are separate from ordinary U-joint wear, but both start with the same VIN lookup.
- DIY-friendly: snap-ring retained U-joint, clean yoke bores, no driveshaft dents, and no output or pinion seal damage.
- Shop recommended: staked joints, cracked yoke ears, stretched cap bores, bent shaft, heavy rust, or vibration that remains after correct installation.
- Rear vs. front: 4WD Tacomas have a second driveshaft and U-joint set running from the transfer case to the front differential; confirm which shaft you’re servicing before ordering parts.
When to Replace Tacoma U-Joints: Symptoms and Urgency
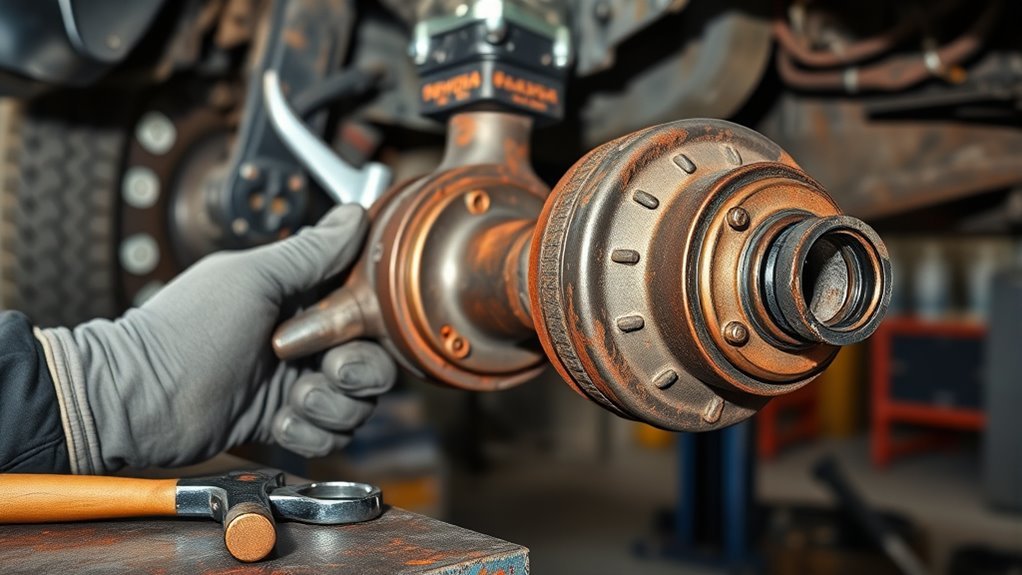
Plan to inspect the U-joints when the truck develops a clunk as you shift from reverse to drive, a squeak at low speed, vibration under acceleration, rust-colored dust around a cap, or looseness at the driveshaft. A bad U-joint can damage the yoke, driveshaft, differential flange, transfer case, or transmission output area if you keep driving.
Do not assume every vibration is a U-joint. Tires, wheel balance, a bent driveshaft, a worn center support bearing, worn shocks, a loose transmission or transfer-case mount, pinion angle changes after a lift, or differential problems can feel similar. The strongest U-joint clue is physical play, binding, dry caps, broken seals, or rust bleed at the joint itself.
Not every launch clunk is a U-joint either. Some owners feel a distinct “bump-from-behind” sensation when starting from a stop, which is often the driveshaft’s slip yoke sticking and then releasing rather than a worn joint. Check U-joint play by hand first; if the joints feel tight, a slip-yoke inspection and re-grease may be the actual fix.
Warning: Do not drive far with severe driveline vibration, visible U-joint play, missing clips, or a driveshaft that clunks hard when shifting. A loose driveline can damage surrounding parts and may become unsafe.
Confirm Fitment Before Buying U-Joints
Tacoma U-joint fitment can vary by model year, 2WD or 4WD, wheelbase, cab and bed configuration, one-piece or two-piece driveshaft, and whether the joint is OEM-style or aftermarket. Before disassembly, confirm the part number with the VIN, the driveshaft location, and the U-joint style.
- 2WD vs. 4WD: A 4WD Tacoma has additional driveline components and may have different service points than a 2WD truck.
- One-piece vs. two-piece shaft: Two-piece shafts add a center support bearing that should be inspected while the shaft is out.
- Snap-ring vs. staked joints: Snap-ring retained joints are usually serviceable with the right press. Staked or damaged joints often need a rebuilt shaft or driveline-shop work.
- Greaseable vs. sealed: Greaseable joints have a zerk fitting and need the correct grease schedule. Sealed or service-free joints are not greased the same way.
- Clips and hardware: Use the retaining clips, straps, bolts, and washers specified for the joint and driveshaft design.
[Products Worth Considering]

These upgraded mud flaps are designed to fit select Toyota Camry SE and XSE Sport models with a precise, no-drill installation using original mounting points. Their aerodynamic shape and extended coverage help protect the body and chassis from road spray, snow, salt, sand, and debris while blending cleanly with the vehicle's lines. Built from durable PP and TPE materials, they offer a strong, flexible fit for everyday driving protection.

This custom-fit truck bed mat is designed for 2005-2023 Toyota Tacoma 5FT beds, using 3D scanning for full coverage and a precise fit. Its anti-slip texture helps keep cargo in place, while the high-edge design helps shield the bed from dirt, mud, rain, snow, and everyday wear. Made from durable recyclable TPE, it is built to stay flexible, resist curling, and protect your truck bed over time.

This 9-piece torque wrench set gives DIYers and professionals a versatile way to tighten fasteners with confidence across bikes, motorcycles, cars, trucks, and industrial equipment. It includes three click torque wrenches, multiple adapters, dual-scale measurement, and clear audible feedback to help prevent overtightening. Built with durable materials and stored in a portable case, it is designed for precise, organized, and reliable use.
Rough Fitment by Generation
Driveshaft and U-joint design changed several times across Tacoma generations. Use this only as a starting point — always confirm the exact part with your VIN before ordering.
- 1st Gen (1995–2004): Some configurations used a double-Cardan CV-style joint arrangement at the carrier bearing before the driveshaft design was simplified.
- 2nd Gen (2005–2015): Moved to a single U-joint design at each end, commonly with a two-piece rear shaft and center support bearing on longer-wheelbase trucks. Certain 2005–2011 trucks fall under the Customer Support Program noted above.
- 3rd Gen (2016–2023): Continues the two-piece rear shaft on many trims. Some automatic-transmission models are covered by a separate TSB for a deceleration-related driveline vibration that is not a U-joint problem.
- 4th Gen (2024–present): Driveshaft options expanded further by drivetrain, transmission, bed length, and suspension package. Certain MY2025 4WD and 4WD Hybrid trucks fall under NHTSA recall 25V656 for the front driveshaft CV joint — confirm this before doing any front-shaft work yourself.
Note: Toyota publishes model-specific repair information through Toyota Technical Information System. Use the repair manual or a trusted professional service database for your exact Tacoma before final torque.
Tools, Parts, Cost, Time Estimate, and Safety Gear
Gather everything before the truck is in the air. You will need jack stands, wheel chocks, a paint marker, metric sockets and wrenches, snap-ring pliers or small picks, a U-joint press or arbor press, a torque wrench, gloves, and safety glasses. A dead-blow hammer, penetrating oil, brass drift, bench vise, and small wire brush are also useful when clips are rusty.
[Products Worth Considering]

This EL-50448 TPMS relearn tool helps quickly activate and reset tire pressure sensors so your vehicle’s monitoring system stays accurate after tire rotations, sensor replacement, or seasonal tire changes. Designed for many GM-related vehicles and compatible with common 315 and 433 MHz TPMS systems, it offers simple one-button operation and reliable performance for clearing warning lights and relearning sensor positions.

The ANCEL AD410 PRO combines engine diagnostics and 12V battery testing in one easy-to-use tool, helping you read and clear check engine codes while checking battery health, cranking, and charging performance. It also provides live data, freeze frame details, and I/M readiness checks to help you diagnose issues faster and prepare for emissions testing. With plug-and-play operation, a clear screen, and broad vehicle compatibility, it is a practical solution for home mechanics and everyday drivers.

Spicer greaseable universal joint with snap rings
Parts to Have Ready
- Correct replacement U-joint or matched set for your Tacoma
- New retaining clips or snap rings
- New straps, bolts, or washers if your service procedure requires replacement
- Grease only if the joint is greaseable or the manufacturer installation procedure calls for pre-lubing the caps
- Output seal or pinion seal only if you confirm a leak and are prepared for that separate repair
- Consider replacing every serviceable joint on the shaft in the same job — if one has failed from age or mileage, the others are often close behind, and it saves pulling the driveshaft again soon
Safety Setup
Work on level ground. Set the parking brake, chock the wheels that stay on the ground, lift only at approved points, and support the truck on rated jack stands before getting underneath. Keep your hands clear of the yoke ears and press plates. A driveshaft can shift suddenly when the final bolt comes loose, so support it with one hand, a jack stand, or a strap.
Pro Tip: Take a phone photo of every matchmark and flange position before removing bolts. If
paint marks get wiped off by grease or penetrating oil, the photo gives you a backup reference.
Inspect the Tacoma Driveshaft for Worn U-Joints
Before removal, inspect the driveshaft while the truck is safely supported. Look for rust dust near the bearing caps, missing or damaged retaining clips, cracked seals, dry caps, shiny metal where the cap has been moving in the yoke, or grease thrown around the joint.
Check for Play
Hold the driveshaft close to the U-joint and twist it back and forth while watching the caps. Any movement between the cap and yoke, clicking, or visible looseness means the joint or yoke needs attention. A good U-joint should rotate smoothly without binding and should not have noticeable play.
Inspect for Leaks and Related Problems
Wipe the areas around the transmission or transfer-case output seal, rear differential pinion seal, and driveshaft flange. Fresh oil at these points is not automatically a U-joint failure, but leaks can contaminate parts and point to a separate repair. Also check the center support bearing on two-piece shafts. Torn rubber, sagging, rumbling, or excessive movement can mimic U-joint vibration.
Mark the Driveshaft for Alignment Before Removal
Use a paint marker to make clear matchmarks across the driveshaft flange and the differential flange before loosening anything. If the shaft has a center support or front flange, mark those positions too. Matching the original orientation helps preserve balance and reduces the chance of a new vibration after reassembly.
- Clean the flange area enough for paint to stick.
- Mark the driveshaft and mating flange with one continuous line.
- Mark any center support bracket position if your Tacoma uses a two-piece driveshaft.
- Photograph the marks before the shaft comes out.
4WD trucks: don’t stop at the rear shaft. The steps below are written for the rear driveshaft. 4WD Tacomas also carry a front driveshaft running from the transfer case to the front differential, with its own U-joint(s) and its own part numbers. The core method — matchmark, support the shaft, remove the flange bolts, press the caps, seat the clips, torque to spec — is the same, but access points and hardware differ. Confirm the correct front-shaft joint and torque values for your VIN before starting, and check whether your truck falls under NHTSA recall 25V656 first.
Remove the Driveshaft From the Rear Differential
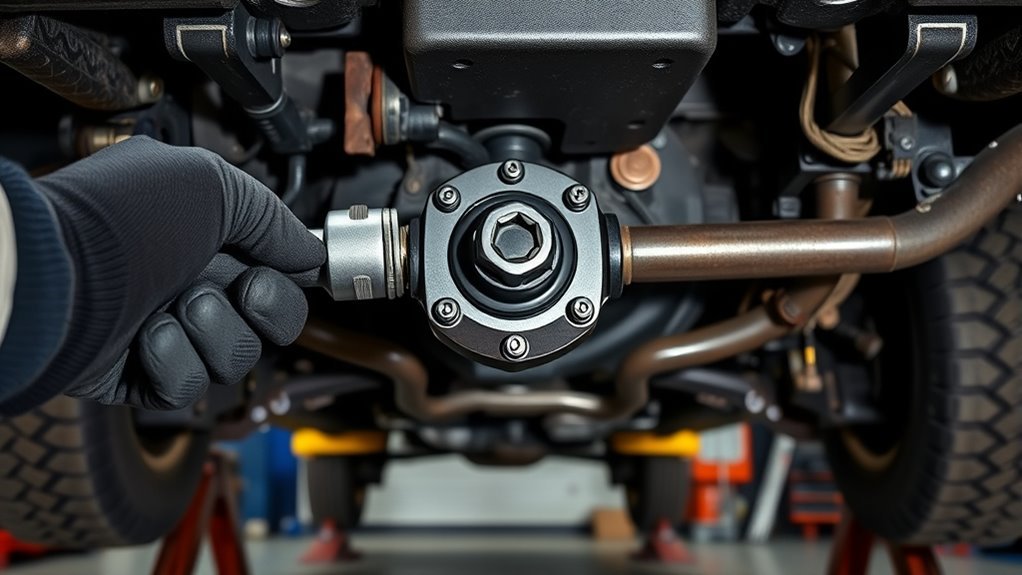
Spray stubborn flange fasteners with penetrating oil and let it work. Support the driveshaft so it does not fall when the last fastener comes out. Remove the rear flange fasteners evenly, then separate the flange carefully. If it is stuck, tap the flange area lightly with a dead-blow hammer. Do not strike the thin yoke ears hard.
If the driveshaft slides out of a transmission or transfer-case output, be ready for a small amount of fluid and avoid damaging the seal lip. Some models use a flange at both ends instead of a slip-yoke removal step. Follow your Tacoma’s repair procedure for the exact layout.
Remove Old U-Joints: Clips, Caps, and Common Problems
Set the driveshaft on a clean bench or stable stands. Remove the retaining clips or snap rings first. Clean the grooves with a wire brush so the clips can come out without dragging rust into the yoke. If a clip is stuck, use penetrating oil, a pick, and snap-ring pliers; do not gouge the groove.
- Position the U-joint press squarely over the bearing cap.
- Press one cap out far enough to remove it, then press the joint back the other direction to remove the opposite cap.
- Keep track of loose needle bearings and do not reuse a cap that spilled, bound up, or was damaged.
- Inspect the yoke ears. If the holes are stretched, cracked, or deeply pitted, the driveshaft or yoke needs professional repair.
Warning: Do not force a cap that is crooked. A tilted cap can bend a yoke ear or knock needle bearings out of place, which can make the new joint fail quickly.
[Products Worth Considering]

COMPATIBILITY – Fits 1996-1997 Lexus LX450; 1998-2007 Lexus LX470; 2003-2007 Lexus LX470; 2003-2009 Lexus GX470; 2010-2019 Lexus GX460; 2010-2014 Lexus GX460; 2015-2019 Lexus GX460; 2008-2008 Lexus LX570; 2009-2015 Lexus LX570; 1984-2016 Toyota 4Runner; 3
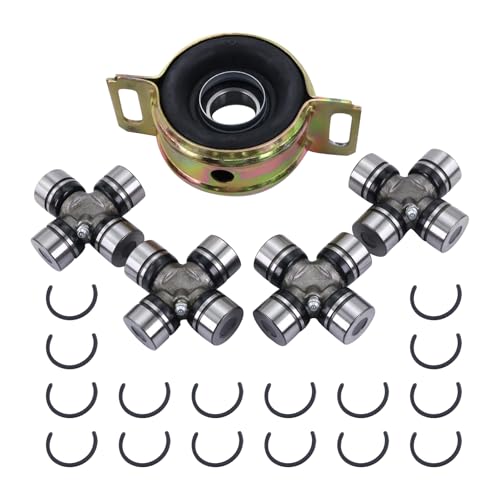
【Direct Replacement】Wear on the center bearing and universal joints can cause vibration and noise in the shifting system, affecting the smoothness and comfort of the ride. It is recommended that you replace them in a timely manner, this kit meets or exceeds OEM standards and has been factory tested. It perfectly matches the original car and can be installed directly

【Direct Replacement】Wear on the center bearing and universal joints can cause vibration and noise in the shifting system, affecting the smoothness and comfort of the ride. It is recommended that you replace them in a timely manner, this kit meets or exceeds OEM standards and has been factory tested. It perfectly matches the original car and can be installed directly.
Install New U-Joints and Seat Retaining Clips Correctly
Clean the yoke bores and clip grooves before installing the new joint. If the replacement joint requires pre-lubing, follow the manufacturer instructions. For greaseable joints, position the zerk fitting so it can be reached after installation and does not interfere with the yoke or shaft rotation.
- Remove two opposite caps from the new joint while keeping the needle bearings upright inside each cap.
- Place the cross into the yoke.
- Start the first cap straight by hand, then press it in slowly.
- Install the opposite cap and press until both clip grooves are visible.
- Install the retaining clips fully into clean grooves.
- Tap the yoke lightly with a dead-blow hammer to relieve press tension, then move the joint by hand. It should move smoothly without tight spots.
If a retaining clip will not seat, stop and find the cause. A needle bearing may have fallen under the trunnion, the cap may be crooked, or rust may still be in the groove. Do not grind a clip thinner to make it fit.
Reinstall the Tacoma Driveshaft and Torque Fasteners Correctly
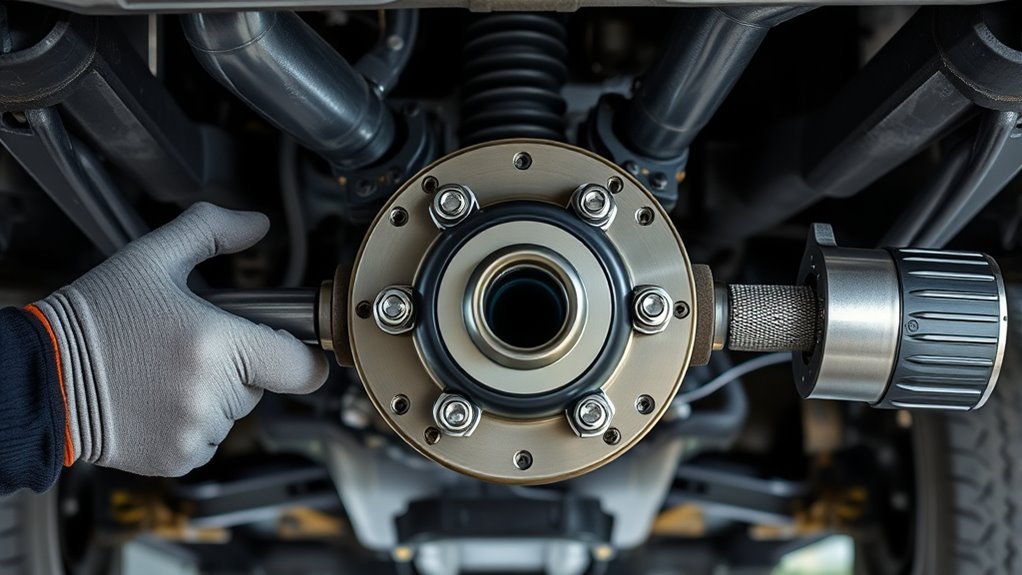
Align the matchmarks before lifting the driveshaft into place. Hand-thread every fastener first so the flange sits evenly and the threads are not crossed. Tighten in an alternating pattern so the flange pulls down squarely.
Use the Correct Torque Specification
Do not rely on a universal internet torque range for all Tacomas. Driveshaft fastener torque can vary by model year, flange style, bolt size, center support design, and driveline. Use the Toyota repair manual, Toyota Technical Information System, or a professional service database for your VIN. If your procedure calls for new self-locking bolts, straps, or washers, replace them instead of reusing old hardware.
For context, propeller-shaft flange bolts are commonly cited at around 65 ft-lb (88 N·m) across independent Tacoma repair forums and shared factory-manual excerpts, but this figure is not a substitute for your own VIN-specific spec — some generations and bolt sizes differ.
Note: Some Tacoma service procedures list specific values for the propeller-shaft flange and center support bearing, but those numbers should not be copied across every generation. Verify your truck’s exact specification before final tightening.
Final Reassembly Checks
- Matchmarks line up exactly.
- All clips are fully seated.
- U-joints move freely without binding.
- Fasteners are torqued with a calibrated torque wrench.
- No tools, rags, or loose clips are left near the driveshaft.
- Greaseable joints have been serviced according to the joint manufacturer’s instructions.
Post-Repair Checks: Road Test, Vibration, and Leak Inspection
Start with a slow road test. Accelerate gently, coast, and listen for squeaks, clunks, or grinding. Increase speed only if the truck feels smooth. A small test loop is better than immediately driving at highway speed.
After the drive, park on level ground and recheck the work area. Look for fresh leaks at the output seal and rear pinion seal, verify that clips are still seated, and inspect the flange fasteners. If the truck has a greaseable joint, wipe excess grease so new leaks or thrown grease are easier to spot later.
A smooth repair should leave the truck quiet under acceleration, quiet when shifting from drive to reverse, and free of new vibration at the speeds where the problem used to appear.
Troubleshooting Persistent Vibration
If the vibration remains after replacing the U-joints, do not keep replacing parts blindly. Use the pattern of the vibration to narrow the cause.
- Vibration only under acceleration: Recheck U-joint seating, flange alignment, pinion angle, and drivetrain mounts.
- Vibration at a specific road speed: Check tire balance, driveshaft balance, bent shaft, and wheel or axle issues.
- Clunk when shifting drive/reverse: Recheck U-joint play, differential backlash, loose flange bolts, and transmission or transfer-case mounts.
- Rumbling from the middle of the truck: Inspect the center support bearing on two-piece driveshafts.
- Fresh leak after repair: Inspect the output seal, pinion seal, and yoke surface for damage.
Consult a driveline shop if the yoke holes are damaged, the driveshaft is bent, the center support bearing is noisy, or the vibration remains after the joint is installed correctly.
Maintenance Tips After Replacing Tacoma U-Joints
Toyota maintenance schedules for applicable Tacoma 4WD models include propeller-shaft lubrication and re-torque checks at scheduled intervals and under special operating conditions such as dirt roads, towing, car-top carrier use, heavy loading, and road-salt exposure. Check your own maintenance guide because requirements vary by model year and driveline.
For greaseable joints, use the grease type recommended by the joint or vehicle manufacturer and stop when fresh grease purges correctly. For sealed or service-free joints, do not try to add grease unless the part manufacturer gives a specific procedure.
Frequently Asked Questions
How much does it cost to replace a Tacoma U-joint?
DIY cost is usually the price of the correct U-joint, clips or hardware, grease if required, and a press rental if you do not own one. Professional cost depends on local labor rates, rust, whether one or multiple joints are replaced, and whether the driveshaft needs balancing or a center support bearing.
How long do Tacoma U-joints last?
There is no single mileage that applies to every Tacoma. U-joint life depends on corrosion, water exposure, towing, off-road use, driveline angle, grease service, and part quality. Inspect them during maintenance and replace them when they show play, binding, rust bleed, damaged seals, or noise.
Can I drive with a bad U-joint?
A short, gentle drive to a repair location may be possible if the symptoms are mild, but visible play, loud clunks, missing clips, or severe vibration should be treated as urgent. Continuing to drive can damage the driveshaft, yoke, differential flange, transfer case, or transmission output area.
Do I need to balance the driveshaft after replacing U-joints?
Usually not if you reinstall the shaft in the same orientation, the yokes are undamaged, and the new joints are installed squarely. If the shaft was dropped, bent, assembled out of phase, or still vibrates after the repair, have a driveline shop inspect and balance it.
Should I grease new Tacoma U-joints?
Grease only if the joint is greaseable or the manufacturer installation procedure calls for lubrication before assembly. Some sealed or service-free U-joints are pre-lubed and should not be greased after installation.
Does my 4WD Tacoma have a front U-joint too?
Yes. 4WD Tacomas use a second driveshaft that runs from the transfer case to the front differential, and it has its own U-joint(s) and part numbers separate from the rear shaft. The service method is similar, but confirm the correct joint and torque spec for your VIN before starting.
Should I replace all the U-joints on a shaft at once?
Many technicians replace every serviceable joint on a shaft in the same job once one has failed, since age and mileage tend to affect them together. It is not mandatory, but it can save you from pulling the driveshaft again soon after.
Should I check Tacoma recalls before replacing a U-joint?
Yes. Search your VIN through Toyota owner resources and NHTSA before you begin. Two campaigns are directly on-topic: Toyota’s Customer Support Program ZH2 (TSB T-SB-0302-17) for propeller-shaft U-joints on certain 2005–2011 Tacomas, and NHTSA recall 25V656 (Toyota 25TB11/25TA11) for the front driveshaft CV joint on roughly 6,000 MY2025 4WD and 4WD Hybrid Tacomas. An open recall, warranty repair, or non-serviceable driveshaft assembly can change the safest repair path and may make dealer service the better choice.
Conclusion
Replacing worn Tacoma U-joints is a manageable DIY repair when you confirm fitment, support the truck safely, mark the driveshaft, press the caps squarely, seat the clips fully, and torque every fastener with the correct model-specific specification. Check recalls and warranty coverage first. If the yoke is damaged, the driveshaft is bent, the center support bearing is noisy, or the vibration stays after the repair, have a driveline shop inspect it before more damage occurs.
Sources
- Toyota 2023 Tacoma Warranty & Maintenance Guide — propeller-shaft lubrication and re-torque maintenance items.
- Toyota Owners Manuals and Warranties — official owner manual and maintenance guide access by vehicle.
- Toyota Technical Information System — official source for model-specific Toyota repair information.
- NHTSA Recall Lookup — official VIN-based recall checking before repair decisions.
- Toyota TSB T-SB-0302-17 (NHTSA archive) — technical bulletin for 2005–2011 Tacoma propeller-shaft U-joints.
- Toyota Newsroom: MY2025 Tacoma Recall Announcement — official notice for NHTSA recall 25V656 (front driveshaft CV joint).
- Spicer Driveshaft Lube & Torque Specifications — U-joint lubrication, hardware, and retaining-bolt cautions.
- Spicer Media Literature Library — service manuals, bulletins, catalogs, and technical driveline resources.