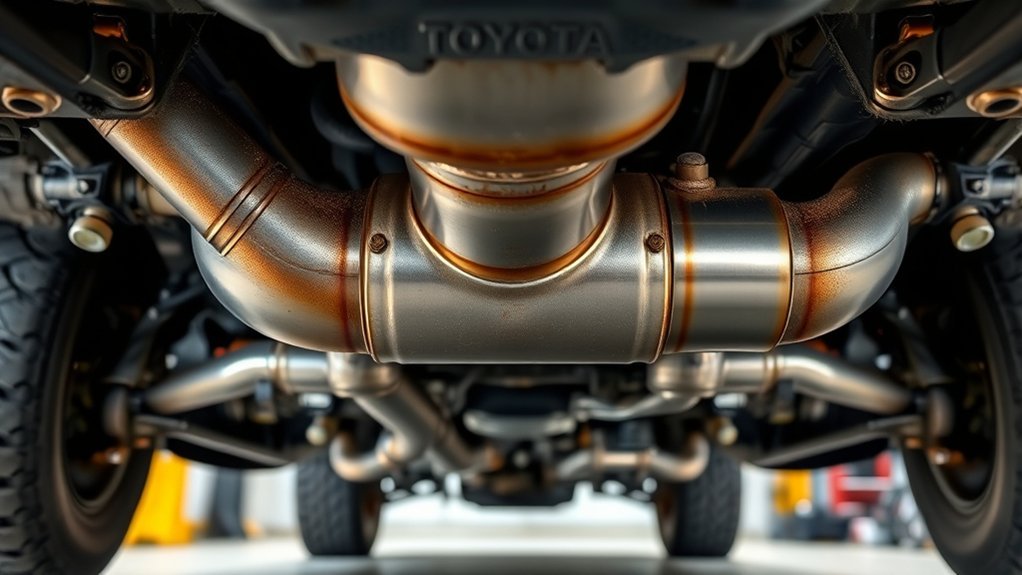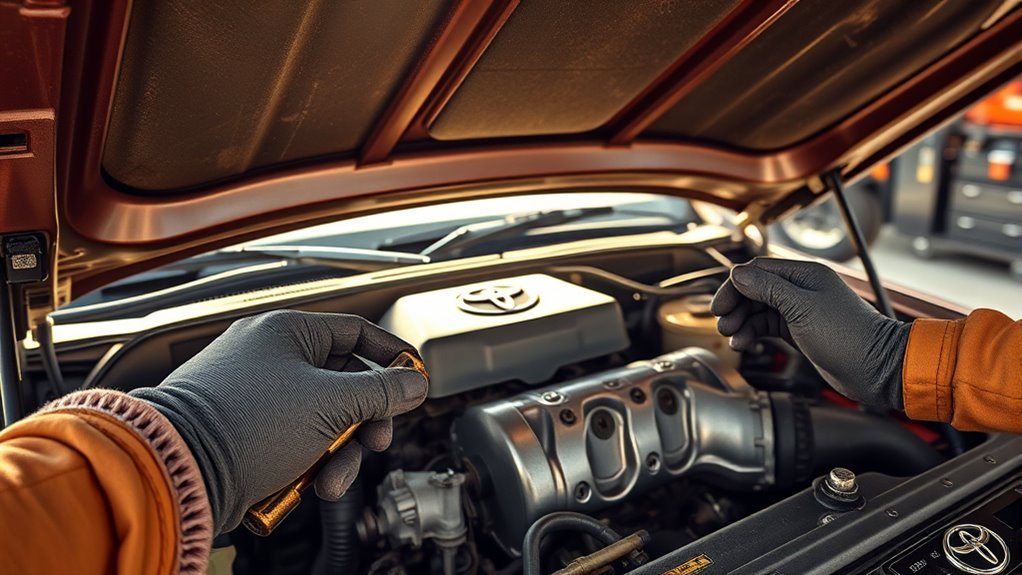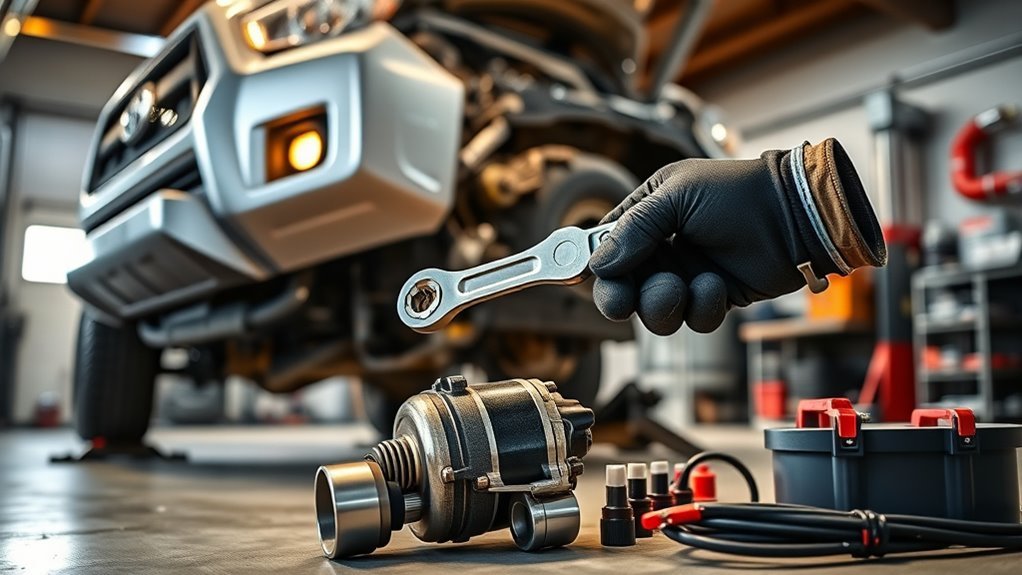
You can replace a Toyota Tacoma starter at home if the starter is accessible from the wheel well or lower engine bay, but the exact path depends on the Tacoma year, engine, drivetrain, and starter location. Plan on testing the battery first, supporting the truck safely, labeling every wire, and using the factory repair information for model-specific torque values.
Last updated: [VERIFY: insert current publish/update date] · By [VERIFY: add real author name and credentials]
Quick Answer
To swap a Toyota Tacoma starter, disconnect the negative battery cable, raise and support the truck, remove the wheel and splash guard if that is the access path, label and disconnect the starter wiring, unbolt the starter, compare the replacement, then reinstall it with clean terminals and factory torque specs. Expect roughly $300–$900 in parts and labor if you pay a shop, or mostly just the part cost if you DIY. [VERIFY: current pricing at time of publish]
Key Takeaways
- Confirm the battery, cables, fuses, relay, and ground straps before replacing the starter, because weak voltage can mimic starter failure.
- Never work under a Tacoma held only by a hydraulic jack. Use rated jack stands on solid support points and chock the wheels.
- The driver-side wheel-well route works on many Tacoma layouts, but access varies by generation and engine — some V6 model years reach the starter from the passenger side instead.
- Use your Toyota repair manual or Toyota TIS for exact fastener torque, wiring diagrams, and model-specific steps.
At a Glance
| Time Required | About 2–4 hours for a prepared DIYer; longer if fasteners are rusty or access is tight |
| Difficulty | Moderate, mainly because of tight access and heavy electrical cables |
| Tools Needed | Jack, rated jack stands, wheel chocks, socket set, 10mm/12mm/14mm sockets, swivel extension, long extension, ratchet, torque wrench, trim tool, wire brush, multimeter, gloves, eye protection |
| Estimated Cost | Roughly $300–$900 in parts and labor depending on year, engine, and OEM vs. aftermarket parts, per RepairPal’s Tacoma starter-replacement estimator; DIY cuts most of the labor cost. Verify fitment by VIN before buying. [VERIFY: current price at time of publish] |
Warning: Disconnect the negative battery cable before touching the starter wiring. The starter cable is a high-current circuit, and an accidental short can cause sparks, burns, damaged wiring, or a fire.
Quick Start for Toyota Tacoma Starter: Time, Difficulty, Tools
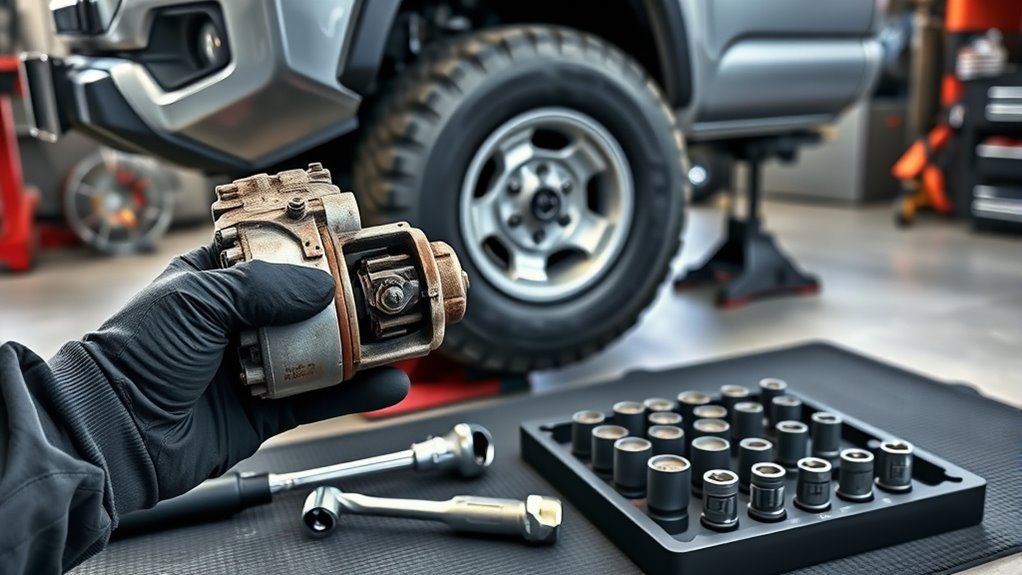
If you are ready to replace a Toyota Tacoma starter, start with diagnosis instead of parts swapping. Common starter-related symptoms include a single click, intermittent no-crank, slow or weak cranking with good battery voltage, grinding during engagement, or a whirring sound where the starter spins but the engine does not crank. These symptoms can also come from a weak battery, loose terminal, corroded ground, bad relay, damaged cable, or ignition circuit issue.
Gather the tools before lifting the truck. You will usually need 10mm, 12mm, and 14mm sockets, a swivel extension, a long extension, a ratchet, a torque wrench, a trim tool or flat screwdriver, wheel chocks, a jack, rated jack stands, a multimeter, and safety gear. A magnetic tray or labeled container helps keep starter bolts, splash-shield clips, and bracket bolts in order.
Note: This guide focuses on Tacomas where the starter can be reached from the driver-side wheel well or lower engine bay. Access isn’t uniform across every Tacoma: several V6 model years place the starter lower on the passenger side near the exhaust manifold instead, and the redesigned 2024+ Tacoma (including turbo I4 and hybrid i-FORCE MAX models) uses a different engine-bay layout entirely. [VERIFY: confirm exact side/access point for your specific year and engine] Check Toyota Owner’s Manuals and the factory repair information for your exact VIN before starting.
[Products Worth Considering]

This replacement bed cleat tie down anchor kit restores secure cargo management for compatible Toyota truck bed rail systems. Designed to match OEM dimensions and fit, these anchors help keep gear, tools, and luggage firmly in place during daily hauling. Built for dependable use in demanding pickup truck conditions, the kit offers a practical replacement for worn factory tie-downs.

This new starter is designed to fit a wide range of Toyota, Lexus, Pontiac, and Scion vehicles for reliable engine starting performance. It features a 12V PMGR design with 13 teeth and counterclockwise rotation, and it is built from quality-tested components to meet OEM standards. Backed by a one-year free replacement warranty, it offers dependable fitment and peace of mind.

This offset extension wrench is designed to reach tight, hard-to-access fasteners with zero-degree swing for efficient turning in confined spaces. Built from high-carbon steel with chain-driven leverage, it supports use with impact wrenches and includes multiple square drive adapters for versatile repair and assembly work.
Before You Replace It, Confirm the Starter Is the Problem
A starter replacement is wasted work if the real issue is low voltage or a poor ground. Before removing anything, run these quick checks:
- Measure battery voltage after the truck has been sitting. A fully charged 12-volt battery is usually near 12.6 volts at rest; if it is low, charge and retest before blaming the starter. [VERIFY: confirm this internal link should point to a Tacoma-specific article]
- Inspect the battery terminals for corrosion, looseness, swelling, or cracked clamps.
- Check the engine ground strap and chassis ground for rust, broken strands, or loose fasteners.
- Listen carefully when turning the key or pressing Start: repeated clicks often point to low voltage, while one firm click with good voltage can point toward the starter or solenoid circuit.
- Check starter relay, fuse, neutral safety/clutch switch behavior, and related wiring if the truck has no crank at all.
The starter relay typically sits in the under-hood fuse/relay box — check the box’s printed diagram or legend for the exact cavity, since it varies by model year. Automatic-transmission Tacomas rely on a neutral safety switch, while manual-transmission trucks use a clutch pedal position switch; either one failing can block the start circuit with symptoms that look identical to a dead starter. [VERIFY: confirm exact relay-box cavity by model year] Starter failure rates are also worth knowing: they stay low for roughly the first 75,000 miles, then rise sharply and cluster around the 125,000-mile mark, according to RepairPal.
If the battery tests good, cables are clean and tight, and the starter is receiving proper power and control voltage but still clicks, grinds, or fails to crank, replacement is a reasonable next step.
Prep Your Tacoma: Jack, Wheel, and Access
Park the Tacoma on a flat, solid surface. Set the parking brake, place the transmission in Park or in gear for a manual truck, and chock the wheels that stay on the ground. Open the hood and disconnect the negative battery cable first. Move it away from the terminal so it cannot spring back and make contact.
[Products Worth Considering]

This 12V relay box provides six organized relay slots and six fuse positions, helping you build cleaner, safer electrical setups for vehicles and marine systems. Pre-wired, color-coded 12 AWG wiring simplifies installation while the sealed cover and gasket help protect against dust and splashing water in demanding environments. It is a versatile solution for controlling lights, pumps, motors, and other accessories in automotive, truck, RV, or boat applications.

This battery cable crimper kit is built for creating secure, low-resistance connections on automotive, marine, solar, and DIY wiring projects. It includes multiple die sizes for a wide range of cable gauges, a rotating head for quick size changes, and durable carbon steel construction for dependable performance. The kit also comes with copper lugs, heat shrink tubing, and a cable cutter for convenient all-in-one wiring work.
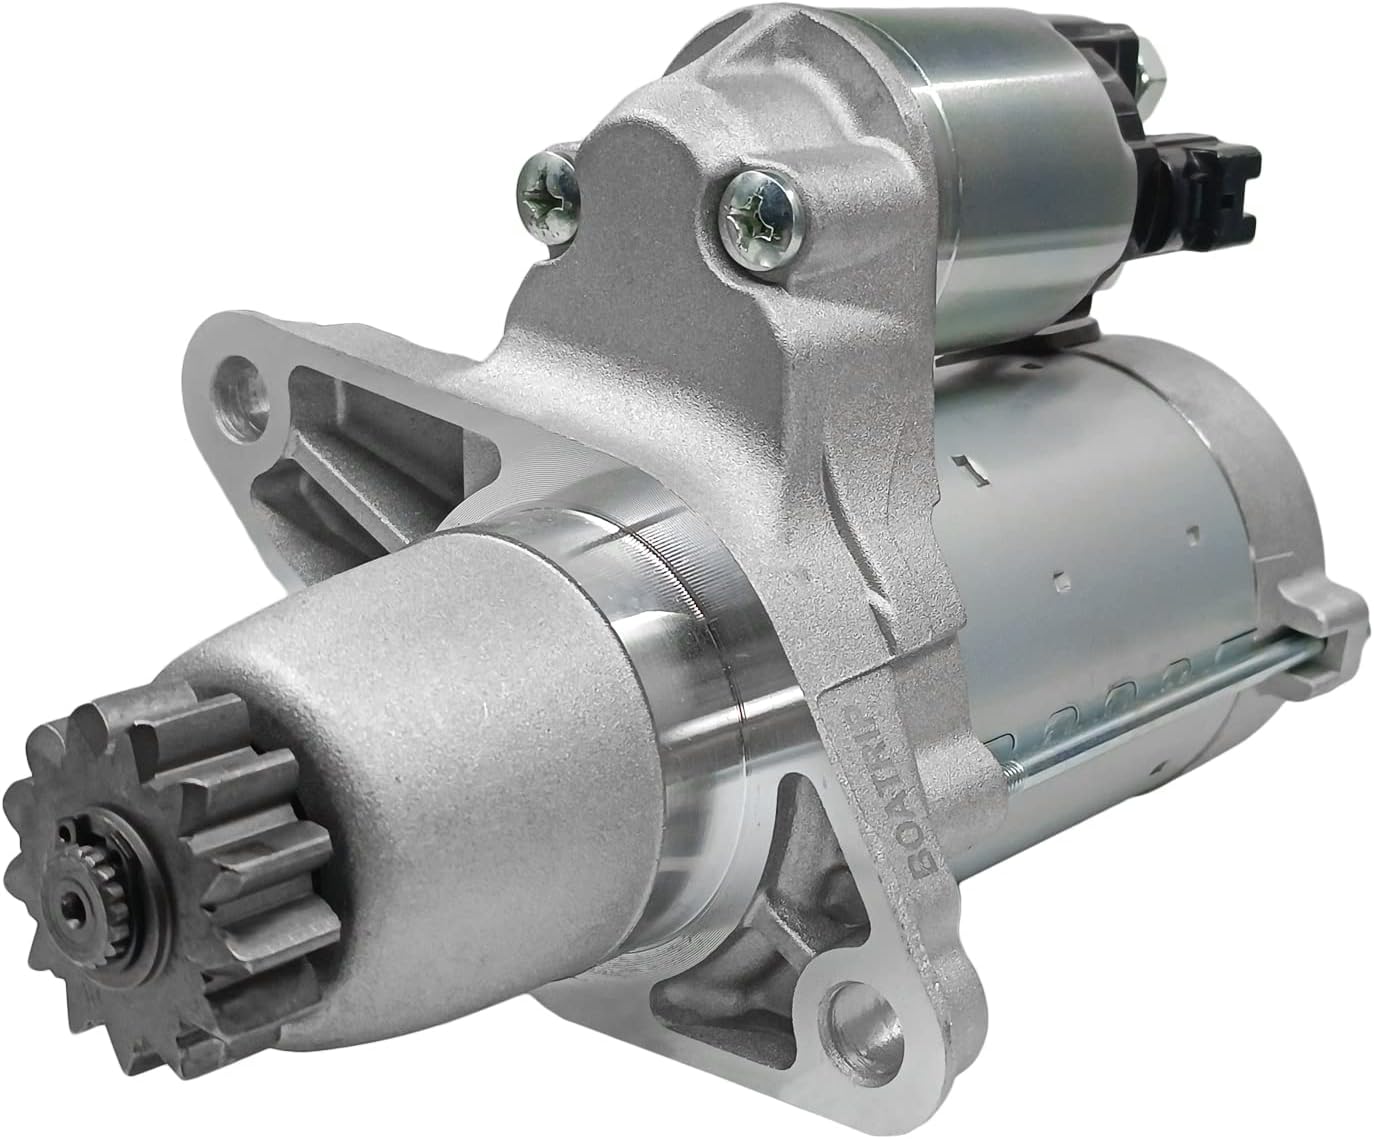
This replacement starter motor is engineered for a broad range of Toyota, Lexus, Scion, and Pontiac vehicles, making it a versatile solution for common no-start issues. Built with premium components to meet or exceed OEM specifications, it is designed for accurate fitment, reliable installation, and dependable starting performance. Backed by a two-year warranty and supported by long-term manufacturing expertise, it offers confidence for repair and replacement projects.
Jack Truck Safely
Lift only from a safe lift point for your Tacoma. Use the jack to raise the truck, then lower it onto a rated jack stand placed at a solid support point. Give the truck a careful stability check before you put any part of your body underneath it.
- Use a jack and stands rated for the truck’s weight.
- Work on concrete or another firm, level surface.
- Never rely on the jack alone as the support.
- Keep the removed wheel nearby but out of your work path.
- Do not crawl under the truck if it rocks, shifts, or feels unstable.
Remove Driver Wheel
If your starter is accessed from the driver-side wheel well, loosen the lug nuts before lifting, raise the truck, support it, and remove the driver-side wheel. This improves sightline and gives your arms enough room to reach the splash shield, starter wiring, and starter mounting bolts.
Set the wheel flat or upright where it cannot roll away. Inspect the wheel studs while you are there. If any stud is stretched, stripped, or damaged, repair that separately before driving.
Access Splash Guard
With the wheel removed and the Tacoma safely supported, locate the rubber or plastic splash guard at the rear of the engine bay. Use a trim tool or flat screwdriver to release the clips without tearing the guard. Store the clips in a small container so they do not disappear under the truck.
Peel the splash guard down and away only as much as needed. If the guard is cracked or missing clips, replace the clips during reassembly so the shield does not flap, rub the tire, or expose wiring to road splash.
Remove the Tacoma Starter Without Removing Exhaust or Steering Components
On many Tacoma layouts, you can remove the starter through the wheel-well or lower access path without removing the exhaust manifold or steering shaft. Work slowly, because the starter is heavy enough to surprise you when the last bolt comes free.
Clear access, clean wiring, and safe support matter more than speed. Most starter mistakes happen when a wire is left loose, a battery stays connected, or the truck is not supported correctly.
- Confirm the negative battery cable is disconnected and isolated.
- Remove any brake-line bracket, harness bracket, or splash-shield fastener that blocks access. Do not bend hard brake lines for clearance.
- Take a photo of the starter wiring before removing it. Label the battery cable and signal wire if needed.
- Remove the starter terminal nut and disconnect the main positive cable from the solenoid. Keep the nut and cable end clean.
- Disconnect the smaller starter signal connector or wire.
- Support the starter with one hand or a small block while loosening the mounting bolts with a 14mm socket, swivel, and extension. If a bolt resists, apply penetrating oil and let it soak for 10–15 minutes rather than forcing it — corroded starter bolts are a common cause of stripped or rounded-off heads.
- Remove the lower bolt first if that gives better control, then hold the starter while removing the final bolt.
- Lower the starter carefully, keeping the wiring clear of the case, gear, and mounting flange.
Pro Tip: Take photos from two angles before removing the wires. If the replacement starter has the solenoid clocked differently, the photos help you catch routing problems before the truck is back on the ground.
[Products Worth Considering]

The V500 Pro is an all-in-one automotive electrical diagnostic tool that combines circuit testing, wire tracing, oscilloscope analysis, multimeter functions, injector testing, relay and fuse checks, and component activation in one device. It helps technicians and DIY users quickly find open circuits, short circuits, broken wires, and current leaks while reducing disassembly and guesswork. With a rotating screen, built-in flashlight, and adjustable low-voltage power supply, it is designed to speed up troubleshooting in tight and low-light work areas.

This click torque wrench delivers accurate, repeatable tightening for automotive and home repair tasks, helping prevent over-tightening and fastener damage. Its dual-range scale, knurled non-slip grip, and durable ratchet head make it easy to use, while the included extension bar and storage case add extra convenience.

This plug-and-play AC button switch is designed to replace a faulty factory air conditioner switch in compatible Toyota vehicles. It installs easily without tools and is made to match the original part for a seamless fit and reliable operation. Built from durable ABS plastic, it offers a dependable replacement backed by warranty support and fitment guidance.
Take the Starter Apart In-Engine: Solenoid + Motor
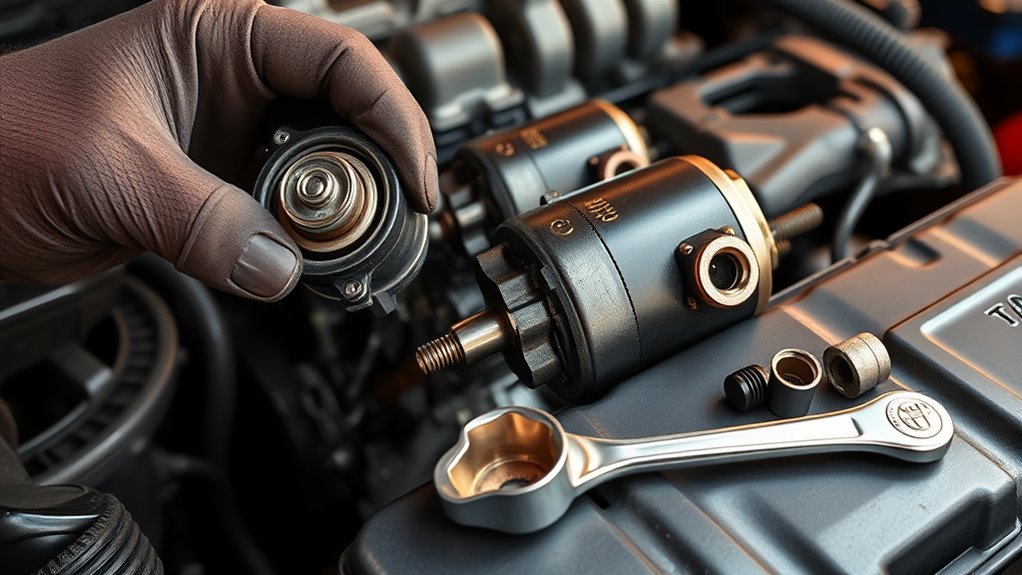
In most cases, the cleanest repair is to remove the starter as an assembly and replace it as an assembly. Only separate the solenoid and motor in the engine bay if clearance truly prevents removal and you are comfortable keeping parts aligned in a tight space.
If you must separate the starter in the bay, keep the battery disconnected, keep the starter supported, and remove only the fasteners that join the solenoid to the motor assembly. Pull the pieces apart straight so terminals and internal parts do not bend. Keep the plunger, spring, and fasteners clean and oriented exactly as removed.
Do not rebuild or modify the starter unless you have the correct parts, test equipment, and repair data. A misaligned solenoid, damaged pinion gear, or loose internal fastener can cause grinding, no-crank, or flywheel/flexplate damage.
Compare the Old and New Starter Before Installing
Before the new unit goes into the truck, set both starters side by side and check:
- Mounting ear position and bolt-hole alignment
- Pinion gear size and nose-cone shape
- Electrical terminal location and connector style
- Solenoid orientation
- Overall case length and clearance
- Whether the part is new, remanufactured, OEM, or aftermarket
While the starter is out, look through the mounting opening at the flywheel or flexplate ring gear teeth. Chipped, worn, or missing teeth mean a grinding noise or no-crank complaint will come back even with a brand-new starter installed — that repair is separate from the starter itself.
Use the VIN or exact year, engine, drivetrain, and transmission when ordering. Toyota’s official parts catalog can help confirm fitment for a Tacoma before you buy a starter or related electrical component.
Install New Starter: Bolt Sequence, Torque, and Wiring
Clean the starter mounting surface and cable eyelets before installation. Do not grease the mounting surface, because the starter case often depends on clean metal contact for grounding. Raise the starter into position and hand-start the mounting bolts before using a ratchet. If a bolt does not thread by hand, stop and realign the starter instead of forcing it.
Bolt Tightening Sequence
Thread both starter mounting bolts loosely at first. Once both bolts are started, snug them evenly so the starter seats flush against the transmission or engine mounting surface. Then tighten the bolts to the factory torque specification for your exact Tacoma.
- Start all mounting bolts by hand to avoid cross-threading.
- Keep the starter square to the mounting surface.
- Alternate between bolts until the starter is seated.
- Use a torque wrench for final tightening.
- Reinstall any brake-line or harness brackets exactly where they were.
Torque Specifications Guide
Starter torque specifications vary by generation, engine, and fastener. Do not rely on a generic number from an online article if you are working on a different Tacoma. Use Toyota factory repair information from Toyota Technical Information System, a Toyota repair manual, or a professional service database for:
- Starter mounting bolt torque
- Battery cable terminal nut torque
- Ground fastener torque
- Brake-line or harness bracket torque
- Any model-specific removal sequence
Note: If you do not have torque data, tighten fasteners securely by feel only as a last resort and have the work checked. Over-tightening can strip threads or crack a terminal; under-tightening can cause voltage drop, heat, or repeat no-crank symptoms.
Wiring Connections Order
Reconnect the starter wiring only after the starter is mounted securely. Seat the main positive cable squarely on the solenoid stud, install the nut, and tighten it to the correct specification. Reconnect the smaller signal wire or plug until it locks in place.
- Route wires away from exhaust heat, steering movement, and sharp edges.
- Make sure the main cable boot covers the terminal after tightening.
- Do not let the positive cable touch the starter case or engine block.
- Reconnect any ground strap or bracket removed for access.
- Reconnect the negative battery cable only after tools are clear.
Post-Install Checks: Wiring, Battery, and Safety Tests
Before lowering the Tacoma, inspect the entire repair area. Look for loose tools, dropped fasteners, dangling wires, pinched harnesses, damaged insulation, or missing splash-shield clips. Reinstall the splash guard and wheel, then tighten the lug nuts in a crisscross pattern. Final wheel torque should be set with the truck on the ground using the specification in your owner’s manual.
| Check | Action |
|---|---|
| Wiring | Verify terminals are tight, boots are seated, and routing is clear of heat and moving parts |
| Battery | Clean posts, tighten clamps, and confirm the battery is charged before the first start |
| Mounting | Check that starter bolts, brackets, splash shields, and wheel fasteners are secure |
| Start Test | Start the engine and listen for smooth engagement with no grinding, clicking, or delayed release |
Start the truck once, shut it off, then start it again. A healthy repair should sound clean and consistent. If the starter grinds, stays engaged, sparks, smokes, or the engine still does not crank, shut everything down and recheck the installation before trying again.
Troubleshooting: Click, Spin, No-Crank, and Loose Wires
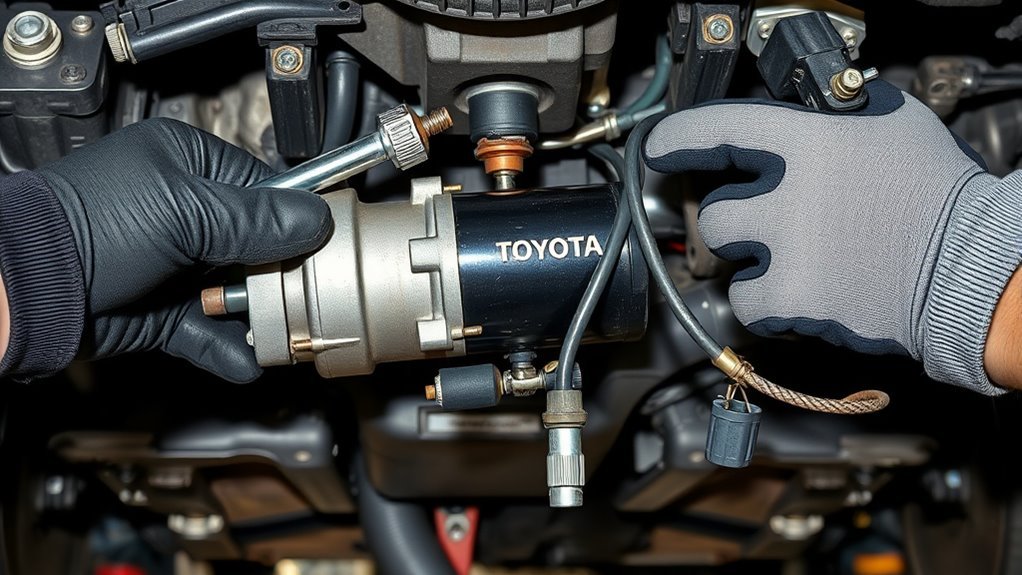
If the Tacoma still will not start after the new starter is installed, use the symptom to narrow the cause:
| Symptom | Likely Cause | What to Check |
|---|---|---|
| Rapid clicking | Weak battery or high resistance connection | Battery charge, terminal tightness, cable corrosion, engine grounds |
| Single click, no crank | Starter not receiving enough current, bad ground, relay/control issue, or defective replacement starter | Main cable voltage, control wire voltage, relay, ground strap, starter mounting contact |
| Starter spins but engine does not crank | Pinion gear not engaging or wrong starter fitment | Part number, nose cone, pinion gear, flywheel/flexplate teeth |
| Grinding noise | Misalignment, damaged gear teeth, loose mounting, or incorrect starter | Mounting bolts, flange seating, starter gear, flywheel/flexplate teeth |
| No sound at all | Open circuit, dead battery, blown fuse, bad relay, neutral safety/clutch switch issue, or disconnected signal wire | Battery voltage, starter relay, fuse, ignition signal, connector seating |
Do not keep cranking if you hear grinding or see smoke. Repeated attempts can damage the replacement starter, wiring, ring gear, or battery.
Hybrid and Newer Tacoma Cautions
Newer Tacoma configurations, including hybrid models, may have extra electrical safety requirements and different component access. Do not touch orange high-voltage cables or hybrid components. If your Tacoma is a hybrid or the starter location does not match this guide, stop and use the correct Toyota repair procedure for that exact model.
Also check for open safety recalls before starting any major repair. The NHTSA recall lookup lets you search by VIN to see whether the vehicle has unrepaired safety recalls.
Frequently Asked Questions
How long does it take to replace a Toyota Tacoma starter?
Most DIYers should plan on 2–4 hours. A clean, familiar Tacoma may take less time, while rust, tight access, stuck splash-shield clips, or uncertainty about the wiring can make the job longer.
How much does it cost to replace a starter on a Toyota Tacoma?
Typical estimates run roughly $300–$900 in parts and labor depending on the Tacoma year, engine, part brand, local labor rate, and whether you choose new OEM, new aftermarket, or remanufactured parts. DIY usually means paying for the starter and supplies only. A shop repair adds diagnostic time and labor. [VERIFY: current pricing at time of publish]
Is the Tacoma starter on the driver’s side or passenger’s side?
It depends on the generation and engine. Many Tacomas — including the layout covered in this guide — reach the starter from the driver-side wheel well. Several V6 model years place it lower on the passenger side near the exhaust manifold instead. Confirm your specific layout with a factory repair manual before you start. [VERIFY: confirm by generation/engine]
Do I have to remove the exhaust or steering shaft?
Often, no. Many Tacoma starters can be reached through the wheel well or lower access area with a swivel and long extension. However, access varies by year and engine, so follow the repair manual if your truck does not match the layout described here.
Can a bad battery seem like a bad starter?
Yes. A weak battery, loose terminal, corroded cable, or bad ground can cause clicking, slow cranking, or no crank. Test the battery and voltage drop before replacing the starter.
Should I use an OEM or aftermarket Tacoma starter?
Either can work if the part is high quality and correctly matched to your VIN. OEM parts reduce fitment uncertainty, while aftermarket or remanufactured starters may cost less. Always compare the old and new starter before installation.
Conclusion
A Toyota Tacoma starter replacement is manageable when you slow down, verify the diagnosis, and keep safety first. Disconnect the battery, support the truck with rated stands, preserve the original wire routing, and use factory repair data for torque and model-specific steps. After installation, clean connections and careful testing are what separate a reliable repair from a repeat no-crank problem.
Sources
- Toyota Owner’s Manuals and Warranties — owner manual access, vehicle-specific safety and wheel torque references
- Toyota Technical Information System — factory repair manuals, wiring diagrams, service bulletins, and model-specific service procedures
- Toyota Tacoma Genuine Parts Catalog — VIN-based parts fitment and Tacoma electrical parts reference
- NHTSA Recall Lookup — official VIN recall checks before major repair work
- OSHA 1910.244: Portable Tools and Equipment — jack rating and support safety principles
- ODYSSEY Battery Owner’s Manual — 12-volt battery voltage and charging reference
- RepairPal Tacoma Starter Replacement Cost Estimator — cost range and starter failure-rate data