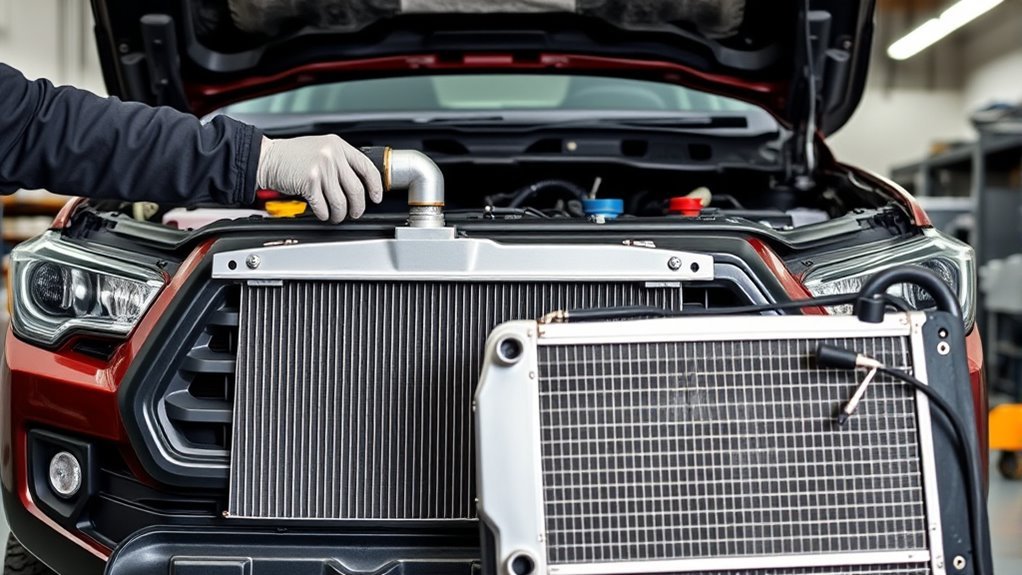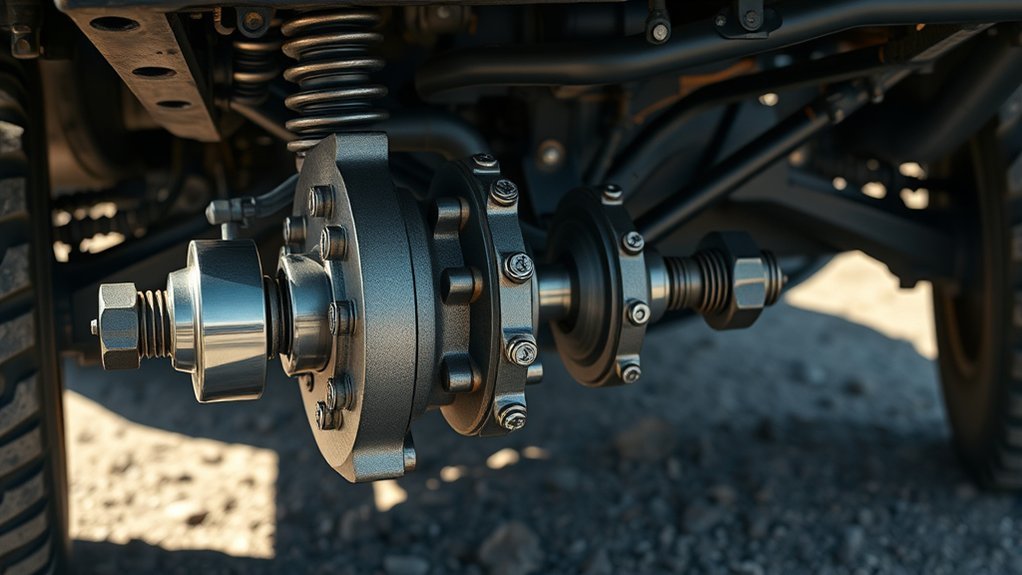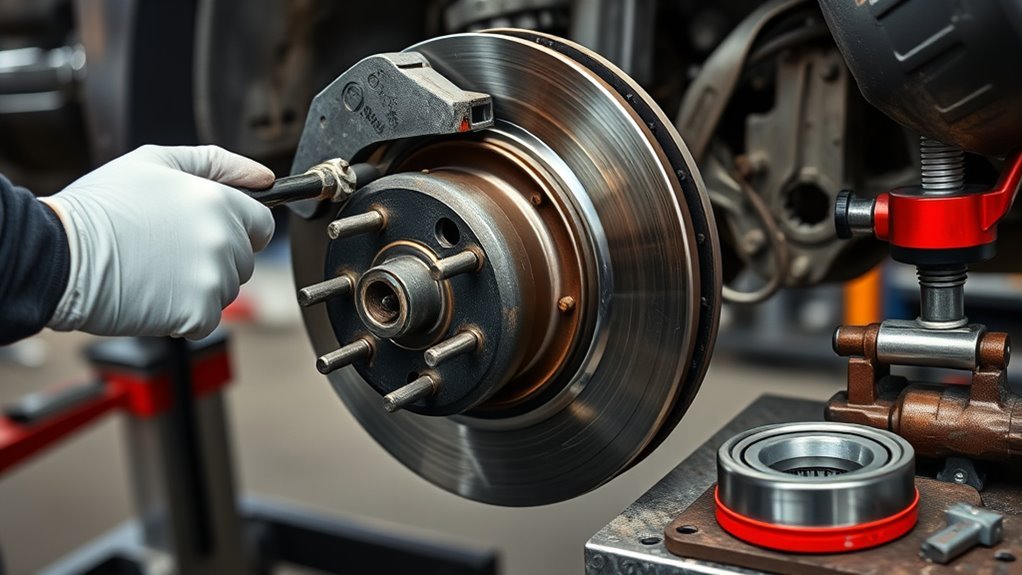
A Tacoma wheel bearing replacement is not one universal procedure. First determine whether your truck has a four-bolt front hub/bearing assembly, a press-in front bearing, or a bearing mounted on the rear axle shaft. This guide covers the common four-bolt front hub path and shows where to stop when Toyota service information calls for a press or a different procedure.
Confirm the design by VIN, model year, drivetrain, and the parts shown in the Toyota repair manual before ordering anything. Do not assume a 2024-or-newer Tacoma uses the same hub, ABS, axle-nut, or wheel-torque procedure as an earlier truck.
Last updated: July 31, 2026. Scope, cost, torque guidance, internal links, and structured data were reviewed.
Quick Answer
For a Tacoma with a four-bolt front hub/bearing assembly, safely support the truck, remove the wheel, brake caliper, rotor, axle-nut hardware, and any ABS or brake-hose brackets that block access. Remove the hub mounting bolts, separate the hub from the steering knuckle, clean the mating faces, position the backing plate correctly, and install the matching replacement assembly. Torque every fastener with the Toyota procedure for the exact year, drivetrain, wheel type, and hub design.
Key Takeaways
- Identify the design first. A bolt-on front hub, press-in front bearing, and rear axle bearing require different procedures.
- Confirm the bearing diagnosis before ordering parts. A speed-related hum or growl can also come from tires, brakes, a CV axle, or another driveline component.
- Common hand-tool sizes may include a 21 mm lug socket plus smaller bracket and caliper tools, but verify every socket and fastener on your exact truck.
- Do not rely on a generic torque chart. Use Toyota TIS, the Toyota repair manual, or verified service data for your model year.
- Protect the ABS wheel-speed sensor and wiring. Damage or contamination can trigger ABS, traction-control, or stability-control warning lights.
- If the manual shows a bearing, seal, snap ring, or axle component that must be pressed, use the correct hydraulic press and adapters or send the assembly to a qualified machine shop.
At a Glance
| Guide Scope | Common four-bolt front hub/bearing assembly; not a universal front or rear Tacoma procedure |
| Time Required | Roughly 1–3 hours per side for an experienced DIYer with basic tools and a hub that separates cleanly; add time if the hub is corroded and needs a puller, or if the manual calls for a press |
| Difficulty | Intermediate to advanced; safety-critical wheel-end and brake work |
| Tools Needed | Floor jack, rated jack stands, wheel chocks, lug socket, bracket and caliper sockets, model-specific axle-nut socket, breaker bar, calibrated torque wrench, caliper hanger, mallet, punch, penetrant, wire brush, and brake cleaner |
| Shop Cost | RepairPal’s national estimate is $535–$926 before taxes, fees, location differences, and related repairs |
Which Tacoma Wheel-Bearing Procedure Do You Have?
Do not begin with the assumption that every Tacoma front bearing is a complete bolt-on hub. Compare the visible hardware and the Toyota repair procedure with the paths below. If the manual for your VIN does not match this guide, follow the manual.
| What You Find | Likely Procedure | What to Do |
|---|---|---|
| A complete front hub/bearing unit secured to the rear of the knuckle by mounting bolts | Bolt-on front hub path | Use this guide only after confirming the exact removal steps, hardware, and torque values |
| The manual shows a separate bearing, oil seal, snap ring, hub, and press operation | Press-in front bearing path | Do not hammer the bearing; use a press with the correct supports or hire a machine shop |
| The failed bearing is mounted on or retained with the rear axle shaft | Rear axle-bearing path | Use a rear-specific procedure; this front hub guide does not cover the required axle disassembly |
| The truck is a redesigned 2024-or-newer Tacoma or the visible hardware differs | Model-specific procedure required | Verify the VIN-specific Toyota TIS procedure before ordering parts or transferring older torque values |
[Products Worth Considering]
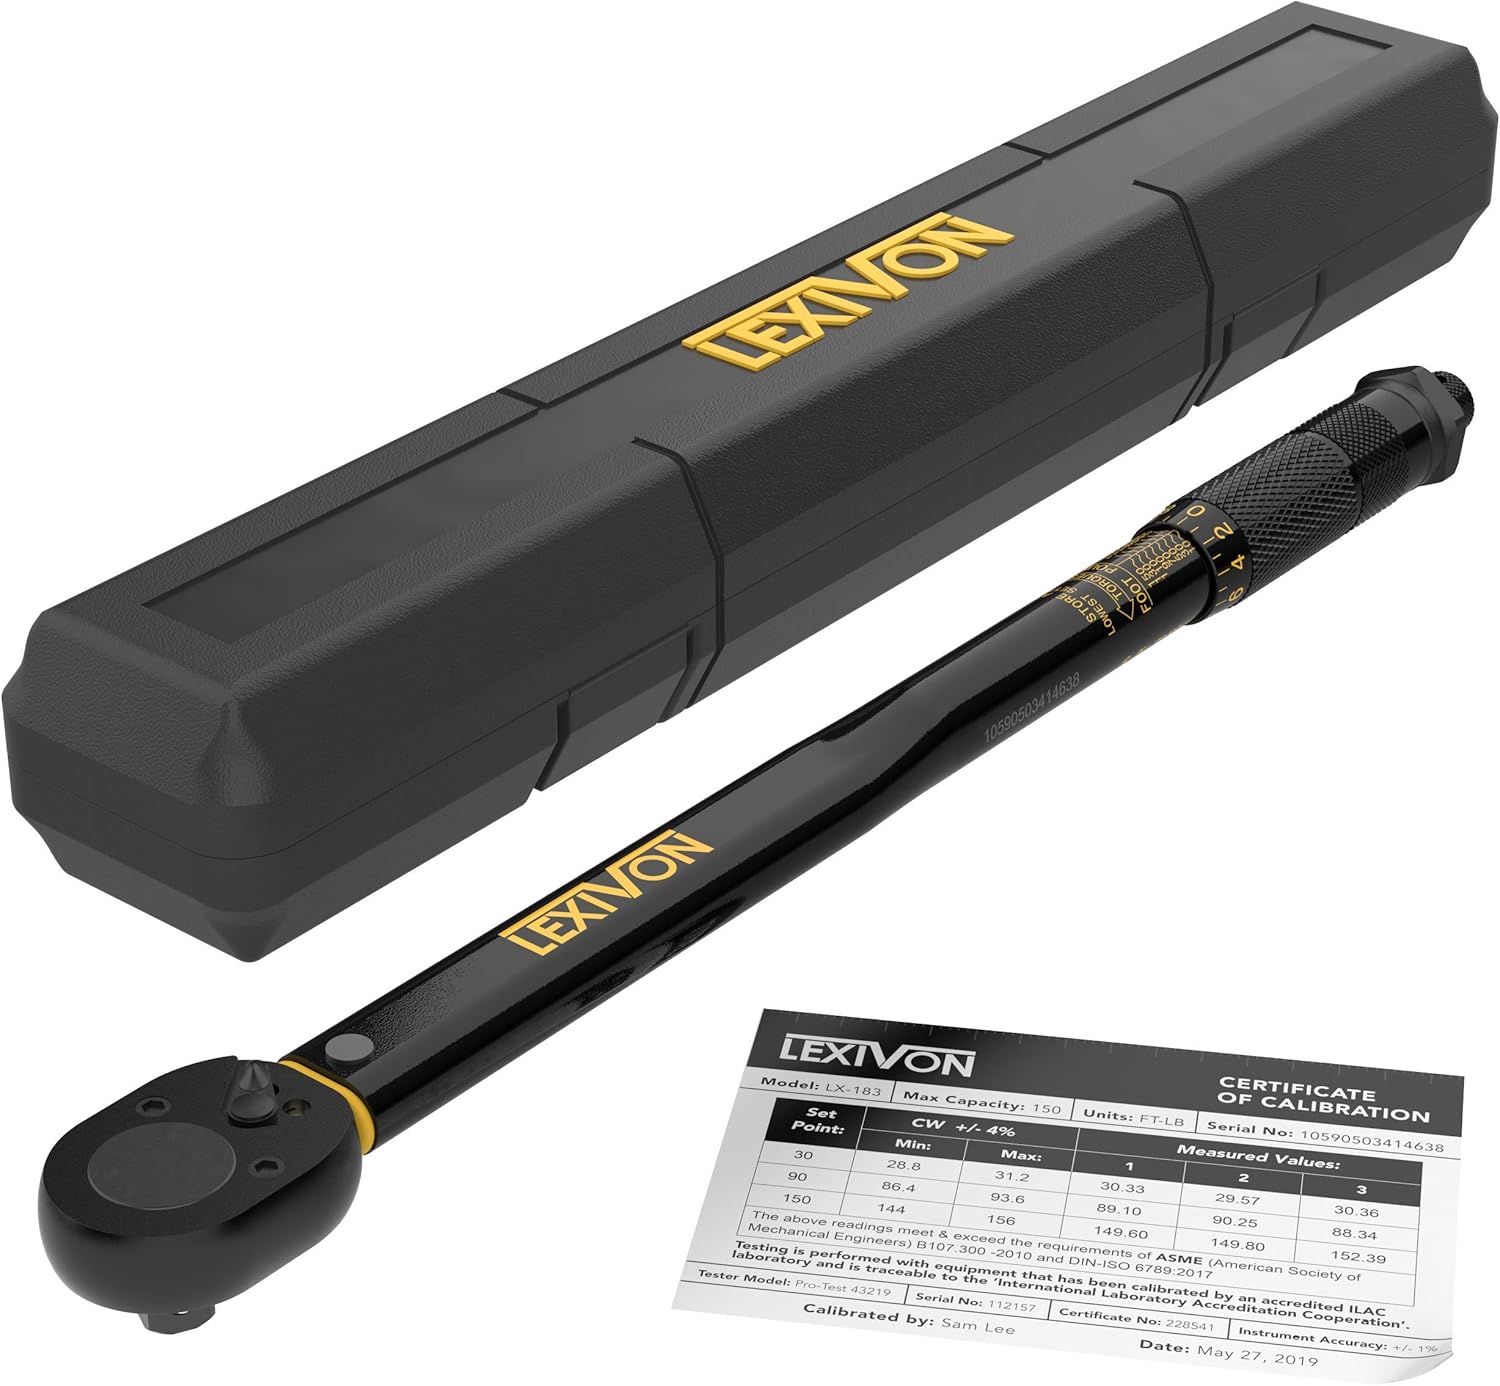
The LEXIVON 1/2-inch drive click torque wrench delivers accurate, dependable tightening for automotive and mechanical jobs with pre-calibrated precision. Its dual-range scale, reversible ratchet head, and ergonomic knurled handle make it easy to set, read, and use comfortably in a variety of applications. Built with hardened chrome vanadium steel and a corrosion-resistant finish, it is designed for lasting performance and reliability.
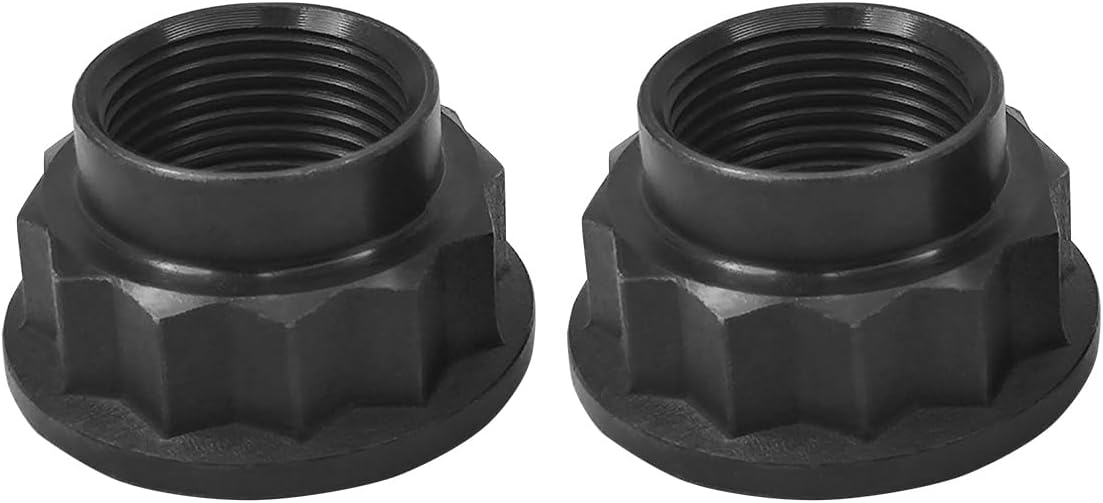
This pair of front axle shaft nuts is designed to secure CV joints and wheel bearings on compatible Toyota and Lexus front drive axles. Built from heat-treated carbon steel for durability and corrosion resistance, it helps maintain proper torque and reliable power transfer. It is a direct replacement for several factory part numbers and is recommended for paired replacement.

This bearing press kit makes it easy to install bearing races and seals quickly without damaging the axle housing. It includes nine dual-sided adapters to fit a wide range of standard races and seals, plus a knurled handle for controlled, slip-resistant use. Built from durable aluminum alloy and stored in a compact case, it is a practical solution for automotive bearing installation jobs.
Quick Step-by-Step: Tacoma Wheel Bearing Replacement
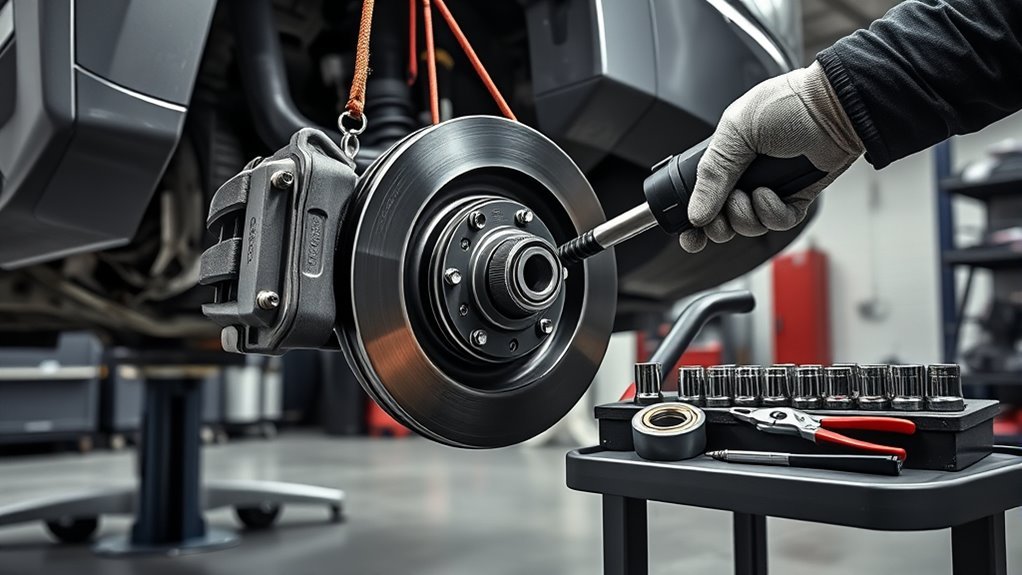
Park on solid, level ground, chock the wheels, and loosen the lug nuts slightly before lifting. Raise the Tacoma only at approved lift points listed in the owner’s manual, then support it with rated jack stands. Remove the wheel, take off the brake caliper, and hang the caliper with a proper hook or wire so the brake hose carries no weight.
Remove the rotor and any axle dust cap, cotter pin, locking cap, or retainer specified for the truck. Remove the axle nut only when the procedure calls for it. Unbolt the ABS-wire and brake-hose brackets that restrict access, but do not pull on the sensor wire.
Remove the hub/bearing mounting bolts from the steering knuckle. Separate the hub with controlled force, clean the knuckle bore and mounting face, and reinstall the backing plate in the correct orientation. Fit the matching hub/bearing assembly, hand-start every fastener, and seat the hub evenly.
Reinstall all locking hardware, brake components, brackets, and the wheel. Use Toyota service data for every hub, axle, caliper, bracket, and wheel fastener. Pump the brake pedal until firm, conduct a low-speed road test, and check for noise, heat, rubbing, looseness, leaks, or warning lights.
Warning: Never work under a Tacoma supported only by a hydraulic jack. Use wheel chocks and properly rated jack stands on solid, level ground. If the truck moves when you shake it lightly before removing parts, lower it and reset the support points.
What Should You Prepare Before Replacing a Tacoma Wheel Bearing?
Before starting, confirm the axle, bearing design, replacement part, required hardware, and torque procedure. Toyota’s Technical Information System provides model- and year-specific repair publications for Toyota vehicles marketed in North America.
[Products Worth Considering]

This master ball joint removal kit gives you the tools needed to remove and install ball joints, tie rod ends, Pitman arms, and other front-end components. It is designed for broad compatibility with many GM, Chevrolet, Ford, and Dodge vehicles, including a range of light trucks, vans, and SUVs. Built from forged steel and stored in a molded ABS case, it offers durable performance and organized portability for garage or shop use.

This all-in-one front end service kit is designed to help remove stubborn ball joints, tie rod ends, and pitman arms on a wide range of vehicles. Built from hardened alloy and organized in a portable ABS case, it offers reliable performance for both professional mechanics and DIY repairs.

This heavy-duty ball joint press kit makes it easier to remove and install press-fit components like ball joints, U-joints, and brake anchor pins on many 2WD and 4WD vehicles without removing the control arm. Built from forged steel with corrosion-resistant black oxide adapters, it is designed for reliable performance and long service life. The included 4WD adapter and organized carrying case make it a practical choice for automotive suspension and steering repairs.
Essential Safety Gear
Wear safety glasses, mechanic’s gloves, and closed-toe shoes. Keep a first-aid kit nearby, and make sure the floor jack and jack stands are rated for the truck. Place the stands on a hard surface with their locking mechanisms fully engaged.
Brake dust, rust flakes, and metal chips can come loose when the rotor and hub separate. Use brake cleaner outdoors or in a well-ventilated area. Do not blow brake dust into the air with compressed air.
Required Hand Tools
Typical tools include a lug socket, sockets or wrenches for the brake and hub hardware, the correct axle-nut socket when applicable, a breaker bar, a calibrated torque wrench, a brake-caliper hanger, a rubber or dead-blow mallet, a punch, penetrating oil, a wire brush, and brake cleaner.
A 21 mm lug socket and 12 mm or 17 mm tools appear in many earlier Tacoma front-hub procedures, but those sizes are not a substitute for checking the fasteners on your truck. Axle-nut socket sizes also vary by application and replacement hardware — depending on generation and hub design, the front axle or spindle nut may need a socket in the low-30mm range, or a four-pin spindle-nut socket on locking-hub 4WD models. Confirm the exact size against your parts and Toyota TIS before buying a tool.
Parts to Confirm Before Lifting
- VIN-matched hub/bearing assembly or bearing kit
- Correct front or rear location and left/right compatibility, if applicable
- Matching axle-spline, flange, and bolt arrangement
- Correct ABS sensor, tone-ring, or magnetic-encoder arrangement
- Any seals, O-rings, snap rings, retainers, axle nuts, or cotter pins required by the Toyota procedure
- A usable dust cap or a replacement if the existing cap is damaged
- Verified torque values and tightening sequences for every disturbed fastener
Note: Do not put anti-seize on wheel studs, lug-nut seats, axle-nut threads, hub-bolt threads, or brake fasteners unless the Toyota repair manual specifically directs it. Lubricated threads can change clamping force and make a dry-torque specification inaccurate.
How Do You Confirm a Tacoma Wheel Bearing Is Bad?
Confirm the failed component before ordering a hub. A wheel bearing commonly produces a hum, growl, rumble, or grinding sound that rises with road speed and may change as the truck’s weight shifts during a gentle turn. That pattern is a clue, not proof.
For a complete test sequence, including wheel-play checks, tire comparisons, brake inspection, and side-to-side diagnosis, use the complete Tacoma wheel-bearing noise diagnosis guide.
| Symptom Pattern | More Likely Cause | Confirmation Step |
|---|---|---|
| Steady hum or growl that rises with speed and changes during gentle steering input | Wheel bearing is more suspect | Compare both sides for play, roughness, noise, heat, and seal condition |
| Rhythmic road noise that changes with pavement and visible tread cupping | Tire wear or balance issue | Inspect tread by sight and touch; rotate or test with known-good tires if appropriate |
| Repeating click during a tight turn, especially under light acceleration | Outer CV joint is more suspect | Inspect the CV boots and use the Tacoma CV axle guide for related checks |
| Scraping that began after brake work or changes sharply with braking | Rotor, backing plate, shield, pad, or caliper issue | Inspect brake clearance, rotor contact marks, and caliper operation before replacing the bearing |
Identify Noise Characteristics
Drive on a quiet road only if the truck remains safe to operate. Note the speed at which the sound begins, whether it continues while coasting, whether light braking changes it, and whether a gentle left or right curve changes its volume.
A louder noise during a left turn can point toward the loaded right-side bearing, while a louder noise during a right turn can point toward the loaded left side. Sound can travel through the chassis, so confirm the side with a physical inspection.
Perform a Lifted-Wheel Check
- Chock and support the Tacoma safely before touching the wheel.
- Check for movement at the 12-and-6 and 3-and-9 o’clock positions.
- Identify whether any movement comes from the bearing, ball joint, tie rod, or steering linkage.
- Spin the wheel and compare sound, drag, and roughness with the opposite side.
- Inspect the tire, brake shield, wheel studs, spacer hardware, CV boot, and visible bearing seals.
Pro Tip: Oversized tires, wheel spacers, deep-water use, heavy off-road impacts, and recent suspension work justify a broader wheel-end inspection. Check the wheel studs, spacer seating, ball joints, tie rods, CV axle, and tire condition before blaming the bearing alone.
How Do You Remove the Wheel, Caliper, and Rotor Safely?
Break the lug nuts loose while the tire is still touching the ground, then raise and support the truck at the approved points. Remove the wheel. You may place it flat under a suitable frame area as a secondary backup if space allows, but never treat the wheel as the primary support.
Remove only the brake-hose or ABS-wire brackets needed for access. Remove the caliper or caliper bracket according to the Toyota procedure and hang the assembly securely. Never let a brake caliper dangle from its rubber hose.
Slide the rotor off the hub. If it is stuck, use the rotor’s threaded service holes when provided or tap evenly around the rotor hat with a dead-blow mallet. Do not strike the friction surface or pry against a thin backing plate.
If the procedure includes an axle nut, remove the dust cap carefully. Remove the cotter pin, locking cap, retainer, or staked section exactly as designed. Replace damaged or one-time-use locking hardware when required by the manual.
How Do You Remove a Bolt-On Tacoma Hub From the Knuckle?
Disconnect the ABS wheel-speed sensor wiring from the clips that restrict hub removal. Pull on the connector or clip, not the wire. Do not strike, magnetize, contaminate, or pry against the sensor or its encoder surface.
Remove the hub/bearing mounting bolts from the rear of the steering knuckle. Support the hub as the last fasteners loosen so it cannot fall against the axle, backing plate, brake hose, or ABS wiring.
- Photograph the backing-plate orientation before moving it.
- Confirm every hub fastener, retainer, and obstructing bracket has been removed.
- Apply penetrant at the hub-to-knuckle interface if corrosion is visible.
- Tap around the hub flange evenly with a dead-blow mallet.
- Use a proper hub puller or separator if controlled tapping does not release the assembly.
- Protect axle threads if a puller bears against the axle end.
Trucks that have seen heavy road-salt exposure are the ones most likely to need a puller rather than a clean tap-off release — corrosion between the hub and knuckle bore is a common reason the assembly won’t separate with light force alone.
Stop before using uncontrolled heat, a heavy steel hammer, or aggressive air-chisel force near the knuckle, sensor, axle, or brake shield. If the hub or axle remains seized, moving the repair to a shop is usually cheaper than replacing a damaged steering knuckle or CV axle.
After removal, clean the knuckle bore and mounting face with a wire brush or suitable non-damaging tool. Remove loose rust and raised debris without cutting into the machined surface. Inspect the axle splines, backing plate, brake hose, wheel studs, and ABS components before installation.
How Do You Install the New Hub and Backing Plate?
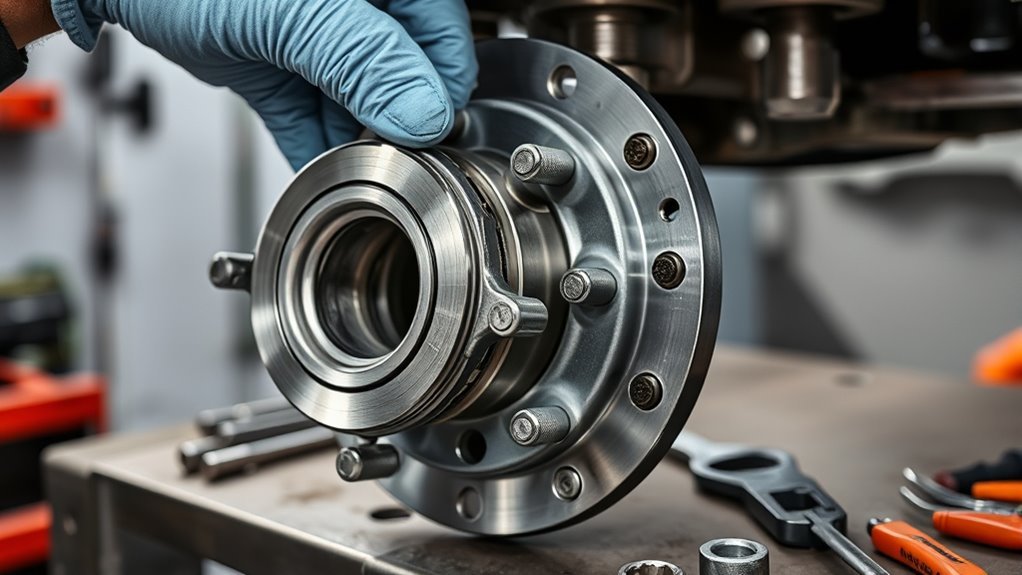
Compare the old and new assemblies before fitting the replacement. Check the mounting-bolt pattern, flange shape, axle-spline opening, wheel studs, connector arrangement, ABS tone ring or magnetic encoder, and the surfaces that contact the knuckle and rotor.
Do not force a part that differs from the original. Recheck the VIN, drivetrain, axle, and part number before continuing.
Position the backing plate exactly as it came off, with the caliper opening and shield clearance correctly aligned. Apply anti-seize only to a non-threaded hub-to-knuckle contact surface when the Toyota procedure or established shop practice permits it. Keep it away from threaded fasteners, the ABS sensor, encoder, bearing seals, wheel studs, lug-nut seats, and rotor friction surfaces.
Guide the assembly squarely over the axle splines and into the knuckle. Hand-start every mounting bolt before tightening. Snug the bolts gradually in an even pattern so the hub seats flat against the knuckle and does not bend the backing plate.
Note: If the Toyota procedure shows a separate bearing cartridge, seal, and snap ring, this bolt-on installation section does not apply. Press only on the race specified by the bearing procedure and use the correct supports and adapters.
What Torque Specs Do You Need for a Tacoma Wheel Bearing?
You need exact specifications for every disturbed hub, axle, brake, bracket, and wheel fastener. There is no safe universal Tacoma axle-nut torque. SKF explains that the center axle nut and hub mounting bolts affect bearing fit and operation, while BCA warns that bearing and axle-nut designs vary too much for one general torque value.
Do not use an axle-nut number copied from another Tacoma generation, drivetrain, or online video. Look up the specification and any multi-stage tightening, loosening, rotating, staking, retainer, or cotter-pin procedure in Toyota TIS or verified service data.
- Use a calibrated torque wrench for final tightening.
- Do not use an impact gun as the final torque method.
- Keep threads and nut seats in the condition specified by the service procedure.
- Install the specified locking cap, retainer, stake, or new cotter pin.
- Torque the hub bolts, caliper or bracket bolts, hose brackets, and wheel nuts to their individual specifications.
Wheel-nut torque can vary substantially. For example, Toyota’s 2024 Tacoma owner’s manual lists 97 ft-lb for listed aluminum-wheel configurations and 154 ft-lb for listed steel-wheel configurations. Those values demonstrate why wheel type matters; they are not specifications for another Tacoma.
The correct torque number is the one published for the exact truck, fastener, wheel, and repair procedure in front of you.
[Products Worth Considering]
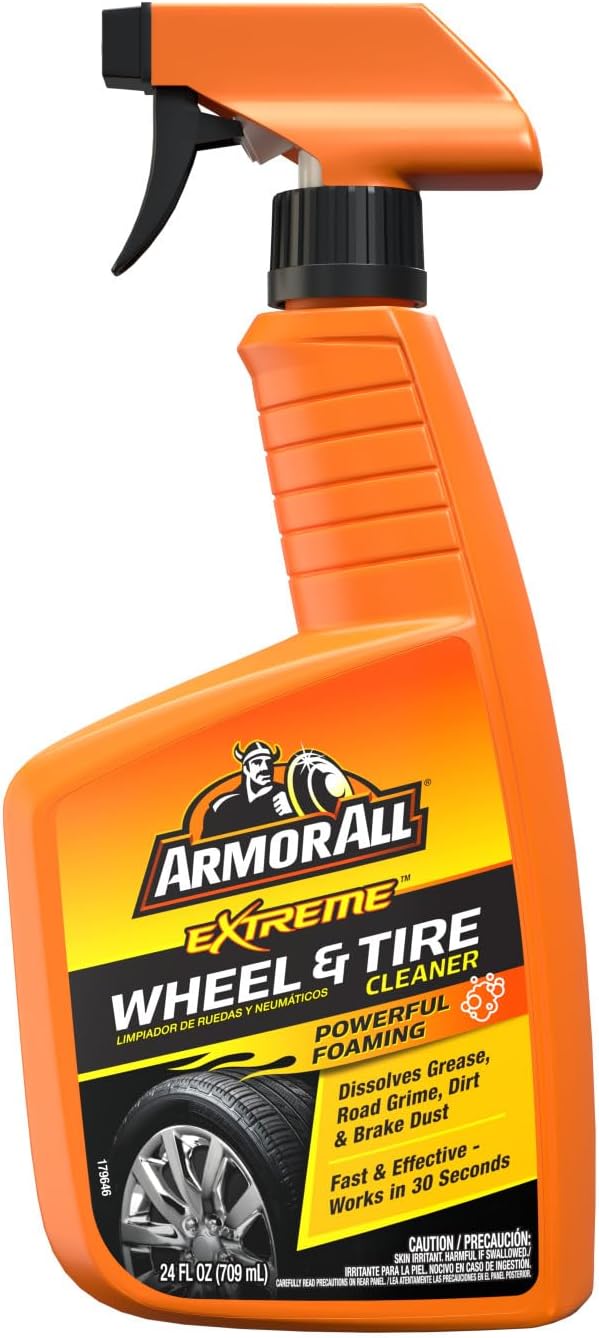
Armor All Extreme Wheel and Tire Cleaner is a powerful spray designed to cut through stubborn dirt, grease, tar, and brake dust on wheels and tires. It is safe for use on factory and aftermarket finishes, including alloy, steel, chrome, and plastic wheel trims, while its fast-acting formula works in just seconds. The deep-cleansing action helps reach hard-to-clean areas and leaves wheels looking clean and shiny.

This brake caliper hanger set helps hold calipers securely during brake pad changes and other suspension or axle work, making brake service safer and more convenient. Built from durable steel with rust-resistant coating, it features rubber tips to help prevent scratches and protect brake hoses and surrounding components. Brightly colored and easy to spot, it is a practical mechanic tool for keeping calipers supported while you work.

This click torque wrench delivers accurate, repeatable tightening for automotive and home repair tasks, helping prevent over-tightening and fastener damage. Its dual-range scale, knurled non-slip grip, and durable ratchet head make it easy to use, while the included extension bar and storage case add extra convenience.
How Do You Reassemble and Road-Test the Tacoma?
Before installing the rotor, clean the hub face and the rotor-hat mating surface. Remove loose rust or raised debris that could prevent the rotor from sitting flat. Keep anti-seize, oil, and grease away from the rotor and pad friction surfaces.
- Confirm the backing plate does not touch the rotor.
- Seat the rotor fully against the hub.
- Reinstall the caliper bracket and caliper with the specified hardware and torque.
- Confirm the brake hose is not twisted, stretched, or rubbing.
- Clip the ABS wire away from the tire, rotor, axle, and moving suspension parts.
Reinstall the wheel and hand-start every lug nut. Lower the Tacoma only enough to keep the wheel from turning, then torque the nuts in the sequence and to the value listed for the exact wheel in the owner’s manual.
Before driving, pump the brake pedal until it feels firm. Check the fluid level if the brake procedure requires it. Start with a slow test in a driveway or parking area, then listen for scraping, grinding, clicking, or rubbing. Watch for ABS, traction-control, brake, or stability-control warnings. The Tacoma dashboard warning-light guide can help identify related alerts.
After the road test, compare wheel-end temperature cautiously, inspect for looseness or leaks, and recheck any item specified by the repair procedure. Follow the Tacoma owner’s manual and the wheel manufacturer’s retorque instructions. Aftermarket wheels may require an additional torque check after initial driving.
Pro Tip: If the steering wheel is off-center, the truck pulls, or tire wear was already uneven, use the Tacoma wheel-alignment symptoms guide to decide whether a professional alignment inspection is needed.
What Mistakes Can Ruin a New Tacoma Wheel Bearing?
- Using the wrong procedure: A bolt-on hub guide cannot replace a press-in or rear axle-bearing procedure.
- Skipping diagnosis: Cupped tires, brake shields, CV joints, and loose suspension parts can imitate bearing noise.
- Ordering by model name alone: Year, drivetrain, axle, ABS design, and production configuration can affect the part.
- Hammering through the bearing: Force through the wrong race can damage a new bearing before the truck moves.
- Installing the backing plate incorrectly: A reversed or bent plate can rub the rotor.
- Contaminating the ABS encoder: Metal debris, impact, magnetic tools, or lubricant can damage or disrupt the wheel-speed signal.
- Guessing torque: Over-tightening and under-tightening can both create unsafe clamping or premature failure.
- Using an impact for final axle-nut torque: Final tightening requires a controlled, verified procedure.
- Reusing damaged locking hardware: Replace cotter pins, retainers, staked nuts, caps, or seals when the manual requires new parts.
- Leaving rust between mating faces: Raised debris can prevent the hub or rotor from seating flat.
When Should You Stop and Call a Shop?
Stop and arrange professional help when the repair manual calls for a press you do not have, the hub or axle is seized after controlled puller use, the axle splines or threads are damaged, the ABS sensor breaks, the knuckle is heavily corroded, or you cannot obtain the correct torque and tightening procedure.
Also stop if you find a loose ball joint, damaged tie rod, cracked steering knuckle, unsafe wheel stud, leaking brake hose, seized caliper, or another condition that affects steering or braking.
If noise remains after replacement, do not immediately replace the opposite bearing without diagnosis. Continued noise can come from the other wheel, tire wear, a CV axle, differential, brakes, wheel contact, or another suspension component.
Frequently Asked Questions
How much does it cost to replace a wheel bearing on a Toyota Tacoma?
RepairPal’s national Toyota Tacoma wheel-bearing replacement estimate is $535–$926. The final cost can change with the model year, drivetrain, location, corrosion, bearing design, labor rate, taxes, fees, and related repairs. Owner-reported shop quotes on Tacoma enthusiast forums vary more widely than the national estimate — some owners report quotes well above $900 for a single front bearing in higher-labor-rate markets, underscoring why a local quote matters more than any national average.
Can I drive a Tacoma with a bad wheel bearing?
Limit driving and arrange inspection or repair promptly. Do not continue normal driving if the wheel has measurable looseness, loud grinding, wobble, heavy vibration, overheating, brake problems, or unstable handling. Severe bearing wear can damage the hub and affect wheel control.
Do I need to replace both Tacoma front wheel bearings at the same time?
Not automatically. Replace the side confirmed to be faulty. Inspect the opposite side and consider replacing it when it has similar noise, roughness, play, contamination, damage, or service history that makes another failure likely.
What does a bad Tacoma wheel bearing sound like?
A failing wheel bearing often produces a humming, growling, rumbling, whirring, or grinding sound that rises with road speed. The sound may change during gentle turns as the load shifts. Tire cupping, brakes, CV joints, and differential noise can sound similar, so confirm the source before replacing parts.
What is the Tacoma axle-nut torque?
There is no single axle-nut torque for every Tacoma. The correct value and tightening sequence depend on the model year, drivetrain, hub design, axle, and hardware. Use Toyota TIS or verified service data for the exact truck rather than copying a number from another Tacoma.
Will I need an alignment after replacing a Tacoma wheel bearing?
A bolt-on hub replacement normally does not change alignment when no alignment or suspension-adjustment points are disturbed. Arrange an alignment inspection if you loosen control-arm, tie-rod, cam, or other adjustment hardware, or if the truck pulls, wears tires unevenly, or has an off-center steering wheel afterward.
Does this guide cover a Tacoma rear wheel bearing?
No. This guide focuses on a common bolt-on front hub/bearing path. A rear bearing can require axle-shaft removal, seals, retainers, ABS components, and press work. Use the rear-axle procedure for the exact Tacoma.
Does a 2024-or-newer Tacoma use the same bearing procedure?
Do not assume it does. The Tacoma was redesigned for the 2024 model year, and the hub, axle, ABS, wheel, and fastener procedures must be verified in the repair information for the exact vehicle.
Conclusion
A safe Tacoma wheel bearing replacement begins by identifying the correct repair path. Confirm whether the truck has a bolt-on front hub, a press-in bearing, or a rear axle-bearing design. Then verify the part, required hardware, ABS arrangement, and every torque value before disabling the truck.
For a matching bolt-on front assembly, the essential work is careful support, protected brake and ABS components, controlled hub removal, clean mating surfaces, correct backing-plate orientation, even hub seating, and exact final torque. Before ordering the hub or lifting the truck, identify the bearing design by VIN and obtain the Toyota removal procedure and torque specifications for that vehicle.
Sources
- Toyota Owners Manuals and Warranties — owner’s manuals, tire-changing instructions, jack-point guidance, and wheel specifications by model year
- Toyota Technical Information System — official model- and year-specific Toyota repair manuals, service publications, wiring information, and procedures
- 2024 Toyota Tacoma Maintenance Data — official wheel, tire, inflation, and wheel-nut torque information showing wheel-dependent specifications
- SKF Hub Installation and Torquing Tech Tip — explains why hub, axle-nut, wheel-fastener torque, and clean mating surfaces matter
- BCA Bearings: Top Ten Wheel Bearing Torque Tips — supports application-specific axle-nut procedures instead of a universal torque number
- RepairPal Toyota Tacoma Wheel Bearing Replacement Cost — national cost estimate